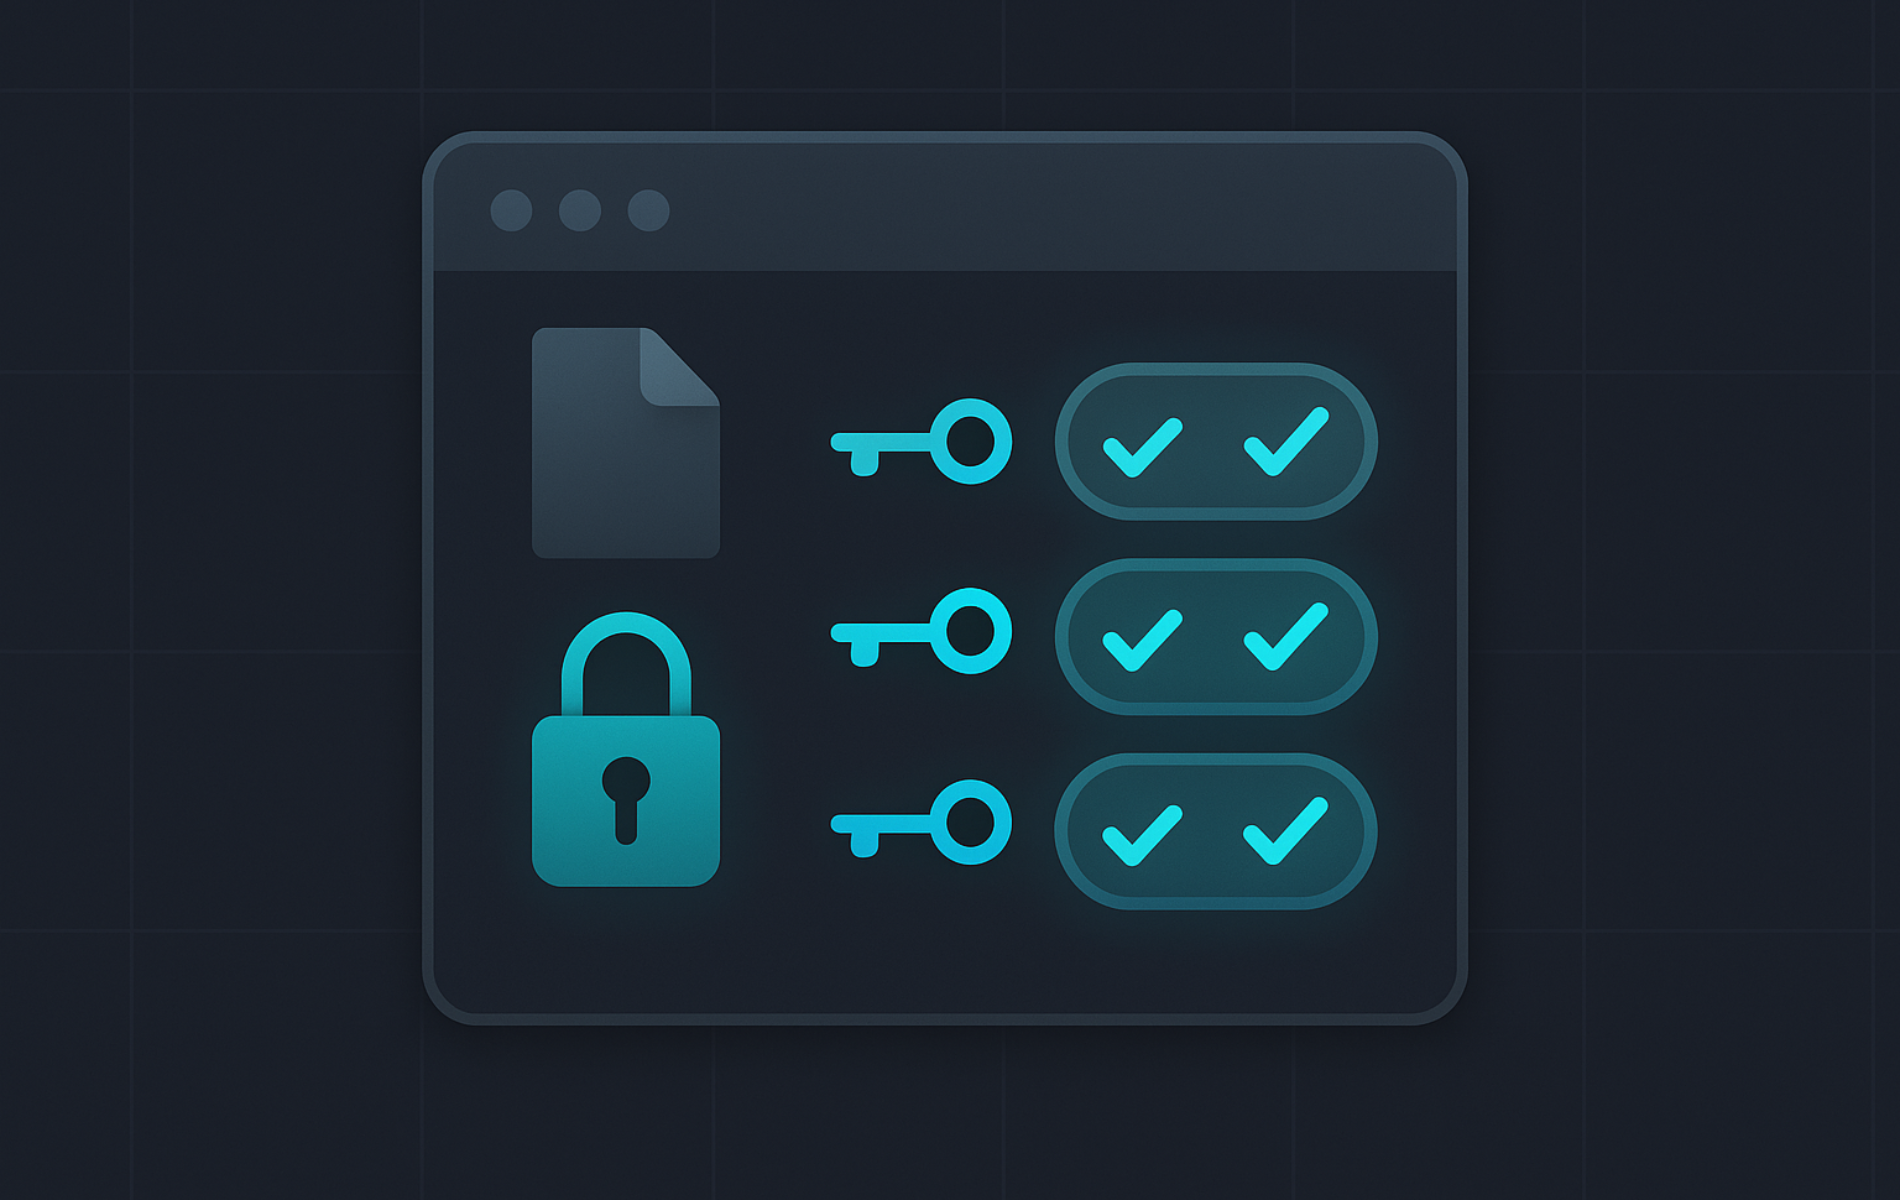
Permission mistakes can quietly break deployments or expose private files, which is why the chmod command in Linux is worth understanding before you copy a recursive fix from a forum. chmod controls who can read, write, and execute files, and small differences such as 755 versus 757 or lowercase x versus capital X change the result.
The workflow starts with reading permission strings, then moves through numeric modes, symbolic modes, safer recursive patterns, special bits such as setgid and the sticky bit, and troubleshooting checks for ownership, ACLs, and SELinux.
How the chmod Command Controls Linux Permissions
chmod writes file mode bits. Those bits tell Linux whether the owner, group, and everyone else can read, modify, or run a file. On directories, execute permission also means traversal, so a missing x bit can block access even when read permission exists.
You normally do not install chmod separately. Most Linux distributions ship it through coreutils, while minimal or BusyBox-based images may provide a smaller implementation without GNU-style long options such as --preserve-root or --reference.
Verify the chmod Command Is Available
Check that your shell can find chmod:
command -v chmodA normal system returns a path such as:
/usr/bin/chmod
What Is the chmod Command?
chmod updates the mode bits attached to files and directories. Those bits describe the read, write, and execute permissions granted to the owner, the owning group, and everyone else. By adjusting the mode, you decide whether a script can run, a log file stays write-protected, or a shared folder inherits group access.
Why Use the chmod Command?
Every deployment workflow, from handing off backups to publishing web content, relies on correct permissions. chmod provides the quick adjustments you need: make a script executable, lock down SSH keys, or give a project group write access without exposing data to everyone on the system.
How chmod Command Syntax Works
Use the command in this form:
chmod [OPTIONS] MODE[,MODE]... FILE...chmod: The command that writes new permission bits to disk.[OPTIONS]: Flags such as-Ror--reference=RFILEthat modify how the change is applied.MODE[,MODE]...: The permissions you want to apply. Use numeric values like755for full owner control, or symbolic changes such asu+xto add execute permission.FILE...: One or more files or directories that will receive the updated mode.
At its simplest, run chmod 644 example.txt to give the owner read and write access while everyone else gets read-only access. Switch to symbolic mode when you want to adjust part of the mode. For example, chmod g+w shared.log lets your group update a shared log without touching owner or other permissions.
Use this quick reference to pick the right options for common permission tasks:
| Task | Options | What They Do |
|---|---|---|
| Copy permissions from a known-good file | --reference=RFILE | Applies the exact mode from the reference so related files stay aligned. |
| Change an entire project tree safely | -R | Recurses through directories; pair with symbolic modes like u=rwX,go=rX to avoid marking data files executable. |
| Reduce noise in automation scripts | -f / --quiet | Suppresses most error messages to keep CI logs focused on real issues. |
| Audit what changed during troubleshooting | -c / --changes | Prints a line only for files whose permissions changed so you can confirm scope. |
| Protect the root directory during recursive runs | --preserve-root | Prevents accidental mode changes to / when using -R from an elevated shell. |
chmod offers both numeric and symbolic notation. Numeric mode replaces the entire permission set in one step, while symbolic mode lets you add, remove, or copy specific bits without touching the rest.
How Linux File Permissions Work with chmod
Linux permissions work as a compact access map for each file and directory. Every entry combines three permission types (read, write, execute) with three user classes (owner, group, others), so learning to read that map makes each chmod change easier to predict.
Viewing Current Permissions
Before changing permissions, check what’s currently set using the ls -l command:
ls -l report.txtThis displays output like:
-rw-r--r-- 1 user group 1024 Oct 29 10:30 report.txt
Breaking down the permission string -rw-r--r--:
- First character (
-): File type (-for file,dfor directory,lfor symbolic link) - Characters 2-4 (
rw-): Owner permissions (read, write, no execute) - Characters 5-7 (
r--): Group permissions (read only) - Characters 8-10 (
r--): Others permissions (read only)
Ignore the first file-type character when converting an ls -l string into a numeric mode. For example, -rwxrwxr-x describes a regular file with rwx for the owner, rwx for the group, and r-x for others, which maps to 775.
The Three Permission Types
Each position in the permission triplet represents a specific access level:
r(read): View file contents or list directory contentsw(write): Modify, delete, or rename the file; create or delete files in a directoryx(execute): Run the file as a program; enter (cd into) a directory
Directories require execute permission to access their contents. Even if you have read permission, you cannot list files without execute permission.
Numeric and Symbolic Modes in chmod
chmod offers two methods for setting permissions: numeric (octal) mode and symbolic mode. Each serves different use cases. Numeric mode sets absolute permissions quickly, while symbolic mode adds or removes specific permissions without affecting others.
Use Numeric (Octal) Mode for Exact Permissions
Numeric mode uses a three-digit number where each digit represents permissions for owner, group, and others respectively. Each permission type has a binary value that translates to a decimal number:
r(read) =4(binary100)w(write) =2(binary010)x(execute) =1(binary001)- No permission =
0(binary000)
To calculate a permission digit, add the values of the permissions you want. For example:
7= read + write + execute (4+2+1) =rwx6= read + write (4+2) =rw-5= read + execute (4+1) =r-x4= read only (4) =r--3= write + execute (2+1) =-wx2= write only (2) =-w-1= execute only (1) =--x0= no permissions (0) =---
When you use chmod 755, you’re setting three separate permission sets: 7 for the owner (rwx), 5 for the group (r-x), and 5 for others (r-x). This numeric shorthand replaces all existing permissions with the values you specify.
chmod 755 deploy.sh # Owner: rwx, Group: r-x, Others: r-xAdjust Permissions with Symbolic Mode
Symbolic mode uses letters and operators to modify permissions without replacing the entire permission set. This method is more intuitive for making incremental changes.
Who (user classes):
u= user (owner)g= groupo= othersa= all (equivalent tougo)
What (operators):
+= add permission-= remove permission== set exact permission (removes others)
Which (permission types):
r= readw= writex= executeX= conditional execute, which applies to directories and to files that already have at least one execute bit
Symbolic mode lets you add execute permission to the owner without touching other permissions:
chmod u+x backup.sh # Add execute for owner onlyCapital X is useful for recursive directory fixes. The command chmod -R u=rwX,go=rX project keeps normal data files non-executable, but it still lets users traverse directories and preserves execute permission on scripts that already had it.
Use numeric mode when you want to set all permissions at once (chmod 644), and symbolic mode when you need to modify specific permissions (chmod g+w).
Common chmod Command Examples
These examples cover the permission changes most readers use first. Run them against your own file or directory names, and verify important changes with ls -l or stat before moving on.
Example 1: Set Script Permissions with Numeric Mode
chmod 755 deploy.sh
stat -c '%A %a %n' deploy.sh
Relevant output includes:
-rwxr-xr-x 755 deploy.sh
Mode 755 gives the owner read, write, and execute access. The group and others can read and execute the file, but they cannot modify it.
Example 2: Add Owner Execute Permission with Symbolic Mode
chmod u+x backup.shThe u+x mode adds execute permission only for the file owner. Use this for personal scripts when other users do not need to run the file.
Example 3: Remove Group and Other Write Permission
chmod go-w shared-notes.txtThe go-w mode removes write access from the group and others without changing the owner’s permissions.
Example 4: Give Everyone Read Access
chmod a+r release-notes.txtThe a+r mode grants read permission to all user classes. It does not add write or execute permission, so it is safer than broad patterns such as a+rwx or 777.
Example 5: Use chmod -R with Capital X
chmod -R u=rwX,go=rX projectThis command recursively changes permissions across project and all nested content. Capital X adds execute permission to directories and to files that were already executable, preventing regular data files from accidentally becoming runnable while keeping directories traversable.
-R: Applies the rule to the directory itself and everything under it.u=rwX: Gives the owner read/write access and only adds execute to directories or files that were already executable.go=rX: Gives group and others read access plus directory traversal without turning regular files into executables.
Use this safer pattern instead of a blanket chmod -R 755, which can unintentionally mark every file as executable.
Example 6: Remove Group Write and Execute Permission
chmod g-wx payroll-report.csvThe g-wx mode leaves owner and other permissions alone while removing write and execute access from the owning group.
Example 7: Set Different Permissions for Each User Class
chmod u=rwx,g=rx,o=r deploy.shThis sets the owner to rwx, the group to r-x, and others to r--. It is the symbolic equivalent of chmod 754 deploy.sh.
Example 8: Copy Permissions from a Reference File
chmod --reference=template.conf app.confThe --reference option copies the exact mode from template.conf to app.conf. Use it when related files need matching permissions and you do not want to recalculate the numeric mode.
Example 9: Set the Sticky Bit on a Shared Directory
sudo chmod 1777 /srv/shared/tmpThis sets the sticky bit (1) and applies 777 permissions to /srv/shared/tmp.
- The sticky bit (
1) ensures that only the file owner, directory owner, or root user can delete or rename files inside the directory. 777: Gives everyone read, write, and execute access so users can create and manage their own files while the sticky bit prevents them from removing files they do not own.
This is the pattern used for shared writable directories such as /tmp, scratch areas, or upload folders where every user needs write access without being able to delete someone else’s work.
Example 10: Use find with chmod for Matching Files
find /srv/site -type f -print
sudo find /srv/site -type f -exec chmod 644 {} +
The first line previews the matching regular files. After you confirm the path and file list, the second line batches those matches into chmod 644. For more details on batching commands safely, see the find -exec command guide.
Advanced chmod Command Examples
Advanced chmod patterns are most useful when you need consistency across a tree, group inheritance for collaboration, or special directory behavior. Preview recursive targets before changing them, especially when you run commands with sudo.
Advanced Example 1: Mirror Owner Permissions to the Group
Recursive permission changes can affect many files at once. Confirm the target directory with
ls -ld /srv/team-projectbefore runningchmod -R.
sudo chmod -R g=u /srv/team-projectSymbolic copies let you reuse existing permission sets instead of recalculating numeric values:
g=u: Copies the owner’s permissions to the group on each file, matching whatever read, write, or execute bits already exist.-R: Propagates the change through the project tree so nested files and directories inherit the mirrored bits.- Use this after migrating a personal workspace into a shared directory so teammates gain identical access without opening the content to other users.
Advanced Example 2: Set setgid and Sticky Directory Bits
ls -l /usr/bin/passwdLook for an s in the owner execute position, such as -rwsr-xr-x. To set special bits on directories you manage, use explicit four-digit modes:
sudo chmod 2775 /srv/team-project
sudo chmod 1777 /srv/shared/tmp- The
setuidbit (4): When set on a file, users can execute the file with the permissions of the file’s owner. Do not addsetuidto custom scripts or system binaries unless you fully understand the privilege risk. - The
setgidbit (2): When set on a file, processes run with the file’s group; on a directory, new files and subdirectories inherit its group, which keeps collaborators aligned with the same group permissions. - The sticky bit (
1): Protects files inside a directory from being removed by other users; only the file owner, directory owner, or root can delete. Combine it withsetgid(for example,sudo chmod 3775 /srv/shared/tmp) when you need both shared group ownership and deletion protection; use plain1777for world-writable scratch spaces such as/tmp.
Advanced Example 3: Change Directory Permissions Only
find /srv/site -type d -print
sudo find /srv/site -type d -exec chmod 755 {} +
The preview line lists directories under /srv/site. After confirming the list, the second line changes only those directories and leaves regular files untouched:
find /srv/site -type d: Finds directories under the web root.-exec chmod 755 {} +: Batches the matched directories into fewerchmodruns.
Use this when a directory tree needs traversable directories while file permissions stay unchanged.
Advanced Example 4: Target Specific Files with find
find /srv/shared -type f -name "*.sh" -print
sudo find /srv/shared -type f -name "*.sh" -exec chmod 750 {} +
The first line previews the matching scripts. After confirming the list, the second line narrows the permission change to files that actually need new permissions:
-type fwith-name "*.sh": Matches only shell scripts while ignoring data files.-exec chmod 750 {} +: Batches files into a single chmod run, giving the owner full rights, the group execute access, and keeping the scripts private from other users.
Use this when you need to tighten permissions on executable files without disturbing the rest of the directory structure.
Advanced Example 5: Make a Script Executable by Everyone
chmod a+x health-check.shThis command adds execute permission for the owner, group, and others:
a+x: Adds execute permission for all user classes explicitly. A barechmod +xcan be affected by the currentumask, soa+xis clearer when everyone needs to run the file.
Use chmod u+x health-check.sh instead when only the owner needs to run the script.
Advanced Example 6: Using +X for Smarter Recursive Changes
find /srv/shared -print
sudo chmod -R u+X,g+X /srv/shared
The first line previews the tree before the recursive update. The capital +X operator adds execute permission only to directories and to files that already have at least one execute bit set. This keeps regular files from accidentally becoming executable while still allowing users to traverse directories.
-R: Applies the change recursively.u+X,g+X: Adds execute permission for the owner and group where appropriate.
Use +X when preparing shared directories. It preserves security by skipping non-executable files that need to remain plain data.
Quick chmod Reference for Common Permission Patterns
For quick reference, here are the most commonly used permission patterns organized by scenario:
Standard File and Directory Permissions
| Numeric | Symbolic | Meaning | Typical Use Case |
|---|---|---|---|
644 | rw-r--r-- | Owner: read/write, Group/Others: read | Regular files, documents, web content (most common file permission) |
755 | rwxr-xr-x | Owner: full control, Group/Others: read/execute | Directories, scripts, executables (most common directory permission) |
600 | rw------- | Owner: read/write, Group/Others: none | Private files, SSH keys, passwords, sensitive config |
700 | rwx------ | Owner: full control, Group/Others: none | Private directories, ~/.ssh/, personal scripts |
444 | r--r--r-- | Everyone: read only | Protected reference files, system docs you don’t want modified |
555 | r-xr-xr-x | Everyone: read/execute, no write | Protected executables, read-only shared directories |
Collaborative Team Permissions
| Numeric | Symbolic | Meaning | Typical Use Case |
|---|---|---|---|
664 | rw-rw-r-- | Owner/Group: read/write, Others: read | Shared team files where group members can edit |
660 | rw-rw---- | Owner/Group: read/write, Others: none | Private team files, project data restricted to group |
775 | rwxrwxr-x | Owner/Group: full control, Others: read/execute | Shared team directories, collaborative projects |
770 | rwxrwx--- | Owner/Group: full control, Others: none | Private team directories, restricted collaboration spaces |
2775 | rwxrwsr-x | setgid: new files inherit group ownership | Shared project directories (ensures team members keep group access) |
Special Permissions and High-Risk Patterns
| Numeric | Symbolic | Meaning | Use Case / Security Warning |
|---|---|---|---|
4755 | rwsr-xr-x | setuid: runs with owner privileges | System binaries like passwd and sudo. Use carefully; setuid grants escalated privileges. |
2755 | rwxr-sr-x | setgid: file runs with group privileges; directories enforce group inheritance | Shared directories where new files inherit group ownership automatically. |
1777 | rwxrwxrwt | sticky bit: only file owner, directory owner, or root can delete | /tmp directory, public upload folders. Prevents users deleting others’ files. |
757 | rwxr-xrwx | Owner: full control, Group: read/execute, Others: full control | Warning: Avoid for normal files and directories because everyone else can write or replace content. |
777 | rwxrwxrwx | Everyone: full control | Warning: Avoid unless absolutely necessary. Major security risk; anyone can modify/delete. |
666 | rw-rw-rw- | Everyone: read/write | Warning: Rarely appropriate. Use only for temporary shared data files, never executables. |
When choosing permissions, start restrictive (600/700) and relax only as needed. It’s easier to grant access later than recover from a security breach caused by overly permissive settings.
Manage umask Before Using chmod
When Linux creates a new file or directory, it starts with broad default permissions (666 for files, 777 for directories) and then subtracts the current umask value. The result becomes the actual permission set. Knowing your umask explains why new files do not always inherit the permissions you expect.
To check the active umask for your shell session:
umaskExample output:
0022
The output is an octal value. For example, a umask of 0022 subtracts write permissions from group and others. New files appear as 644 (666 – 022) and new directories as 755 (777 – 022).
You can temporarily change the mask for your current shell:
# Restrictive default for private workstations
umask 0077

# Collaborative default where team members share a group
umask 0027
As a rule, use restrictive masks (like 077) when you want new files to be private by default. Use collaborative masks (like 027 or 002) when working in shared directories where group members need access. Remember that umask only affects future files; use chmod to adjust existing files if needed.
Real-World chmod Permission Scenarios
Permissions make more sense when you connect them to real files, services, and users. These scenarios show where chmod fits into common administration tasks.
Web Server Files and Directories
For Apache or Nginx web servers, proper permissions prevent security vulnerabilities while allowing the web server to function:
# Web root directories
sudo chmod 755 /var/www/html

# Preview regular files and directories before changing them
find /var/www/html -type f -print
find /var/www/html -type d -print

# Static files (HTML, CSS, JS, images)
sudo find /var/www/html -type f -exec chmod 644 {} +

# Directories
sudo find /var/www/html -type d -exec chmod 755 {} +

# Writable directories (uploads, cache)
sudo chmod 775 /var/www/html/uploads
sudo chmod 775 /var/www/html/cache
Some distributions use different web roots (for example, /srv/http), so adjust the path to match your virtual host location.
Never use 777 on web-accessible directories. You allow anyone to modify files, creating a serious security risk.
SSH Keys and Configuration
SSH is strict about key permissions and will refuse to use private keys that are too permissive. If you also need connection syntax or client options, the SSH command in Linux guide covers that side of the workflow.
# SSH directory
chmod 700 ~/.ssh

# Private keys (must be 600)
chmod 600 ~/.ssh/id_rsa
chmod 600 ~/.ssh/id_ed25519

# Public keys
chmod 644 ~/.ssh/id_rsa.pub

# Authorized keys file
chmod 600 ~/.ssh/authorized_keys

# SSH config file
chmod 600 ~/.ssh/config
If your SSH keys have wrong permissions, you’ll get Permissions are too open errors and SSH will refuse to use them.
Shared Project Directories
When multiple users work on the same project, use group permissions with the setgid bit:
# Set up shared project directory
sudo chmod 2775 /shared/project

# This ensures:
# - Owner and group can read, write, execute
# - Others can read and execute
# - New files inherit the group (setgid bit)
# - Team members can collaborate effectively
Script Deployment
When deploying scripts to production, security matters:
# Production scripts (executable by owner only)
sudo chmod 700 /usr/local/bin/backup-script.sh

# Scripts that need group execution (multiple admins)
sudo chmod 750 /usr/local/bin/deploy-app.sh

# System-wide utilities (all users can execute)
sudo chmod 755 /usr/local/bin/check-status.sh
User Home Directory Security
Protect user home directories from snooping:
If you are changing permissions for another user’s home directory, run these commands with sudo.
# Home directory (owner can do everything, others can't access)
chmod 700 /home/username

# Personal files
chmod 600 ~/personal-notes.txt
chmod 600 ~/financial-data.csv

# Scripts you want to run
chmod 700 ~/bin/my-script.sh
Common chmod Mistakes to Avoid
Permission mistakes often come from using a broad mode to make an error disappear quickly. The safer habit is to identify which user class needs which permission, then change only that bit.
The chmod 777 Trap
The most dangerous chmod mistake is using 777 to fix permission problems:
Recursive permission changes on web roots can expose every file to modification. Double-check the path and stop if you are not 100% sure.
# Unsafe example - do not run this
sudo chmod -R 777 /var/www/html
This makes every file world-writable, meaning any user (or compromised process) can modify, delete, or inject malicious code. Use 755 for directories and 644 for files instead. Only use 777 with the sticky bit (1777) for specific shared temp directories like /tmp:
# Correct pattern for shared scratch space
sudo chmod 1777 /srv/shared/tmp
Recursive Permission Changes on System Directories
Never run recursive chmod on system directories:
Recursive changes on
/or/etccan break your system. Always validate the exact path before using-R.
# Unsafe examples - can break the entire system
sudo chmod -R 755 /
sudo chmod -R 644 /etc
This breaks system binaries, config files, and can make your system unbootable. Always target specific directories and double-check your path before using -R.
Confusing Ownership with Permissions
chmod changes permissions, but it doesn’t change ownership. If you get “permission denied” even after chmod, check ownership:
# Check who owns the file
ls -l report.txt

# If owned by wrong user, use chown (requires sudo)
sudo chown username:groupname report.txt

# Then set permissions
chmod 644 report.txt
Remember: chmod = permissions (read, write, execute), chown = ownership (who owns it).
Ignoring Execute Permission on Directories
Execute permission on directories means something different than on files. Without it, you can’t enter the directory or access files inside, even if they’re readable:
# Unsafe for directories because execute permission is missing
chmod 644 /path/to/directory  # Can't cd into it

# Directories need execute permission for traversal
chmod 755 /path/to/directory  # Now you can access it
Symbolic Links and Permissions
chmod on a symbolic link changes the target file’s permissions, not the link itself. Symbolic links always show 777 permissions, but this is ignored:
# This changes the target file, not the link
chmod 644 symlink  # Modifies the file symlink points to
To avoid changing the wrong file, always verify where a symlink points with ls -l before running chmod.
Forgetting About Special Permissions
Special bits need deliberate handling. On regular files, a three-digit numeric mode such as 755 clears special bits. On directories, GNU chmod preserves setgid unless you clear it explicitly, so use four-digit modes or symbolic changes when the special bit matters:
# Set setgid explicitly on a shared directory
chmod 2775 directory

# Clear setgid explicitly when group inheritance is no longer wanted
chmod g-s directory

# Clear all special bits with an explicit leading zero
chmod 00755 directory
Troubleshoot chmod Permission Issues
Permission problems are easier to fix when you separate mode bits, ownership, and extra access-control layers before changing anything.
Permission Denied Errors
When you see Permission denied, follow this troubleshooting sequence:
Example error:
cat: /path/to/file: Permission denied
- Check current permissions and ownership:
ls -l /path/to/fileExample output:
---------- 1 youruser yourgroup 1024 Oct 29 10:30 /path/to/file
- Verify you’re the owner or in the right group:
idExample output from id:
uid=1000(youruser) gid=1000(yourgroup) groups=1000(yourgroup),27(sudo)
- Fix permissions or ownership as needed:
# If a regular file needs owner read/write access
chmod u+rw /path/to/file

# If ownership is wrong (requires sudo)
sudo chown youruser:yourgroup /path/to/file
Verify the updated permissions:
ls -l /path/to/file-rw------- 1 youruser yourgroup 1024 Oct 29 10:30 /path/to/file
Script Won’t Execute
If your script shows Permission denied when you try to run it:
Example error:
bash: ./script.sh: Permission denied
chmod u+x script.sh
ls -l script.sh
After adding owner execute permission, ls -l shows an x in the owner triplet:
-rwxr--r-- 1 user user 532 Oct 29 10:30 script.sh
Can’t Access Directory Contents
If you can list a directory but can’t access files inside, the directory lacks execute permission:
Example error:
ls: cannot open directory '/path/to/directory': Permission denied
chmod 755 /path/to/directory
ls -ld /path/to/directory
After fixing permissions, ls -ld shows execute permission on the directory:
drwxr-xr-x 2 user user 4096 Oct 29 10:30 /path/to/directory
When to Use sudo for chmod Changes
If you are not the owner, chmod requires elevated privileges. Use sudo only when the file should remain owned by root or another account; if ownership is wrong, fix ownership instead of forcing permissions wider.
Example error:
chmod: changing permissions of '/etc/config-file': Operation not permitted
# If you need to change permissions on files you don't own
sudo chmod 644 /etc/config-file

# Check whether ownership is the real problem instead
sudo chown youruser:yourgroup /path/to/file
chmod 644 /path/to/file  # Now you can chmod without sudo
Verify the change:
ls -l /etc/config-file-rw-r--r-- 1 root root 2048 Oct 29 10:30 /etc/config-file
SELinux Considerations
On systems with SELinux (RHEL, Fedora, Rocky Linux), file permissions are only part of access control. If chmod doesn’t fix your problem, check SELinux contexts:
If ausearch or setenforce are missing, install your distribution’s SELinux auditing and management tools before continuing.
Only use permissive mode to confirm SELinux is the blocker. Re-enable enforcing mode immediately after testing and fix the policy instead of leaving SELinux disabled.
# Check SELinux context
ls -Z /path/to/file

# Check if SELinux is blocking access
sudo ausearch -m avc -ts recent

# Temporarily disable SELinux for testing (not recommended for production)
sudo setenforce 0
# Return to enforcing mode immediately after testing
sudo setenforce 1
If SELinux is blocking access, you need to adjust security policies in addition to file permissions. Always return SELinux to enforcing mode after tests and update the policy rather than leaving the system in a permissive state.
Extended ACLs and chmod
Modern Linux distributions support POSIX Access Control Lists (ACLs) for fine-grained permissions. If a file still behaves unexpectedly after chmod, check whether an ACL overrides the standard mode bits:
If getfacl or setfacl are missing, install your distribution’s ACL utilities before continuing.
# View ACL entries
getfacl /path/to/file

# Grant a user read/write access without changing group ownership
setfacl -m u:alice:rw /path/to/file

# Remove ACL entries when they are no longer needed
setfacl -b /path/to/file
Example output from getfacl:
# file: /path/to/file
# owner: alice
# group: developers
user::rw-
user:alice:rw-
group::r--
mask::rw-
other::r--
ACL entries work alongside chmod. Always review ACLs before assuming the numeric mode bits tell the whole story.
Conclusion
chmod changes are predictable once you can read the mode string, choose numeric or symbolic syntax, and verify the result before widening access. Keep recursive changes narrow, use capital X for directory trees, and lean on the find -exec command guide when permission fixes need to target only matching files.

Formatting tips for your comment
You can use basic HTML to format your comment. Useful tags currently allowed in published comments:
<code>command</code>command<strong>bold</strong><em>italic</em><a href="https://example.com">link</a><blockquote>quote</blockquote>