Microsoft Fonts are a collection of widely-used TrueType fonts that are essential for ensuring document compatibility, particularly with Microsoft Office files. Fonts like Arial, Times New Roman, and Verdana are often required to correctly display and print documents created on Windows systems. Having these fonts installed on Ubuntu ensures that documents, presentations, and web pages appear as intended without any formatting issues. The package ttf-mscorefonts-installer provides these fonts in a simple, easy-to-install format for Ubuntu users.
On Ubuntu 24.04, 22.04, or 20.04, you can install Microsoft Fonts via the Ubuntu default repository by installing the ttf-mscorefonts-installer package. This package downloads and installs key Microsoft TrueType fonts, ensuring that your system is equipped to handle documents and websites that rely on these fonts. The installation process is straightforward and integrates well with Ubuntu’s package management system, making it easy to keep these fonts updated. This guide will walk you through the steps to install Microsoft Fonts on your Ubuntu system.
Update Ubuntu Before Microsoft Fonts Installation
Before installing the Microsoft Fonts package, update your system fully by running the following command in the terminal:
sudo apt update && sudo apt upgradeInstall Microsoft Fonts via APT Command
The “ttf-mscorefonts-installer” package, which includes a collection of popular Microsoft Fonts, is readily available in Ubuntu’s default repository. Use the following command to begin the installation:
sudo apt install ttf-mscorefonts-installerYou will encounter a few prompts when installing the “ttf-mscorefonts-installer” package. The first prompt lets you read and accept Microsoft Fonts’ End User License Agreement (EULA). Review and understand this agreement before proceeding with the installation, ensuring you agree with its terms.
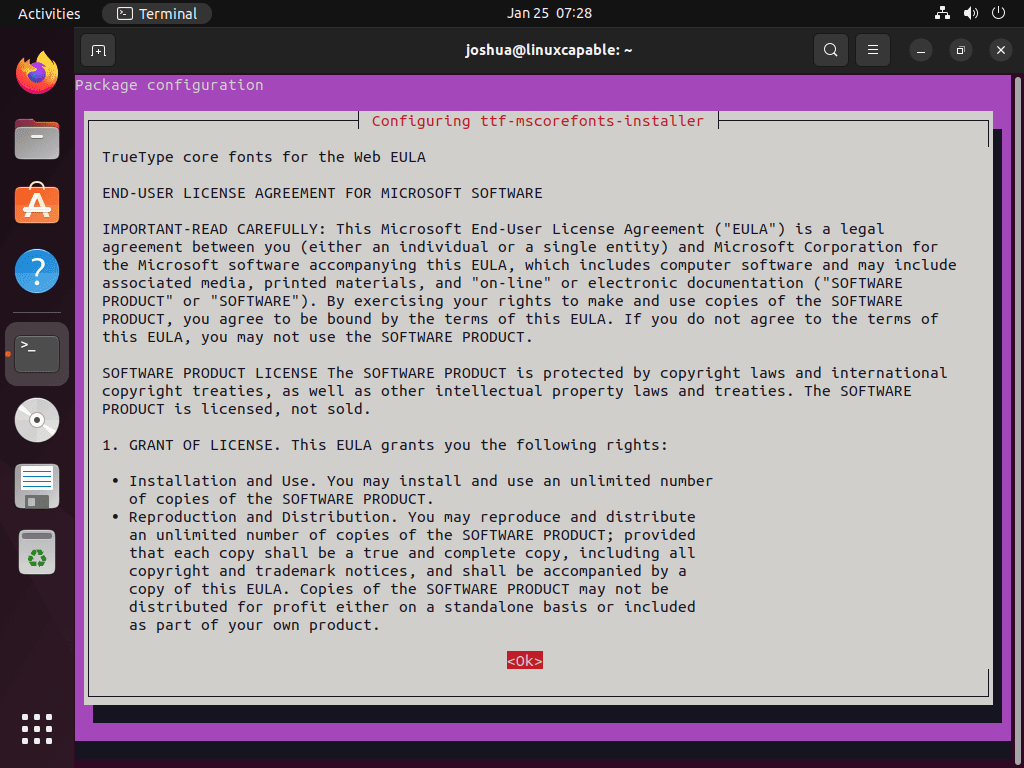
Press the <TAB> key, select <Ok>, and press the <ENTER KEY> to proceed.
After reading the EULA agreement, a prompt will ask you to accept the license terms by clicking a Yes or No button. You must accept the EULA agreement to install the Microsoft Fonts package and use the fonts. If you do not accept, the installation will not continue.
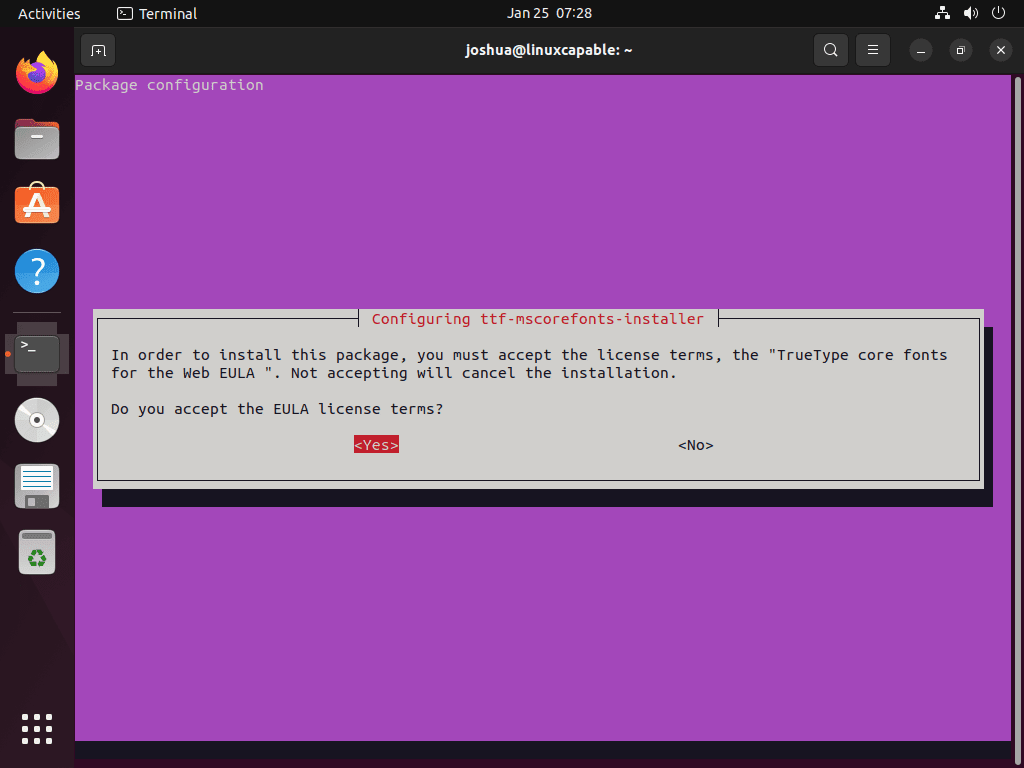
Press the <TAB> key, select <Ok>, and press the <ENTER KEY> to proceed.
After completing the installation, the following output will appear in your terminal.
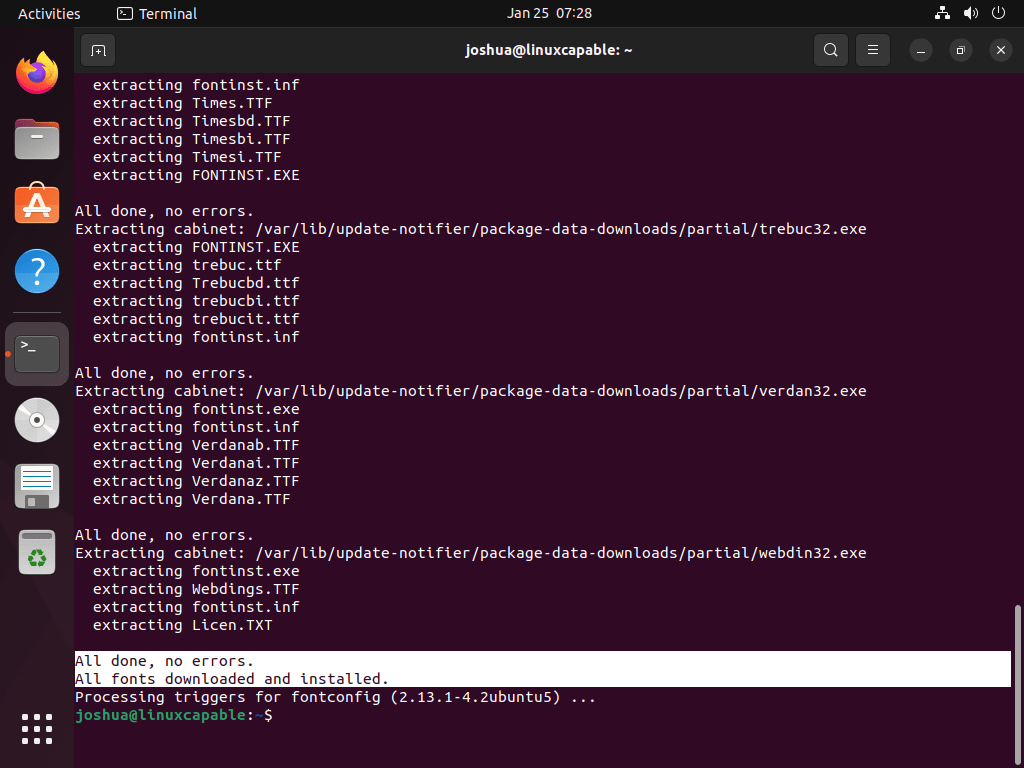
This message verifies the fonts’ readiness in any program supporting TrueType fonts.
Verify Microsoft Fonts Installation
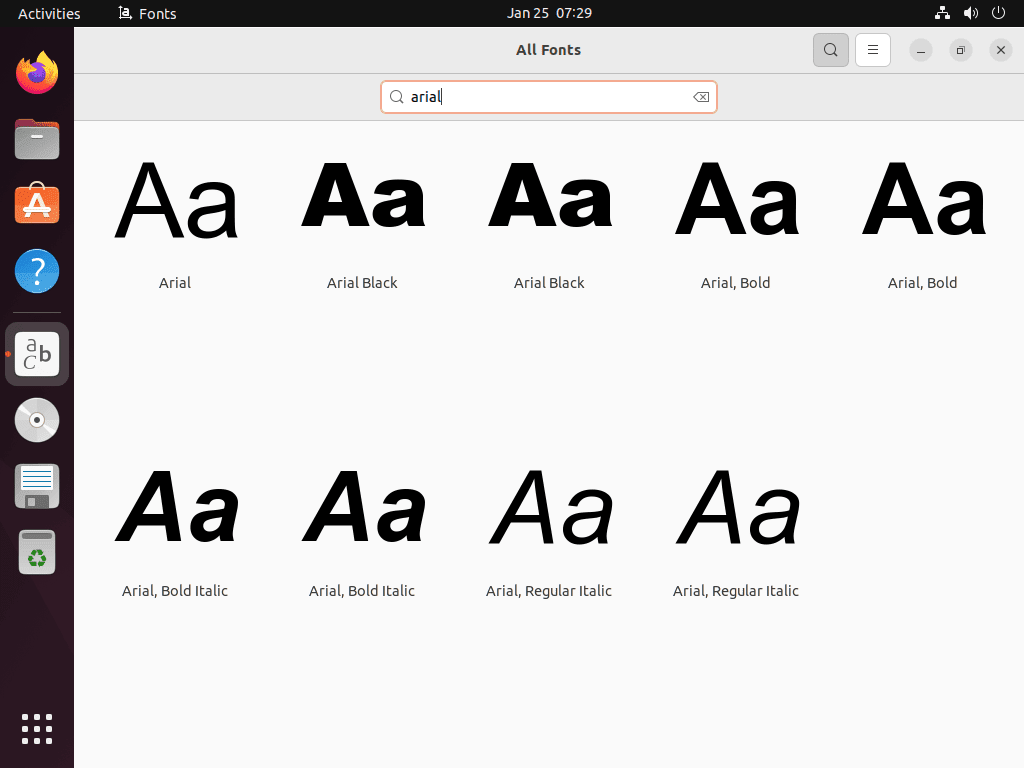
You may also wish to confirm this by examining the installed fonts via the Fonts application GUI, which is accessible through the outlined path.
Activities > Show Applications > Fonts.
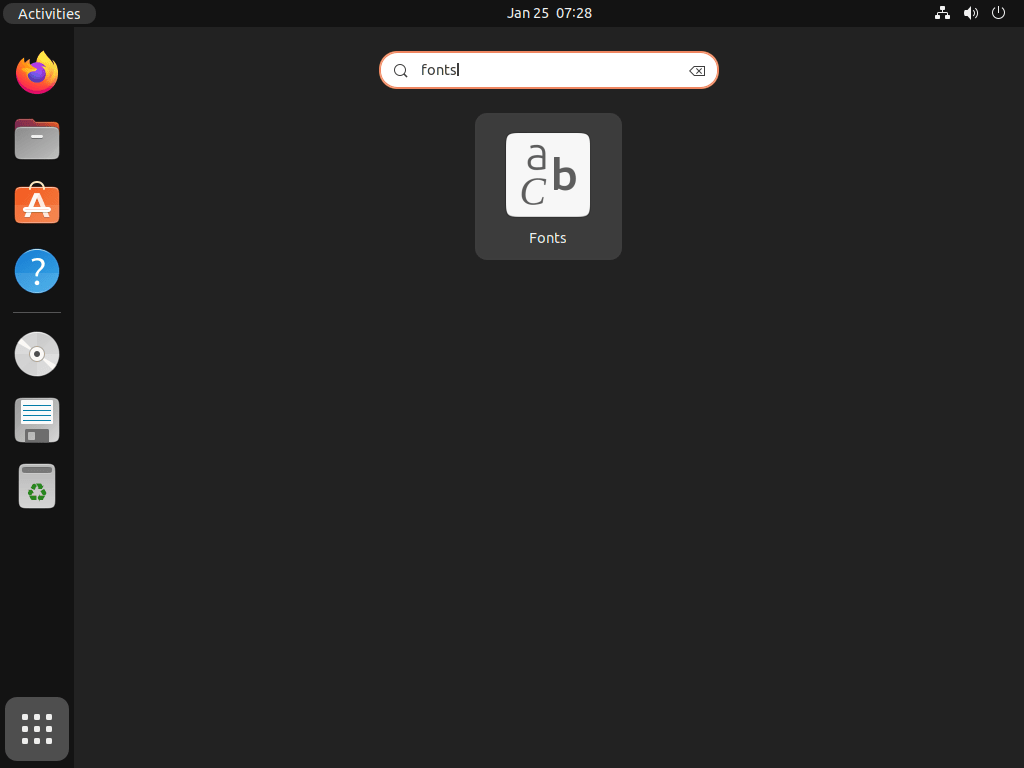
Opening the Fonts application GUI lets you see all system-installed fonts, including newly added Microsoft fonts like Arial and New Times Roman. This provides a visual representation of available fonts.
Additional Learning: Remove Microsoft Fonts From Ubuntu
If you no longer wish to have the Microsoft fonts on your system and want to remove them, you can use the following command in the terminal.
sudo apt autoremove ttf-mscorefonts-installer --purgeThis command will remove the package “ttf-mscorefonts-installer” and all the Microsoft fonts installed.
Conclusion
By installing the ttf-mscorefonts-installer package from the Ubuntu default repository, you ensure that your Ubuntu system is fully compatible with documents and websites that rely on Microsoft’s TrueType fonts. This simple installation process provides access to essential fonts like Arial, Times New Roman, and Verdana, improving the readability and formatting of various content types. Regular updates through Ubuntu’s package management system will keep these fonts current, allowing for seamless document viewing and editing on Ubuntu.


Hi 4D,
Thanks for sharing the issue! The error you’re encountering happens because the
ttf-mscorefonts-installerpackage downloads fonts from SourceForge, and if the server connection fails, the installation can’t complete. No worries—you can manually download and install the fonts on Ubuntu by following these steps:The fonts provided by Microsoft are packaged in `.exe` files on SourceForge. These `.exe` files are self-extracting archives that contain the font files. Visit the SourceForge Corefonts page to download the font you need: SourceForge Corefonts For example, download
andale32.exefor Andale Mono orarial32.exefor Arial.Linux cannot run `.exe` files directly, but you can extract the font files using a tool like
cabextract. First, install it on your system:Navigate to the directory where you downloaded the `.exe` file and run the following command to extract the contents:
This will extract the font files (e.g.,
.ttf) into the current directory.After extracting the fonts, move the
.ttffiles to the system fonts directory:Once the fonts are in the correct directory, update the font cache to make them available system-wide:
This method bypasses the automated installer and lets you install the fonts manually. It’s a bit more hands-on, but it works even if the SourceForge server is unresponsive.
Let me know if this solves your issue or if you need more help!
Gives error on Ubuntu 24.04:
ttf-mscorefonts-installer: processing…
ttf-mscorefonts-installer: downloading http://downloads.sourceforge.net/corefont
s/andale32.exe
Ign:1 http://downloads.sourceforge.net/corefonts/andale32.exe
Ign:1 http://downloads.sourceforge.net/corefonts/andale32.exe
Ign:1 http://downloads.sourceforge.net/corefonts/andale32.exe
Err:1 http://downloads.sourceforge.net/corefonts/andale32.exe
Could not connect to cyfuture.dl.sourceforge.net:80 (49.50.119.27), connection
timed out
E: Failed to fetch http://cyfuture.dl.sourceforge.net/project/corefonts/the%20fo
nts/final/andale32.exe?viasf=1 Could not connect to cyfuture.dl.sourceforge.net
:80 (49.50.119.27), connection timed out
E: Download Failed
Processing triggers for fontconfig (2.15.0-1.1ubuntu2) …