PuTTY is a trusted SSH client that makes managing remote servers simple and secure. Lightweight and versatile, it is ideal for tasks such as connecting to servers, transferring files, and generating SSH keys. While primarily used for secure shell (SSH) connections, PuTTY also supports Telnet, rlogin, and raw TCP, making it a valuable tool for a variety of networking tasks.
This guide walks you through the steps to install PuTTY on Ubuntu. Whether you’re using Ubuntu 24.04, 22.04, or 20.04, this guide provides clear instructions to help you get started. With PuTTY installed, you’ll have the tools you need to efficiently manage remote systems from your local machine.
Update Ubuntu Before PuTTY Installation
Keeping your Ubuntu system up to date is an essential step before installing new software like PuTTY. Updating ensures your system is secure, has the latest features, and avoids compatibility issues during installation. Follow these detailed steps to update your Ubuntu system effectively.
Step 1: Open the Terminal
To begin, open a terminal window. You can do this by pressing Ctrl + Alt + T on your keyboard or searching for Terminal in the system menu.
Step 2: Run the Update Command
Enter the following command in your terminal:
sudo apt update && sudo apt upgradeThis installs the latest versions of all installed packages. During the process, you may be prompted to confirm updates, so type y and press Enter to continue.
Step 3: Restart Your System (If Necessary)
If updates include significant changes, such as kernel or system-level updates, restarting your machine is recommended. This ensures all updates are applied correctly.
Install PuTTY via APT Command
Installing PuTTY on Ubuntu is straightforward thanks to the APT package manager, which pulls software directly from Ubuntu’s trusted repositories. This ensures that PuTTY is secure, stable, and easy to install. Follow these steps to set up PuTTY on your system:
Step 1: Install PuTTY Using APT
To begin the installation process, open your terminal and enter the following command:
sudo apt install putty putty-toolsThis command installs:
- PuTTY: The core application for establishing SSH connections and managing remote servers.
- PuTTY Tools: A suite of utilities, including PuTTYgen for generating SSH keys and PSCP for transferring files securely.
During installation, APT will automatically handle dependencies. If prompted to confirm, type y and press Enter.
Step 2: Verify the Installation
Once the installation is complete, confirm that PuTTY has been successfully installed by checking its version. Run the following command:
putty --versionIf PuTTY is installed correctly, the terminal will display its version information. This confirms that PuTTY is ready to use.
Launch PuTTY SSH Client Graphical Interface
After installing PuTTY, you can launch it using either the terminal or the graphical interface, depending on your preference. Follow the steps below to access PuTTY on your Ubuntu system.
Method 1: Launch PuTTY from the Terminal
For a quick and direct method, open a terminal and enter the following command:
puttyThis will immediately launch PuTTY’s graphical user interface (GUI), where you can configure and initiate SSH or other network connections.
Method 2: Launch PuTTY from the Applications Menu
Alternatively, you can use the graphical menu to open PuTTY:
- Click the PuTTY icon to open the application.
- Click on Activities in the top-left corner of your screen.
- Select Show Applications to view all installed applications.
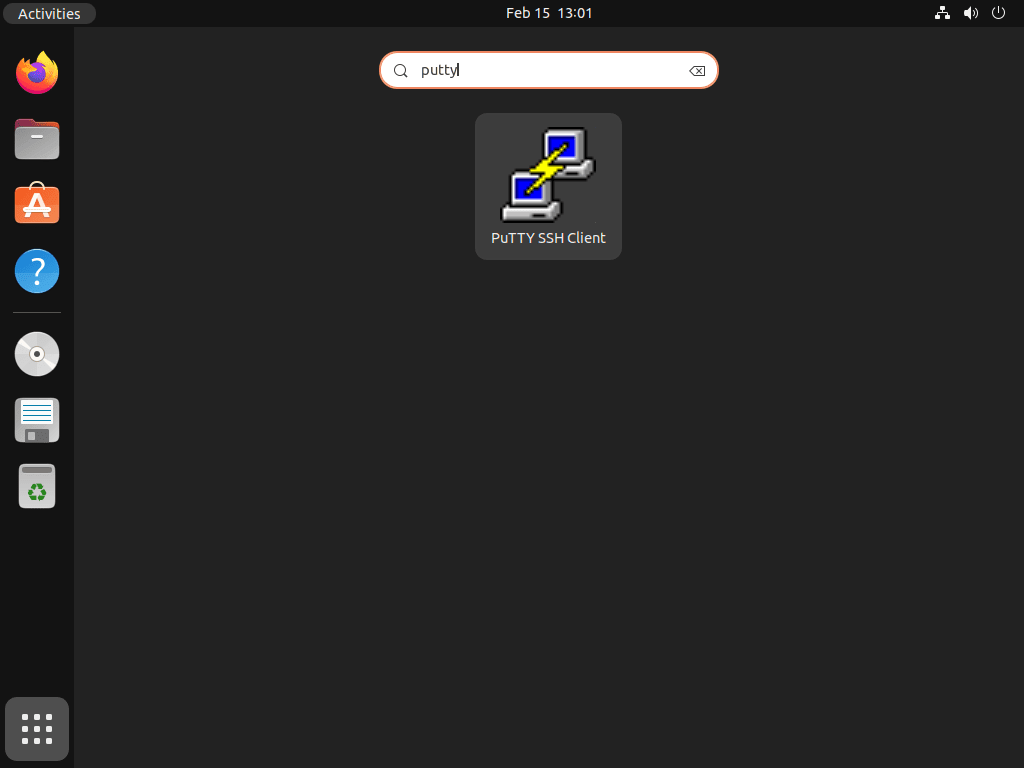
- Use the search bar to type PuTTY and locate the PuTTY icon.

PuTTY Interface Overview
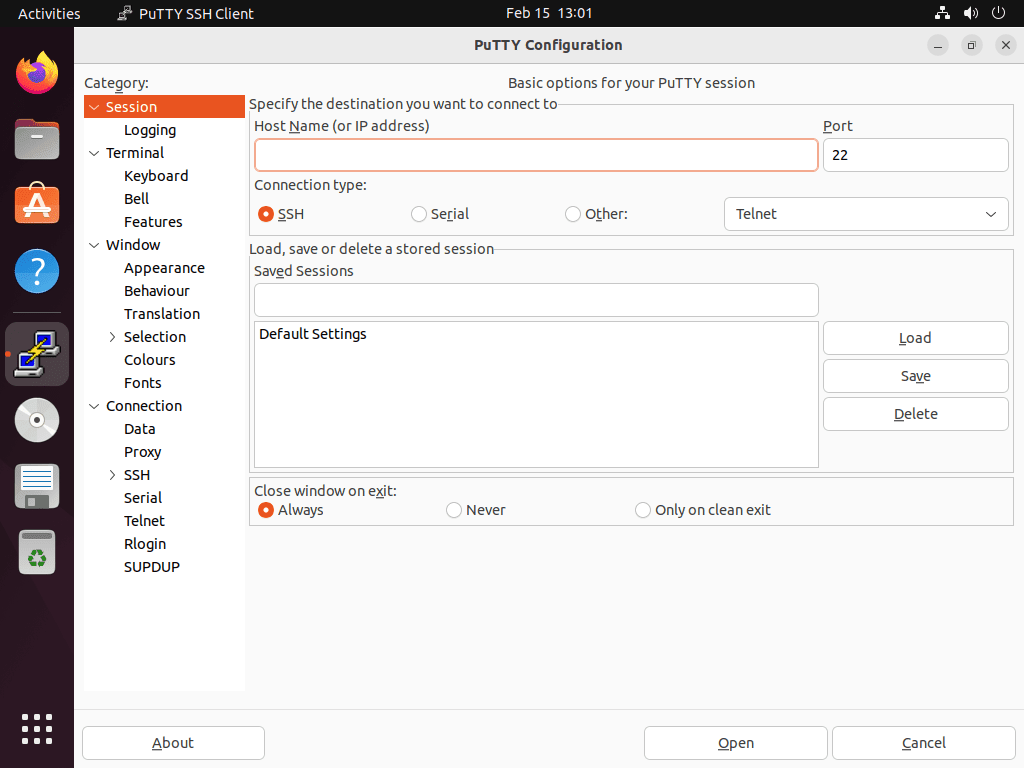
Once launched, PuTTY’s interface provides options to:
- Enter the hostname or IP address of the server you want to connect to.
- Select the connection type (e.g., SSH, Telnet, or Raw TCP).
- Customize session settings such as ports, saved sessions, and appearance.

PuTTY Terminal Commands Examples
PuTTY offers powerful terminal commands to connect securely to remote servers, transfer files, and generate SSH keys. Below are practical examples of how to use PuTTY for common tasks.
Connecting to a Remote Server
To connect to a remote server using SSH, use the following command:
putty [user@]hostname[user@]: Replace this with your username (optional if not required).hostname: The IP address or domain name of the server you want to connect to.
Example:
putty root@192.168.1.100This command initiates an SSH connection to the server at 192.168.1.100 using the username root.
Transferring Files Securely with PuTTY SCP
PuTTY’s SCP (Secure Copy Protocol) tool allows you to transfer files securely between your local system and a remote server.
Command to Transfer a File to a Remote Server:
scp local_file user@host:remote_filelocal_file: Path to the file on your local system.user@host: The remote server’s username and address.remote_path: Destination path on the remote server.
Example:
scp /home/user/file.txt root@192.168.1.100:/root/file.txtThis uploads document.txt from your local system to the /root directory on the remote server.
Command to Retrieve a File from a Remote Server:
scp user@host:remote_file local_pathExample:
scp root@192.168.1.100:/root/document.txt /home/user/This downloads document.txt from the /root directory on the remote server to your local /home/user folder.
Generating SSH Keys with PuTTYgen
PuTTY includes PuTTYgen, a tool for generating secure SSH keys.
Command to Launch PuTTYgen:
puttygen- Choose the key type (e.g., RSA or DSA) and set a key size.
- Click Generate and move your mouse randomly over the blank area to create entropy.
- Save the private and public keys for use with SSH connections.
How to Remove PuTTY SSH Client
If you no longer need PuTTY on your Ubuntu system, you can remove it along with its associated tools using the APT package manager. Follow these steps to uninstall PuTTY safely and clean up your system.
Step 1: Open the Terminal
Press Ctrl + Alt + T or search for Terminal in your applications menu to open a terminal window.
Step 2: Remove PuTTY and Its Tools
Run the following command to uninstall PuTTY and its additional tools:
sudo apt remove putty putty-toolsThis command removes the core PuTTY application and related utilities like PuTTYgen and PSCP.
Step 3: (Optional) Remove Configuration Files
If you also want to delete PuTTY’s configuration files, use the following command:
sudo apt purge putty putty-toolsUsing the
purgeoption will permanently remove PuTTY’s configuration files, including any saved sessions and preferences. This action cannot be undone.
Step 4: Clean Up Unused Dependencies
To remove any unnecessary dependencies left behind, run:
sudo apt autoremoveThis cleans up your system, reclaiming disk space by deleting packages no longer needed.
Frequently Asked Questions (FAQs)
A: Yes, PuTTY can be used to connect to Windows servers that have SSH enabled. Simply enter the server’s IP address or hostname in the PuTTY interface, select SSH as the connection type, and click Open. Ensure the Windows server is configured to allow SSH connections.
A: PuTTY is the main application used for establishing secure remote connections, while PuTTYgen is a utility included with PuTTY for generating SSH keys. These keys provide a secure and password-less way to authenticate with remote servers.
A: Yes, PuTTY allows extensive customization of its appearance. Go to the Settings menu in the PuTTY interface, where you can change font sizes, colors, and window dimensions. Save these settings for future sessions by using the Saved Sessions feature.
A: In the PuTTY interface, enter the hostname, port, and other connection details. Then, under the Saved Sessions field, type a name for the session and click Save. The next time you open PuTTY, select your saved session from the list and click Load to quickly reconnect.
Conclusion: Managing Remote Connections with PuTTY on Ubuntu
This guide covered everything you need to know about using PuTTY on Ubuntu, from installation to removal. By following the steps, you’ve set up a secure, reliable tool for managing remote server connections. Whether you’re connecting to a server, transferring files, or generating SSH keys, PuTTY is a practical choice for these tasks.
If you need to revisit any steps or explore additional features, refer back to this guide as a resource for getting the most out of PuTTY on Ubuntu.
Share Your Experience
Have you used PuTTY on Ubuntu? What tasks do you rely on it for, and how has it helped streamline your remote management processes? Share your thoughts and tips in the comments to help others in the Linux community.


Good morning, I have the following error
(putty:49401): Gtk-CRITICAL **: 09:10:26.330: gtk_box_gadget_distribute: assertion ‘size >= 0’ failed in GtkScrollbar
(putty:49401): Gtk-CRITICAL **: 09:10:26.334: gtk_box_gadget_distribute: assertion ‘size >= 0’ failed in GtkScrollbar
(putty:49401): Gtk-CRITICAL **: 09:10:26.337: gtk_box_gadget_distribute: assertion ‘size >= 0’ failed in GtkScrollbar
It looks like you are encountering a Gtk-CRITICAL error while trying to run PuTTY on Ubuntu. This issue is related to GTK, the graphical user interface library that PuTTY relies on. Below are detailed steps to troubleshoot and resolve the problem:
Step 1: Update Your System
Keeping your system up-to-date ensures that any known bugs or issues are resolved. Open a terminal and run the following commands:
sudo apt updatesudo apt upgrade
Step 2: Reinstall PuTTY and GTK Libraries
Reinstalling PuTTY and its dependencies can often resolve issues caused by corrupted installations. Run these commands:
sudo apt remove puttysudo apt install --reinstall libgtk-3-0 libgdk-pixbuf2.0-0
sudo apt install putty
Step 3: Check for Missing Dependencies
Ensure that all required GTK dependencies are installed. Use the following command:
sudo apt install -fStep 4: Run PuTTY with Debugging
To identify additional error messages, try running PuTTY from the terminal. This may provide clues about what’s causing the issue. Use the command:
puttyStep 5: Try Running PuTTY as Root
If permission-related issues are suspected, running PuTTY as a root user may help. Use the command:
sudo puttyPutty only connect to a serial port if running as root. Why?
Thank you for your comment, Bruno, and apologies for the delayed reply.
In Linux, access to serial ports (e.g., /dev/ttyS0, /dev/ttyUSB0) is restricted to the root user by default for security reasons. To allow non-root users access to these ports, you need to adjust permissions and group memberships. Below are the steps to resolve this issue:
Step 1: Add the User to the Dialout Group
The dialout group has the necessary permissions for serial ports. Add the user to this group using the following command:
sudo usermod -a -G dialout $USERReplace
$USERwith the actual username if you’re not logged in as that user.Step 2: Log Out and Log Back In
After adding the user to the dialout group, log out and log back in for the changes to take effect.
Step 3: Verify Group Membership
Check whether the user is now part of the dialout group by running:
groupsThe output should include dialout.
Step 4: Check and Set Serial Port Permissions
Verify the permissions of the serial port device file you want to use (e.g., /dev/ttyUSB0) with:
ls -l /dev/ttyUSB0The output should look similar to this:
crw-rw---- 1 root dialout 188, 0 Jun 21 09:10 /dev/ttyUSB0If the permissions are incorrect, set them with:
sudo chmod 666 /dev/ttyUSB0Thanks for answering
I am already in the dialout group. Other apps, like minicom, works as expected. Any other hint for me?