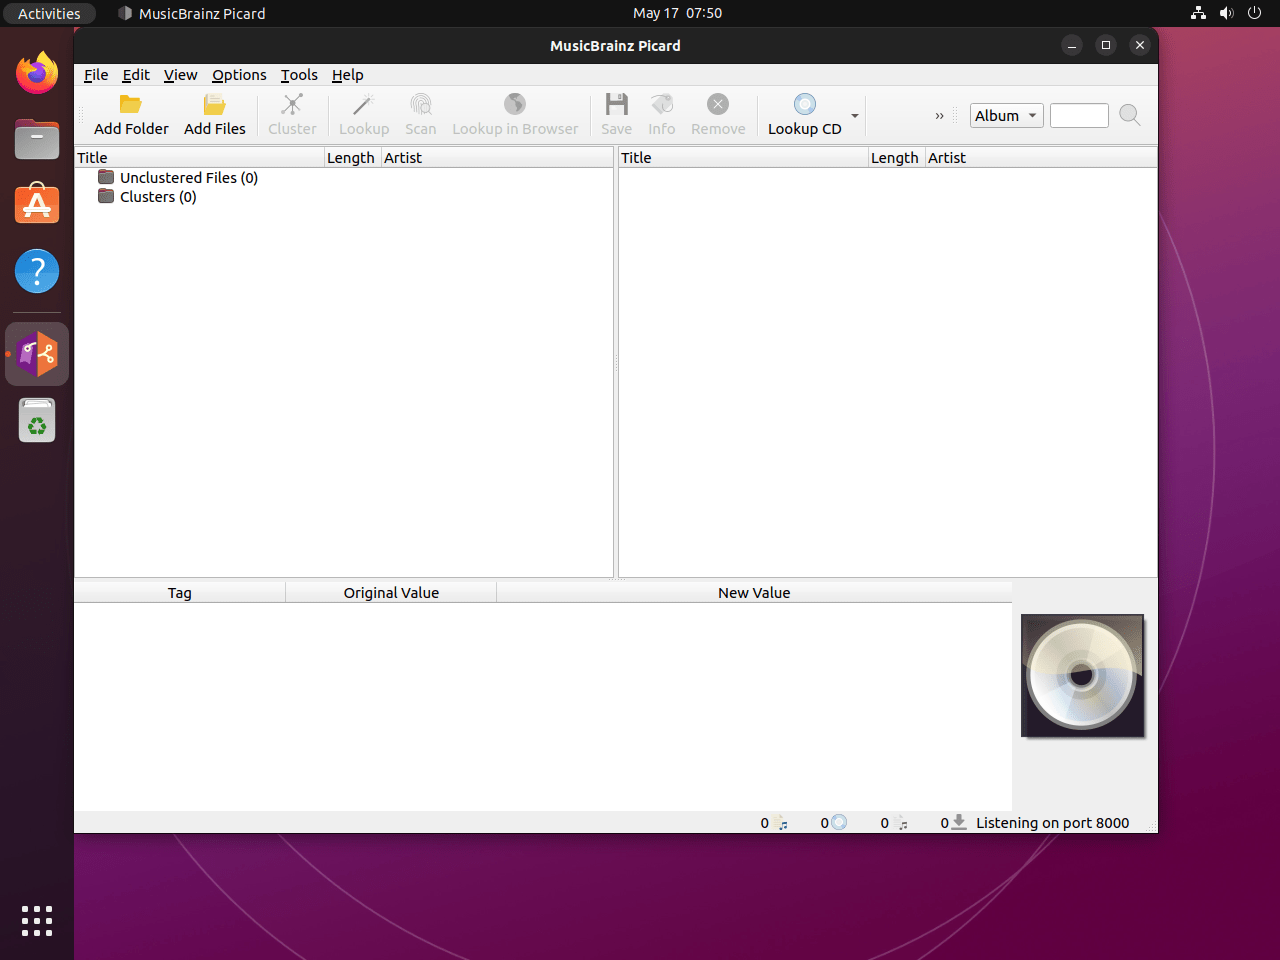
MusicBrainz Picard helps you organize and clean up your music library by automatically identifying and tagging audio files using the extensive MusicBrainz database. Whether you need to fix missing metadata, find correct album art, or rename files based on track information, Picard handles it all through acoustic fingerprinting technology that identifies songs even without existing tags. By the end of this guide, you will have a fully functional MusicBrainz Picard installation ready to process your music collection.
Choose Your MusicBrainz Picard Installation Method
Ubuntu offers multiple installation options for MusicBrainz Picard. The table below compares each method to help you select the best approach for your needs.
| Method | Channel | Version | Updates | Best For |
|---|---|---|---|---|
| MusicBrainz PPA | Launchpad PPA | Latest stable (2.13.x) | Automatic via APT | Most users who want the newest features with APT integration |
| Ubuntu Default Repos | Ubuntu Packages | Distribution stable | Automatic via APT | Users who prefer distro-tested packages without external PPAs |
| Flatpak | Flathub | Latest stable (2.13.x) | Manual via flatpak update | Users who prefer sandboxed applications |
For most users, the PPA method is recommended because it provides the latest Picard release while integrating with your system’s package manager. In contrast, Ubuntu’s default repositories include an older version that may lack recent features and bug fixes.
This guide supports Ubuntu 22.04 LTS and 24.04 LTS installations. The MusicBrainz PPA provides packages for both supported LTS releases, while Flatpak remains compatible across all Ubuntu versions. Commands shown work identically on both supported LTS releases.
Method 1: Install MusicBrainz Picard via PPA
Update Ubuntu System Packages
First, update your system to ensure all existing packages are current. This step reduces the risk of dependency conflicts during the installation process.
sudo apt update && sudo apt upgradeInstall Prerequisites for PPA Management
Next, install the software-properties-common package, which provides the add-apt-repository command needed to add the MusicBrainz PPA:
sudo apt install software-properties-common -yAdd the MusicBrainz Developers PPA
The MusicBrainz Developers PPA provides the latest version of Picard, which is typically newer than Ubuntu’s default repositories. As a result, you can choose between the stable PPA (recommended) or the daily build PPA for bleeding-edge features.
To add the stable build PPA, run the following command:
sudo add-apt-repository ppa:musicbrainz-developers/stable -yAlternatively, if you want the daily build with the newest features (may contain bugs), use this command instead:
sudo add-apt-repository ppa:musicbrainz-developers/daily -yYou can only have one PPA version active at a time. If you want to switch from stable to daily (or vice versa), first remove MusicBrainz Picard and the current PPA, then add the desired PPA and reinstall.
Install MusicBrainz Picard via APT
With the PPA added, install MusicBrainz Picard using APT. The -y flag automatically confirms the installation prompt:
sudo apt install picard -yVerify the PPA Installation
Once the installation completes, verify that MusicBrainz Picard is installed correctly by checking its version:
picard --versionExpected output:
MusicBrainz Picard 2.13.3
This version number confirms that Picard is installed from the PPA and ready to use.
Method 2: Install MusicBrainz Picard via Flatpak
Flatpak provides an alternative installation method that runs applications in an isolated sandbox environment. As a result, this approach ensures you always have the latest version regardless of your Ubuntu release, and keeps the application separate from your system packages.
Flatpak is not pre-installed on Ubuntu. If you have not set it up yet, install it with
sudo apt install flatpakand restart your session before continuing. For detailed setup including the Flathub repository, follow our Flatpak installation guide for Ubuntu.
Enable the Flathub Repository
First, ensure the Flathub repository is enabled on your system. Flathub serves as the primary source for Flatpak applications and hosts the official MusicBrainz Picard package:
sudo flatpak remote-add --if-not-exists flathub https://flathub.org/repo/flathub.flatpakrepoIn addition, the --if-not-exists flag prevents errors if Flathub is already configured on your system.
Install MusicBrainz Picard via Flatpak
With Flathub enabled, install MusicBrainz Picard using the following command:
sudo flatpak install flathub org.musicbrainz.Picard -yVerify the Flatpak Installation
After the installation completes, confirm it succeeded by checking the installed Flatpak applications:
flatpak list | grep -i picardExpected output:
MusicBrainz Picard org.musicbrainz.Picard 2.13.3 stable system
This output confirms that MusicBrainz Picard is installed as a system-wide Flatpak application and ready to use.
Launch MusicBrainz Picard
After installation, you can launch MusicBrainz Picard using either the terminal or your desktop’s application menu.
Launch from Terminal
For APT installations, simply launch Picard with this command:
picardHowever, for Flatpak installations, use the Flatpak run command instead:
flatpak run org.musicbrainz.PicardLaunch from Applications Menu
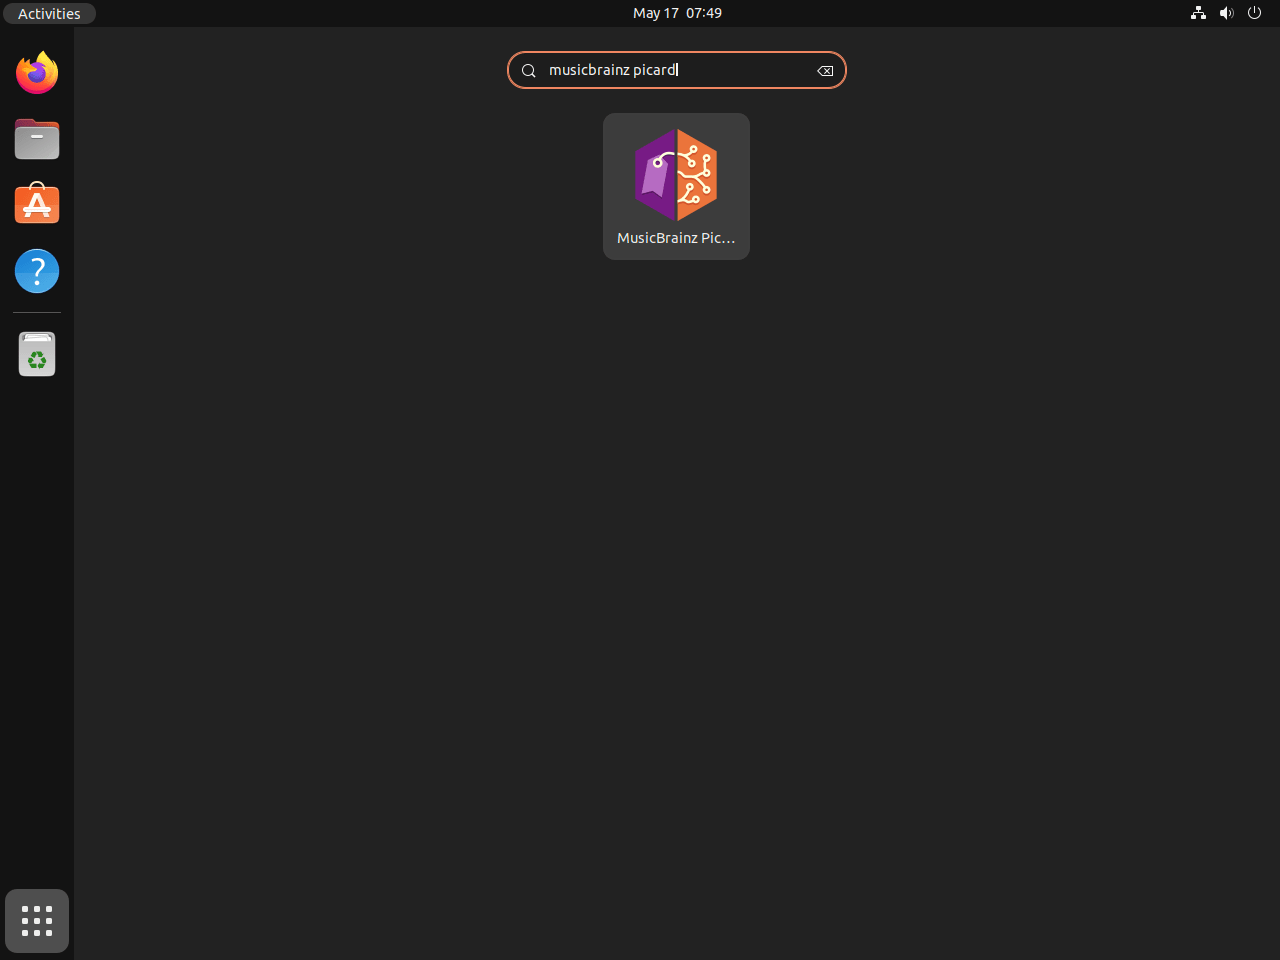
Alternatively, if you prefer a graphical approach, follow these steps:
- Click on Activities at the top left of your screen.
- Click on Show Applications at the bottom left of your screen.
- Search for MusicBrainz Picard and click the icon to launch.


Manage MusicBrainz Picard
Update MusicBrainz Picard
If you installed MusicBrainz Picard via the PPA, updates arrive automatically with your system packages. To manually check for updates, run:
sudo apt update && sudo apt upgradeAlternatively, for Flatpak installations, update all your Flatpak applications with:
flatpak updateRemove MusicBrainz Picard
If you no longer need MusicBrainz Picard on your system, follow the removal steps below based on your installation method.
Remove APT Installation
First, remove the Picard package and its dependencies:
sudo apt remove picard -y
sudo apt autoremove -y
Subsequently, the autoremove command cleans up any orphaned dependencies that were installed with Picard but are no longer needed.
Additionally, if you no longer need the MusicBrainz PPA, remove it as well:
sudo add-apt-repository --remove ppa:musicbrainz-developers/stable -ySimilarly, for the daily build PPA, use:
sudo add-apt-repository --remove ppa:musicbrainz-developers/daily -yRemove Flatpak Installation
To uninstall the Flatpak version of MusicBrainz Picard, run:
sudo flatpak uninstall org.musicbrainz.Picard -yFurthermore, you can optionally remove unused Flatpak runtimes to free up disk space:
flatpak uninstall --unusedFlatpak stores application data in
~/.var/app/org.musicbrainz.Picard/. If you want to completely remove all Picard settings and cache, delete this directory after uninstalling.
Troubleshooting MusicBrainz Picard
PPA Package Not Found
If you receive a “package not found” error after adding the PPA, the package cache may not have refreshed properly. To resolve this, run the following commands:
sudo apt update
apt-cache policy picard
You should see expected output showing the PPA version:
picard:
  Installed: (none)
  Candidate: 2.13.3-0~ppa26~ubuntu24.04.1
  Version table:
     2.13.3-0~ppa26~ubuntu24.04.1 500
        500 https://ppa.launchpadcontent.net/musicbrainz-developers/stable/ubuntu noble/main amd64 Packages
However, if the PPA version does not appear, verify the PPA was added correctly by checking your sources:
grep -r "musicbrainz" /etc/apt/sources.list.d/Picard Fails to Launch in SSH or Headless Sessions
MusicBrainz Picard is a graphical application and therefore requires a display server. If you see an error like cannot open display when launching via SSH, you need to enable X11 forwarding:
ssh -X user@hostnameAfter connecting with X11 forwarding, try launching Picard again. However, note that performance may be slower over a network connection.
Closing Thoughts
You now have MusicBrainz Picard installed on Ubuntu and ready to organize your music library. The application’s acoustic fingerprinting technology can identify tracks even without existing metadata, while the MusicBrainz database provides accurate album art and track information. For advanced customization, explore the official Picard documentation to learn about scripting, plugins, and file naming conventions.


Formatting tips for your comment
You can use basic HTML to format your comment. Useful tags currently allowed:
<code>command</code>command<strong>bold</strong><em>italic</em><a href="URL">link</a><blockquote>quote</blockquote>