Visual Studio Code (VSCode) is a powerful and versatile code editor developed by Microsoft. It is widely used by developers for its extensive features, including debugging support, embedded Git control, syntax highlighting, intelligent code completion, and customizable themes. VSCode supports a wide range of programming languages and offers a rich ecosystem of extensions to enhance its functionality.
To install VSCode on Linux Mint 22, 21, or 20 using the command-line, you have two primary methods: using the Microsoft official APT repository, which provides access to the latest stable or insiders (pre-release) builds, or using Flatpak with Flathub for a flexible and up-to-date installation. This guide will walk you through both installation methods.
Method 1: Install Visual Studio Code via Microsoft APT Repository
Update Linux Mint Before VSCode Installation
Update your system before beginning installation to ensure all existing packages are current and prevent conflicts:
sudo apt update && sudo apt upgradeInstall Initial Packages For VSCode
To ensure a smooth installation process, it is necessary to have the following packages installed:
sudo apt install dirmngr ca-certificates software-properties-common apt-transport-https -yImport VSCode APT Repository
To proceed with the installation, you must import the Visual Studio Code repository. However, before doing so, you must import the Microsoft GPG key to verify the authenticity of the installation package.
curl -fSsL https://packages.microsoft.com/keys/microsoft.asc | sudo gpg --dearmor | sudo tee /usr/share/keyrings/vscode.gpg > /dev/nullTo import the Microsoft Visual Source Repository, use the following command in your terminal.
echo deb [arch=amd64 signed-by=/usr/share/keyrings/vscode.gpg] https://packages.microsoft.com/repos/vscode stable main | sudo tee /etc/apt/sources.list.d/vscode.listInstall Visual Studio Code via APT Command
After adding the source repository, refresh your apt package manager sources list to proceed with the Visual Studio installation.
Use the command below in your terminal to update the sources list with the new repository:
sudo apt updateNext, install the desired version of VSCode. Most users choose the stable version. If you want to test the latest features, install the insider’s build (beta version).
Option 1: Install VSCode stable (Recommended)
Use the following command to install Visual Studio Code stable:
sudo apt install codeOption 2: Install VSCode insiders (pre-release)
Alternatively, you can install the Visual Studio Code insiders build with the following command.
sudo apt install code-insidersMethod 2: Install Visual Studio Code via Flatpak and Flathub
Flatpak provides an alternative method for installing Visual Studio Code (VSCode) on your Linux Mint system. By default, Flatpak should be available on your Linux Mint desktop.
Activate Flatpak for VSCode Installation on Linux Mint
To activate Flatpak, launch the terminal and input the following command:
sudo flatpak remote-add --if-not-exists flathub https://flathub.org/repo/flathub.flatpakrepoNote: For those looking to install the latest version of Flatpak package manager from the Flatpak team, consider checking our article on “how to upgrade Flatpak on Linux Mint”.
Install Visual Studio Code via Flatpak Command
With Flatpak now activated, you can install Visual Studio Code on Linux Mint 21 or 20. Execute the following command in your terminal to install the software:
flatpak install flathub com.visualstudio.codeLaunch Visual Studio Code
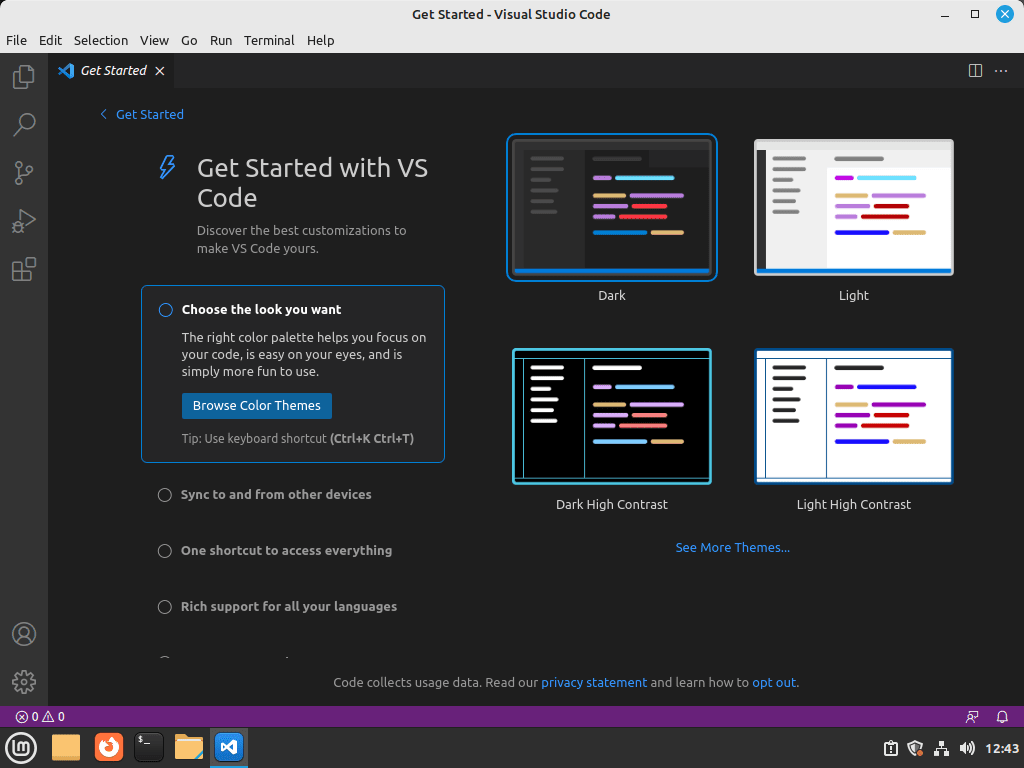
With the installation now complete, you can open the software. One way to quickly launch it is by using the command line terminal and entering the following command.
CLI Methods to Launch VSCode
codeUsers of the insider build can use the following command instead.
code-insidersLastly, Flatpak installations need to run the following command:
flatpak run com.visualstudio.codeGUI Method to Launch VSCode
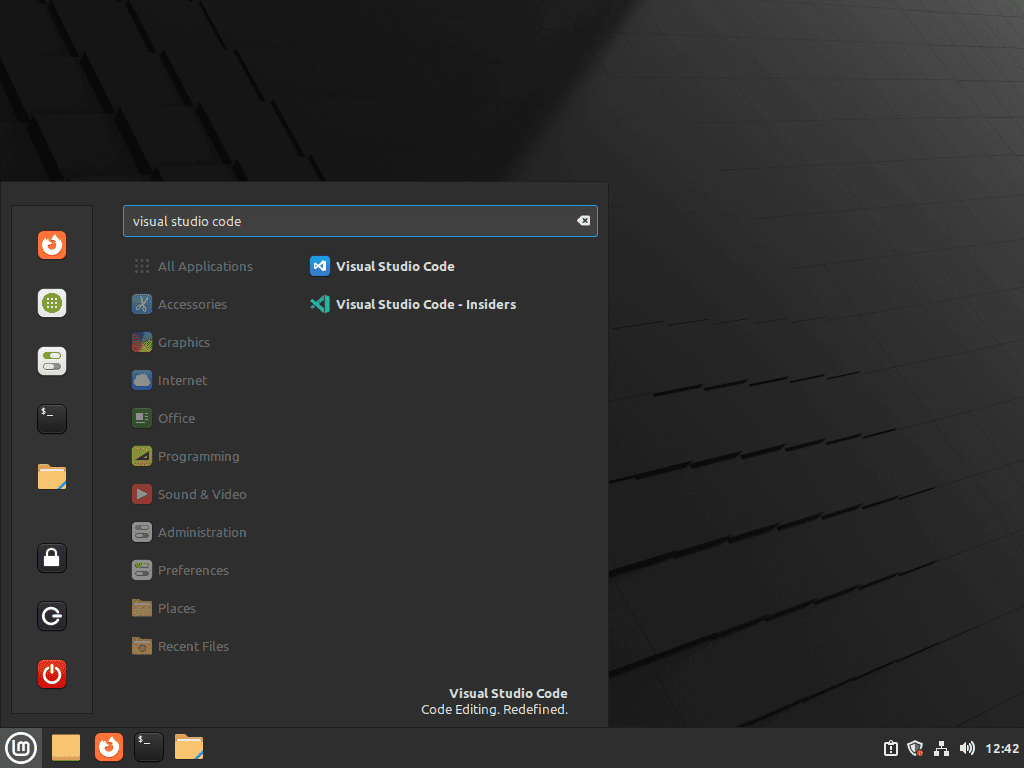
For desktop users who prefer not to use the command line terminal, the best way to open VSCode is through the GUI by following the path.
Taskbar > Programming > Visual Studio Code {Version}


Additional VSCode Commands
Update Visual Studio Code
To check for updates using the command line, you can use the following command, which will check for updates across all APT packages.
sudo apt update && sudo apt upgradeFlatpak installations can alternatively run the following command to check all installations via Flatpak for updates:
flatpak updateRemove Visual Studio Code
To remove Visual Studio from your system, use the following command in your terminal that matches your original installation method.
VSCode Remove APT Command Method:
sudo apt remove codeNext, you can remove the Insiders build if installed:
sudo apt remove code-insidersAfter removing the software, use the following command to remove the repository.
sudo rm /etc/apt/sources.list.d/vscode.listFor good housekeeping and security, use the following command to remove the GPG key:
sudo rm /usr/share/keyrings/vscode.gpgVSCode Remove Flatpak Command Method:
flatpak uninstall com.visualstudio.codeConclusion
With Visual Studio Code successfully installed on your Linux Mint system, you can take advantage of its powerful features and extensive extensions. Whether you choose the Microsoft official APT repository for a straightforward setup or Flatpak with Flathub for a flexible installation, both methods ensure you have access to the latest updates. Regularly update VSCode to benefit from the newest features and improvements. Enjoy a robust and efficient coding experience with Visual Studio Code.


Great explanation and guide to install VS Code