
Visual Studio Code fits Linux Mint best when the install path matches how you actually work: the Microsoft APT repository gives you the normal code launcher, Marketplace access, integrated terminal behavior, desktop menu entry, and APT-managed updates, while Flatpak keeps the app in the Flathub packaging workflow. To install Visual Studio Code on Linux Mint for daily development, start with the Microsoft repository unless you deliberately prefer Flatpak packaging.
These steps target Linux Mint 22.x and 21.x on Cinnamon, MATE, and Xfce. Microsoft also provides direct .deb downloads on the Visual Studio Code download page, but the repository method is easier to update, audit, and remove later because VS Code stays in the same APT workflow as the rest of your Mint system packages.
Install Visual Studio Code on Linux Mint
Linux Mint does not ship Microsoft’s Visual Studio Code package from the default Mint repositories. The normal terminal install is Microsoft’s APT repository for VS Code, which uses a codename-neutral stable suite. That matters on Mint because lsb_release -cs returns Mint codenames such as zena or virginia, while some other vendor repositories expect base-release codenames such as noble or jammy. VS Code avoids that problem by using stable.
| Method | Source | Update Behavior | Best For | Trade-offs |
|---|---|---|---|---|
| Microsoft APT repository | Microsoft Linux setup docs | APT-managed updates | Most users who want the official Microsoft build, the code command, and normal host integration | Adds a third-party Microsoft APT source and signing key |
| Flatpak | Flathub | Flatpak-managed updates | Users who prefer Flathub packaging or want to avoid a Microsoft APT source | Unofficial Flathub repackaging, broad permissions, and extra setup for some host toolchains |
Microsoft publishes an official Snap package, but Linux Mint does not enable Snap by default. If you specifically want Snap, enable it intentionally with the separate guide to install and enable Snap on Linux Mint; otherwise, use APT or Flatpak here.
If you want a similar editor without Microsoft’s branding, telemetry, and default Marketplace wiring, install VSCodium on Linux Mint instead. VSCodium is a separate build, so its repositories, launcher name, extensions registry, update behavior, and troubleshooting are different.
Linux Mint Repository Notes
Linux Mint uses APT package tools such as apt, dpkg, DEB822 source files, Signed-By keyrings, and update-alternatives. For VS Code, the installable package name is code, not vscode, and the command created by the APT package is also code.
Do not replace the VS Code source suite with Mint codenames such as zena or virginia, and do not replace it with base-release codenames such as noble or jammy. Microsoft’s VS Code repository uses stable as the suite, so the same source file works across supported Linux Mint 22.x and 21.x desktops.
If you install the direct Microsoft .deb package from a browser, it can also add a VS Code APT source for future updates. The manual repository method below is more repeatable because you can inspect the keyring, source file, package candidate, update path, and removal path before anything is hidden behind a graphical package prompt.
Check Your Linux Mint Version and Architecture
Confirm the Mint release and CPU architecture before adding a third-party package source. The Microsoft repository currently publishes VS Code packages for amd64, arm64, and armhf. Most Linux Mint desktop systems use amd64.
grep -E '^(NAME|VERSION|PRETTY_NAME|VERSION_ID)=' /etc/os-release
dpkg --print-architecture
Example output from Linux Mint 22.3 on a common 64-bit desktop looks like this:
NAME="Linux Mint"
VERSION="22.3 (Zena)"
PRETTY_NAME="Linux Mint 22.3"
VERSION_ID="22.3"
amd64
Install VS Code with Microsoft APT Repository
Use this method when you want the standard Microsoft build, the code terminal command, normal access to host compilers and SDKs, and package updates through APT. The same commands work on Linux Mint 22.x and 21.x because the VS Code repository uses stable instead of a release codename.
Refresh Linux Mint Packages
Refresh APT metadata before adding the Microsoft source. This step checks every enabled package source on your system, not only Mint’s default repositories.
sudo apt updateThese commands use
sudofor system-wide package changes. If your account cannot run administrative commands yet, follow the guide to create and add users to sudoers on Linux Mint before continuing.
Install Repository Prerequisites
Install the small tools needed for the repository setup. ca-certificates handles HTTPS trust, wget downloads Microsoft’s signing key, and gpg converts that key into the binary keyring format used by APT’s Signed-By field.
sudo apt install ca-certificates wget gpg -yImport the Microsoft VS Code Signing Key
Download Microsoft’s repository signing key and store it as /usr/share/keyrings/microsoft.gpg. Keeping the key in a named keyring lets the repository file trust only this key instead of adding it to APT’s global trust store.
wget -qO- https://packages.microsoft.com/keys/microsoft.asc | sudo gpg --dearmor --yes -o /usr/share/keyrings/microsoft.gpgThe key fingerprint currently ends in EB3E94ADBE1229CF, which is the same key ID that appears in common NO_PUBKEY errors when the key is missing. The --yes option prevents gpg from stopping on an overwrite prompt if you rerun the command.
Add the VS Code APT Source
Create a DEB822 source file for the Microsoft VS Code repository. The architecture guard stops before writing the file if Microsoft does not publish a VS Code package for your current architecture.
ARCH=$(dpkg --print-architecture)

case "$ARCH" in
  amd64 | arm64 | armhf)
    printf '%s\n' \
      'Types: deb' \
      'URIs: https://packages.microsoft.com/repos/code' \
      'Suites: stable' \
      'Components: main' \
      "Architectures: $ARCH" \
      'Signed-By: /usr/share/keyrings/microsoft.gpg' | sudo tee /etc/apt/sources.list.d/vscode.sources > /dev/null
    ;;
  *)
    printf 'Microsoft VS Code APT packages are not published for %s.\n' "$ARCH"
    ;;
esac
The tee command writes the root-owned source file because a normal shell redirect such as > would still run as your regular user account. The file deliberately uses Suites: stable, not a Mint codename or any other release codename.
Confirm the source file before refreshing APT:
cat /etc/apt/sources.list.d/vscode.sourcesExample output on an amd64 Linux Mint system:
Types: deb
URIs: https://packages.microsoft.com/repos/code
Suites: stable
Components: main
Architectures: amd64
Signed-By: /usr/share/keyrings/microsoft.gpg
Check the VS Code Package Candidate
Refresh APT again so it reads the Microsoft repository, then check that the code package resolves from packages.microsoft.com/repos/code.
sudo apt update
apt-cache policy code
Relevant output includes a candidate version and the Microsoft source line. Version numbers change as Microsoft publishes new builds.
code:
  Installed: (none)
  Candidate: 1.120.0-1778619059
  Version table:
     1.120.0-1778619059 500
        500 https://packages.microsoft.com/repos/code stable/main amd64 Packages
If Candidate: remains (none), fix the repository before installing. The most common causes are a missing key, a malformed vscode.sources file, a blocked network connection to Microsoft, or an unsupported architecture.
Install the Stable VS Code Package
Install the stable Microsoft build with the package name code. This package creates the /usr/bin/code launcher and the desktop entry used by the Linux Mint applications menu.
sudo apt install code -yAPT may install a small helper dependency such as socat with the current package. Leave it in place while VS Code is installed; APT can identify unused helper packages during removal.
Install the Insiders build only if you specifically want preview builds for testing or extension development:
sudo apt install code-insiders -yStable and Insiders can be installed side by side. Stable runs with
code, Insiders runs withcode-insiders, and each build keeps separate settings and extensions.
Verify the VS Code APT Installation
Verify the package, launcher path, and CLI version. The version line changes regularly, but the package should be named code and the launcher should resolve to /usr/bin/code.
dpkg-query -W code
command -v code
code --version | sed -n '1,3p'
Example output from supported Linux Mint releases includes:
code	1.120.0-1778619059
/usr/bin/code
1.120.0
0958016b2af9f09bb4257e0df4a95e2f90590f9f
x64
Install VS Code with Flatpak on Linux Mint
Use the Flatpak method when you want Flathub packaging or do not want to add the Microsoft APT repository. The current Flathub listing is a proprietary Microsoft VS Code build repackaged as Flatpak, but the Flatpak packaging is not supported by Microsoft. Its manifest also grants broad permissions, including host filesystem access, device access, SSH agent access, and development features, so treat it as a packaging choice rather than a strict isolation choice.
Confirm Flathub Is Available
Standard Linux Mint desktop installs already include Flatpak with Flathub enabled at system scope. Check the remote before installing:
flatpak remotesStandard Linux Mint 22.x and 21.x desktop installs usually show Flathub at system scope:
flathub system
If the remote was removed from a customized system, add it back with the current Flathub descriptor:
sudo flatpak remote-add --if-not-exists flathub https://dl.flathub.org/repo/flathub.flatpakrepoIf your Flatpak installation is older or Flathub behaves unexpectedly, use the separate guide to upgrade Flatpak on Linux Mint before troubleshooting VS Code itself.
Inspect the VS Code Flatpak Record
Check the app ID, branch, runtime, and permissions before installing. The app ID is the value you use in install, run, update, and removal commands.
flatpak remote-info flathub com.visualstudio.code
flatpak remote-info --show-metadata flathub com.visualstudio.code | sed -n '/^\[Context\]/,/^$/p'
Relevant metadata includes:
ID: com.visualstudio.code
Ref: app/com.visualstudio.code/x86_64/stable
Branch: stable
Runtime: org.freedesktop.Sdk/x86_64/25.08

[Context]
shared=network;ipc;
sockets=x11;wayland;pulseaudio;fallback-x11;ssh-auth;
devices=all;
features=devel;
filesystems=host;
The filesystems=host and devices=all lines are why the Flatpak method should not be described as a narrow security sandbox. The more important difference is package ownership: Flatpak updates through Flathub, while the APT build updates through Microsoft’s repository.
Install VS Code from Flathub
Install the stable Flathub app system-wide:
sudo flatpak install flathub com.visualstudio.code -yThe -y flag accepts the install prompt automatically. Flatpak downloads the app, the required runtime, and any extra data the app record declares.
Verify the VS Code Flatpak Installation
After installation, verify the app ID and installation scope:
flatpak info --system com.visualstudio.codeLook for ID: com.visualstudio.code, Branch: stable, Origin: flathub, and Installation: system. The Flatpak build does not create a normal host-side code command, so launch it with flatpak run com.visualstudio.code or from the applications menu.
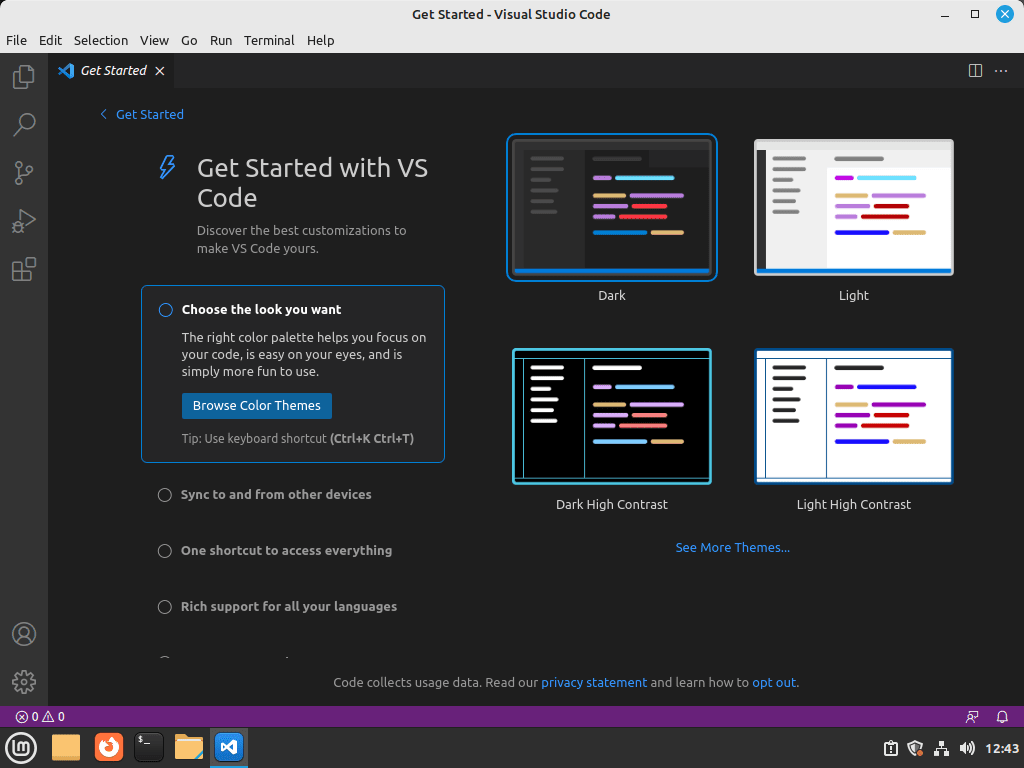
Launch and Get Started with VS Code on Linux Mint
APT and Flatpak install the same desktop editor but expose different terminal launchers. The applications menu works for both methods, while terminal examples depend on whether you installed the APT package or the Flatpak app.
Launch VS Code from the Terminal
The APT build uses the standard Linux launcher:
codeOpen the current directory as a project workspace:
code .Open a specific project folder from anywhere:
code ~/Projects/my-projectForce a new window when you do not want VS Code to reuse the last session:
code -n ~/Projects/my-projectIf you installed Insiders, use its separate launcher:
code-insidersFor the Flatpak build, use the app ID:
flatpak run com.visualstudio.codeMicrosoft documents additional command-line options in the VS Code CLI reference, including extension management, profiles, diff views, and opening files at a specific line.
Create a First Project Workspace
A simple project directory is enough to confirm the editor, integrated terminal, file explorer, and workspace flow all behave correctly. This example creates a small Markdown file and opens the folder with the APT launcher:
mkdir -p ~/Projects/hello-vscode
cd ~/Projects/hello-vscode
printf '%s\n' '# Hello from Linux Mint' 'VS Code opened this folder as a workspace.' > README.md
code .
Inside VS Code, open the integrated terminal from the menu and confirm it starts in the same workspace directory. If you installed the APT build, the terminal sees the normal host environment, including tools such as Git, Python, Node.js, Go, Rust, and compilers once you install them on Linux Mint.
For real projects, install Git on Linux Mint before relying on VS Code’s source-control panel. If you prefer a graphical GitHub workflow outside the editor, install GitHub Desktop on Linux Mint after Git is working.
Install an Extension from the Command Line
The APT build can install Marketplace extensions from the terminal. For example, install Microsoft’s Python extension if this Mint system is becoming a Python workstation:
code --install-extension ms-python.pythonList installed extensions afterward:
code --list-extensionsIf you use Flatpak, install extensions from the graphical Extensions view first. Some language extensions expect host tools to be available inside the Flatpak environment, which is why compiler-heavy workflows are usually smoother with the APT build.
Launch VS Code from the Applications Menu
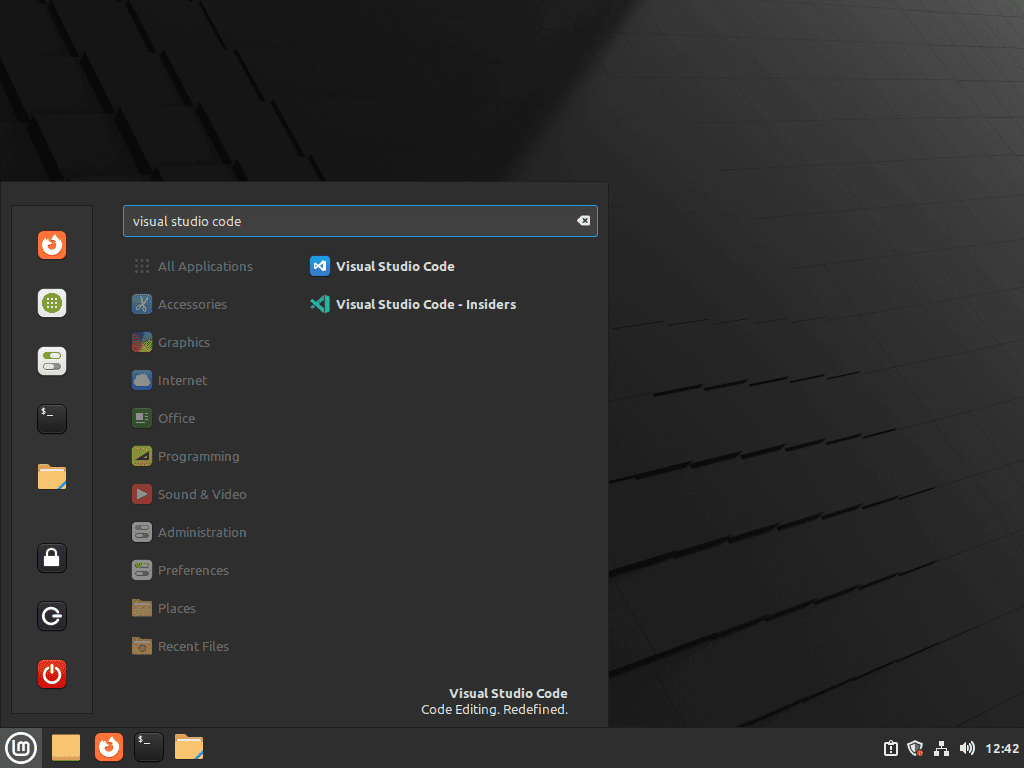
From Cinnamon, MATE, or Xfce, open the applications menu and look under Programming:
Menu > Programming > Visual Studio Code
Set VS Code as the Default Text Editor
The APT package registers VS Code with the Linux desktop through its code.desktop launcher file. Use xdg-mime if you want plain text files opened from the Mint file manager to use VS Code:
xdg-mime default code.desktop text/plainLinux Mint also supports the update-alternatives system for terminal programs that call the generic editor command. Set VS Code as that terminal editor only if you really want terminal tools to open a graphical editor:
sudo update-alternatives --set editor /usr/bin/codeKeep nano, vim, or another terminal editor as the default if you often edit files over SSH or in a text-only session. A graphical default editor is convenient on a local desktop but awkward on headless systems.
Update Visual Studio Code on Linux Mint
VS Code ships frequent updates, and the package manager that installed it owns future updates. Microsoft notes that repository publishing can lag the newest VS Code release by a short period, so a website download can occasionally show a newer build before APT receives it.
Update VS Code from Microsoft APT Repository
Refresh package metadata and upgrade only the stable VS Code package:
sudo apt update
sudo apt install --only-upgrade code -y
If you installed Insiders instead, target its package name:
sudo apt install --only-upgrade code-insiders -yFor normal system maintenance, you can upgrade VS Code with the rest of your packages:
sudo apt update
sudo apt upgrade
Update VS Code from Flatpak
Update the Flathub app at the same system scope used during installation:
sudo flatpak update com.visualstudio.code -yTo update all system-wide Flatpak apps and runtimes, use:
sudo flatpak updateRemove Visual Studio Code from Linux Mint
Remove VS Code through the same manager that installed it, then decide whether to remove the package source and per-user data. Removing the application does not automatically delete your extensions, settings, workspace state, or cached data.
Remove the VS Code APT Installation
Purge the stable package and its package-level configuration:
sudo apt purge code -yIf you installed Insiders, purge that package separately:
sudo apt purge code-insiders -yPurging the package removes the application, but repository files and keyrings can remain when you created the source manually, used an older tutorial, or installed the direct Microsoft .deb earlier. Remove the VS Code source files and remove Microsoft keyrings only when no remaining source file references them:
sudo rm -f /etc/apt/sources.list.d/vscode.sources
sudo rm -f /etc/apt/sources.list.d/vscode.list

for keyring in /usr/share/keyrings/microsoft.gpg /usr/share/keyrings/vscode.gpg; do
  [ -f "$keyring" ] || continue
  uses_key=no

  for source_file in /etc/apt/sources.list /etc/apt/sources.list.d/*.list /etc/apt/sources.list.d/*.sources; do
    [ -f "$source_file" ] || continue
    if grep -F "$keyring" "$source_file" > /dev/null; then
      uses_key=yes
      break
    fi
  done

  if [ "$uses_key" = no ]; then
    sudo rm -f "$keyring"
  else
    printf 'Keeping %s because another APT source still uses it.\n' "$keyring"
  fi
done

sudo apt update
Verify that the package, launcher, and source candidate are gone:
dpkg-query -W code 2>/dev/null || echo "code package is not installed"
hash -r
command -v code || echo "code command is not in PATH"
apt-cache policy code | sed -n '1,6p'
Relevant output after cleanup includes:
code package is not installed
code command is not in PATH
code:
  Installed: (none)
  Candidate: (none)
Preview unused dependencies before removing them. This is especially important on shared desktops because another package might already have been marked as autoremovable before VS Code was installed.
sudo apt autoremove --dry-runIf the dry run lists only packages you expect to remove, run the real cleanup:
sudo apt autoremoveRemove the VS Code Flatpak Installation
Remove the Flathub app first:
sudo flatpak uninstall com.visualstudio.code -yThen remove runtimes that no remaining Flatpak app needs. Review the prompt before accepting because this can include runtimes left behind by older Flatpak apps, not only VS Code:
sudo flatpak uninstall --unusedConfirm the app ID is no longer installed:
flatpak list --system --app --columns=application | grep -Fx com.visualstudio.code || echo "VS Code Flatpak is not installed"VS Code Flatpak is not installed
Remove VS Code User Configuration Data
The following cleanup permanently deletes VS Code settings, extensions, snippets, workspace state, and cached data for your user account. Back up anything under
~/.config/Code/User/or your extension list before deleting these directories.
List the VS Code user data directories that exist first:
find ~/.config/Code ~/.vscode ~/.cache/Code ~/.local/share/Code \
  ~/.config/Code\ -\ Insiders ~/.vscode-insiders ~/.cache/Code\ -\ Insiders ~/.local/share/Code\ -\ Insiders \
  ~/.var/app/com.visualstudio.code -maxdepth 0 -print 2>/dev/null
Remove stable APT-build data:
rm -rf ~/.config/Code ~/.vscode ~/.cache/Code ~/.local/share/CodeRemove Insiders data if you installed that build:
rm -rf ~/.config/Code\ -\ Insiders ~/.vscode-insiders ~/.cache/Code\ -\ Insiders ~/.local/share/Code\ -\ InsidersRemove Flatpak user data if you used the Flathub build:
rm -rf ~/.var/app/com.visualstudio.codeTroubleshoot VS Code on Linux Mint
Most VS Code problems on Linux Mint come from package-source state, launcher confusion, Flatpak host-tool limits, or large project file watching. Start with the symptom that matches your system instead of repeating the full install.
Fix Unable to Locate Package code
The package name is code, not vscode. If APT cannot locate code, the Microsoft source file is missing, malformed, or not refreshed.
E: Unable to locate package code
Inspect the source file, refresh APT, and check the candidate:
cat /etc/apt/sources.list.d/vscode.sources
sudo apt update
apt-cache policy code
The source file should contain URIs: https://packages.microsoft.com/repos/code, Suites: stable, Components: main, and Signed-By: /usr/share/keyrings/microsoft.gpg. If the source looks correct but Candidate: remains (none), check the architecture with:
dpkg --print-architectureFix Microsoft GPG Key Errors
A missing or corrupted Microsoft keyring can produce a NO_PUBKEY error during sudo apt update:
W: GPG error: https://packages.microsoft.com/repos/code stable InRelease:
The following signatures couldn't be verified because the public key is not available: NO_PUBKEY EB3E94ADBE1229CF
Check whether the keyring exists:
ls -l /usr/share/keyrings/microsoft.gpgIf the file is missing or you suspect it was damaged, re-import the key and refresh APT:
wget -qO- https://packages.microsoft.com/keys/microsoft.asc | sudo gpg --dearmor --yes -o /usr/share/keyrings/microsoft.gpg
sudo apt update
Fix Duplicate Source or Signed-By Conflicts
APT can reject the VS Code repository when two source files point at the same Microsoft URI with different keyring paths. This often happens after mixing a direct .deb install, an older tutorial, and a manual DEB822 source file.
E: Conflicting values set for option Signed-By regarding source https://packages.microsoft.com/repos/code/ stable
Find every source file that references the VS Code repository:
grep -R -n "packages.microsoft.com/repos/code" /etc/apt/sources.list /etc/apt/sources.list.d 2>/dev/nullKeep one source path. If you are using the manual DEB822 method from this article, remove common legacy duplicates and refresh APT:
sudo rm -f /etc/apt/sources.list.d/vscode.list
sudo apt update
Fix code Command Not Found
The code command belongs to the APT package. If you installed Flatpak, the correct terminal command is flatpak run com.visualstudio.code. If you installed APT and code is missing, confirm the package and launcher path:
dpkg-query -W code
command -v code
ls -l /usr/bin/code /usr/share/code/bin/code
If your shell suggests sudo snap install code, remember that Linux Mint disables Snap by default. Use the APT repository method above unless you intentionally enabled Snap for this system.
Handle Flatpak Integrated Terminal Limits
The Flatpak build can open your files, but its integrated terminal does not behave exactly like a normal host terminal. The Flathub package warns that host SDKs and command-line tools may not be visible inside the Flatpak environment. If you need compilers, language managers, container tools, or project-specific shell initialization to behave normally, the APT build is usually the cleaner choice.
For a Flatpak-only workflow, Flathub documents host command access through host-spawn or flatpak-spawn --host. One supported profile pattern uses host-spawn for the integrated terminal:
{
  "terminal.integrated.defaultProfile.linux": "bash",
  "terminal.integrated.profiles.linux": {
    "bash": {
      "path": "/app/bin/host-spawn",
      "args": ["bash"],
      "icon": "terminal-bash",
      "overrideName": true
    }
  }
}
Add that JSON through VS Code settings only if you understand that commands launched from the integrated terminal will run on the host. For language extensions that need tools inside the Flatpak runtime, use the Flathub VS Code usage notes for SDK-extension examples.
Raise the VS Code File Watcher Limit
Large workspaces can trigger this VS Code warning when Linux’s inotify watcher limit is too low for the number of files in the project:
Visual Studio Code is unable to watch for file changes in this large workspace. Please follow the instructions link to resolve this issue.
Before raising the system limit, exclude huge generated directories such as dependency caches, build output, virtual environments, or vendor trees from the workspace when possible. If the project still needs a higher limit, check the current value:
cat /proc/sys/fs/inotify/max_user_watchesCreate a dedicated sysctl file and reload sysctl settings:
printf '%s\n' 'fs.inotify.max_user_watches=524288' | sudo tee /etc/sysctl.d/60-inotify-watches.conf > /dev/null
sudo sysctl --system
Verify the new limit:
cat /proc/sys/fs/inotify/max_user_watches524288
Restart VS Code after applying the change so the file watcher starts with the new limit.
Fix Trash or Delete Problems in the Explorer
Deleting files from the VS Code Explorer can fail on customized or stripped-down Linux Mint desktops when the desktop trash support packages are missing. Standard Mint desktop installs normally include these packages, but lightweight rebuilds, restored systems, or heavily trimmed setups may not.
Check whether gvfs and libglib2.0-bin are installed:
dpkg -l gvfs libglib2.0-bin | grep '^ii'If either package is missing, install both and restart VS Code:
sudo apt install gvfs libglib2.0-bin -yOfficial Visual Studio Code Resources
- VS Code Linux setup documentation: Microsoft’s current Linux package, repository, update, and common-question notes.
- VS Code command-line reference: Official options for launching folders, installing extensions, using profiles, and checking version output.
- VS Code Flatpak repository: Flathub-specific usage notes, host-tool guidance, manifest files, and issue tracker.
Conclusion
VS Code is ready on Linux Mint through the package workflow that fits your development style, with Microsoft APT providing the smoother host-integrated path and Flatpak covering the Flathub alternative. Use VSCodium on Linux Mint when you prefer the non-Microsoft build.

Thanks! Saved me a ton of time.
<3
Great explanation and guide to install VS Code