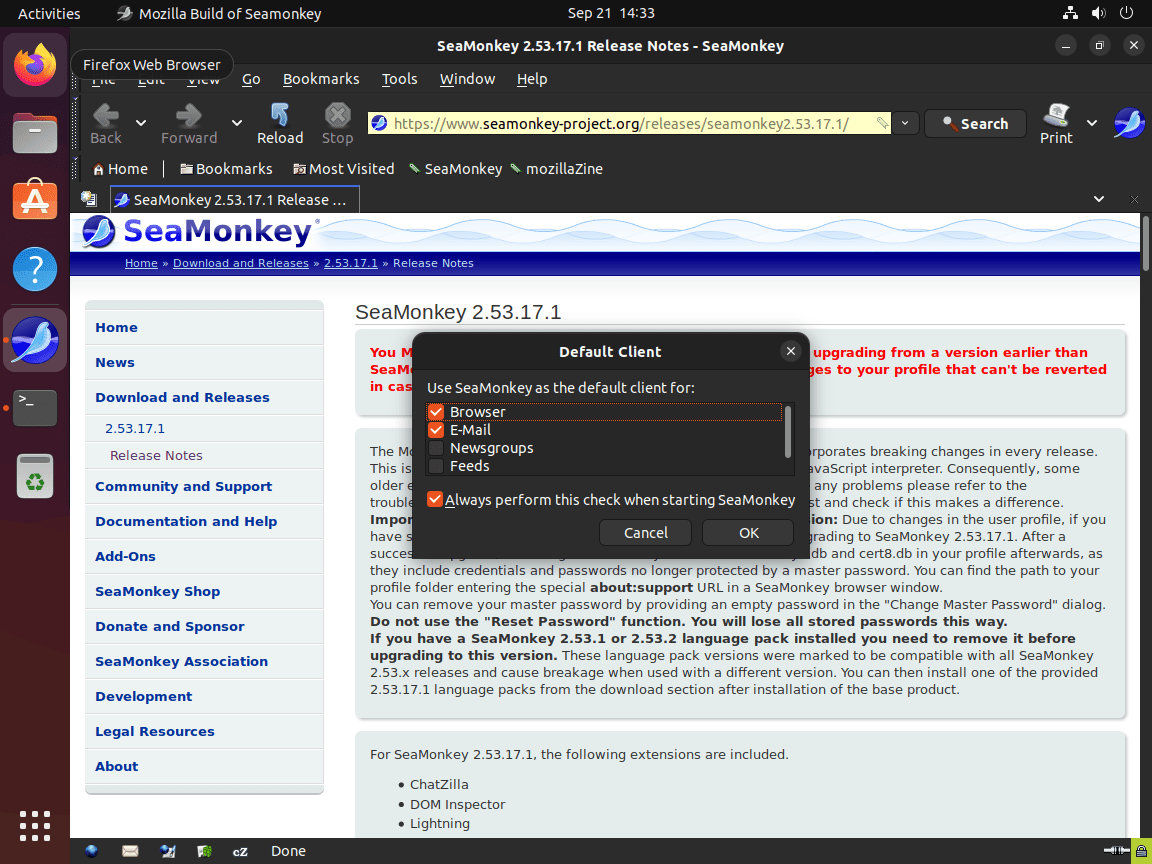
SeaMonkey brings together a web browser, email client, newsgroup reader, HTML editor, and IRC chat into a single unified application. If you prefer an all-in-one internet suite rather than juggling separate programs for browsing, email, and web development, then SeaMonkey provides that integrated experience. Common use cases include managing multiple email accounts alongside web browsing, editing web pages without switching applications, and participating in IRC communities directly from the same interface. By the end of this guide, you will have SeaMonkey installed and running on Ubuntu, ready for browsing, email, and web development tasks.
Update Ubuntu Before SeaMonkey Installation
Before installing new software, first refresh your package index and upgrade existing packages. This ensures your system has the latest security patches and avoids version conflicts during installation:
sudo apt update && sudo apt upgradeThis guide supports Ubuntu 22.04 LTS, 24.04 LTS, and 26.04 LTS. Because the UbuntuZilla repository provides packages compatible with all current Ubuntu LTS releases, commands work identically across supported versions.
Install Prerequisites for SeaMonkey Repository
The UbuntuZilla project provides an APT repository for official Mozilla software releases. This repository requires GPG key verification to authenticate packages. First, install the necessary tools for downloading and processing the GPG key:
sudo apt install curl ca-certificates -ySpecifically, the curl package downloads the GPG key from Ubuntu’s keyserver, while ca-certificates provides the root certificates needed for secure HTTPS connections.
Import the UbuntuZilla GPG Key
Next, create the keyrings directory and import the UbuntuZilla signing key to verify package authenticity. This command downloads the key via HTTPS and converts it to binary format:
sudo install -m 0755 -d /etc/apt/keyrings
curl -fsSL "https://keyserver.ubuntu.com/pks/lookup?op=get&search=0x2667CA5C" | sudo gpg --dearmor -o /etc/apt/keyrings/ubuntuzilla.gpg
This approach downloads the key directly from Ubuntu’s keyserver via HTTPS rather than using the deprecated apt-key command. In addition, the --dearmor flag converts the ASCII-armored key to binary format that APT expects.
Add the UbuntuZilla Repository
With the GPG key in place, you can now add the UbuntuZilla repository to your system. The following command creates a DEB822-format sources file that APT uses to locate SeaMonkey packages:
cat <<EOF | sudo tee /etc/apt/sources.list.d/ubuntuzilla.sources
Types: deb
URIs: http://downloads.sourceforge.net/project/ubuntuzilla/mozilla/apt
Suites: all
Components: main
Signed-By: /etc/apt/keyrings/ubuntuzilla.gpg
EOF
After adding the repository, then refresh the package index to make the new packages available:
sudo apt updateInstall SeaMonkey
Now install SeaMonkey from the UbuntuZilla repository. This method provides the official Mozilla build rather than a distribution-modified version:
sudo apt install seamonkey-mozilla-buildIn total, the installation downloads approximately 40-50 MB and includes the complete internet suite with browser, email client, HTML editor, and IRC chat components.
Verify SeaMonkey Installation
Once the installation completes, confirm it succeeded by checking the installed version:
seamonkey --versionExpected output:
Mozilla SeaMonkey 2.53.22
If you see the version number, SeaMonkey is correctly installed and accessible from your terminal.
Launch SeaMonkey
Launch from Terminal
To start SeaMonkey immediately from the command line, run:
seamonkeyThis opens the SeaMonkey Navigator (browser) by default. Additionally, you can launch specific components directly using command-line flags:
seamonkey -mail        # Opens Mail & Newsgroups
seamonkey -composer    # Opens HTML Composer
seamonkey -chat        # Opens ChatZilla IRC client
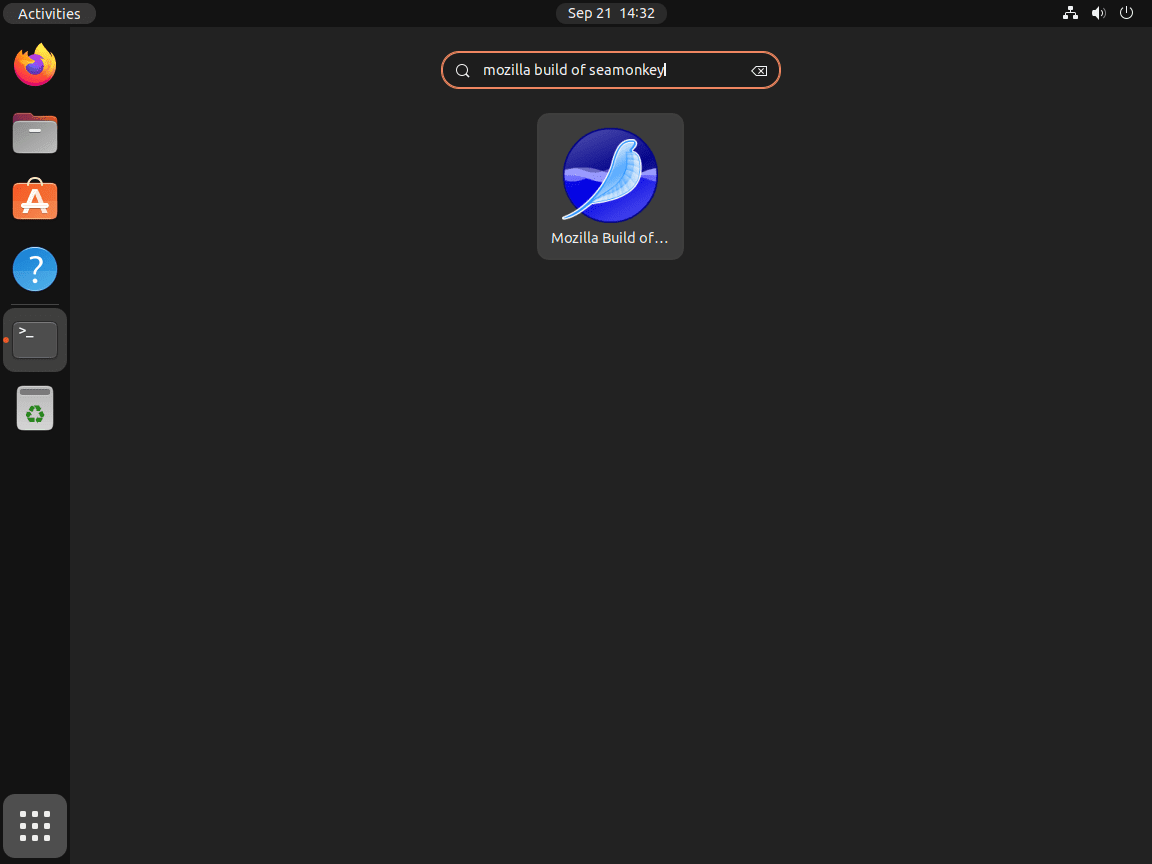
Launch from Applications Menu
Alternatively, access SeaMonkey through your desktop environment’s application menu:
Activities > Show Applications > SeaMonkey


Manage SeaMonkey
Update SeaMonkey
Once installed, SeaMonkey updates arrive through the UbuntuZilla repository alongside your regular system updates. To check for and apply updates, run:
sudo apt update && sudo apt upgradeAlternatively, for a targeted update that only affects SeaMonkey without upgrading other packages, use:
sudo apt install --only-upgrade seamonkey-mozilla-buildRemove SeaMonkey
If you no longer need SeaMonkey, you can uninstall it and remove its configuration files by running:
sudo apt remove --purge seamonkey-mozilla-buildSince you no longer need the UbuntuZilla repository after removal, clean up the repository configuration and GPG key:
sudo rm /etc/apt/sources.list.d/ubuntuzilla.sources
sudo rm /etc/apt/keyrings/ubuntuzilla.gpg
Warning: SeaMonkey stores user profiles in
~/.mozilla/seamonkey/. If you want to remove your browsing data, email messages, and settings, delete this directory withrm -rf ~/.mozilla/seamonkey/. However, do not delete the entire~/.mozilla/directory if you also use Firefox, since Firefox profiles are stored at~/.mozilla/firefox/.
Troubleshooting
GPG Key Import Fails
If the GPG key import command fails with a connection error, the Ubuntu keyserver may be temporarily unavailable. Wait a few minutes and retry. Alternatively, verify network connectivity by testing the keyserver URL directly:
curl -I "https://keyserver.ubuntu.com/pks/lookup?op=get&search=0x2667CA5C"A successful response returns HTTP 200. Otherwise, if you receive connection errors, check your firewall settings or try again later.
Repository Connection Issues
The UbuntuZilla repository is hosted on SourceForge, which occasionally experiences slowdowns or temporary outages. If apt update times out or fails to fetch the repository, wait a few minutes and try again. You can verify repository accessibility by checking the InRelease file directly:
curl -I http://downloads.sourceforge.net/project/ubuntuzilla/mozilla/apt/dists/all/InReleaseA successful response returns HTTP 200 or 302 (redirect). If you receive connection errors, the issue is likely temporary.
SeaMonkey’s all-in-one approach may not suit everyone. If you prefer standalone applications, consider these alternatives:
- Install Firefox ESR on Ubuntu for a long-term support browser
- Install Thunderbird on Ubuntu for a dedicated email client
- Set up Flatpak on Ubuntu to access sandboxed application alternatives
Conclusion
You now have SeaMonkey installed on Ubuntu, providing an integrated suite for web browsing, email management, HTML editing, and IRC chat. As a result, the UbuntuZilla repository ensures you receive timely updates directly from Mozilla builds. For customization, explore SeaMonkey’s add-ons and themes through the built-in Add-ons Manager at Tools > Add-ons.


Formatting tips for your comment
You can use basic HTML to format your comment. Useful tags currently allowed:
<code>command</code>command<strong>bold</strong><em>italic</em><a href="URL">link</a><blockquote>quote</blockquote>