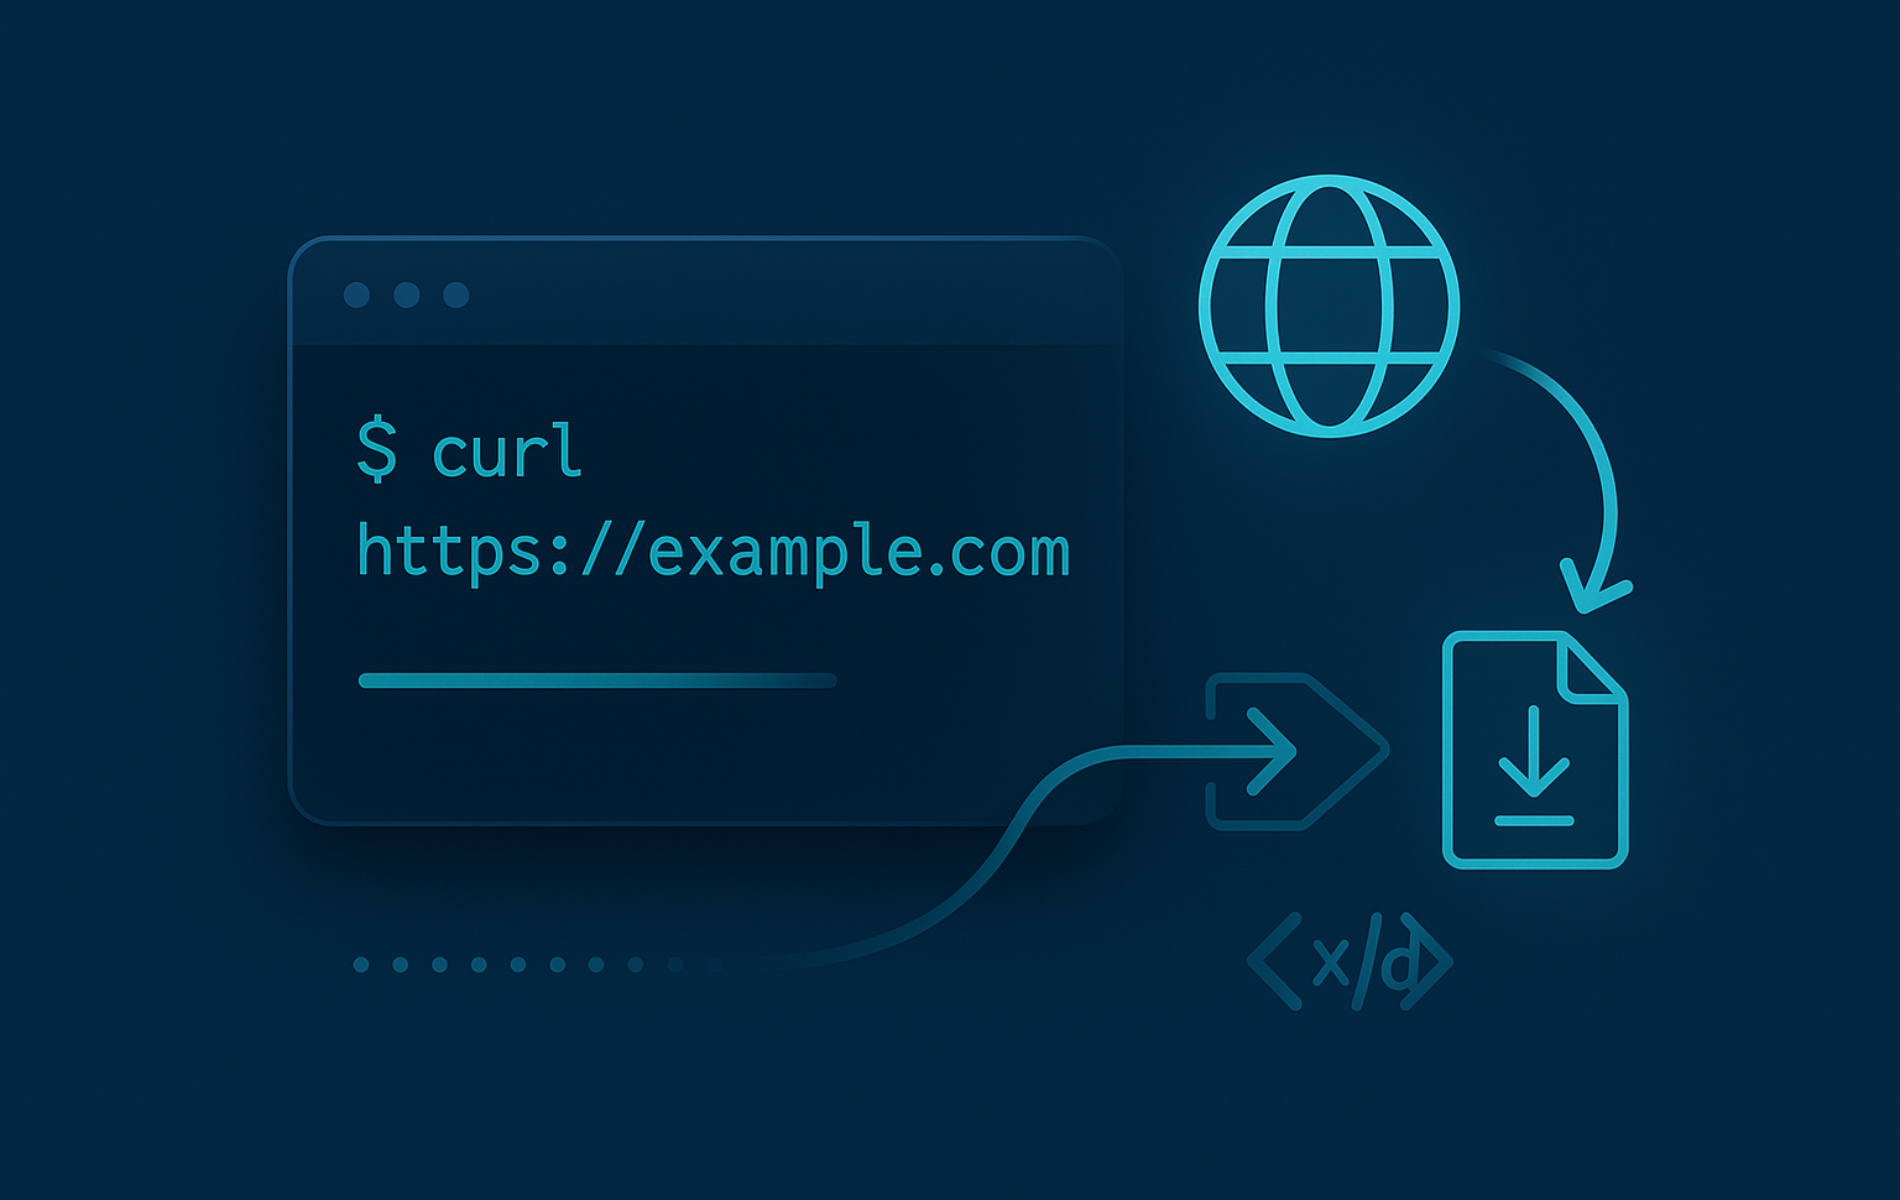
When you need to test an endpoint, download a release asset, or send a quick API request without opening a browser, the curl command in Linux gives you one repeatable terminal workflow. It transfers data by URL over HTTP, HTTPS, FTP, SMTP, SFTP, and other protocols, so the same syntax works for downloads, uploads, headers, authentication, and troubleshooting.
Use curl for single requests, API calls, scripted transfers, and protocol testing. For recursive downloads or full-site mirrors, wget command examples are usually the better fit.
Understand the curl Command Syntax in Linux
Every curl invocation follows the same basic pattern. Once you know where options and URLs sit, you can build downloads, API requests, and diagnostics from the same command shape.
curl [options] [URL]- curl: The binary itself. Most Linux distributions include it in
PATHby default, so you can call it from scripts or interactive terminals without specifying the full path. - [options]: Flags that modify behavior. You can chain as many as you need to control authentication, redirects, headers, output files, timeouts, and protocol details.
- [URL]: The target endpoint. curl accepts multiple URLs in a single invocation, and you can mix schemes like
https://,ftp://, andsmtp://in one command.
A bare curl request fetches a resource and prints it to standard output:
curl https://example.comFrom there, layer on flags to shape the request. The most commonly used options include:
-o file: Write response data to a file you specify.-O: Save the response using the remote filename from the URL.-L: Follow HTTP redirects automatically (important for CDN-hosted downloads and short URLs).-H: Add a custom request header.-dor--data: Send request body data (triggers a POST request by default).-u user: Supply a username for authentication and let curl prompt for the password.-band-c: Send cookies from a string or file, then save server-set cookies for later requests.-I: Fetch response headers only, without the body.-i: Include response headers in the normal response output.-v: Enable verbose output for debugging the full request/response handshake.--json: Send JSON data with automaticContent-TypeandAcceptheaders (available in curl 7.82 and later).
curl short options are case-sensitive. Uppercase -I sends a HEAD request and prints only headers, while lowercase -i keeps the normal response body and includes headers in the output. Uppercase -O saves the remote filename, while lowercase -o writes to the filename you provide. Combined short flags keep the same meaning, but case still matters: curl -kO URL means -k -O, while curl -ko file URL means -k -o file. Use -k only for short-lived certificate testing.
For the exhaustive option reference, use the official curl man page or your local man curl page, since distribution builds can enable different protocols and features.
Use these groups when you need to pick a flag quickly:
| Task | Useful Options | What They Do |
|---|---|---|
| Downloads | -O, -o, -C -, --limit-rate | Control filenames, resume interrupted downloads, and throttle bandwidth. |
| APIs and Data | -d, --json, --data-urlencode, -H | Post JSON or form data and set custom headers for API calls. |
| Cookies and Sessions | -b, -c | Send cookies from a string or file, then save new cookies for later requests. |
| Authentication | -u, --oauth2-bearer, --cert | Handle Basic auth, bearer tokens, or mutual TLS client certificates. |
| Debugging | -v, --trace, -w, --fail-with-body | Inspect the full handshake, measure timing, and fail fast on errors. |
| Networking | -x, --noproxy, --resolve, --connect-timeout | Route through proxies, bypass proxies for selected hosts, override DNS, and set timeouts. |
Install the curl Command
Check Your Existing curl Installation
Most Linux distributions include curl by default. Verify the installed version to confirm which features and protocols are available:
curl --versionThe first line shows the curl and libcurl versions. The protocol and feature lines are the key checks when you need to confirm whether a URL scheme or flag should work. The exact list varies by distribution:
Protocols: dict file ftp ftps gopher gophers http https imap imaps pop3 pop3s scp sftp smtp smtps
Features: alt-svc AsynchDNS HSTS HTTP2 HTTPS-proxy IPv6 Largefile libz SSL threadsafe UnixSockets
If curl is missing (common on minimal server images and containers), install it with the package manager for your distribution.
Ubuntu and Debian
sudo apt update
sudo apt install curl
Fedora
sudo dnf install curlCentOS Stream, AlmaLinux, and Rocky Linux
Some RHEL 9-based systems (CentOS Stream 9, AlmaLinux 9, Rocky Linux 9) ship curl-minimal instead of the full curl package. The minimal build keeps common HTTP and HTTPS transfers available but may omit protocols such as SFTP, SCP, SMTP, LDAP, and DICT. Running sudo dnf install curl can fail because curl-minimal conflicts with the full package.
Replace curl-minimal with the full curl package using the swap command:
sudo dnf swap curl-minimal curlThis removes curl-minimal and installs the full curl package with broader protocol support in a single transaction.
Arch Linux
sudo pacman -S curlAlpine Linux
Alpine often runs package commands from a root shell. Add sudo only if your Alpine system has it configured.
apk add curlopenSUSE
sudo zypper install curlGentoo
sudo emerge net-misc/curlVoid Linux
sudo xbps-install curlThe curl package installs the command-line client. Development packages for libcurl are separate and only needed when compiling software that links against the library. Package managers install the distro-maintained curl build, so avoid replacing system curl just to chase a specific curl 8.x minor release unless a vendor requirement makes that necessary.
Download and Upload Files with curl
curl handles quick one-off downloads and scripted multi-file transfers, including file naming, redirects, resumes, progress output, background jobs, and uploads.
Fetch Output to the Terminal
A bare curl call sends a GET request and prints the response body to standard output:
curl https://example.comPipe the output through jq (a lightweight JSON processor) or filter it with the grep command to extract specific fields directly in a pipeline.
Save a File with Remote or Custom Names
Use -O (uppercase letter O) to save a file using the server-provided filename, or -o (lowercase) to choose your own output name:
# Keep the original filename from the URL
curl -O https://downloads.example.com/app.tar.gz

# Choose a custom output filename
curl -o latest-release.tar.gz https://downloads.example.com/app.tar.gz
Add -L when the download link redirects through a short URL or CDN. Combine with --fail-with-body to stop on HTTP errors and avoid saving error pages as if they were real files:
curl -L --fail-with-body -O https://downloads.example.com/app.tar.gzTo prevent infinite redirect loops from malicious or misconfigured URLs, limit the number of redirects curl will follow:
curl -L --max-redirs 5 -O https://short.link/abc123Resume Interrupted Downloads
If a network drop or timeout interrupts your download, resume it with -C -. curl checks the size of the existing partial file and requests only the remaining bytes from the server:
curl -C - -O https://downloads.example.com/app.tar.gzResume requires the server to support HTTP range requests. Check for an
Accept-Ranges: bytesheader in the response (curl -I URL) before relying on this feature for critical transfers.
Download Multiple Files in One Command
Queue several URLs in a single curl invocation to download multiple files without looping in a script:
curl -O https://downloads.example.com/file1.tar.gz \
     -O https://downloads.example.com/file2.tar.gz
curl processes the URLs from left to right. If you need the output saved into nested directories that do not exist yet, use -o /path/to/file.tar.gz with --create-dirs for each URL.
curl --create-dirs -o downloads/releases/app.tar.gz \
     https://downloads.example.com/app.tar.gz
Show Download Progress
Display a compact progress bar for large downloads using -# (hash sign):
curl -# -O https://downloads.example.com/large-file.iso######################################################################## 100.0%
Without -#, curl shows detailed transfer statistics including speed, time elapsed, and bytes transferred. Use -s (silent) to suppress all progress output in scripts.
Run Downloads in the Background
Send long transfers to the background so you can continue using the shell:
curl -O https://downloads.example.com/image.qcow2 &Check progress with jobs -l or bring the task back to the foreground with fg. For long-running downloads on remote servers, run curl inside a terminal multiplexer like tmux or screen so the session survives disconnections.
Upload Files to an HTTP Endpoint
Send a file to a server that accepts PUT uploads or multipart form-based submissions:
# HTTP PUT upload
curl -T backup.tar.gz https://uploads.example.com/backups/backup.tar.gz

# Multipart form upload (mirrors browser form submission)
curl -F "file=@backup.tar.gz" https://uploads.example.com/api/import
The -F flag builds a multipart form request with boundary markers so the server receives proper metadata alongside the file, just like a browser form submission.
Work with Web APIs Using curl
curl gives you a direct way to test API endpoints, experiment with headers, or script service-to-service calls from the terminal.
Send Custom Headers
Add one or more headers with -H to include authorization tokens, set content types, or simulate browser requests:
curl -H "Accept: application/json" \
     -H "User-Agent: linuxcapable-cli" \
     https://api.example.com/v1/health
This pattern keeps test calls aligned with production clients, especially when services inspect user agents or content negotiation headers.
Send JSON with the –json Flag
curl 7.82 and later include the --json shortcut, which automatically sets Content-Type: application/json, Accept: application/json, and sends a POST request in one flag. This replaces the older three-flag pattern:
# Modern approach (curl 7.82+)
curl --json '{"title":"Network latency","priority":"high"}' \
     https://api.example.com/v1/tickets

# Equivalent older approach
curl -X POST https://api.example.com/v1/tickets \
     -H "Content-Type: application/json" \
     -H "Accept: application/json" \
     -d '{"title":"Network latency","priority":"high"}'
A successful POST typically returns the created resource:
{
  "id": 1234,
  "title": "Network latency",
  "priority": "high",
  "status": "open"
}
Use single quotes around the JSON payload so the shell does not interpret special characters. If the body includes escaped newlines or must be sent byte-for-byte, switch to --data-binary instead of -d. Use --data-raw when a literal payload starts with @ and should not be read as a filename.
For larger JSON bodies, keep the payload in a file and pass it with @ so your command history does not fill with multiline data:
curl --json @payload.json https://api.example.com/v1/ticketsSubmit Form Data
Encode form fields the same way browsers do by using --data-urlencode for individual entries:
curl https://api.example.com/v1/search \
     --data-urlencode "query=error logs" \
     --data-urlencode "limit=25"
This method handles spaces, ampersands, and special characters correctly without requiring you to manually percent-encode the values. The --data-urlencode option has no short single-letter form, so use the full option name in scripts.
Send Data from a File
Point curl at a file when you keep request bodies under version control or generate them from templates:
curl -X POST https://api.example.com/v1/import \
     -H "Content-Type: application/json" \
     -d @payload.json
The @ prefix tells curl to read the file contents verbatim, which keeps large JSON blobs and newline-heavy payloads intact.
Send DELETE or PUT Requests
Override the default GET method when interacting with RESTful endpoints that update or remove resources:
# Delete a record by ID
curl -X DELETE https://api.example.com/v1/tickets/42

# Replace a record with PUT
curl -X PUT https://api.example.com/v1/tickets/42 \
     -H "Content-Type: application/json" \
     -d '{"status":"closed"}'
Pair these verbs with --fail-with-body when automating API calls so scripts stop on HTTP errors while still capturing the error response body for debugging.
Manage Cookies and Sessions
The -b flag sends cookies from either an inline string or a cookie file, while -c saves cookies set by the server for later requests:
# Send a cookie inline
curl -b "session=abc123" https://www.example.com

# Save cookies set by the server
curl -c cookies.txt https://api.example.com/session

# Reuse saved cookies in a follow-up request
curl -b cookies.txt https://api.example.com/dashboard
Inline cookies are fine for short test values, but keep real session cookies in a protected file. If a login flow requires a password or token, keep that secret out of command arguments and use the authentication pattern your service supports.
Override User Agent Strings
Some services gate behavior based on the user agent string, which is the identifier your client sends to the server. Override it with -A:
curl -A "Mozilla/5.0" https://www.example.comThis is useful when testing how a server responds to different clients or when API documentation requires a specific user agent.
Handle Authentication and Security with curl
APIs and secured endpoints frequently require credentials or stricter TLS settings. curl provides concise flags for each scenario.
Authenticate with Basic Credentials
Supply a username with -u. curl prompts for the password interactively if you omit it from the command, which avoids storing secrets in shell history:
curl -u admin https://api.example.com/v1/metricsFor automated scripts, read credentials from an environment variable or a secrets manager instead of hardcoding them on the command line.
Send Bearer or API Tokens
Most modern APIs expect tokens in the Authorization header. For quick local tests, a direct header works, but avoid placing long-lived tokens in command arguments on shared systems.
(
  umask 077
  trap 'rm -f curl.headers' EXIT
  printf 'Authorization: Bearer %s\n' "$API_TOKEN" > curl.headers
  curl -H @curl.headers https://api.example.com/v1/profile
)
The subshell keeps the stricter umask 077 setting scoped to this short block, and the EXIT trap removes the temporary header file. The file is readable only by your user, and -H @curl.headers tells curl to read the header from that file. For production automation, use your platform’s secrets manager or a protected config path instead of leaving tokens in shell history.
Use Client Certificates for Mutual TLS
Mutual TLS (mTLS) endpoints require both a client certificate and a private key:
curl https://secure.example.com/report \
     --cert /etc/ssl/certs/client.pem \
     --key /etc/ssl/private/client.key
Verify that key file permissions are restrictive (chmod 600) before using them. Check our chmod command guide if you need to adjust permissions. Some providers expect the certificate and key combined in a single PEM file; consult your provider’s documentation.
Validate TLS Configuration
curl validates HTTPS certificates by default. Use
-k(or--insecure) only for short-lived testing against self-signed certificates in lab environments. Always switch back to proper validation after testing.
Point curl at a custom certificate authority bundle to validate certificates from internal or private CAs:
curl --cacert /etc/ssl/certs/internal-ca.crt https://staging.internal.example.local/healthIf you must temporarily bypass verification on a staging host:
curl -k https://staging.internal.example.local/healthSwitch back to --cacert or a trusted certificate as soon as the test is done. Never use -k in production scripts.
Debug and Inspect HTTP Responses with curl
curl includes detailed diagnostic options that save time when you need to trace headers, measure latency, or investigate unexpected behavior.
Inspect Response Headers
Fetch response headers without the body to quickly check status codes, cache behavior, or redirect targets:
curl -fsSI https://example.comRelevant output includes the status line and headers such as content type and byte-range support:
HTTP/2 200
content-type: text/html
accept-ranges: bytes
Add -L to follow redirects until you reach the final destination, then inspect the final response headers.
Save Headers and Body to Separate Files
Store headers in one file and the response payload in another for scripted comparisons or automated testing:
curl -D response.headers \
     -o response.json \
     https://api.example.com/v1/summary
Enable Verbose Mode and Trace Timing
Turn on verbose mode with -v to see the complete request and response handshake, including TLS negotiation, HTTP headers sent, and headers received:
curl -v https://api.example.com/v1/health* Trying 192.0.2.15:443...
* Connected to api.example.com (192.0.2.15) port 443 (#0)
* ALPN, offering h2
* ALPN, offering http/1.1
* TLSv1.3 (OUT), TLS handshake, Client hello (1):
* TLSv1.3 (IN), TLS handshake, Server hello (2):
* SSL connection using TLSv1.3 / TLS_AES_256_GCM_SHA384
* ALPN, server accepted to use h2
> GET /v1/health HTTP/2
> Host: api.example.com
> User-Agent: curl/8.18.0
> Accept: */*
>
< HTTP/2 200
< content-type: application/json
<
{"status":"healthy","uptime":3600}
For performance analysis, use the -w (write-out) flag with format variables to extract specific timing metrics:
curl -o /dev/null -sS -w "DNS: %{time_namelookup}s | Connect: %{time_connect}s | TLS: %{time_appconnect}s | Total: %{time_total}s\n" \
     https://api.example.com/v1/health
DNS: 0.028s | Connect: 0.045s | TLS: 0.112s | Total: 0.342s
This breakdown reveals exactly where latency occurs: DNS resolution, TCP connection, TLS handshake, or server processing. For even deeper analysis, add --trace-time to prefix each trace line with a high-resolution timestamp.
These timing variables measure request latency, not your full internet speed. To check transfer throughput, download a known large file from your own mirror or provider to /dev/null and read curl’s transfer-speed column.
curl -L -o /dev/null https://downloads.example.com/large-file.isoCheck HTTP Status Codes in Scripts
Extract just the HTTP status code for use in monitoring scripts or link validation tools:
curl -o /dev/null -sS -w "%{http_code}\n" https://example.com200
Use this pattern in health checks, CI/CD pipelines, or batch link validators to detect 404s and 500s without downloading full response bodies. Add -L when you want the final status after redirects; leave it out when you need the first response in the chain.
When you also need response size or content type, add more -w variables to the same request:
curl -o /dev/null -sS \
     -w "status=%{http_code} size=%{size_download} content_type=%{content_type}\n" \
     https://example.com
status=200 size=528 content_type=text/html
Check Your Public IP Address
To see the IP address an external service sees, request a plain-text check endpoint. This is useful after VPN, proxy, NAT gateway, or egress firewall changes:
curl -fsS https://checkip.amazonaws.comThe command prints one address. Example output:
203.0.113.42
If the value does not match the egress address you expect, check proxy variables, VPN routes, NAT configuration, or the proxy settings passed to curl.
Control Network Behavior with curl
Beyond default transfers, curl provides flags for proxy routing, custom DNS resolution, bandwidth throttling, timeouts, compression, and protocol negotiation.
Route Traffic Through a Proxy
Point curl at an HTTP or SOCKS proxy, with optional credentials:
curl -x http://proxy.example.com:8080 \
     https://api.example.com/v1/health
Prefix the proxy URL with socks5h:// to route DNS resolution through the SOCKS proxy as well, which prevents DNS leaks. If the proxy requires credentials, use a protected config file or prompt-based workflow instead of embedding the proxy password in the command line.
Use --noproxy when an environment proxy is set but selected hosts should connect directly:
curl --noproxy localhost,127.0.0.1,.example.com \
     https://api.example.com/v1/health
Override DNS Resolution
Test against staging hosts or force traffic to specific backends without modifying /etc/hosts:
curl --resolve api.example.com:443:192.0.2.15 \
     https://api.example.com/v1/health
curl connects to 192.0.2.15 but still sends api.example.com in the Host header and TLS SNI, which makes this ideal for blue/green deployments, CDN troubleshooting, or testing load balancer backends directly. For more DNS diagnostic tools, see our nslookup command guide.
Limit Transfer Rates
Throttle downloads or uploads to prevent saturating a shared connection:
curl --limit-rate 2m -O https://downloads.example.com/app.tar.gzThe value accepts suffixes: k for kilobytes/second, m for megabytes/second, and g for gigabytes/second.
Retry Transient Failures
Automatically retry failed downloads with a delay between attempts:
curl --retry 5 --retry-delay 2 --retry-connrefused \
     -O https://downloads.example.com/tool.tar.gz
This retries up to five times, waits two seconds between attempts, and also retries when the connection is refused. The --retry-connrefused flag is useful with rate-limited mirrors or services that restart briefly during deployment windows.
Request Compressed Responses
Ask the server for compressed content to save bandwidth on large API responses:
curl --compressed https://api.example.com/metricscurl negotiates the encoding automatically (gzip, brotli, or zstd depending on your build) and decompresses the response transparently.
Negotiate HTTP Versions
Force a specific HTTP protocol version when testing server capabilities:
# HTTP/2 (widely supported)
curl --http2 -I https://www.example.com

# HTTP/3 (requires curl built with nghttp3/ngtcp2)
curl --http3 -I https://www.example.com
HTTP/3 support depends on how your distribution built libcurl. Check
curl -VforHTTP3in the Features line before relying on--http3; if the feature is missing, an unsupported-option error reflects your curl build, not necessarily the server.
Set Connection Timeouts
Prevent scripts from hanging on slow or unresponsive endpoints by capping connection and total execution time:
curl --connect-timeout 5 --max-time 20 https://api.example.com/v1/healthThis allows five seconds to establish the TCP/TLS connection and 20 seconds total before curl exits with a timeout error. curl does not choose a useful total deadline for automation by default, so set both limits in production scripts to avoid stalled jobs. --connect-timeout covers only the connection phase; --max-time caps the whole transfer.
Use curl for Non-HTTP Protocols
curl supports dozens of protocols beyond HTTP. This makes it useful for scripting cross-protocol workflows or interacting with legacy services.
Interact with FTP Servers
List directories or transfer files on legacy FTP endpoints. Supplying only the username lets curl prompt for the password instead of storing it in shell history:
# List a remote directory
curl -u username ftp://ftp.example.com/public/

# Download a file
curl -u username -O ftp://ftp.example.com/public/report.csv

# Upload a file
curl -u username -T backup.tar.gz ftp://ftp.example.com/uploads/
For encrypted FTP, use ftps:// for implicit FTPS (typically port 990) or add --ssl to attempt a TLS upgrade on a standard ftp:// connection. curl falls back to plain FTP if the server does not support TLS; use --ssl-reqd instead to force encryption and fail if the server cannot negotiate TLS:
curl --ssl-reqd -u username -O ftp://ftp.example.com/public/report.csvSend Email over SMTP
Automate status notifications or alerts by sending an email through an SMTP server:
curl --url smtp://smtp.example.com \
     --mail-from sender@example.com \
     --mail-rcpt ops@example.com \
     -T email.txt \
     -u sender@example.com
curl prompts for the SMTP password when you provide the username without a password. Use smtps:// for TLS-encrypted connections and rotate credentials regularly. The email.txt file should contain the full email content including headers (From, To, Subject) and the message body.
Use Persistent curl Settings with .curlrc
If you find yourself repeating the same flags across many curl commands, store default options in ~/.curlrc (the curl configuration file). curl reads this file automatically on every invocation:
# ~/.curlrc - default curl settings
--connect-timeout 10
--max-time 60
--retry 3
--location
--user-agent "my-cli-tool/1.0"
Any flag you place in this file applies to every curl command unless explicitly overridden. Put -q first, as in curl -q URL, when you need a clean invocation that skips the config file.
Troubleshoot Common curl Errors
curl returns specific exit codes and error messages for different failure conditions. Start with the exact error text, then verify the layer that failed: local command lookup, DNS, TCP connectivity, TLS validation, timeouts, or protocol support.
curl: command not found
If your shell cannot find curl, you may see one of these messages:
bash: curl: command not found
sudo: curl: command not found
Command 'curl' not found, but can be installed with:
Install the package for your distribution, then confirm the binary is on your PATH. In containers, use the package manager from the base image, such as apk add curl for Alpine images or apt-get update && apt-get install -y curl for Debian and Ubuntu images. In WSL, install curl inside the Linux distribution you are using; Windows curl.exe is separate from the Linux curl binary. A Windows-style curl is not recognized or curl.exe not found message is a PATH issue on Windows; the Linux equivalent is the shell error shown here.
# Ubuntu and Debian
sudo apt update
sudo apt install curl

# Fedora
sudo dnf install curl

# Arch Linux
sudo pacman -S curl

# Alpine Linux (run as root)
apk add curl
command -v curl/usr/bin/curl
Could Not Resolve Host
If you see this error:
curl: (6) Could not resolve host: api.example.com
The DNS resolver cannot translate the hostname to an IP address. Check DNS resolution first, then bypass DNS for one request if you already know the correct address:
# Test DNS resolution directly
nslookup api.example.com

# Bypass DNS for this hostname and port when you already know the IP address
curl --resolve api.example.com:443:192.0.2.15 https://api.example.com/health
Common causes include incorrect hostnames, missing DNS entries, network connectivity issues, or a misconfigured /etc/resolv.conf. For a detailed walkthrough, see how to fix curl “Could not resolve host”.
Connection Refused
If you see this error:
curl: (7) Failed to connect to api.example.com port 443 after 0 ms: Connection refused
The target server is reachable but nothing is listening on the specified port. Verify the service is running and listening on the expected port:
# Check if the port is open locally
ss -tln | grep ':443'

# Test connectivity from the client side
curl -v https://api.example.com/health 2>&1 | grep -E "Connected|refused"
Run the listener check on the server that should host the service. If the service runs on a non-standard port, include it explicitly in the URL (for example, https://api.example.com:8443/health).
SSL Certificate Problem
If you see this error:
curl: (60) SSL certificate problem: unable to get local issuer certificate
curl: (60) SSL certificate problem: certificate has expired
curl cannot verify the server’s SSL/TLS certificate against your local certificate store. This often happens with self-signed certificates, expired certificates, hostname mismatches, or missing intermediate CA certificates. Diagnose the issue:
# View the certificate chain details
curl -vI https://api.example.com 2>&1 | grep -E "issuer|subject|expire"

# If the server uses a private CA, point curl to its certificate
curl --cacert /path/to/ca-bundle.crt https://api.example.com/health
On some minimal systems, the system CA bundle may be missing entirely. Install it with your package manager (ca-certificates on most distributions).
# Ubuntu and Debian
sudo apt install ca-certificates

# Fedora, CentOS Stream, AlmaLinux, and Rocky Linux
sudo dnf install ca-certificates

# Arch Linux
sudo pacman -S ca-certificates

# Alpine Linux (run as root)
apk add ca-certificates
After the CA bundle is installed or the server certificate chain is fixed, rerun the original HTTPS request without -k.
Operation Timed Out
If you see this error:
curl: (28) Connection timed out after 5001 milliseconds
The server did not respond within the allowed time. This can be caused by network issues, firewall rules blocking the port, or an overloaded server. Increase the timeout or check connectivity:
# Increase the timeout
curl --connect-timeout 30 --max-time 120 https://api.example.com/health

# Check if the host and port are reachable
curl -v --connect-timeout 5 https://api.example.com/health 2>&1 | head -5
Protocol Not Supported
If you see this error:
curl: (1) Protocol "sftp" not supported or disabled in libcurl
Your curl build does not include support for the requested protocol. Check which protocols your installation supports:
curl --version | grep ProtocolsThis is common on RHEL 9-based systems (CentOS Stream 9, AlmaLinux 9, Rocky Linux 9) that ship curl-minimal with only basic protocol support. Install the full curl package with sudo dnf swap curl-minimal curl to gain access to all protocols. If the message names https, reinstall the distro package and check the Protocols: line again; modern Linux curl packages should include HTTPS support.
Conclusion
The curl command is ready for downloads, API tests, TLS checks, proxy routes, and non-HTTP transfers from the same terminal workflow. Keep the option-case differences, --json shortcut, timeout flags, and -w timing variables close when you turn one-off tests into scripts.

Formatting tips for your comment
You can use basic HTML to format your comment. Useful tags currently allowed in published comments:
<code>command</code>command<strong>bold</strong><em>italic</em><blockquote>quote</blockquote>