The dnf5 system-upgrade command on Fedora is the command family behind release upgrades from the terminal. It is most useful when you need to understand the DNF5 subcommands, inspect a staged offline transaction, read upgrade logs, clean a queued transaction, or fix command-specific repository problems before rerunning the download.
Current Fedora releases use dnf backed by DNF5, so the examples use dnf instead of a separate dnf5 binary. These commands apply to mutable Fedora Workstation, Server, and minimal installs; rpm-ostree editions such as Silverblue, Kinoite, and CoreOS use a different upgrade model. For the full Fedora 43 to 44 checklist with backup, pre-upgrade timing, and post-upgrade cleanup, use the dedicated Fedora release upgrade guide.
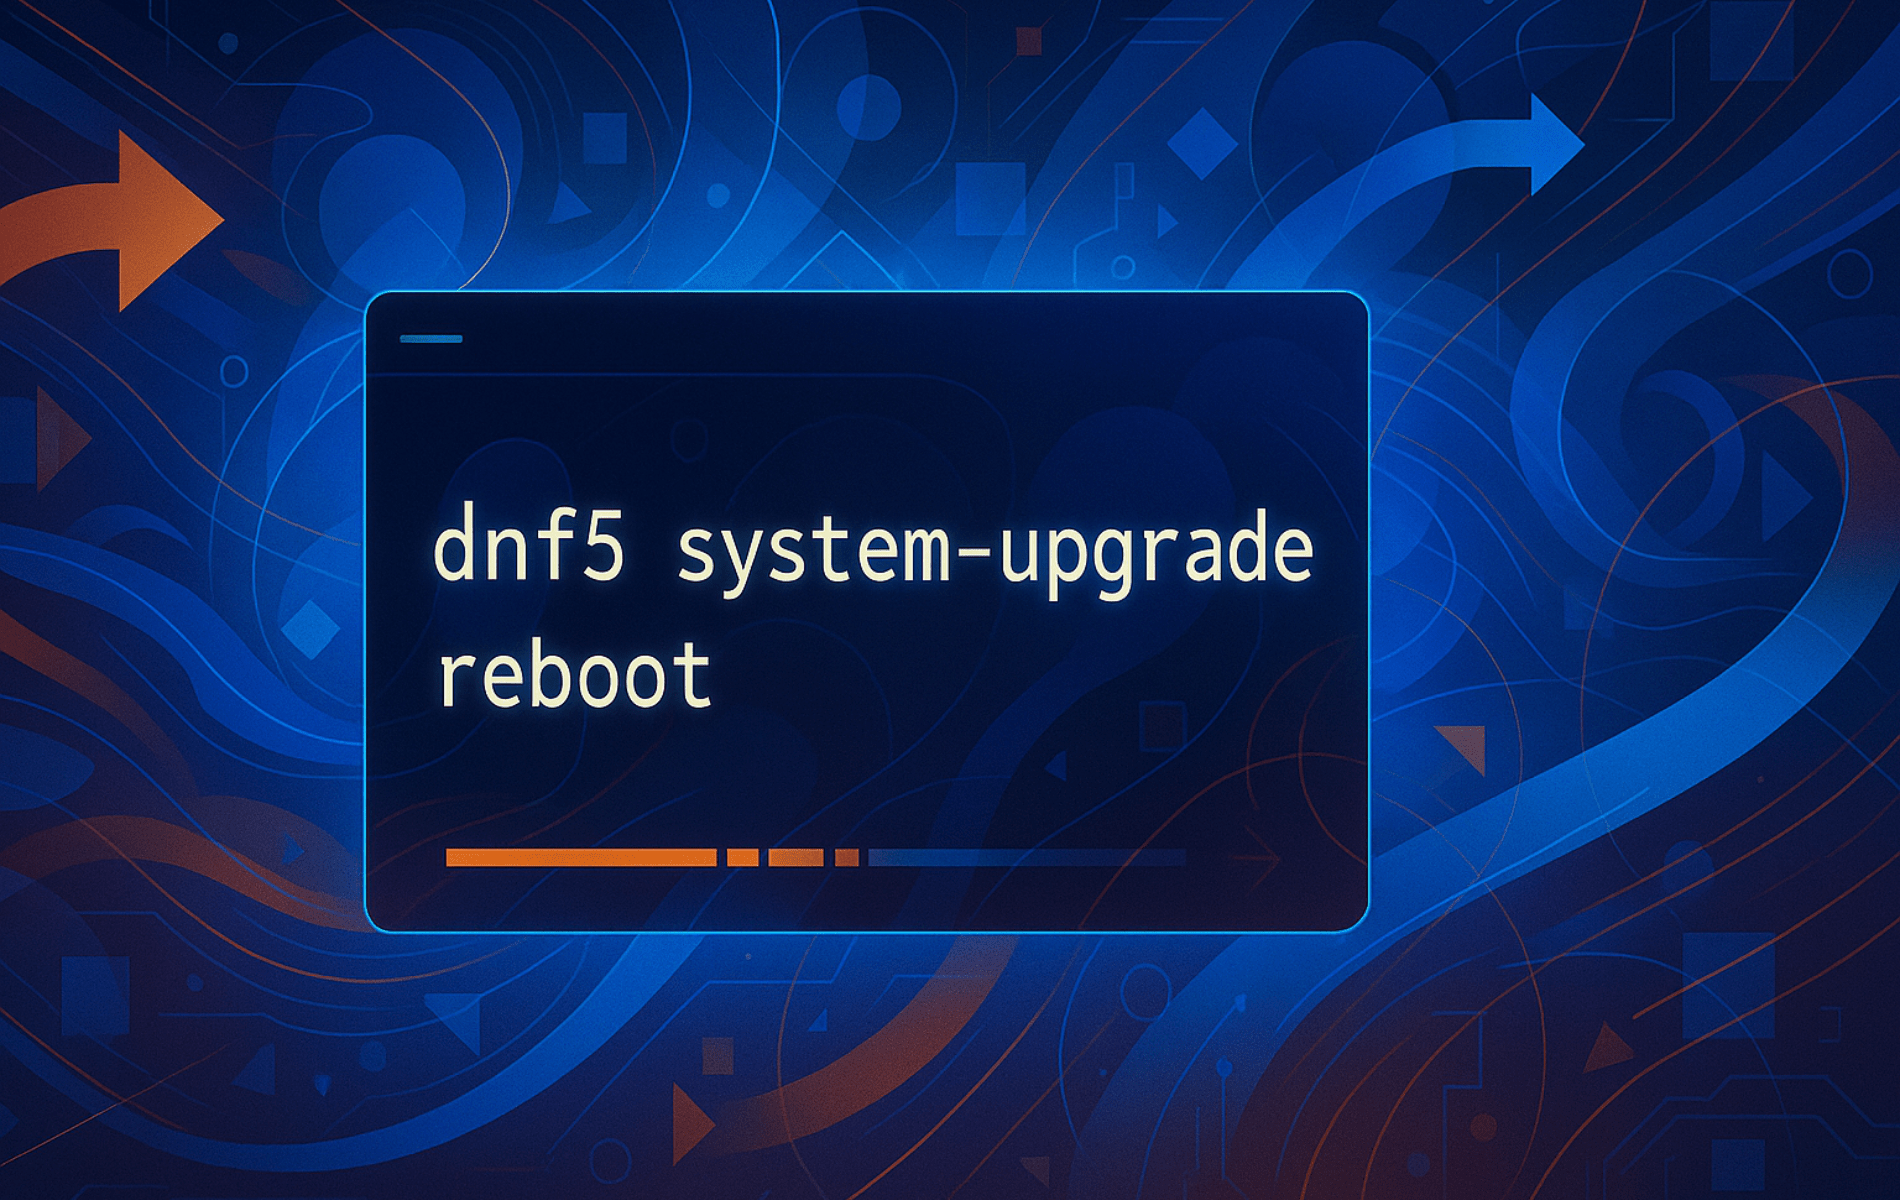
Check the dnf5 system-upgrade command on Fedora
Start by confirming that DNF5 exposes the release-upgrade command set. Fedora 43 and Fedora 44 do not need the old DNF4-era dnf-plugin-system-upgrade package for the normal command-line path.
dnf system-upgrade --helpThe help output should include subcommands such as download, reboot, status, clean, and log. If those actions are present, the release-upgrade surface is available through DNF5.
Help and list commands can run as a normal user. Commands that stage, clean, install, remove, or reboot an upgrade transaction need root privileges. If your account cannot use sudo yet, either switch to the root account or add a user to sudoers on Fedora before running privileged DNF commands.
Understand dnf5 system-upgrade subcommands
The release jump starts with system-upgrade download, but the queued transaction is handled by DNF5’s shared offline transaction engine. That is why Fedora documentation and the upstream DNF5 system-upgrade documentation show both system-upgrade and offline commands in the same workflow.
sudo dnf system-upgrade download --releasever=44: Resolves and stages Fedora 44 packages before reboot.sudo dnf offline reboot: Starts the staged offline transaction on the next boot.sudo dnf system-upgrade reboot: Runs the DNF5 system-upgrade wrapper for the same staged offline transaction.sudo dnf offline status: Shows whether an offline transaction is still queued.sudo dnf offline clean: Removes a staged offline transaction and cached package files.sudo dnf system-upgrade log --number=-1: Opens the newest stored upgrade log when one exists.
Historically, Fedora tested DNF5 before it became the default package-manager front end. Older posts may still mix a separate dnf5 binary, a DNF4 plugin package, or DNF4-only examples into the same topic. On current Fedora, keep the DNF5 command family together and avoid those legacy package names unless you are maintaining an older release.
Use dnf5 system-upgrade options deliberately
The --releasever option is the option that turns a normal package operation into a target-release transaction. For the Fedora 44 cycle, Fedora 43 systems use --releasever=44.
sudo dnf system-upgrade download --releasever=44--releasever=44points enabled repositories at Fedora 44 for the staged transaction.--allowerasinglets DNF remove packages that block dependency resolution, usually from third-party repositories that have not caught up with the target release.--no-downgradetells DNF not to sync installed packages to older builds from the target release. The defaultsystem-upgrade downloadbehavior is closer todistro-sync, which is the safer default for most Fedora release upgrades.
Fedora supports upgrading to the next release and one skipped release, so Fedora 43 to 44 and Fedora 42 to 44 are valid paths during the Fedora 44 cycle. Older systems should move through smaller supported jumps instead of trying to cross several releases in one transaction.
Keep dnf5 system-upgrade separate from normal DNF updates
A normal DNF update keeps the system inside the same Fedora release. A release jump starts only when system-upgrade download is paired with a target --releasever.
sudo dnf upgrade --refresh
sudo dnf system-upgrade download --releasever=44
After the download succeeds, Fedora’s current upgrade documentation uses the shared offline reboot command to start the queued transaction.
sudo dnf offline rebootDNF5 also keeps the system-upgrade reboot wrapper for readers who want to stay inside the same command family. Use one reboot command, not both.
sudo dnf system-upgrade rebootUse the broader Fedora upgrade article for the full order of operations around these commands, including backups, release-note checks, post-upgrade cleanup, and third-party repository review. Keep command-specific troubleshooting focused on the DNF5 command surface and the failures that happen around it.
Troubleshoot dnf5 system-upgrade command errors
Command-specific failures usually come from a missing DNF5 subcommand provider, a third-party repository that blocks dependency solving, a queued transaction you need to inspect, or insufficient space for the cached offline transaction.
Fix missing dnf config-manager on Fedora
Repository lag can block system-upgrade download. List repo IDs first, because DNF5 repository toggles use the exact left-column ID from dnf repo list --all.
dnf repo list --allIf dnf config-manager --help reports Unknown argument "config-manager" and suggests a plugin-provided command, install the current DNF5 provider for that subcommand.
sudo dnf install 'dnf5-command(config-manager)'Then disable only the repository that is blocking the solver. The example uses Google Chrome because its repo ID is easy to recognize; swap in the actual ID from your system.
sudo dnf config-manager setopt google-chrome.enabled=0
dnf repo list --all | grep '^google-chrome'
A disabled repository should show disabled in the status column. Re-enable that source only after the target Fedora release is running and the repository publishes compatible metadata.
sudo dnf config-manager setopt google-chrome.enabled=1If the lagging repository is RPM Fusion, verify its current Fedora setup instead of guessing at repo IDs. The setup and branch details are covered in install RPM Fusion on Fedora.
Check dnf5 offline status and logs
Use the offline status command when you are unsure whether a transaction is still queued for the next boot.
sudo dnf offline statusA clean state reports that no offline transaction is stored. If the command still reports a queued transaction, either reboot into it or clean it before staging a fresh download.
If the machine reboots back into the old release or the offline phase stops partway through, read the newest stored upgrade log before rerunning the download.
sudo dnf system-upgrade log --number=-1If DNF cannot find a log for that index, the system has no stored offline upgrade log yet. After a failed or completed offline transaction, the same command opens the newest recorded upgrade log.
Cancel a staged dnf5 system-upgrade transaction
If you decide not to continue before rebooting, remove the staged offline transaction rather than leaving cached upgrade data behind.
sudo dnf offline clean
sudo dnf offline status
The same cleanup is also available through sudo dnf system-upgrade clean, but the offline form matches the shared DNF5 transaction engine that owns the queued job.
Check free space for dnf5 system-upgrade downloads
Large package downloads and cached RPMs can fill the filesystem that stores the offline transaction. Check both / and /var, because /var may be a separate mount on some systems.
df -h / /varIf either location is tight, clear package cache data and then use the du command to find large directories before rerunning system-upgrade download.
sudo dnf clean packagesUse distro-sync after a partial Fedora upgrade
system-upgrade download already uses distro-sync behavior against the target release. If a machine boots partly upgraded or still has dependency errors afterward, run a manual sync against the currently enabled repositories.
sudo dnf distro-syncIf the plain sync still cannot resolve dependencies, add --allowerasing only after you review which packages DNF wants to remove.
sudo dnf distro-sync --allowerasingBroader package-management examples for installs, removals, local RPMs, and repository work are covered in these DNF5 install examples on Fedora.
Conclusion
The DNF5 system-upgrade command is best treated as Fedora’s release-upgrade command toolkit: use download to stage the target release, offline reboot or the wrapper to start the queued transaction, status and log to inspect it, and clean when you need to discard a staged run. Keep the full release-upgrade checklist separate so command troubleshooting does not get buried under routine upgrade preparation.

The argument --set-disabled for config-manager command doesn’t exist in my version of DNF5.
Is this a problem for others aswell? I manually # out 3rd party repos
Hi Rou,
Thanks for flagging this! In recent versions of DNF5 the
--set-disabledflag was replaced by a simpler--disableoption. For example, to disable a repo you’d run:And to re-enable it:
If you still see an error, make sure the config-manager plugin is installed:
As an alternative you can also edit the relevant
.repofile in/etc/yum.repos.d/and setenabled=0under the repo you wish to disable.I’ll update the guide to use the current flags—hope that helps!