
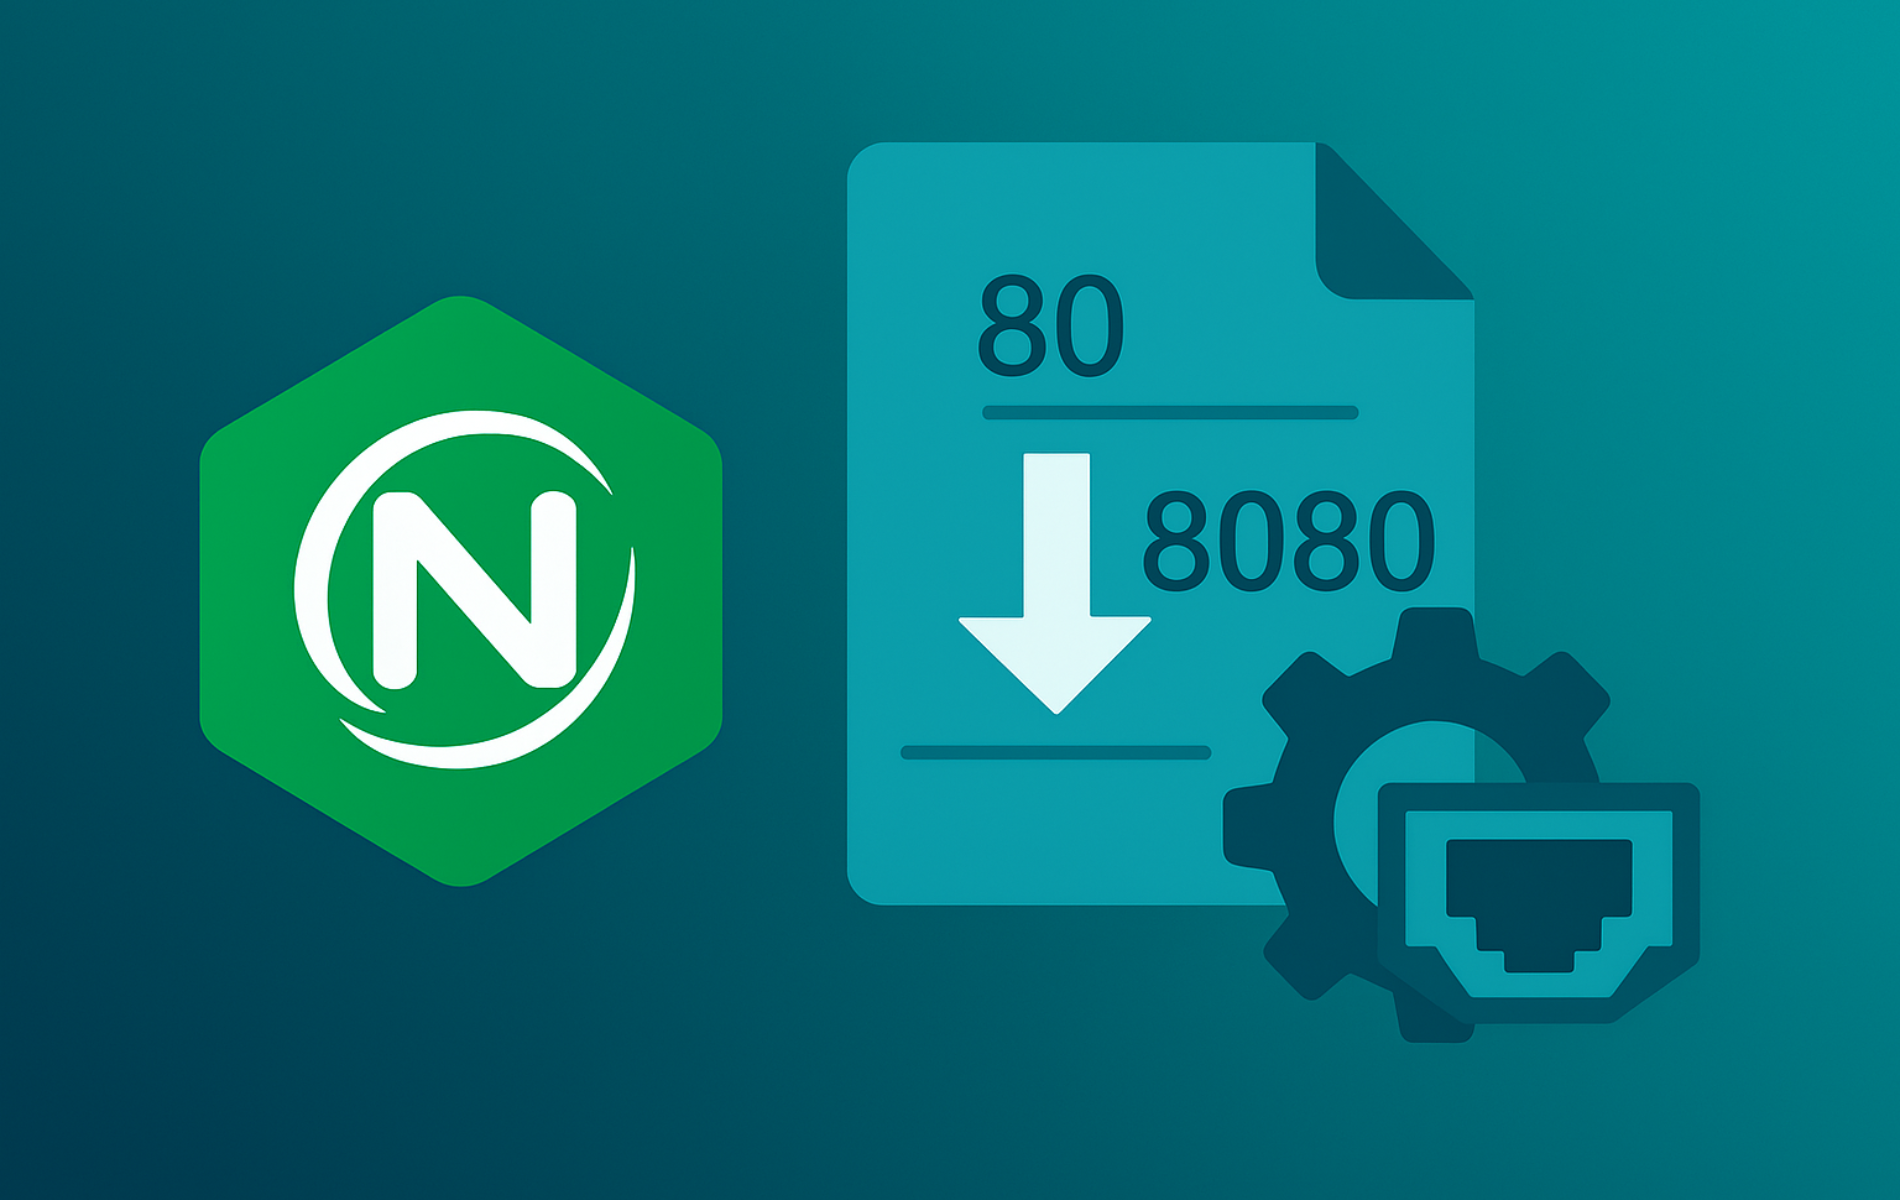
Mastering Nginx port configuration allows you to run multiple web servers, adhere to strict network policies, or deploy internal staging environments alongside production sites. While Nginx defaults to port 80 for HTTP and 443 for HTTPS, changing these listeners is a fundamental skill for system administrators. By the end of this guide, you will be able to configure Nginx to listen on any custom port, secure those ports with firewall and SELinux rules, and verify the changes across Ubuntu, Debian, Fedora, and Enterprise Linux systems.
This guide assumes you already have Nginx installed and running. If you need installation instructions, see our distro-specific guides for Ubuntu, Debian, or Fedora. The configuration steps apply to Nginx 1.18+ across all major distributions. Version-specific differences (particularly the HTTP/2 configuration syntax) are noted where relevant.
This guide covers modifying listen directives in Nginx server blocks, securing custom ports across your firewall and SELinux policies, redirecting traffic between custom ports, and troubleshooting common errors like port conflicts and firewall blocking. Whether you need to move a staging environment to port 8080, run an internal dashboard on 9090, or shift HTTPS to 8443 for firewall compliance, the same configuration workflow applies to any Linux distribution.
Prepare to Change Nginx Ports on Linux
Find Your Nginx Configuration Files
Package-based installations store the primary configuration file at /etc/nginx/nginx.conf, which includes virtual hosts (called server blocks in Nginx) inside /etc/nginx/sites-enabled/ on Debian-based systems or /etc/nginx/conf.d/ on Fedora, RHEL, Rocky Linux, and AlmaLinux. Builds from source often live under /usr/local/nginx/conf/. First, verify which include folders exist on your system and check your current Nginx version:
nginx -v
sudo ls /etc/nginx/sites-enabled/
sudo ls /etc/nginx/conf.d
Furthermore, check the same file referenced in your systemd unit or deployment scripts to avoid desynchronized settings. If you maintain multiple includes, document which environment variables or automation roles manage each file before you start changing ports.
Next, map every existing listener so nothing is left behind on port 80 or 443. Search across the include directories and log the matches:
sudo grep -R "listen 80" /etc/nginx/sites-enabled /etc/nginx/conf.d
sudo grep -R "listen 443" /etc/nginx/sites-enabled /etc/nginx/conf.d
Use the results to build a checklist of files that must move to your new ports so you never reload Nginx with duplicate legacy listeners.
Back Up and Review Server Blocks
Next, create snapshots of the files you plan to edit and capture the existing listeners. This lets you revert quickly if a test reload fails.
sudo cp /etc/nginx/nginx.conf /etc/nginx/nginx.conf.bak
sudo cp /etc/nginx/sites-available/default /etc/nginx/sites-available/default.bak
sudo nginx -T | grep -n listen
Adjust the second command to match whichever server block file your distribution uses, such as /etc/nginx/conf.d/default.conf on Fedora or /etc/nginx/http.d/default.conf on Alpine.
Modify Nginx Listen Directives for Custom Ports
Update HTTP Listen Directives in Server Blocks
Open the server block that currently listens on port 80 (or the legacy port you want to replace) and update the listen lines to the new value. The example below switches the default site to port 8080 for both IPv4 and IPv6:
sudo nano /etc/nginx/sites-available/defaultSwap the path for the server block file your distribution uses, such as /etc/nginx/conf.d/default.conf on Fedora or /etc/nginx/http.d/default.conf on Alpine.
server { listen 8080; listen [::]:8080; server_name example.com; root /var/www/example; location / { try_files $uri $uri/ =404; } }Additionally, every site block that previously listened on port 80 must adopt a new port to avoid conflicts. Update any reverse proxy definitions, monitoring checks, or Kubernetes ingress annotations that reference the old number.
Enable HTTPS on Custom Ports
Before making port changes on production systems, test the complete configuration flow (config changes, syntax test, reload, firewall updates, and verification) in a staging environment. Port misconfigurations can make services unreachable until corrected.
You can keep TLS encryption enabled even when you move HTTPS off port 443. Specify the desired port alongside the SSL configuration.
Note on HTTP/2 syntax: Nginx 1.25.1+ deprecated the
http2parameter in thelistendirective. For Nginx 1.25.1 and newer (typically mainline or custom builds), use the separatehttp2 on;directive inside the server block. For older stable versions like those in Ubuntu 22.04 (Nginx 1.18.0) and Ubuntu 24.04 (Nginx 1.24.0) default repositories, thelistenparameter syntax shown below remains correct.
server { listen 8443 ssl http2; listen [::]:8443 ssl http2; server_name secure.example.com; ssl_certificate /etc/letsencrypt/live/secure.example.com/fullchain.pem; ssl_certificate_key /etc/letsencrypt/live/secure.example.com/privkey.pem; ssl_protocols TLSv1.3 TLSv1.2; ssl_ciphers HIGH:!aNULL:!MD5; root /var/www/secure; }Notify users and application owners about the new endpoint so they append :8443 to URLs or update load balancer health checks.
Redirect Custom HTTP Port to HTTPS
If you expose HTTP only to redirect requests, listen on the custom HTTP port and point everything to the custom HTTPS listener. This example moves HTTP to port 8080 and HTTPS to 8443:
server { listen 8080; listen [::]:8080; server_name portal.example.com; return 301 https://$host:8443$request_uri; } server { listen 8443 ssl; listen [::]:8443 ssl; server_name portal.example.com; ssl_certificate /etc/ssl/certs/portal.crt; ssl_certificate_key /etc/ssl/private/portal.key; location / { proxy_pass http://127.0.0.1:9001; proxy_set_header Host $host; proxy_set_header X-Real-IP $remote_addr; } }If you are migrating from ports 80 and 443, remove those listeners or add matching 301 redirects on the legacy ports so clients still reach the new 8080 and 8443 endpoints with the firewall rules updated accordingly.
Now test the configuration before reloading Nginx. The syntax check catches typos in port numbers, duplicate listeners, and certificate paths.
sudo nginx -tThe syntax test should confirm the configuration is valid:
nginx: the configuration file /etc/nginx/nginx.conf syntax is ok
nginx: configuration file /etc/nginx/nginx.conf test is successful
If the test passes, reload Nginx to apply the changes without dropping active connections:
sudo systemctl reload nginxThe reload completes silently when successful. Verify that Nginx is now bound to the new port:
sudo ss -tuln | grep 8080tcp LISTEN 0 511 0.0.0.0:8080 0.0.0.0:* users:(("nginx",pid=1234,fd=6))
tcp LISTEN 0 511 [::]:8080 [::]:* users:(("nginx",pid=1234,fd=7))
The LISTEN entries confirm that both IPv4 and IPv6 sockets are bound to the custom port. Nginx is now listening, but external traffic will fail until you update the firewall.
Configure Firewall and Permissions
Most Linux distributions drop traffic on non-standard ports by default. You must explicitly allow the new ports in your firewall and update SELinux contexts on RHEL-based systems.
Update UFW (Ubuntu/Debian)
For systems using Uncomplicated Firewall (UFW), allow TCP traffic on your new ports (e.g., 8080 and 8443):
sudo ufw allow 8080/tcp sudo ufw allow 8443/tcp sudo ufw reloadVerify the status shows the new rules:
sudo ufw status numberedStatus: active
To Action From
-- ------ ----
[ 1] 22/tcp ALLOW IN Anywhere
[ 2] 80/tcp ALLOW IN Anywhere
[ 3] 443/tcp ALLOW IN Anywhere
[ 4] 8080/tcp ALLOW IN Anywhere
[ 5] 8443/tcp ALLOW IN Anywhere
Update FirewallD (Fedora/RHEL/AlmaLinux)
Enterprise Linux distributions use FirewallD. Add the ports to the permanent configuration and reload:
sudo firewall-cmd --permanent --add-port=8080/tcp sudo firewall-cmd --permanent --add-port=8443/tcp sudo firewall-cmd --reloadThe reload command applies the permanent rules and returns success silently. Confirm the ports are now open:
sudo firewall-cmd --list-ports80/tcp 443/tcp 8080/tcp 8443/tcp
Update SELinux Contexts
Fedora, Red Hat, and their derivatives enforce SELinux, which prevents Nginx from binding to non-standard ports even if the firewall is open. To fix this, map the new ports to the http_port_t context.
First, install the necessary management tools if they are missing:
sudo dnf install policycoreutils-python-utils -yThen register the new ports:
sudo semanage port -a -t http_port_t -p tcp 8080 sudo semanage port -a -t http_port_t -p tcp 8443If you made a mistake or the port was already defined, use -m (modify) instead of -a (add). Verify the mapping with:
sudo semanage port -l | grep http_port_tThe output shows all ports mapped to the http_port_t context, including your newly added custom ports:
http_port_t tcp 8080, 8443, 80, 443, 488, 8008, 8009, 8443, 9000
Your custom ports (8080 and 8443) now appear in the list alongside the standard HTTP/HTTPS ports. SELinux will no longer block Nginx from binding to these ports.
Advanced Nginx Port Configuration Patterns
Bind Nginx to Specific IP Addresses and Ports
When a server hosts multiple interfaces, bind Nginx to a single address to keep other services free. You can mix IPv4 and IPv6 addresses inside the same block:
server { listen 192.0.2.10:9000; listen [2001:db8::10]:9000; server_name staging.example.com; root /srv/staging; }Host Multiple Sites on Separate Ports
Assign unique port numbers to each application on the same machine to keep routing simple for internal dashboards or test environments:
server {
    listen 8080;
    server_name docs.example.com;
    root /var/www/docs;
}

server {
    listen 9090;
    server_name metrics.example.com;

    location / {
        proxy_pass http://127.0.0.1:3000;
        proxy_set_header Host $host;
        proxy_set_header X-Real-IP $remote_addr;
    }
}
Enable Dual IPv4 and IPv6 Ports
Add dedicated IPv4 and IPv6 listen lines so the server answers on both protocol families. This dual-stack approach keeps IPv4 connectivity online even on hardened hosts that set net.ipv6.bindv6only=1, while still serving IPv6 clients on the same port. Keep ipv6only=off only if your kernel allows dual binding on the IPv6 socket (typical on default Ubuntu/Debian, but often restricted on locked-down Enterprise Linux).
server { listen 9001; listen [::]:9001 ipv6only=off; server_name lab.example.com; root /srv/lab; }Load Balance with Custom Front-End Ports
Nginx can accept traffic on one port and distribute it to upstream services that already run on other custom ports. Combine this pattern with sticky sessions or health checks when needed:
upstream api_backends {
    server 10.0.0.11:9200;
    server 10.0.0.12:9201;
}

server {
    listen 8088;
    server_name api.example.com;

    location / {
        proxy_pass http://api_backends;
        proxy_set_header Host $host;
        proxy_set_header X-Real-IP $remote_addr;
    }
}
Configure UDP Listeners for HTTP/3 (QUIC)
Modern Nginx deployments often support HTTP/3 via QUIC, which runs over UDP rather than TCP. If you change your HTTPS port, remember to add a matching UDP listener if you want to support this newer protocol. Note that HTTP/3 requires Nginx 1.25.0+ or a custom build.
server { # Standard HTTPS over TCP listen 8443 ssl; # HTTP/3 over UDP (requires TLS 1.3) listen 8443 quic reuseport; server_name quic.example.com; ssl_protocols TLSv1.3; # Advertise HTTP/3 availability add_header Alt-Svc 'h3=":8443"; ma=86400'; }Ensure your firewall allows both TCP and UDP traffic on the custom port (e.g., sudo ufw allow 8443/udp).
Pair custom port changes with broader hardening such as the steps in our Nginx reverse proxy guide, security headers configuration, gzip compression setup, or REUSEPORT tuning tutorial whenever you expose services to the internet.
Troubleshoot Nginx Port Change Issues
When you encounter errors after changing ports, use these steps to diagnose the mismatch between configuration, firewall, and system permissions.
Fix “Address Already in Use” Errors
Error: nginx: [emerg] bind() to 0.0.0.0:8080 failed (98: Address already in use)
This means another service has claimed the port before Nginx could start. Identify the conflicting process:
sudo ss -tulnp | grep 8080tcp LISTEN 0 4096 0.0.0.0:8080 0.0.0.0:* users:(("apache2",pid=1510,fd=4))
Stop the conflicting service or choose a different port for Nginx:
sudo systemctl stop apache2If the conflicting service is essential, select a different port for Nginx (e.g., 8081 instead of 8080) and update your configuration accordingly.
Fix Connection Timed Out (Firewall Block)
Symptom: The browser spins indefinitely and eventually says “Connection Timed Out.”
This indicates Nginx is listening, but the firewall is dropping packets. Revisit the Configure Firewall section above and ensure your rules are active. For UFW, check:
sudo ufw status numbered | grep 8080If no rule appears, add it:
sudo ufw allow 8080/tcp sudo ufw reloadFor FirewallD (Fedora, RHEL, Rocky Linux), verify with:
sudo firewall-cmd --list-ports | grep 8080Fix Permission Denied (SELinux)
Error: nginx: [emerg] bind() to 0.0.0.0:8080 failed (13: Permission denied)
On Fedora/RHEL/AlmaLinux systems, this confirms SELinux is blocking the bind attempt. First, verify the port isn’t already mapped:
sudo semanage port -l | grep http_port_t | grep 8080If the port appears in the list, use -m (modify); if not, use -a (add):
sudo semanage port -a -t http_port_t -p tcp 8080If you receive an error that the port is already defined, use modify instead:
sudo semanage port -m -t http_port_t -p tcp 8080Fix Configuration Syntax Errors
If Nginx fails to restart, valid syntax is the first check. Run the test command to print the specific line causing the failure:
sudo nginx -tFor complex errors, dump the full configuration with line numbers to verify scopes:
sudo nginx -T | lessWhen in doubt, restore the backups you created earlier, reapply the port edits carefully, and retest until nginx -t passes:
sudo cp /etc/nginx/nginx.conf.bak /etc/nginx/nginx.conf sudo cp /etc/nginx/sites-available/default.bak /etc/nginx/sites-available/default sudo nginx -tVerify Connectivity with Curl
Finally, confirm that external clients can reach your new port by sending a request from a different machine or your local workstation. Use curl to view the headers:
curl -I http://your-server-ip:8080Replace your-server-ip with your actual server’s IP address or hostname. A successful response looks like this:
HTTP/1.1 200 OK Server: nginx/1.24.0 Date: Mon, 01 Jan 2024 12:00:00 GMT Content-Type: text/html Content-Length: 612 Last-Modified: Mon, 01 Jan 2024 11:00:00 GMT Connection: keep-alive ETag: "659c-264"
If you see a 200 OK response, Nginx is correctly bound, the firewall is open, and routing is functional. If you receive a connection refused error, verify that Nginx is listening on the port (sudo ss -tuln | grep 8080) and that your firewall rules are active.
Remove Nginx Custom Port Configuration
To revert Nginx back to standard ports (80 and 443), restore your configuration backups, remove firewall rules for the custom ports, and delete any SELinux port mappings you added. This section walks through cleaning up all changes made in this guide.
Restore Default Port Configuration
If you created configuration backups before changing ports, restore them to return Nginx to its default listeners:
sudo cp /etc/nginx/nginx.conf.bak /etc/nginx/nginx.conf
sudo cp /etc/nginx/sites-available/default.bak /etc/nginx/sites-available/defaultAdjust the paths if your distribution uses different configuration file locations (/etc/nginx/conf.d/ on Fedora, /etc/nginx/http.d/ on Alpine). If you did not create backups, manually edit the server blocks and change the listen directives back to their original values (typically 80 and 443).
After restoring the configuration, test the syntax and reload:
sudo nginx -t
sudo systemctl reload nginx
Remove Firewall Rules
Delete the custom port rules from UFW (Ubuntu/Debian):
sudo ufw status numberedIdentify the rule numbers for your custom ports (e.g., 8080/tcp and 8443/tcp), then delete them by number. Replace [rule-number] with the actual numbers shown in the output:
sudo ufw delete 4
sudo ufw delete 5
sudo ufw reload
After deleting a rule, the remaining rules renumber. Always check
sudo ufw status numberedagain before deleting the next rule to avoid removing the wrong entry.
For FirewallD (Fedora/RHEL/Rocky/Alma), remove the ports:
sudo firewall-cmd --permanent --remove-port=8080/tcp
sudo firewall-cmd --permanent --remove-port=8443/tcp
sudo firewall-cmd --reload
Remove SELinux Port Mappings
On systems running SELinux (Fedora, RHEL, AlmaLinux, Rocky Linux), remove the http_port_t mappings you added for custom ports:
sudo semanage port -d -t http_port_t -p tcp 8080 sudo semanage port -d -t http_port_t -p tcp 8443Verify the ports are removed from the policy:
sudo semanage port -l | grep http_port_tThe custom ports (8080, 8443) should no longer appear in the list. Only the standard ports (80, 443, 488, 8008, 8009, 9000) will remain.
Verify Standard Port Operation
Confirm Nginx is now listening on the default ports:
sudo ss -tuln | grep ':80\|:443'tcp LISTEN 0 511 0.0.0.0:80 0.0.0.0:* tcp LISTEN 0 511 0.0.0.0:443 0.0.0.0:* tcp LISTEN 0 511 [::]:80 [::]:* tcp LISTEN 0 511 [::]:443 [::]:*
Test connectivity using curl without specifying a custom port:
curl -I http://your-server-ip curl -Ik https://your-server-ipBoth commands should return 200 OK headers, confirming Nginx is serving traffic on the standard HTTP and HTTPS ports.
Conclusion
You have now configured Nginx to listen on custom ports, secured those connections with appropriate firewall rules, and updated SELinux contexts to permit the binding. Whether you are running staging instances, isolating internal dashboards, or bypassing ISP restrictions, these configuration patterns ensure your server remains accessible and secure. Remember to document these port changes for your team, as standard monitoring tools may still default to checking ports 80 and 443. For additional Nginx hardening and optimization, see our guides on configuring security headers, setting up reverse proxies, and enabling gzip compression.

Formatting tips for your comment
You can use basic HTML to format your comment. Useful tags currently allowed in published comments:
<code>command</code>command<strong>bold</strong><em>italic</em><blockquote>quote</blockquote>