Rocky Linux’s default repositories do not include Microsoft’s Visual Studio Code build, so the clean way to install Visual Studio Code on Rocky Linux is to add Microsoft’s RPM repository and install the code package with DNF. That repository currently serves Rocky Linux 10, 9, and 8, and future VS Code updates arrive through normal DNF upgrades.
VS Code is useful when you want one editor for debugging, Git, the integrated terminal, and extensions for languages and tools such as Python, C++, Ansible, and Terraform. The package name is code, not vscode, which matters when you search or install from DNF.
Update Rocky Linux Before VS Code Installation
Start by refreshing your package metadata and upgrading installed packages. Running a full upgrade before adding a third-party repository prevents dependency conflicts during the VS Code installation.
sudo dnf upgrade --refreshWait for the process to complete before proceeding. On a freshly provisioned system this step may pull a large number of updates.
These commands use
sudofor tasks that need root privileges. If your account is not in the sudoers file yet, run the commands as root or add your user to thewheelgroup first.
Install Visual Studio Code on Rocky Linux
Microsoft documents VS Code for RHEL, Fedora, and CentOS-based distributions through the same Yum repository used here. The repository method is better than downloading a one-off RPM because DNF can verify the package and keep it updated.
The Microsoft RPM repository currently lists
codeandcode-insidersRPMs for x86_64, aarch64, and armv7hl, while Rocky Linux desktop installs most often use x86_64 or aarch64. The same repo file and package names apply on Rocky Linux 10, 9, and 8; architectures outside Microsoft’s RPM set will not find a matching VS Code package from this repository.
Import the Microsoft GPG Key
The Microsoft GPG key authenticates packages downloaded from the repository, ensuring they have not been tampered with during transit. Import the key into your RPM keyring:
sudo rpm --import https://packages.microsoft.com/keys/microsoft.ascUnlike some third-party keys that trigger SHA-1 warnings on newer RHEL-family systems, the Microsoft key imports cleanly on Rocky Linux. Verify that the RPM database now lists the Microsoft release key:
rpm -q gpg-pubkey --qf '%{NAME}-%{VERSION}-%{RELEASE}\n' | grep -i '^gpg-pubkey-be1229cf-'Relevant output includes the current Microsoft key package ID:
gpg-pubkey-be1229cf-5631588c
Create the VS Code Repository File
Create a repository file that tells DNF where to find Visual Studio Code packages and which key to use for package verification. The tee command writes the file with root privileges; a plain shell redirect would not inherit sudo.
printf '%s\n' \
'[code]' \
'name=Visual Studio Code' \
'baseurl=https://packages.microsoft.com/yumrepos/vscode' \
'enabled=1' \
'autorefresh=1' \
'type=rpm-md' \
'gpgcheck=1' \
'gpgkey=https://packages.microsoft.com/keys/microsoft.asc' | sudo tee /etc/yum.repos.d/vscode.repo > /dev/null
This repo file follows Microsoft’s current Linux setup instructions. Keep gpgcheck=1 enabled so DNF verifies the packages signed by Microsoft.
Verify the Repository
Refresh only the VS Code repository metadata first. This confirms that the repository file is readable before the install transaction starts:
sudo dnf --disablerepo='*' --enablerepo=code makecache --refreshThen confirm that the repository is enabled:
dnf repolist --enabled | grep -E '^code[[:space:]]+Visual Studio Code'The output should include the code repository ID:
code Visual Studio Code
If the code repository does not appear, check the repository file syntax with cat /etc/yum.repos.d/vscode.repo and correct any formatting errors before continuing. Microsoft’s VS Code repository uses a fixed vendor URL rather than Rocky mirrors, so troubleshoot it separately from normal Rocky repository mirror tuning.
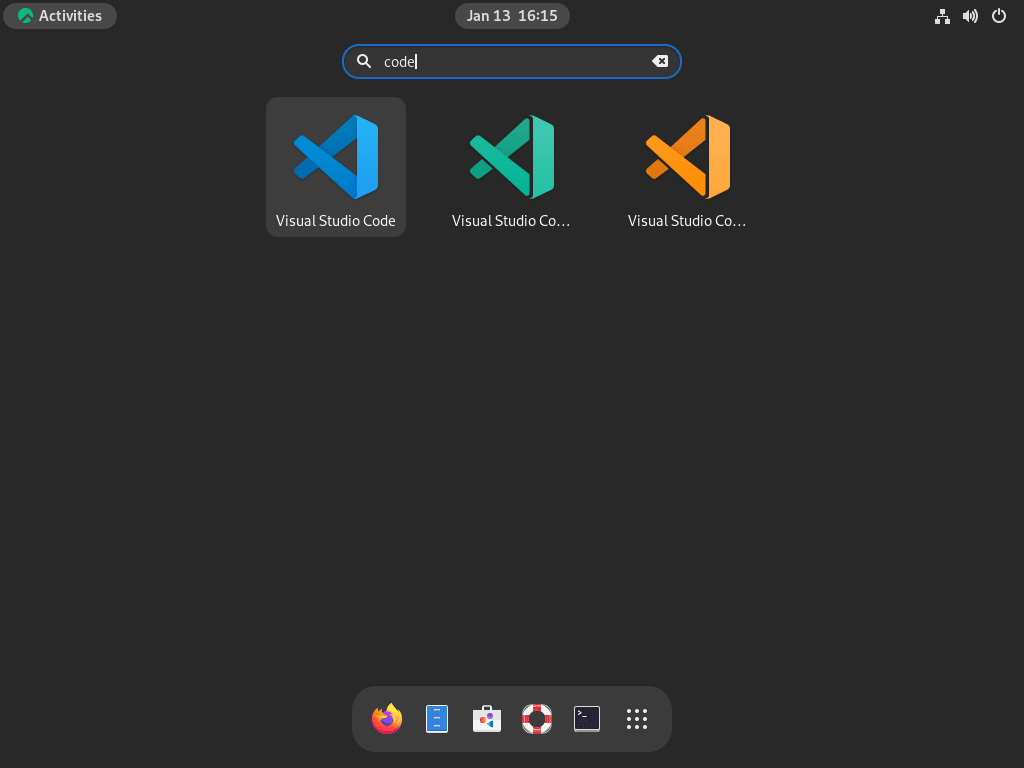
Choose Your VS Code Edition
Microsoft publishes two editions through the same repository. Use this comparison to choose the package that matches your workflow:
| Edition | Package | Release Cycle | Best For |
|---|---|---|---|
| Stable | code | Monthly stable releases; recovery updates as needed | Production development, team environments |
| Insider | code-insiders | Daily builds | Extension developers, testing upcoming API changes |
Both editions can coexist on the same Rocky Linux system because they use separate package names, binaries, desktop launchers, and configuration directories.
Install Stable Visual Studio Code
For most users, the stable edition provides the best balance of features and reliability. The package is named code in the Microsoft repository (searching for vscode will not find it). Install it with:
sudo dnf install codeDNF resolves dependencies and prompts you to confirm. On minimal Rocky Linux installations, expect desktop helper libraries in the dependency list because VS Code is a graphical application.
After installation, verify the installed package name and terminal launcher:
rpm -q --qf '%{NAME}\n' code
command -v code
code /usr/bin/code
Use rpm -q code when you need the exact installed VS Code version.
Install Insider Visual Studio Code
If you need daily builds with the latest features for extension development or API testing, install the insider edition instead:
sudo dnf install code-insidersExpect occasional instability and breaking changes between insider builds. Verify the Insider package and launcher after installation:
rpm -q --qf '%{NAME}\n' code-insiders
command -v code-insiders
code-insiders /usr/bin/code-insiders
During either installation, DNF may prompt you to confirm the Microsoft GPG key if this is your first install from the repository.
Launch Visual Studio Code on Rocky Linux
After installation, launch VS Code through the terminal or your desktop environment’s application menu. On Server or minimal installs, the RPM can still install, but launching the editor locally requires a graphical desktop session. For remote development, use VS Code from a desktop client and connect to the Rocky system over SSH.
Launch from the Terminal
Open Visual Studio Code from the command line:
codeYou can also open a specific file or directory by passing it as an argument. For example, code ~/projects/myapp opens VS Code with that directory as the workspace root. If you installed the insider edition, use code-insiders instead:
code-insidersVS Code includes built-in Git support. If Git is not yet installed on your system, see how to install Git on Rocky Linux. For GitHub workflows, install GitHub CLI on Rocky Linux to work with pull requests, issues, and repositories from the VS Code integrated terminal.
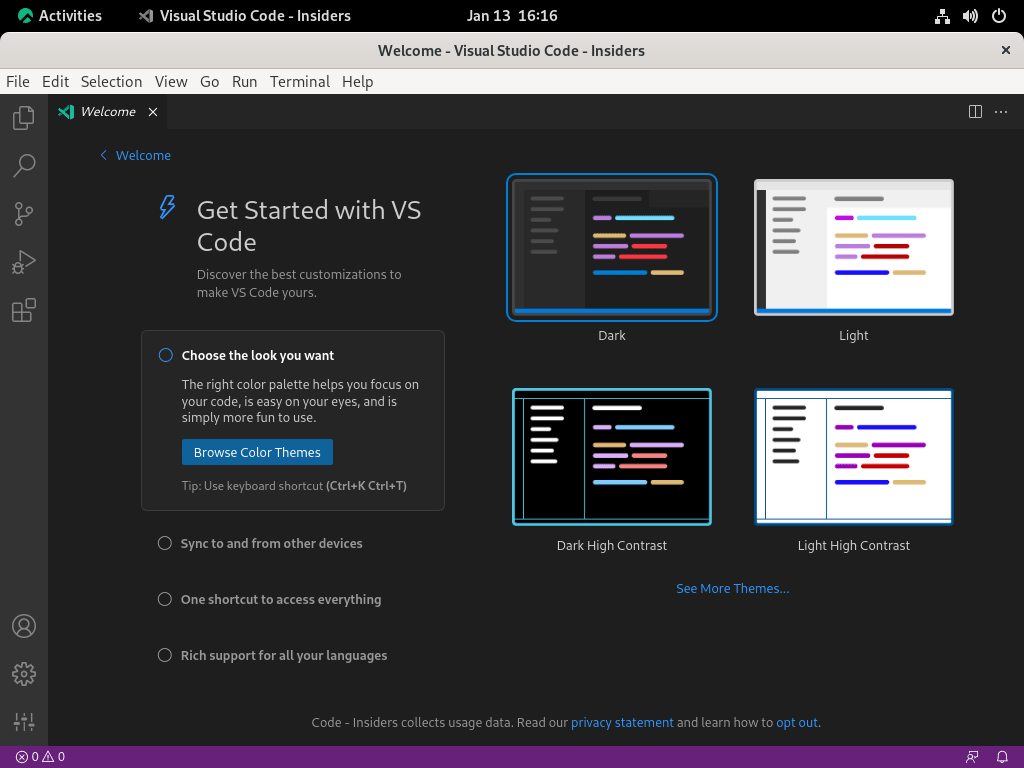
Launch from the Applications Menu
On GNOME, press the Super key and type “code” to locate the application. Alternatively, open the full application menu and search for “Visual Studio Code.”
Update Visual Studio Code on Rocky Linux
VS Code updates arrive through the Microsoft repository and apply during standard system upgrades:
sudo dnf upgrade --refreshTo update only VS Code without upgrading other packages:
sudo dnf upgrade codeFor the insider edition:
sudo dnf upgrade code-insidersRemove Visual Studio Code from Rocky Linux
Remove the package first, then decide whether you also want to remove user settings, extensions, the Microsoft repository, and the imported Microsoft key.
Uninstall the VS Code Package
Remove the stable edition:
sudo dnf remove codeOr remove the insider edition:
sudo dnf remove code-insidersDNF may also remove dependencies that were installed only for VS Code. Check package state after uninstalling. If you removed only one edition, the other edition may still report an installed version:
rpm -q code code-insiders || trueAfter both editions are removed, the output should report that neither package is installed:
package code is not installed
package code-insiders is not installed
Remove User Configuration and Data
The package removal does not delete personal settings, extensions, workspace storage, or cached data in your home directory. Check the common stable-edition paths before deleting anything:
~/.config/Code– settings, keybindings, snippets, and editor state~/.local/share/Code– workspace storage and application data~/.vscode– installed extensions~/.cache/Code– cached data and logs
These cleanup commands permanently delete VS Code settings, extensions, workspace storage, and cached data for your user account. Back up anything you want to keep before running them.
Preview stable-edition paths that exist:
for path in "$HOME/.config/Code" "$HOME/.local/share/Code" "$HOME/.vscode" "$HOME/.cache/Code"; do
    [ -e "$path" ] && printf '%s\n' "$path"
done
Remove those stable-edition paths only when you are ready to reset the editor for this account:
rm -rf "$HOME/.config/Code" "$HOME/.local/share/Code" "$HOME/.vscode" "$HOME/.cache/Code"For the Insider edition, preview and remove the matching Insider paths:
for path in "$HOME/.config/Code - Insiders" "$HOME/.local/share/Code - Insiders" "$HOME/.vscode-insiders" "$HOME/.cache/Code - Insiders"; do
    [ -e "$path" ] && printf '%s\n' "$path"
done

rm -rf "$HOME/.config/Code - Insiders" "$HOME/.local/share/Code - Insiders" "$HOME/.vscode-insiders" "$HOME/.cache/Code - Insiders"
Remove the Microsoft Repository
If you do not plan to reinstall VS Code, remove the repository file to prevent unnecessary metadata checks during future updates:
sudo rm -f /etc/yum.repos.d/vscode.repoVerify the removal:
dnf repolist --enabled | grep -E '^code[[:space:]]+Visual Studio Code' || echo "VS Code repository is not enabled"The confirmation line should appear when the repository is no longer active:
VS Code repository is not enabled
Removing the repository file does not remove Microsoft’s imported RPM key. Leave the key in place if you use another Microsoft repository, such as Microsoft Edge. If VS Code was the only Microsoft package source on the system, remove the current Microsoft key package after checking its exact RPM database name:
key_package=$(rpm -q gpg-pubkey --qf '%{NAME}-%{VERSION}-%{RELEASE}\n' | grep -i '^gpg-pubkey-be1229cf-' || true)

if [ -n "$key_package" ]; then
    sudo rpm -e "$key_package"
fi
Verify that no Microsoft key remains only if you intentionally removed it:
rpm -q gpg-pubkey --qf '%{NAME}-%{VERSION}-%{RELEASE}\n' | grep -i '^gpg-pubkey-be1229cf-' || echo "Microsoft key is not imported"Troubleshoot Visual Studio Code Issues on Rocky Linux
Use these checks when the package name, repository file, launch command, or extension state behaves differently than expected.
VS Code Fails to Start
Launch VS Code from the terminal with verbose output to capture error details:
code --verboseMissing shared library errors typically look like this:
error while loading shared libraries: libxkbfile.so.1: cannot open shared object file: No such file or directory
Resolve missing library errors by refreshing the system packages and reinstalling VS Code so DNF can restore the dependency set:
sudo dnf upgrade --refresh
sudo dnf reinstall code
For permission errors, verify ownership of the VS Code configuration directories:
ls -la ~/.config/Code
ls -la ~/.vscode
If these directories are owned by root or another user, reset them:
for path in "$HOME/.config/Code" "$HOME/.vscode"; do
    [ -e "$path" ] && sudo chown -R "$USER:$USER" "$path"
done
Extension Conflicts and Crashes
To isolate a problematic extension, launch VS Code with all extensions disabled:
code --disable-extensionsIf VS Code works normally, re-enable extensions one at a time through the Extensions panel (Ctrl+Shift+X) to identify the conflict. For persistent issues, remove installed extensions for the current user and reinstall only the ones you need:
rm -rf "$HOME/.vscode/extensions"/*Reinstall extensions from the command line using the marketplace identifier:
code --install-extension ms-python.pythonDNF Cannot Find the VS Code Package
If DNF reports No match for argument: vscode, the repository may be correct but the package name is wrong. Microsoft names the stable package code and the preview package code-insiders.
sudo dnf install codeCheck the available package names from the Microsoft repository:
dnf --disablerepo='*' --enablerepo=code list --available code code-insidersAvailable Packages code.x86_64 1.120.0-1778619100.el8 code code-insiders.x86_64 1.121.0-1778822393.el8 code
On x86_64 systems, relevant output includes these package rows. Version numbers change as Microsoft publishes new builds, but the package names should remain code and code-insiders.
Slow VS Code Downloads from DNF
VS Code downloads come from Microsoft’s repository, not from Rocky Linux mirrors. If the VS Code RPM download stalls or appears slow, refresh only the Microsoft repository metadata and try again:
sudo dnf --disablerepo='*' --enablerepo=code clean metadata
sudo dnf --disablerepo='*' --enablerepo=code makecache --refresh
If Rocky Linux repository downloads are slow in general, increase DNF speed on Rocky Linux separately. Those mirror settings do not change Microsoft’s fixed VS Code download host.
Repository or GPG Key Errors
GPG verification failures usually mean the Microsoft key is missing, the repo file was copied incorrectly, or an older repo file contains unsupported metadata-signature settings. A common metadata-signature error looks like this:
Error: Failed to download metadata for repo 'code': repomd.xml GPG signature verification error
Verify that the Microsoft GPG key exists in your RPM keyring:
rpm -q gpg-pubkey --qf '%{NAME}-%{VERSION}-%{RELEASE}\n' | grep -i '^gpg-pubkey-be1229cf-'If the key does not appear, re-import it:
sudo rpm --import https://packages.microsoft.com/keys/microsoft.ascNext, verify the repository file syntax:
cat /etc/yum.repos.d/vscode.repoThe output should match:
[code]
name=Visual Studio Code
baseurl=https://packages.microsoft.com/yumrepos/vscode
enabled=1
autorefresh=1
type=rpm-md
gpgcheck=1
gpgkey=https://packages.microsoft.com/keys/microsoft.asc
Confirm the repository appears in DNF’s active list:
dnf repolist --enabled | grep -E '^code[[:space:]]+Visual Studio Code'If the repository does not appear, verify that enabled=1 is set and that no syntax errors exist in the configuration file. Remove any old repo_gpgcheck=1 line from this repo file; DNF already verifies Microsoft-signed packages through gpgcheck=1.
Find Additional VS Code Help
If these checks do not resolve the issue, consult Microsoft’s VS Code Linux setup notes for upstream package details. For distribution-specific problems, the Rocky Linux forums can help with local DNF, desktop, or repository behavior.
Conclusion
You now have Visual Studio Code running on Rocky Linux with automatic updates through Microsoft’s official repository. The editor supports both stable and Insider editions side by side, and DNF handles future updates alongside regular system maintenance. For remote development workflows, install SSH on Rocky Linux so VS Code can connect to remote servers directly from the editor.

Formatting tips for your comment
You can use basic HTML to format your comment. Useful tags currently allowed in published comments:
<code>command</code>command<strong>bold</strong><em>italic</em><a href="https://example.com">link</a><blockquote>quote</blockquote>