Hard-coded HTTP asset URLs are one of the last problems that surface after an HTTPS migration. WordPress posts, legacy templates, CDN snippets, and database records can still point at old http:// resources even when the site itself has a valid certificate. Configure upgrade-insecure-requests in Nginx as a CSP response header when you need browsers to rewrite eligible asset requests to HTTPS while you clean up the source URLs.
Nginx should send Content-Security-Policy: upgrade-insecure-requests;, not Upgrade-Insecure-Requests: 1 as a response header. The uppercase Upgrade-Insecure-Requests header is a browser request header, while lowercase upgrade-insecure-requests is the CSP directive Nginx delivers with add_header. Treat it as a migration bridge, not a replacement for redirects, HSTS, or permanent URL cleanup.
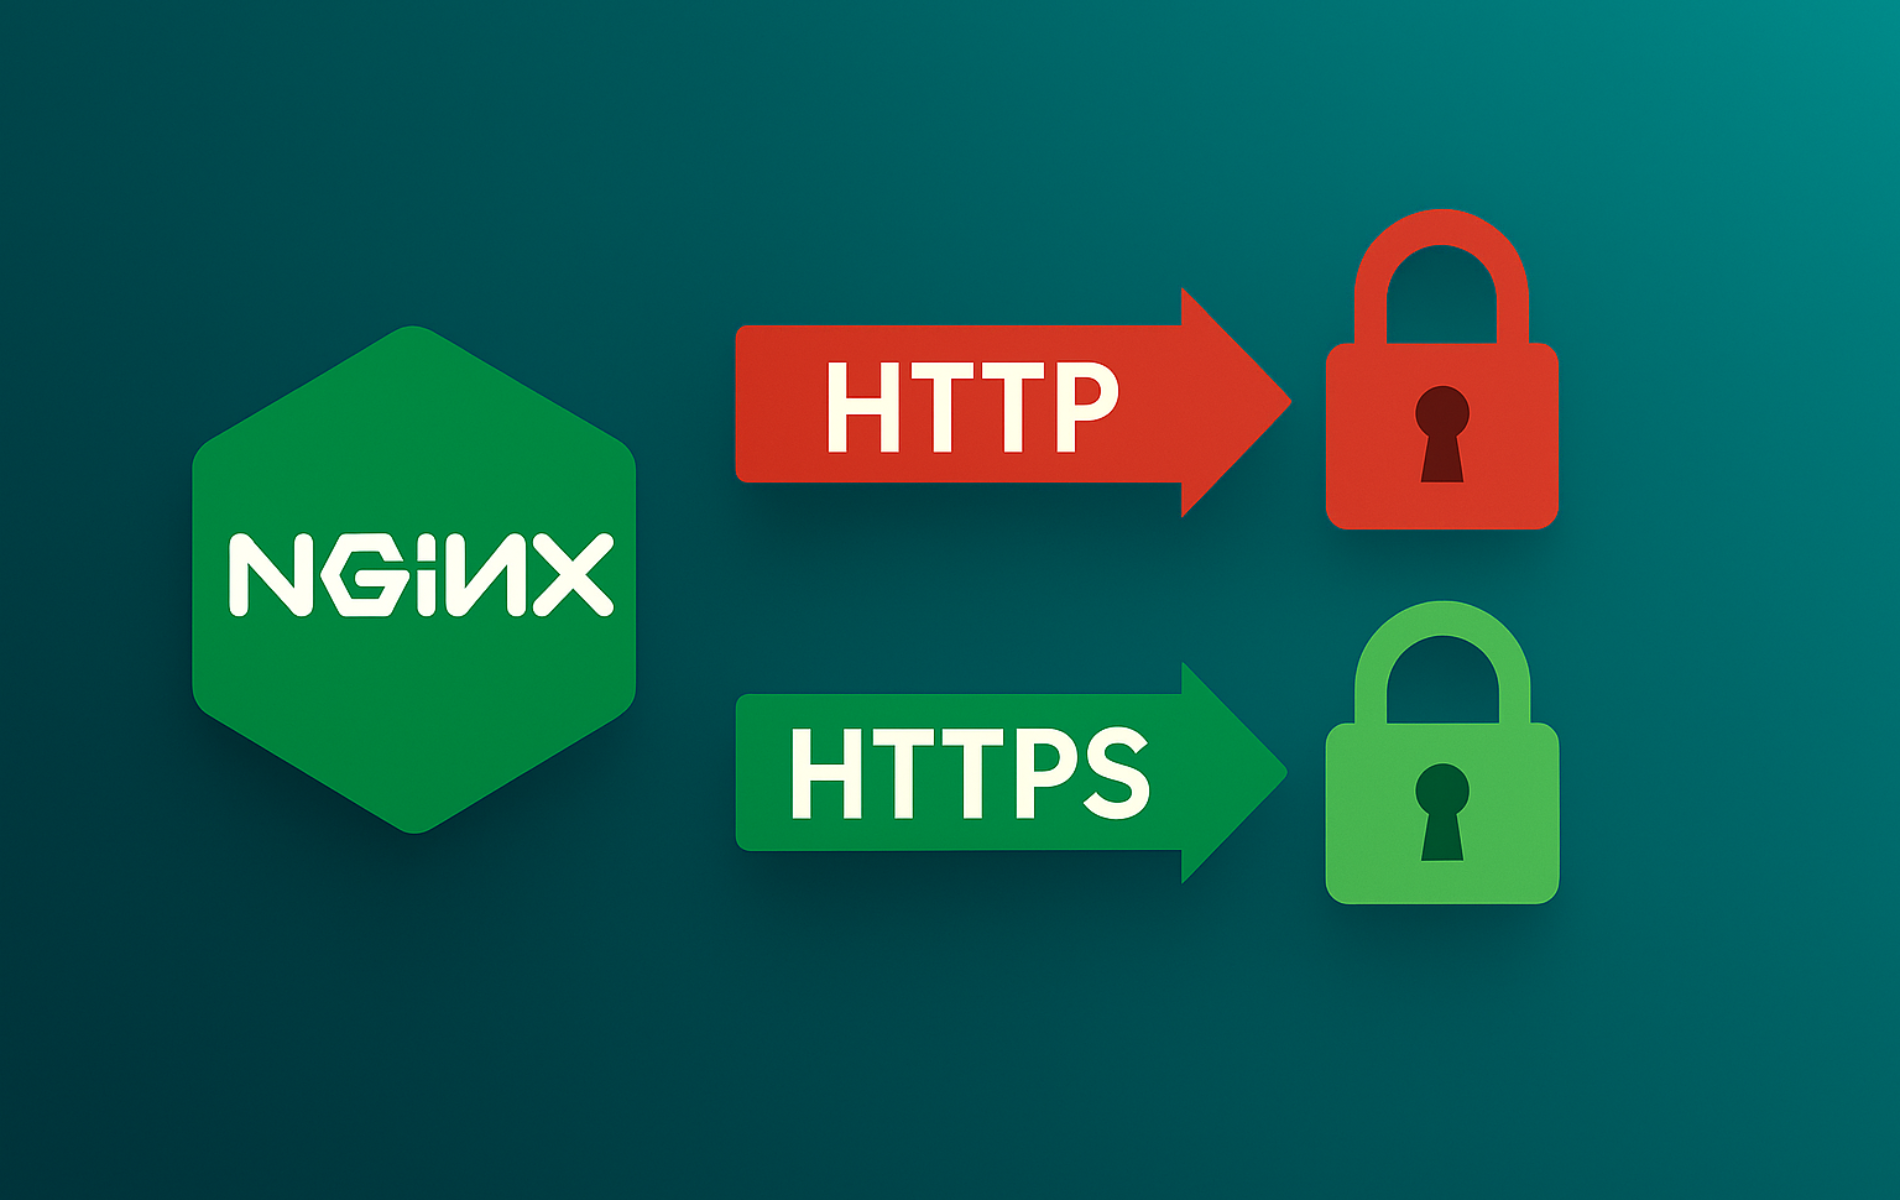
Understand upgrade-insecure-requests in Nginx
On secure origins (HTTPS), the Content Security Policy directive upgrade-insecure-requests tells the browser to rewrite eligible insecure resource requests, form submissions, and same-origin navigation requests from http:// to https:// before sending them. Cross-origin top-level navigation links are not upgraded, so this directive does not replace normal HTTPS redirects or HSTS.
The directive works at the HTTP header level: Nginx sends the header in the response, and the browser applies the rule before making follow-up requests. You do not need to change your application code or database before using it as a migration bridge. The always parameter adds the header on non-2xx responses within the same header context, but it does not override a sibling location block that never inherits the directive.
| Item | Where It Appears | What It Means |
|---|---|---|
Content-Security-Policy: upgrade-insecure-requests; | Nginx response header | Instructs the browser to upgrade eligible insecure requests for that protected page. |
add_header Content-Security-Policy "upgrade-insecure-requests;" always; | Nginx configuration | Sends the CSP header from the selected http, server, or location context. |
Upgrade-Insecure-Requests: 1 | Browser request header | Signals that the client supports the upgrade mechanism. Do not configure this as your response header. |
add_header_inherit merge; | Nginx 1.29.3+ configuration | Changes how child contexts inherit parent add_header values. Older Nginx versions use the standard inheritance model. |
The W3C Upgrade Insecure Requests specification and MDN upgrade-insecure-requests directive reference describe upgrade-insecure-requests as a CSP directive without a value. The separate MDN Upgrade-Insecure-Requests header reference documents Upgrade-Insecure-Requests: 1 as a client request header. In Nginx examples, keep the directive inside the quoted CSP string and end the Nginx line with a semicolon.
Review Browser Mixed Content Behavior
Mixed content occurs when an HTTPS page references resources (images, scripts, stylesheets, fonts) using HTTP URLs. Browsers classify this as a security risk because attackers can intercept or modify unencrypted assets even though the page itself loads over TLS. Modern browsers block mixed active content (scripts, iframes) by default and warn users about mixed passive content (images, media).
Common scenarios where mixed content appears: WordPress sites where image URLs were hard-coded when HTTP was the default, legacy content management systems storing asset paths in databases, external CDN URLs that do not support HTTPS, or third-party embed codes (analytics, chat widgets, ads) still using HTTP endpoints.
Configure upgrade-insecure-requests During an Nginx HTTPS Migration
The upgrade-insecure-requests directive tells browsers to automatically rewrite HTTP URLs to HTTPS before making the request, reducing mixed-content failures for assets that already have HTTPS versions while you update hard-coded references in templates or databases. Think of it like a client-side migration helper: the browser handles eligible subresource upgrades after the TLS handshake completes instead of forcing the server to redirect each asset request individually.
This directive complements server-level security but does not replace it. Keep 301 HTTPS redirects in Nginx to catch users arriving on HTTP pages; the Nginx URL redirect guide covers that redirect layer. Pair upgrade-insecure-requests with Nginx HSTS configuration only after the domain is HTTPS-ready: HSTS ensures browsers connect to your domain over HTTPS on later visits, while upgrade-insecure-requests handles subresource URLs that still reference HTTP.
Use this directive as a temporary safety net during migration, not as a long-term solution. Set a deadline to finish updating your URLs, then remove the directive from your CSP once all hard-coded references are fixed. If the same CSP header contains other rules, remove only upgrade-insecure-requests and keep the remaining policy intact.
- The header only protects visitors reaching your HTTPS page; always use 301 redirects on your HTTP server block to force HTTPS first.
- Subresource rewrites happen transparently in the browser, so hard-coded
http://URLs can keep working while you update templates if the HTTPS version exists. - The directive works alongside other CSP rules like
default-src https:, building layered defense. - This is a migration tool, not a permanent fix; plan to update your CMS and templates and remove the directive once assets are HTTPS-native.
Enable upgrade-insecure-requests Globally in Nginx
Configuring the header in the global http context makes the directive available for inheritance by virtual hosts that do not define their own add_header set. Use this approach when all domains already serve valid HTTPS certificates and you want consistent policy across the entire server. If you host mixed HTTP and HTTPS sites, or need granular control per application, use the per-domain method instead.
Open the Main Nginx Configuration
Save a copy before editing the global configuration file:
sudo cp -a /etc/nginx/nginx.conf /etc/nginx/nginx.conf.before-uigrEdit /etc/nginx/nginx.conf with root privileges when the CSP header should apply from the global http block:
sudo nano /etc/nginx/nginx.confThe sudo prefix opens the file with the privileges required to save changes under /etc/nginx/.
Add the Header to the http Block
Place the add_header directive near other global headers in the http block. The always parameter keeps the header on error responses that inherit this context, but a child context with its own add_header values still needs its own CSP line or tested inheritance merging.
Find the http block and add the directive:
http {
    # Existing http-level settings stay here
    add_header Content-Security-Policy "upgrade-insecure-requests;" always;
}
Only enable this header once your site serves a valid TLS (Transport Layer Security) certificate. Browsers will rewrite legacy HTTP URLs to HTTPS automatically, so any unsecured endpoints must already answer on port 443.
Nginx inherits parent
add_headervalues only when the child context defines noadd_headerdirectives of its own. If aserverorlocationblock sets any response header, repeat the CSP header there too unless you have testedadd_header_inherit merge;on Nginx 1.29.3 or newer.
Reload Nginx and Verify the Header
Test the syntax before applying changes, then reload the service:
sudo nginx -tExpected output looks like this when the configuration parses correctly:
nginx: the configuration file /etc/nginx/nginx.conf syntax is ok
nginx: configuration file /etc/nginx/nginx.conf test is successful
Reload Nginx only after the syntax test passes. The reload applies the change without dropping active connections:
sudo systemctl reload nginxUse curl response-header checks to inspect the final response. Replace example.com with your domain:
curl -sS -D - -o /dev/null https://example.com | tr -d '\r' | awk 'NR == 1 || tolower($0) ~ /^content-security-policy:/'Relevant header lines include:
HTTP/2 200
content-security-policy: upgrade-insecure-requests;
Apply upgrade-insecure-requests to One Nginx Server Block
Use per-server-block configuration when you host multiple domains with different security requirements, or when migrating sites to HTTPS gradually. This approach lets you enable the directive on production HTTPS sites while leaving development or legacy HTTP sites untouched.
Edit the Domain Server Block
Nginx site-file layout depends on the distro package and package source. Debian and Ubuntu packages commonly use /etc/nginx/sites-available/ with symlinks under /etc/nginx/sites-enabled/, while Fedora, RHEL-family, nginx.org, and many container layouts commonly use /etc/nginx/conf.d/*.conf. Edit the file that owns the active server block for your domain, using sudo nginx -T when the path is unclear.
For Debian-style site layouts, back up and edit the site file:
sudo cp -a /etc/nginx/sites-available/example.com /etc/nginx/sites-available/example.com.before-uigr
sudo nano /etc/nginx/sites-available/example.com
For conf.d layouts, back up and edit the matching virtual-host file instead:
sudo cp -a /etc/nginx/conf.d/example.com.conf /etc/nginx/conf.d/example.com.conf.before-uigr
sudo nano /etc/nginx/conf.d/example.com.conf
Add the Directive in the Server Context
Setting the header inside server or location blocks keeps other virtual hosts untouched. Prefer placing CSP at the HTTPS server level for broad coverage; use location only when you intentionally scope by path. Include always if you want error pages to receive the directive. Remember that a location-level add_header cancels inherited parent add_header values unless you repeat them or use the newer inheritance controls.
server {
    listen 443 ssl;
    server_name example.com www.example.com;

    ssl_certificate     /etc/letsencrypt/live/example.com/fullchain.pem;
    ssl_certificate_key /etc/letsencrypt/live/example.com/privkey.pem;

    add_header Content-Security-Policy "upgrade-insecure-requests;" always;

    location / {
        proxy_pass http://127.0.0.1:3000;
    }
}
This example includes a reverse proxy configuration in Nginx forwarding requests to a backend service, demonstrating how the CSP header protects proxied applications.
Test the Domain Response
Validate the configuration before reloading the service. The CSP header should only appear for domains configured with the directive (port 443 in this example). See the Nginx port configuration guide if you need non-standard HTTPS ports:
sudo nginx -tnginx: the configuration file /etc/nginx/nginx.conf syntax is ok nginx: configuration file /etc/nginx/nginx.conf test is successful
Reload Nginx after the syntax test succeeds:
sudo systemctl reload nginxFor cleaner output showing only the CSP header, use this filtered check:
curl -sS -D - -o /dev/null https://example.com | tr -d '\r' | grep -i '^content-security-policy'content-security-policy: upgrade-insecure-requests;
The header should only appear for that specific domain. If you need to test against the server IP while bypassing DNS, use the --resolve flag to map the domain name to the origin IP while preserving the HTTPS hostname. Replace 203.0.113.10 with your origin server IP:
curl --noproxy '*' -sS -D - -o /dev/null --resolve example.com:443:203.0.113.10 https://example.comAdvanced upgrade-insecure-requests Patterns for Nginx
Use these patterns when you need granular control over when the directive appears or how it interacts with other policies. They combine CSP with Nginx features like map directives and scoped location blocks. For URL transformation needs beyond CSP, see the Nginx rewrite rules guide. After applying any pattern, run sudo nginx -t and reload Nginx only after the syntax test succeeds.
Disable Upgrades for Specific Services
In rare cases, a third-party service or legacy backend may not support HTTPS and you need temporary compatibility while seeking alternatives or upgrading the service. Use this pattern to disable upgrade-insecure-requests for specific paths only:
# Place this map directive in the http context, not inside a server block
map $uri $csp_upgrade {
    ~^/api/legacy-service "";
    default "upgrade-insecure-requests;";
}

server {
    location / {
        add_header Content-Security-Policy $csp_upgrade always;
    }
}
This pattern disables upgrade-insecure-requests only for /api/legacy-service while all other paths benefit from the directive. Keep the map directive in the top-level http block, not inside individual server blocks. An empty mapped value prevents Nginx from sending that header for the matched path. Replace the path with your specific endpoint, and remove the exception as soon as the service supports HTTPS.
Do Not Test upgrade-insecure-requests in Report-Only Mode
The upgrade-insecure-requests directive is ignored when sent through Content-Security-Policy-Report-Only. Use report-only CSP for broader policy reporting such as default-src https:, but test automatic upgrades with an enforced header on a staging host, a temporary test server block, or a low-risk path.
Use an Nginx Staging Server Block for Rollout Testing
When production risk is high, create a staging hostname or temporary test server block that sends the enforced CSP header. This tests the same browser behavior users will receive without relying on user-agent targeting or report-only mode:
server {
    listen 443 ssl;
    server_name staging.example.com;

    ssl_certificate     /etc/letsencrypt/live/staging.example.com/fullchain.pem;
    ssl_certificate_key /etc/letsencrypt/live/staging.example.com/privkey.pem;

    add_header Content-Security-Policy "upgrade-insecure-requests;" always;
}
After staging tests pass, move the same header to the production server block and repeat the syntax, reload, and curl verification steps.
Protect Sensitive Paths
Apply the header only to confidential sections like account dashboards, payment forms, or administrative interfaces while leaving public marketing pages untouched. Use this when you have mixed security requirements across different application sections:
server {
    location /secure-area/ {
        add_header Content-Security-Policy "upgrade-insecure-requests;" always;
    }

    location / {
        # public traffic stays unchanged
    }
}
If the parent server block already sets HSTS, frame, or MIME-sniffing headers, repeat those headers inside the scoped location block too, or use add_header_inherit merge; only after confirming the server runs Nginx 1.29.3 or newer.
Combine with Additional Security Headers
Pair upgrade-insecure-requests with complementary policies only when they match the site’s HTTPS readiness. HSTS forces browsers to use HTTPS for your domain, X-Frame-Options prevents clickjacking attacks, and X-Content-Type-Options stops MIME type sniffing. Keep CSP in one intentional policy string at the scope where you want it applied. Browsers enforce multiple CSP policies together, so duplicate CSP headers can make the effective policy stricter than expected. Add these lines inside the existing HTTPS server block that already contains your TLS certificate paths. Reference the Nginx security header guide for broader header coverage:
# Consolidate CSP into one header string
add_header Content-Security-Policy "upgrade-insecure-requests; default-src https:;" always;

# HSTS should be set at the HTTPS server level
add_header Strict-Transport-Security "max-age=31536000; includeSubDomains" always;
# Optional and long-lived commitment: add "; preload" only when ALL subdomains are HTTPS
# add_header Strict-Transport-Security "max-age=31536000; includeSubDomains; preload" always;

add_header X-Content-Type-Options nosniff always;
add_header X-Frame-Options SAMEORIGIN always;
Avoid block-all-mixed-content in New Nginx CSP
Do not add block-all-mixed-content to new CSP examples for this workflow. The MDN block-all-mixed-content reference marks that directive as obsolete, and both MDN and the W3C upgrade-insecure-requests specification note that upgrade-insecure-requests is evaluated first. When both appear in the same policy, block-all-mixed-content does not add useful protection for current browsers.
Monitor Mixed Content in Browser Console
Instead of relying only on server-side logs, monitor mixed content issues directly in browser developer tools where upgrade-insecure-requests actually operates. Open the browser console with F12 in most browsers, or Ctrl + Shift + I on many Linux desktops, and watch the Console and Network tabs for CSP messages, failed HTTPS requests, and remaining HTTP references. This shows which resources need permanent template or database fixes.
Automatic upgrade messages can look similar to this:
Upgrade Insecure Requests: Upgrading insecure resource request 'http://example.com/image.jpg'
Failed upgrades can look similar to this:
Mixed Content: The page at 'https://example.com/' was loaded over HTTPS, but requested an insecure image 'http://cdn.example.com/logo.png'. This content should also be served over HTTPS.
If you see mixed content warnings after enabling upgrade-insecure-requests, the resource either does not exist at the HTTPS URL or the server does not support HTTPS. Fix the source URL, move the asset to an HTTPS-capable host, or replace the external provider. For server-side visibility, monitor your Nginx access logs for requests to port 443 and review referrers to identify pages still embedding HTTP URLs. Combine that with browser console monitoring during testing to catch issues before users encounter them.
Run an Nginx HTTPS Migration Workflow
Use this workflow when migrating an existing site to HTTPS with upgrade-insecure-requests as a temporary safety net:
Phase 1: Pre-Migration Preparation
- Install SSL certificate: Obtain and configure your certificate before enabling any directives.
- Test HTTPS access: Verify
https://example.comloads correctly without mixed content warnings on a test page, replacingexample.comwith your domain. - Back up configuration: Save your current Nginx config:
sudo cp -a /etc/nginx/nginx.conf /etc/nginx/nginx.conf.before-uigr
Phase 2: Enable Safety Directives
- Add upgrade-insecure-requests: Enable the directive globally or per domain, depending on your migration scope.
- Test configuration: Run
sudo nginx -tto verify syntax. - Reload Nginx: Apply with
sudo systemctl reload nginx. - Verify header presence: Use curl to confirm the CSP header appears.
Phase 3: Test and Monitor
- Browse your site with DevTools open: Press F12 and watch the Console tab for upgrade messages.
- Check critical pages: Test your homepage, product pages, blog posts, and any pages with embedded media.
- Document remaining HTTP URLs: List any resources that fail to upgrade (404 errors on HTTPS versions).
- Monitor for 1-2 weeks: Watch server logs and user reports for issues.
Phase 4: Finish the Permanent Migration
- Update database URLs: For WordPress, use a plugin like Better Search Replace or WP-CLI to change
http://tohttps://in your database. - Update templates: Replace hard-coded HTTP URLs in theme files, plugins, and custom code.
- Fix external CDNs: Migrate to HTTPS-capable CDNs for any resources that do not support HTTPS.
- Add HSTS: Once all resources are HTTPS-native, add the Strict-Transport-Security header if the domain and subdomains are ready for that commitment.
- Remove upgrade-insecure-requests: After confirming no more HTTP URLs need browser-side upgrades, remove this CSP directive and test thoroughly.
Set a deadline for the final step. Long-lived
upgrade-insecure-requestscan hide stale templates and database records, so keep the directive tied to a visible cleanup window instead of letting it become permanent configuration by accident.
Remove or Roll Back upgrade-insecure-requests in Nginx
Remove only the upgrade-insecure-requests token when the same CSP header still contains other directives such as default-src, script-src, or img-src. If a rollout breaks a site immediately, restore the backup of the exact file you edited, then test and reload Nginx:
sudo cp -a /etc/nginx/nginx.conf.before-uigr /etc/nginx/nginx.conf
sudo nginx -t
sudo systemctl reload nginx
The restore command uses the global configuration file as an example. For a per-site change, restore the matching file under /etc/nginx/sites-available/, /etc/nginx/conf.d/, or the active path reported by sudo nginx -T.
After removing or restoring the directive, retest the response header:
curl -sS -D - -o /dev/null https://example.com | tr -d '\r' | grep -i '^content-security-policy'No output means the whole CSP header is gone. If a CSP line still appears, confirm it no longer contains upgrade-insecure-requests before considering the migration cleanup complete.
Troubleshoot Nginx upgrade-insecure-requests Headers
When your curl check does not show the directive, or headers appear inconsistent, start with the active Nginx configuration and the final response path. The nginx.org add_header documentation defines the key inheritance rule: parent add_header directives apply only when the current context has no add_header directives of its own, unless newer inheritance controls change that behavior.
Header Not Appearing
If the header is missing from the response, inspect the loaded configuration and keep the file marker with each matching directive:
sudo nginx -T 2>/dev/null | awk '/^# configuration file / { file=$0 } /Content-Security-Policy/ { print file; print }'Relevant output should include the file marker and the active directive:
# configuration file /etc/nginx/conf.d/example.com.conf:
    add_header Content-Security-Policy "upgrade-insecure-requests;" always;
If a child server or location block defines its own add_header, repeat the CSP header in that same child context or move the policy to the final scope where it should apply.
- Testing HTTP instead of HTTPS: The header belongs on the HTTPS response. Test
https://example.com, nothttp://example.com. - Location block overriding: If a location block has any
add_headerdirective, it cancels inheritance from parent contexts. You must redefine all headers you want in that location block. - Wrong configuration file: Nginx might be loading a different config. Check
nginx -Voutput for--conf-pathto confirm which file is active.
After correcting the scope, syntax-test, reload, and retest the response:
sudo nginx -t
sudo systemctl reload nginx
curl -sS -D - -o /dev/null https://example.com | tr -d '\r' | grep -i '^content-security-policy'
Browsers Still Show Mixed Content Warnings
If the header appears in curl but browsers still show mixed content warnings, check the actual failing URL rather than assuming the CSP header failed. A browser upgrade has no fallback when the HTTPS version of a resource is missing or broken.
curl -sS -D - -o /dev/null https://cdn.example.com/logo.png | tr -d '\r' | sed -n '1p'- Clear browser cache: Browsers cache CSP policies. Hard refresh with Ctrl + Shift + R on Linux or Windows, or Cmd + Shift + R on macOS.
- HTTPS resource does not exist: The directive upgrades the URL, but if
https://cdn.example.com/logo.pngreturns 404 whilehttp://cdn.example.com/logo.pngworks, browsers cannot load it. Check browser console and Network tab failures. - Cross-origin top-level navigation: The directive does not upgrade ordinary top-level links to other origins. Keep Nginx HTTPS redirects and HSTS in place for your own domains.
Report-Only Policy Ignores upgrade-insecure-requests
If the browser reports that upgrade-insecure-requests was ignored in a report-only policy, the browser is behaving correctly:
The Content Security Policy directive 'upgrade-insecure-requests' is ignored when delivered in a report-only policy.
Move the directive to the enforced Content-Security-Policy header on a staging host or test path. If you only want reports, monitor a separate policy such as default-src https:, but do not expect report-only mode to perform automatic upgrades.
CDN or Reverse Proxy Stripping Headers
For Cloudflare, AWS CloudFront, or similar CDN services, compare the origin response with the CDN response while preserving the HTTPS hostname. Replace 203.0.113.10 with your origin server IP:
# Test origin directly (bypass CDN)
curl --noproxy '*' -sS -D - -o /dev/null --resolve example.com:443:203.0.113.10 https://example.com

# Test through CDN
curl -sS -D - -o /dev/null https://example.com
When the header appears at origin but not through CDN, check your CDN header passthrough settings. Some CDNs strip or modify CSP headers for caching optimization.
Multiple CSP Headers Appearing
Nginx can send duplicate CSP headers when multiple add_header directives apply, especially if you use add_header_inherit merge; on Nginx 1.29.3 or newer without auditing parent and child scopes. Browsers enforce multiple CSP policies together, which can only make the effective policy stricter. Keep one intentional CSP policy at the final scope unless you have a specific reason to layer policies:
# Preferred: one intentional CSP policy
add_header Content-Security-Policy "upgrade-insecure-requests; default-src https:;" always;

# Avoid unplanned duplicate CSP policies
add_header Content-Security-Policy "upgrade-insecure-requests;" always;
add_header Content-Security-Policy "default-src https:;" always;
Repeat the reload and verification steps once the checks pass. Consistent use of nginx -t before each reload prevents most header regressions.
Conclusion
Nginx is now configured to send the CSP directive that upgrades eligible HTTP subresources on HTTPS pages, with syntax checks and response-header verification in place. Keep the header tied to a migration window: maintain HTTPS redirects and HSTS where appropriate, watch browser console failures, fix hard-coded URLs at the source, then remove only this directive once the site no longer depends on browser-side upgrades.

Formatting tips for your comment
You can use basic HTML to format your comment. Useful tags currently allowed in published comments:
<code>command</code>command<strong>bold</strong><em>italic</em><a href="https://example.com">link</a><blockquote>quote</blockquote>