
When you need the Android emulator, SDK Manager, and Kotlin tooling in one place, Android Studio is still the workflow Google builds around. You can install Android Studio on Linux Mint with a community PPA wrapper or the Flathub package, depending on whether you want APT to track a wrapper around Google’s Linux archive under /opt or you prefer Mint’s built-in Flatpak workflow.
Google also publishes an official 64-bit Linux .tar.gz on the Android Studio website, not a Mint-specific .deb. The PPA and Flatpak paths below are easier to keep updated once the IDE is in daily use, and both methods work on Linux Mint 22.x and 21.x with an active graphical session.
Install Android Studio on Linux Mint
Start by updating Linux Mint, then choose the Android Studio package format that fits how you want to manage updates and system access.
Update Linux Mint Before Installing Android Studio
Refreshing the current package set first reduces the chance of dependency conflicts when you install a large desktop IDE.
Open a terminal from the applications menu, or use the shortcut configured on your system, then run:
sudo apt update && sudo apt upgradeThese commands use
sudofor package management tasks that need root privileges. If your account is not in the sudoers group yet, finish create and add users to sudoers on Linux Mint first.
Once the upgrade finishes, compare the two managed Android Studio methods and continue with the one that best matches your workflow.
Choose an Android Studio Installation Method
Both options install Android Studio, but they differ in trust boundary, update behavior, version freshness, and how much of the install is visible to the system package manager.
| Method | Source | What It Installs | Update Behavior | Trade-offs |
|---|---|---|---|---|
| PPA (APT) | Maarten Fonville PPA | APT wrapper that downloads Google’s Linux archive under /opt | Wrapper updates through APT; SDK components still update inside Android Studio | Adds a community PPA, a third-party trust boundary, and can lag Google’s direct download |
| Flatpak | Flathub | Community Flatpak package with Google’s archive as extra data | App and runtime updates through Flatpak; SDK components still update inside Android Studio | Uses Mint’s existing Flathub setup, but the listing is unverified and requests broad permissions |
Use Flatpak for the simplest Linux Mint desktop path when you already rely on Flathub and accept its community-maintained packaging. Use the PPA when you specifically want an APT-tracked wrapper package around Google’s archive. The manual Google archive remains available, but it leaves launcher setup, updates, checksums, and cleanup to you.
Install Android Studio with the Launchpad PPA
The Maarten Fonville PPA is a community-maintained wrapper package, not a full native rebuild of Android Studio. It adds an APT package that downloads the official Google archive during installation, verifies the checksum, and extracts the IDE under /opt.
Launchpad PPAs are not maintained by Linux Mint or Ubuntu. Use this method only when you accept the PPA maintainer as an additional package source.
Add the Android Studio PPA
Add the PPA to your system’s software sources. The -y flag automatically confirms the addition:
sudo add-apt-repository ppa:maarten-fonville/android-studio -yThis command imports the PPA’s signing key and adds the repository to your APT sources. Linux Mint automatically maps its codenames to the corresponding Ubuntu codenames, so the PPA works on both Mint 21.x (based on Ubuntu 22.04) and Mint 22.x (based on Ubuntu 24.04).
Install Android Studio from the PPA
After adding the PPA, refresh your package index to include the new repository:
sudo apt updateNext, install Android Studio:
sudo apt install android-studioThe APT package itself is small, but the wrapper downloads about 1.5 GB of Android Studio archive data from Google during apt install. It extracts the IDE under a versioned directory in /opt and keeps the stable launch path at /opt/android-studio.
Verify the Android Studio PPA Installation
Confirm that APT now sees the Android Studio wrapper from the PPA:
apt-cache policy android-studioExample output from Linux Mint 22.x includes the active package suffix for the Ubuntu 24.04 base:
android-studio:
  Installed: 2025.2.3.9~noble+0
  Candidate: 2025.2.3.9~noble+0
  Version table:
 *** 2025.2.3.9~noble+0 500
        500 https://ppa.launchpadcontent.net/maarten-fonville/android-studio/ubuntu noble/main amd64 Packages
        100 /var/lib/dpkg/status
On Linux Mint 21.x, the same package currently ends in ~jammy+0 instead of ~noble+0 because it tracks the Ubuntu 22.04 base.
Install Android Studio with Flatpak
Flathub publishes Android Studio as a community Flatpak package, and Linux Mint desktop installations already include the system-scope Flathub remote. The package uses Google’s Linux archive as Flatpak extra data, so it is convenient to maintain through Flatpak, but it is not an official Google-supported Flathub listing.
Flathub currently marks the Android Studio listing as unverified and potentially unsafe because it is community packaged and requests broad access such as home-directory and device access. Treat Flatpak here as a packaging and update path, not as a stronger security boundary.
Verify Flatpak Is Available for Android Studio
Linux Mint desktop installations ship with Flatpak pre-installed, so this step typically confirms what is already in place. If you previously removed Flatpak or want to verify, check the installed version:
flatpak --versionRelevant output includes the Flatpak version shipped with your Mint release:
Flatpak 1.14.6
Linux Mint 21.x currently reports Flatpak 1.12.7, while Mint 22.x reports Flatpak 1.14.6. If Flatpak is missing because you removed it earlier, restore Flatpak and Flathub with upgrade Flatpak on Linux Mint.
Ensure the Android Studio Flathub Remote Is Enabled
Linux Mint desktop installations usually already include Flathub. Check the configured remotes before adding anything:
flatpak remotes --columns=name,optionsA normal system-scope Flathub setup includes this row:
flathub system
If you removed that remote earlier, add it back with the current Flathub remote descriptor:
sudo flatpak remote-add --if-not-exists flathub https://dl.flathub.org/repo/flathub.flatpakrepoThe --if-not-exists flag prevents errors if Flathub is already configured. Using sudo adds the repository system-wide, making applications available to all users on the machine.
Install Android Studio from Flathub
With Flathub available, install Android Studio. Review the permission and download prompt before confirming:
sudo flatpak install flathub com.google.AndroidStudioUsing sudo installs Android Studio system-wide, matching the scope of the Flathub remote added earlier. During the transaction, Flatpak downloads the Android Studio archive as extra data from Google’s download host.
Verify the Android Studio Flatpak Installation
After installation, confirm Android Studio is available by listing its details:
flatpak info com.google.AndroidStudioRelevant installed fields include the app ID, stable branch, and system installation scope:
ID: com.google.AndroidStudio
Ref: app/com.google.AndroidStudio/x86_64/stable
Branch: stable
Installation: system
Launch Android Studio on Linux Mint
Android Studio is a desktop IDE, so you still need an active graphical session even if you installed it from a terminal or over SSH. The first launch also downloads additional SDK components, emulator images, and platform tools.
Launch Android Studio from the Terminal on Linux Mint
If you chose the PPA wrapper, use the stable symlink created under /opt:
/opt/android-studio/bin/studio.shFor the Flatpak build, launch the app with:
flatpak run com.google.AndroidStudioLaunch Android Studio from the Applications Menu on Linux Mint
Both methods create an Android Studio desktop launcher. Open the Mint menu, search for Android Studio, and start the IDE from there when you do not want to use the terminal path.
Complete Android Studio First-Time Setup on Linux Mint
On first launch, Android Studio downloads the Android SDK, platform tools, and at least one emulator system image. Reserve roughly 3-5 GB of extra disk space for the initial setup, with more needed later for additional platform images.
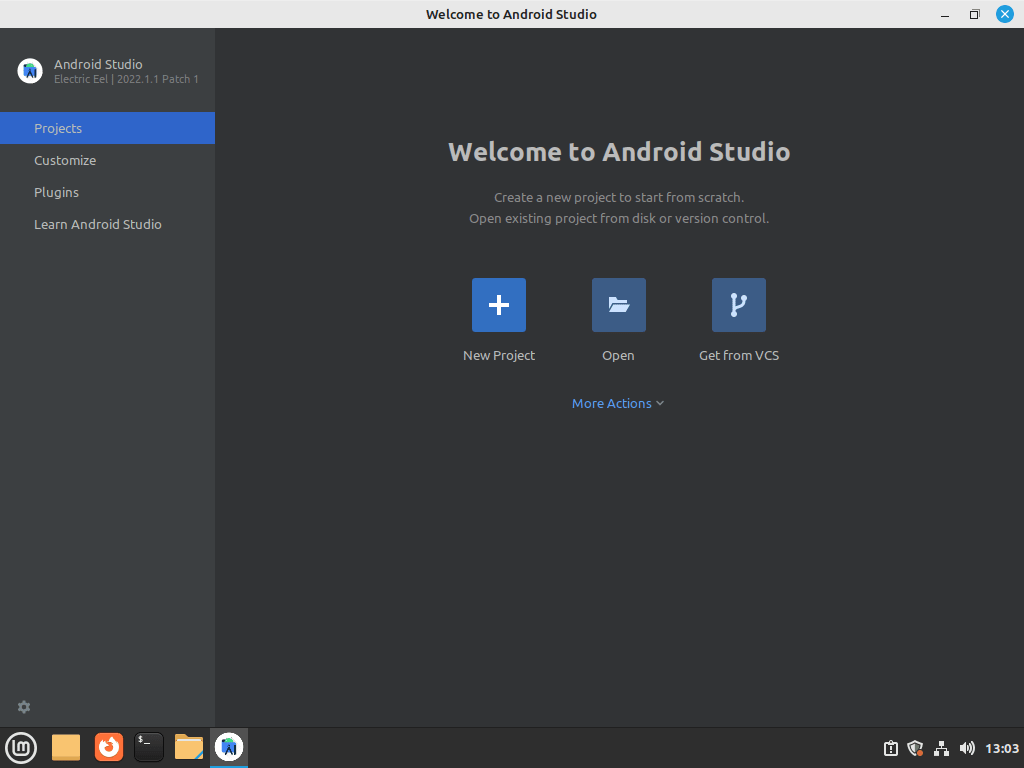
Choose the standard setup unless you already know you need a different SDK layout. Once the wizard finishes, the welcome screen appears and you can create a new project or open an existing repository. The Android emulator is included, but virtual devices still need working host-side KVM acceleration for good performance.
Update or Remove Android Studio on Linux Mint
The ongoing maintenance path depends on whether you chose the Flatpak build or the PPA wrapper package.
Update Android Studio on Linux Mint
Update the package manager that installed the IDE, then update Android SDK components from inside Android Studio when the IDE prompts you. The desktop package and the SDK manager do not update the same files.
Update the Android Studio PPA Installation
For the PPA wrapper, updating through APT is the cleanest way to keep the package metadata aligned with the extracted files under /opt:
sudo apt update && sudo apt upgradeAlternatively, update only Android Studio without upgrading other packages:
sudo apt install --only-upgrade android-studioUpdate the Android Studio Flatpak Installation
For Flatpak installations, update Android Studio and its Flatpak runtime dependencies:
sudo flatpak update com.google.AndroidStudioUse sudo flatpak update without an app ID when you want to update all system-scope Flatpak apps and runtimes. If you want a broader cleanup of unused runtimes afterward, use upgrade Flatpak on Linux Mint to remove old runtimes as well.
Remove Android Studio on Linux Mint
If you no longer need Android Studio, remove it using the method matching your installation.
Remove the Android Studio PPA Installation
Removing the top-level APT wrapper and then running autoremove should also clear the versioned companion package it pulled in. Review the autoremove list before confirming:
sudo apt remove android-studio
sudo apt autoremove
The package cleanup scripts also remove the extracted /opt/android-studio-* directory for the installed build, so the remaining cleanup is mainly your user data and SDK cache.
Next, remove the PPA from your system to prevent future update checks against it:
sudo add-apt-repository --remove ppa:maarten-fonville/android-studio -y
sudo apt update
Running apt update after removing the PPA clears the cached package information and prevents stale version data from appearing in future queries.
Remove the Android Studio Flatpak Installation
For the Flatpak build, uninstall Android Studio with:
sudo flatpak uninstall com.google.AndroidStudioDuring uninstallation, Flatpak may prompt you to remove unused runtimes. Review that list before confirming because shared runtimes can still belong to other Flatpak applications.
Remove Android Studio User Data and SDK Files on Linux Mint
These commands permanently delete your Android Studio configuration, SDK installations, and project-related caches. Back up any projects or custom settings before you continue. These directories can consume 5-20 GB depending on how many SDK versions and emulator images you installed.
The package-managed files under /opt are already removed by the PPA cleanup scripts. Android Studio creates most per-user data only after the first launch, so check which directories exist in your home folder before you delete anything:
for path in \
  "$HOME/.android" \
  "$HOME/.cache/Google"/AndroidStudio* \
  "$HOME/.config/Google"/AndroidStudio* \
  "$HOME/.local/share/Google"/AndroidStudio* \
  "$HOME/Android" \
  "$HOME/.var/app/com.google.AndroidStudio"
do
  [[ -e "$path" ]] && printf '%s\n' "$path"
done
If the command prints Android Studio paths, remove only the entries that exist on your system:
for path in \
  "$HOME/.android" \
  "$HOME/.cache/Google"/AndroidStudio* \
  "$HOME/.config/Google"/AndroidStudio* \
  "$HOME/.local/share/Google"/AndroidStudio* \
  "$HOME/Android" \
  "$HOME/.var/app/com.google.AndroidStudio"
do
  [[ -e "$path" ]] && rm -rf -- "$path"
done
This cleanup can remove the shared SDK directory under ~/Android, Google-owned config and cache trees, and the Flatpak sandbox directory when it exists. If the first command prints nothing, there is no additional Android Studio user data to remove for that account yet.
Troubleshoot Android Studio on Linux Mint
Most launch and emulator problems on Linux Mint come back to virtualization access, Flatpak sandbox scope, or network filtering during SDK downloads.
Fix Android Studio Emulator KVM Issues on Linux Mint
The Android emulator needs KVM (Kernel-based Virtual Machine) for usable performance. When virtualization is not exposed to Linux Mint, the first check returns 0 and the KVM device node is missing.
Check if your CPU exposes virtualization flags to Linux Mint:
grep -E -c '(vmx|svm)' /proc/cpuinfoIf virtualization is not available yet, the command returns:
0
A result of 0 means hardware virtualization is disabled, unsupported, or not exposed by the hypervisor. Any number above 0 means the CPU flags are present. Check for the KVM device next:
ls -l /dev/kvm 2>/dev/null || echo /dev/kvm missingWhen KVM is unavailable, relevant output includes:
/dev/kvm missing
If the command prints /dev/kvm missing, enable CPU virtualization in your firmware settings or expose nested virtualization in your hypervisor first. If the device exists but the emulator still reports a permissions error, confirm whether your account is already in the kvm group:
groups "$USER" | tr ' ' '\n' | grep -Fx kvm || echo "$USER is not in kvm"Add your account to the kvm group only when the membership check shows it is missing:
sudo usermod -aG kvm "$USER"The -aG flags append the kvm group instead of replacing your existing supplementary groups, and $USER targets the account you are currently signed into. Log out and back in after the change so the new membership takes effect.
Fix Android Studio Flatpak Access Issues on Linux Mint
The Flathub build already requests access to your home directory, so projects stored in /home usually work without extra overrides. Access problems are more common when a project lives on a separate mount such as /mnt/data or when adb cannot reach a physical Android device.
Grant access to the specific external path you want Android Studio to see:
flatpak override --user --filesystem=/path/to/project com.google.AndroidStudioReplace /path/to/project with the external project directory or mount point you want to expose. If this is the only custom Android Studio override you created, reset the app’s per-user Flatpak permissions with:
flatpak override --user --reset com.google.AndroidStudioFor physical device debugging, install Linux Mint’s Ubuntu-base Android udev rules package, then reload udev rules and make sure your account belongs to plugdev:
sudo apt install android-sdk-platform-tools-common
sudo udevadm control --reload-rules
sudo udevadm trigger --subsystem-match=usb
sudo usermod -aG plugdev "$USER"
The android-sdk-platform-tools-common package installs 51-android.rules, which marks supported USB devices for plugdev and desktop uaccess. Leave this small rules package installed if you use USB debugging; it updates through APT. Reconnect the device and log out and back in before testing adb again.
Fix Android Studio SDK Manager Download Failures on Linux Mint
If the SDK Manager fails to download components, the issue is typically network-related. Ensure your firewall or proxy allows connections to dl.google.com and services.gradle.org.
Launching Android Studio from the terminal often exposes the underlying TLS or timeout error immediately:
/opt/android-studio/bin/studio.shFor Flatpak installations, use:
flatpak run com.google.AndroidStudioThis terminal output often reveals connection timeouts or SSL certificate issues that the graphical interface does not display.
Conclusion
Android Studio is ready on Linux Mint for project creation, SDK downloads, and emulator setup once the first-run wizard finishes. Add version control with install Git on Linux Mint, or install VS Code on Linux Mint when you want a lighter editor beside the full Android toolchain.

Thanks for this post.