

GNOME Flashback provides a classic desktop experience that combines the traditional GNOME 2 layout with modern GNOME technologies. If you prefer customizable panels, efficient workspaces, and a lightweight interface that uses fewer system resources than the standard GNOME Shell, this environment offers an excellent alternative. By the end of this guide, you will have GNOME Flashback installed and configured, ready to select from your login screen.
Common use cases for GNOME Flashback include reviving older hardware that struggles with modern compositors, creating a familiar environment for users transitioning from legacy systems, and setting up streamlined workstations where simplicity and low resource usage take priority over visual effects.
Install GNOME Flashback via APT
GNOME Flashback is available in Ubuntu’s default repositories, so installation requires only a few terminal commands. Execute all commands as a regular user with sudo privileges.
Commands shown in this guide work identically on Ubuntu 22.04 LTS and 24.04 LTS.
Update Ubuntu Before Installation
First, update your package lists and upgrade installed packages to ensure your system has the latest security patches and dependency information:
sudo apt update && sudo apt upgradeThe apt update command refreshes the list of available packages, while apt upgrade installs newer versions of packages currently on your system. Running both commands before installation helps prevent dependency conflicts.
Install the GNOME Flashback Session Package
Next, install the gnome-session-flashback package from Ubuntu’s default repositories:
sudo apt install gnome-session-flashbackAPT will download GNOME Flashback along with its dependencies, including the GNOME Panel, Metacity window manager, and indicator applets. When prompted, press Y to confirm the installation. The download size is typically under 100 MB, though additional dependencies may increase the total.
Verify the Installation
After installation completes, verify that the package installed correctly:
dpkg -l gnome-session-flashbackExpected output confirming successful installation:
ii gnome-session-flashback 1:3.x.x-xubuntuX.X amd64 traditional desktop session based on GNOME technologies
The ii status in the first column confirms correct installation. The version number varies by Ubuntu release (3.44.x on Ubuntu 22.04, 3.52.x on Ubuntu 24.04). Finally, reboot your system to make the new desktop session available at login:
sudo rebootLog in to GNOME Flashback
Select GNOME Flashback at the Login Screen
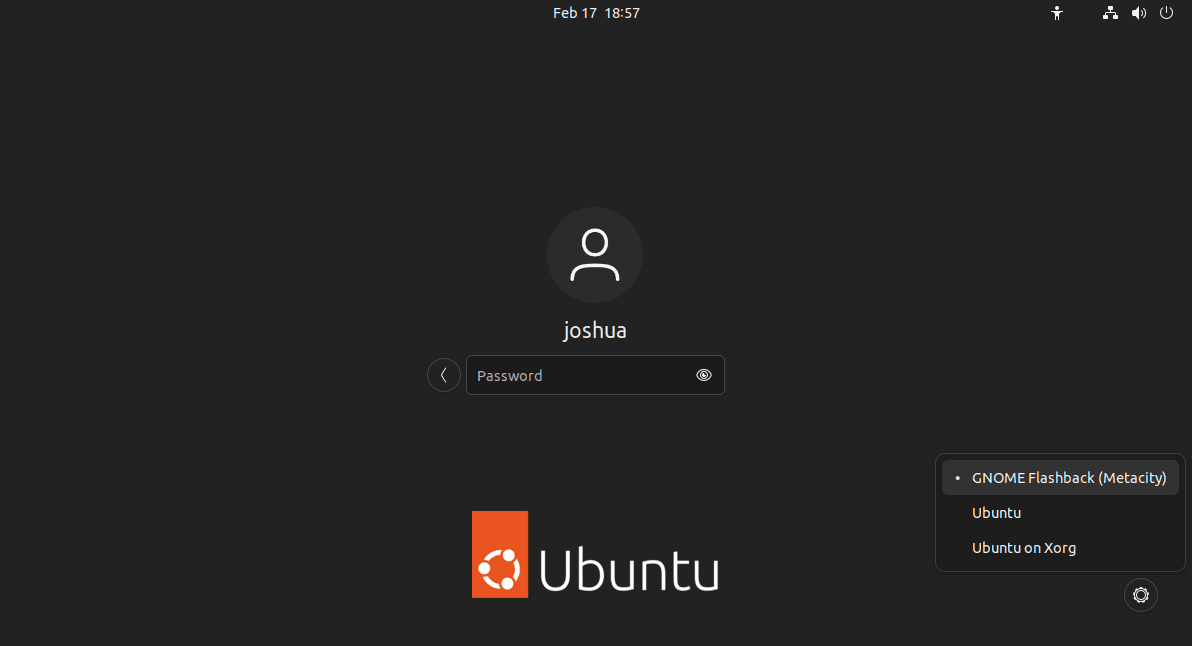
After your system restarts, you will return to the GDM login screen. To switch to GNOME Flashback, look for the gear (cog) icon in the bottom right corner of the screen before entering your password.
Click the gear icon to reveal a list of available desktop sessions. You will see two GNOME Flashback options:
- GNOME Flashback (Metacity): Uses the lightweight Metacity window manager without compositing effects. Choose this option for maximum performance on older hardware or if you experience display issues with compositing.
- GNOME Flashback: Uses Metacity with compositing enabled, providing transparency effects and smoother window animations while maintaining the classic layout.
Select your preferred session, then enter your password and log in.
Ubuntu remembers your session choice for future logins. You only need to select the desktop environment once unless you want to switch back to standard GNOME or try another session.
Remove GNOME Flashback
If you decide to remove GNOME Flashback and return to the standard Ubuntu desktop, first log out and switch back to the “Ubuntu” session from the login screen. Once you are back in the default GNOME Shell, open a terminal and remove the package along with its configuration files:
sudo apt remove --purge gnome-session-flashbackNext, remove any orphaned dependencies that APT installed alongside GNOME Flashback:
sudo apt autoremoveThe --purge flag removes configuration files in addition to the package itself. Running apt autoremove afterward cleans up packages like gnome-panel, metacity, and indicator applets that no installed software requires.
Verify the Removal
Finally, confirm that you have completely removed GNOME Flashback from your system:
apt-cache policy gnome-session-flashbackExpected output showing APT no longer lists the package as installed:
gnome-session-flashback:
  Installed: (none)
  Candidate: 1:3.x.x-xubuntuX.X
  Version table:
     1:3.x.x-xubuntuX.X 500
        500 http://archive.ubuntu.com/ubuntu [codename]-updates/universe amd64 Packages
The Installed: (none) line confirms successful removal. At this point, you can reboot to complete the cleanup, though this step is optional since you are already running the default GNOME session:
sudo rebootConclusion
You now have GNOME Flashback installed and configured on Ubuntu, giving you access to a classic desktop layout with customizable panels and efficient resource usage. This environment works particularly well on older hardware or for users who prefer traditional GNOME workflows over the modern GNOME Shell interface. If you decide to switch back, the removal process cleanly restores your system to the default Ubuntu desktop.
For those interested in exploring other lightweight desktop environments on Ubuntu, consider trying XFCE on Ubuntu for an even lighter experience, LXQt on Ubuntu for a modern Qt-based alternative, or KDE Plasma on Ubuntu if you want a feature-rich environment with extensive customization options.

Formatting tips for your comment
You can use basic HTML to format your comment. Useful tags currently allowed:
<code>command</code>command<strong>bold</strong><em>italic</em><blockquote>quote</blockquote>