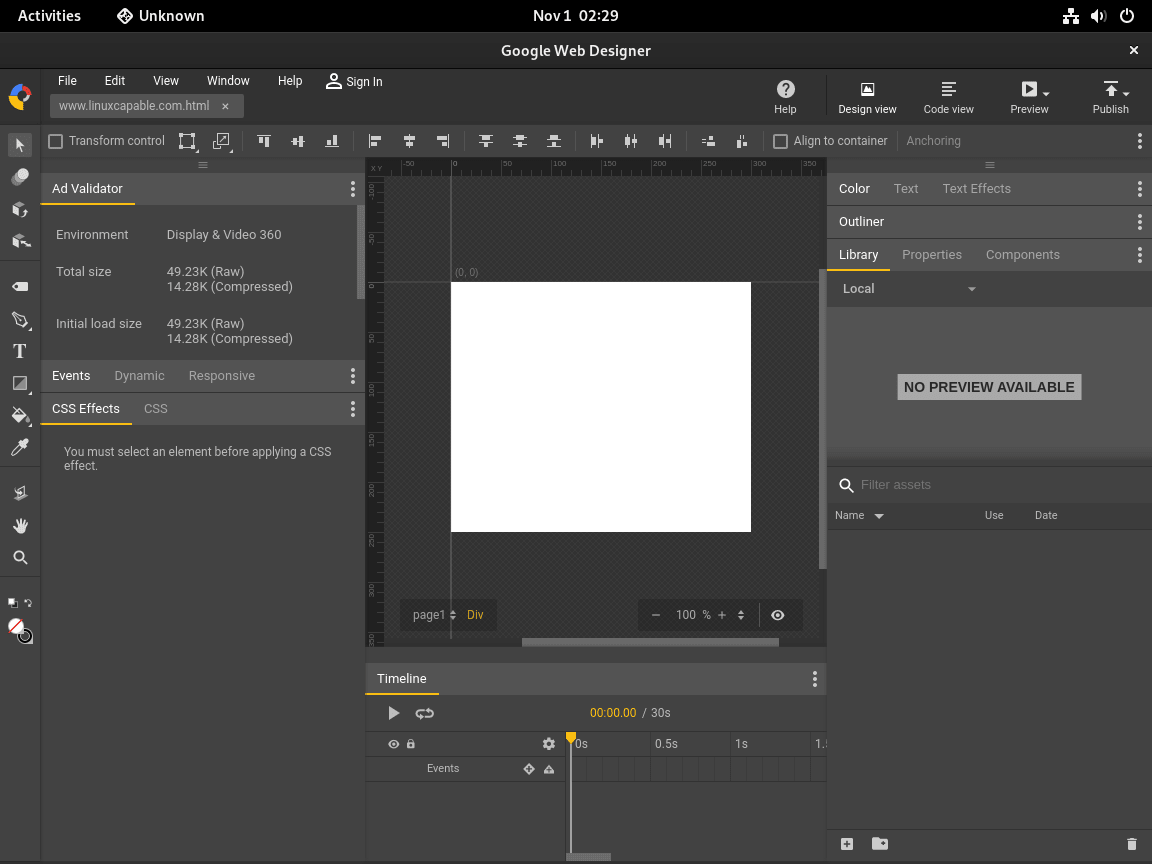
Google Web Designer lets you create interactive HTML5 advertisements, animations, and motion graphics that run across desktop and mobile browsers. The application provides a visual design canvas with timeline-based animation controls, 3D transformations, and a library of components for building rich media content. If you need to produce animated banner ads, interactive product showcases, or HTML5 video content, Google Web Designer handles the complexity of cross-browser compatibility and responsive sizing automatically.
This guide walks you through installing Google Web Designer on Debian using Google’s official APT repository. By the end, you will have a working installation that receives updates directly from Google, along with commands to manage, update, and remove the application.
Update Debian Before Installation
Before installing new software, refresh your package lists and upgrade existing packages. This ensures you have the latest security patches and avoids potential conflicts with outdated dependencies.
Run the following commands to update your system:
sudo apt update
sudo apt upgrade
Install Required Packages
The installation process requires downloading a GPG key and configuring a repository. Install the necessary tools to handle these tasks:
sudo apt install curl gnupg ca-certificates -yThese packages provide secure downloads (curl), GPG key handling (gnupg), and SSL certificate validation (ca-certificates). Most Debian installations include these by default, but minimal server installations may be missing them.
Import the Google GPG Key
APT requires a GPG key to verify that packages from Google’s repository are authentic and have not been tampered with. Download and convert the key to binary format, then store it in the system keyrings directory:
curl -fsSL https://dl.google.com/linux/linux_signing_key.pub | sudo gpg --dearmor -o /usr/share/keyrings/google-web-designer.gpgThis single command downloads the ASCII-armored key, converts it to binary format with gpg --dearmor, and writes it directly to /usr/share/keyrings/ with proper ownership.
Add the Google Web Designer Repository
With the GPG key in place, add the official Google Web Designer repository using the modern DEB822 .sources format. This format is clearer to read and less error-prone than the legacy one-line format.
cat <<EOF | sudo tee /etc/apt/sources.list.d/google-web-designer.sources
Types: deb
URIs: https://dl.google.com/linux/webdesigner/deb/
Suites: stable
Components: main
Architectures: amd64
Signed-By: /usr/share/keyrings/google-web-designer.gpg
EOF
The repository uses a stable suite that works across all Debian versions, so no codename substitution is required. After creating the repository file, refresh your package lists to make the new packages available:
sudo apt updateInstall Google Web Designer
Now install Google Web Designer from the newly configured repository:
sudo apt install google-webdesignerAPT downloads the package and installs all required dependencies automatically. The installation includes desktop integration, so Google Web Designer appears in your applications menu immediately after completion.
Verify the Installation
Confirm that the installation succeeded by checking the installed package version:
apt-cache policy google-webdesignerExpected output showing the installed version:
google-webdesigner:
  Installed: 14.x.x.x-1
  Candidate: 14.x.x.x-1
  Version table:
 *** 14.x.x.x-1 500
        500 https://dl.google.com/linux/webdesigner/deb stable/main amd64 Packages
        100 /var/lib/dpkg/status
The version number shown is a placeholder. Your output displays the actual installed version, which updates as Google releases new versions.
Launch Google Web Designer
Launch from Terminal
To start Google Web Designer from a terminal, run:
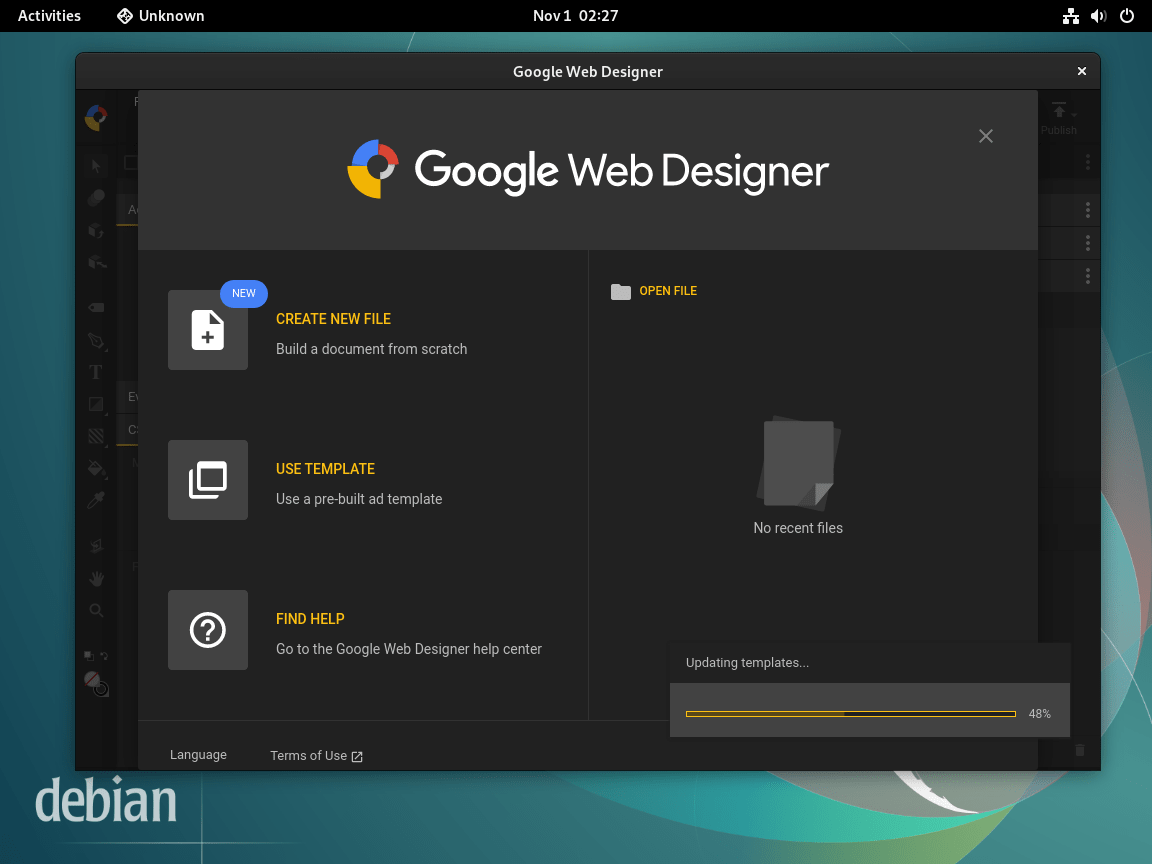
google-webdesignerThe application window opens, and any error messages appear in the terminal, which can help with troubleshooting.
Launch from Applications Menu
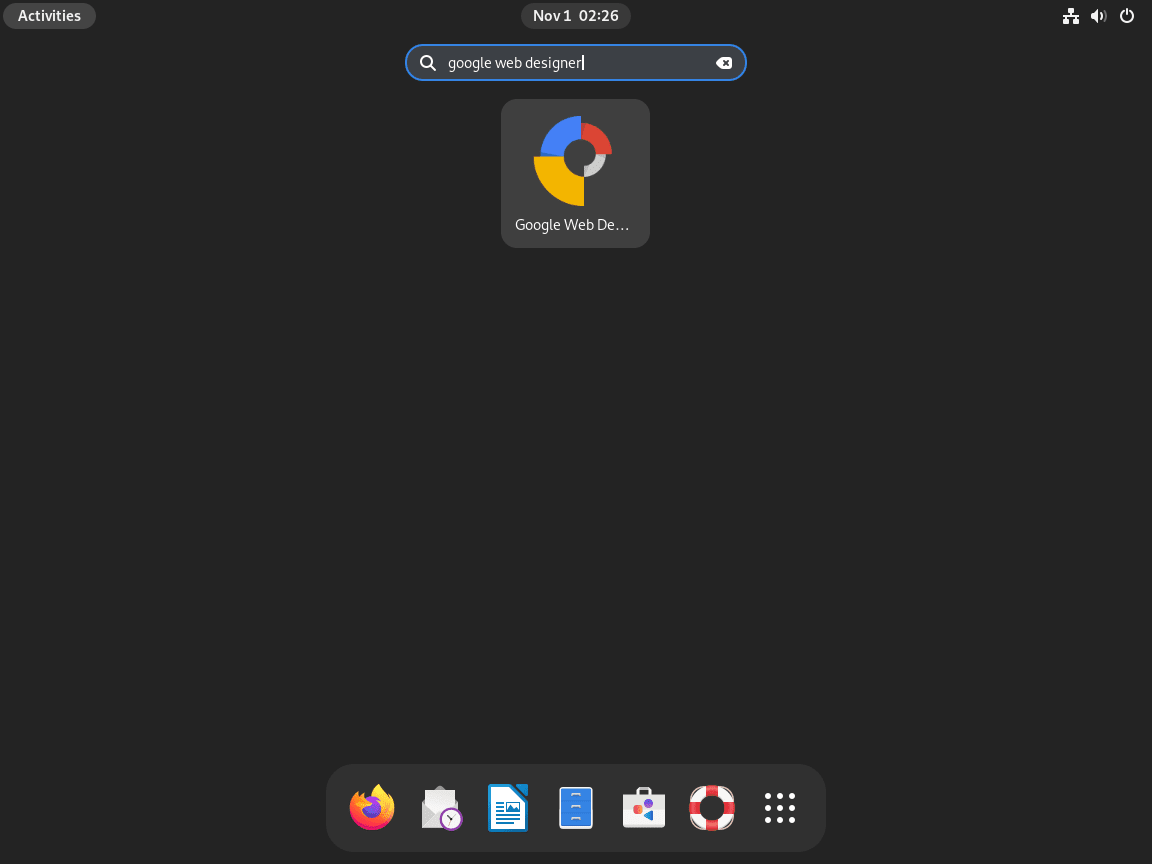
On Debian with GNOME, open the Activities overview by pressing the Super key, then type “Google Web Designer” in the search box. Select the application icon to launch it. On other desktop environments, find Google Web Designer in your applications menu under Graphics or Development categories.


Manage Google Web Designer
Update Google Web Designer
Since you installed Google Web Designer from an APT repository, updates arrive through your normal system update process. Running sudo apt update && sudo apt upgrade checks all repositories, including Google’s, and upgrades any packages with new versions available.
To update only Google Web Designer without upgrading other packages:
sudo apt update
sudo apt install --only-upgrade google-webdesigner
The --only-upgrade flag ensures APT upgrades the package only if it is already installed, leaving other packages untouched.
Remove Google Web Designer
If you no longer need Google Web Designer, remove it along with its repository configuration and GPG key to keep your system clean.
First, uninstall the package:
sudo apt remove google-webdesignerNext, remove any orphaned dependencies that were installed automatically:
sudo apt autoremoveThen remove the repository file and GPG key:
sudo rm /etc/apt/sources.list.d/google-web-designer.sources
sudo rm /usr/share/keyrings/google-web-designer.gpg
Finally, refresh your package lists and verify the removal:
sudo apt update
apt-cache policy google-webdesigner
Expected output confirming removal:
google-webdesigner:
  Installed: (none)
  Candidate: (none)
  Version table:
Running
apt updatebefore checkingapt-cache policyis essential. Without refreshing the cache, APT may still display stale repository information even though the source file is deleted.
Troubleshooting
Installer Creates Duplicate Repository File
The Google Web Designer installer automatically creates its own repository file at /etc/apt/sources.list.d/google-webdesigner.list. Since this guide already configured a .sources file, you will see duplicate source warnings when running apt update:
W: Target Packages (main/binary-amd64/Packages) is configured multiple times in /etc/apt/sources.list.d/google-web-designer.sources and /etc/apt/sources.list.d/google-webdesigner.list
Remove the installer-created file to eliminate the warning:
sudo rm /etc/apt/sources.list.d/google-webdesigner.list
sudo apt update
This is a one-time fix. The file is only created during initial installation and will not reappear during updates.
Conflicts with Other Google Applications
If you previously installed Google Chrome on Debian or another Google application, you might see additional duplicate source warnings. All Google products share the same repository and signing key, so multiple configuration files cause conflicts.
Check which Google repository files exist:
ls -la /etc/apt/sources.list.d/google*Keep one file and remove the others. As long as a GPG key remains in /usr/share/keyrings/, APT can verify packages regardless of which source file you keep.
Dependency Error for libappindicator1
On some systems, you may encounter this error during installation:
google-webdesigner : Depends: libappindicator1 but it is not installable
The libappindicator1 library was removed from Debian after version 10 (Buster). Google’s package still lists it as a dependency, but modern Debian systems resolve this through the ayatana-indicator replacement packages.
First, ensure your package lists are current and retry:
sudo apt update
sudo apt install google-webdesigner
If the error persists, install the replacement library manually and fix broken dependencies:
sudo apt install libayatana-appindicator3-1
sudo apt -f install
The apt -f install command resolves broken dependencies and should complete the Google Web Designer installation.
GPG Key Errors
If you see errors about unsigned packages or missing keys, the GPG key may not have downloaded correctly. Re-download and install it:
curl -fsSL https://dl.google.com/linux/linux_signing_key.pub | sudo gpg --dearmor -o /usr/share/keyrings/google-web-designer.gpg
sudo apt update
Verify the key file exists and has the correct permissions:
ls -la /usr/share/keyrings/google-web-designer.gpgExpected output:
-rw-r--r-- 1 root root 12775 Dec 16 12:00 /usr/share/keyrings/google-web-designer.gpg
Conclusion
You now have Google Web Designer installed on Debian with automatic updates from Google’s official repository. The application provides a complete environment for creating HTML5 animations and interactive content, with timeline-based animation controls and cross-browser preview capabilities. For ongoing maintenance, use the update commands covered above, and refer to the official Google Web Designer documentation for detailed guidance on design features and workflow options.


The following packages have unmet dependencies:
google-webdesigner : Depends: libappindicator1 but it is not installable
E: Unable to correct problems, you have held broken packages.
Thanks for reporting this, Hrvoje. The
libappindicator1dependency error you encountered was a real issue with older Debian versions. This library was removed from Debian 11+ (it existed only in Debian 10 Buster), but Google’s package metadata still lists it as a requirement.On current Debian systems (11, 12, and 13), APT resolves this dependency automatically through the
libayatana-appindicatorreplacement packages. If you still encounter this error, first ensure your package lists are current:If the dependency error persists, the workaround is to install the ayatana replacement manually, then fix broken dependencies:
After running
apt -f install, APT should complete the Google Web Designer installation. The article has been updated with modern repository configuration that works across all current Debian versions.