

Kate is a feature-rich text editor developed by the KDE community, designed for both casual editing and serious development work. Whether you need to edit configuration files with syntax highlighting, write code across dozens of programming languages, or manage multiple documents in a tabbed interface with split views, Kate provides the flexibility to handle it all. Common use cases include editing shell scripts and config files, writing Python or C++ code with LSP support, and working with large log files that simpler editors struggle to open. By the end of this guide, you will have Kate installed and running, with commands for launching, updating, and removing the editor.
Choose Your Kate Installation Method
Ubuntu offers several paths for installing Kate. The table below compares each method to help you decide which fits your workflow.
| Method | Channel | Version | Updates | Best For |
|---|---|---|---|---|
| APT | Ubuntu Repos | Distribution default | Automatic via apt upgrade | Most users who prefer stable, distro-tested packages |
| Flatpak | Flathub | Latest stable | Automatic via flatpak update | Users who want the newest features with sandboxing |
| Snap | Snapcraft | Latest stable | Automatic via snapd | Users who want KDE’s official snap packaging |
| Source | GitHub Tags | Any release | Manual recompilation | Developers contributing to Kate or KDE Frameworks |
For most users, APT is recommended because it integrates seamlessly with your system, requires no additional setup, and receives security updates through standard system maintenance. Choose Flatpak or Snap if you specifically need the latest Kate release with newer features than your distribution provides. Source compilation provides the latest version built directly against your system libraries, and is also suited for developers who need to modify Kate’s code or contribute to KDE development.
Commands shown in this guide work identically on Ubuntu 22.04 LTS, 24.04 LTS, and 26.04 LTS. Each Ubuntu release ships a different Kate version through APT, while Flatpak and Snap provide the same latest version across all Ubuntu releases.
Method 1: Install Kate via APT
APT (Advanced Package Tool) is Ubuntu’s default package management system, providing stable and tested packages from the official repositories. First, refresh your package index to ensure you install the latest available version:
sudo apt update && sudo apt install kateOnce the installation completes, verify that Kate is available by checking the package status:
dpkg -s kate | grep -E '^Package:|^Version:'Package: kate Version: 4:25.12.0-0ubuntu1
The version number varies depending on your Ubuntu release. Ubuntu 26.04 LTS ships version 25.12.x, Ubuntu 24.04 LTS includes version 23.08.x, and Ubuntu 22.04 LTS provides version 21.12.x. All versions provide the same core functionality, though newer versions include additional features like improved LSP support and multi-cursor editing.
Method 2: Install Kate via Flatpak
Flatpak provides the latest Kate releases directly from KDE through Flathub, with application sandboxing for additional security. This method gives you newer features than the APT version while keeping the application isolated from your system.
Flatpak is not pre-installed on Ubuntu. If you have not set it up yet, install it with
sudo apt install flatpakand restart your session before continuing. For detailed setup including the Flathub repository, follow our Flatpak installation guide for Ubuntu.
Once Flatpak and Flathub are configured, install Kate with:
flatpak install flathub org.kde.kate -yNext, verify that Kate is available by listing installed Flatpak applications:
flatpak list | grep kateKate org.kde.kate 25.12.0 stable flathub
Method 3: Install Kate via Snap
Snap packages provide the latest Kate releases directly from the KDE team. Ubuntu includes Snap by default on standard desktop installations, so you can install Kate immediately without additional setup:
sudo snap install kate --classicThe --classic flag grants Kate full system access, which it needs to open and save files anywhere on your system. Without this flag, Kate would be confined to its sandbox and unable to access your documents. Once installation finishes, verify the version:
snap list kateName Version Rev Tracking Publisher Notes kate 25.08.0 207 latest/stable kde✓ classic
If you receive a “snap not found” error on a minimal Ubuntu installation, first install the Snap daemon with
sudo apt install snapdbefore proceeding.
Method 4: Build Kate from Source
Building Kate from source gives you the latest version compiled directly against your system libraries. This method is also useful for developers who want to contribute to Kate or need custom modifications. Unlike simpler projects, Kate requires the KDE Frameworks libraries, which makes the build process more involved than a typical ./configure && make workflow, but the steps below guide you through each stage.
If you just want the latest Kate without modifying the code, Flatpak or Snap are simpler options. Source compilation is best suited for users who want maximum integration with system libraries or need to apply custom patches.
Install Build Dependencies
Before you can compile Kate, you need to install the build tools and development libraries that Kate depends on. These packages provide the compilers, build systems, and KDE framework headers required for compilation:
sudo apt update && sudo apt install -y build-essential cmake extra-cmake-modules git ninja-build qt6-base-dev qt6-declarative-dev qt6-tools-dev libkf6config-dev libkf6coreaddons-dev libkf6i18n-dev libkf6texteditor-dev libkf6syntaxhighlighting-dev libkf6parts-dev libkf6kio-dev libkf6dbusaddons-dev libkf6guiaddons-dev libkf6iconthemes-dev libkf6crash-dev libkf6newstuff-dev libkf6doctools-dev libkf6textwidgets-dev libkf6windowsystem-devThe dependency list above covers core requirements. Depending on your Ubuntu version and which Kate plugins you want to enable, you may need additional
libkf6*-devpackages. The configure step will report any missing dependencies.
Download Kate Source Code
Next, create a dedicated directory for building Kate and download the source code. The following commands automatically detect the latest stable release from GitHub and download the corresponding source archive:
mkdir -p ~/kate-build && cd ~/kate-build
VERSION=$(curl -s https://api.github.com/repos/KDE/kate/tags | grep -oP '"name": "v\K[0-9]+\.[0-9]+\.[0-9]+' | head -1)
echo "Downloading Kate version: $VERSION"
wget "https://github.com/KDE/kate/archive/refs/tags/v${VERSION}.tar.gz"
tar -xzf "v${VERSION}.tar.gz"
cd "kate-${VERSION}"
Configure and Build
Now configure the build using CMake. CMake is a build system generator that creates the instructions for compiling software. The following command configures Kate to be installed in /usr/local (separate from system packages) and uses Ninja for faster compilation:
cmake -B build -G Ninja -DCMAKE_INSTALL_PREFIX=/usr/local -DCMAKE_BUILD_TYPE=ReleaseIf CMake reports missing dependencies, note the package name in the error message, install the corresponding -dev package using sudo apt install, and re-run the cmake command above. Once configuration succeeds, compile Kate:
cmake --build build --parallel $(nproc)The --parallel $(nproc) flag tells the build system to use all your CPU cores, which significantly speeds up compilation. On a modern system with 4+ cores, compilation typically takes 5-10 minutes. You will see many lines of output as each source file is compiled.
Install the Compiled Kate
Once compilation completes without errors, install the compiled files to your system. This step requires sudo because it copies files to /usr/local, which is a system directory:
sudo cmake --install buildOnce installed, verify the installation by checking the version:
/usr/local/bin/kate --versionIf you also have Kate installed via APT, the system version at
/usr/bin/katetakes precedence by default. Either specify the full path/usr/local/bin/kateor adjust your PATH to prioritize/usr/local/bin.
KDE Developer Build Environment (Alternative)
For ongoing Kate development or contributing patches upstream, KDE provides the kdesrc-build tool, which automates building Kate along with its KDE Frameworks dependencies. This approach is more complex but provides a complete development environment. See the official Kate build documentation for detailed kdesrc-build instructions.
Create an Update Script
Unlike APT, Flatpak, or Snap, source-compiled software does not update automatically. You need to manually download new releases and recompile when updates are available. To simplify this process, you can create a shell script that automates the update workflow.
First, create the update script file using a text editor:
nano ~/update-kate.shPaste the following script into the editor. The script checks the latest available version on GitHub, compares it to your installed version, and rebuilds Kate only if an update is available:
#!/bin/bash
# Kate Update Script
# This script checks for new Kate releases and rebuilds if an update is available.

set -e  # Exit immediately if any command fails

BUILD_DIR="$HOME/kate-build"
INSTALL_PREFIX="/usr/local"

echo "Checking for Kate updates..."

# Fetch the latest version number from GitHub
VERSION=$(curl -s https://api.github.com/repos/KDE/kate/tags | grep -oP '"name": "v\K[0-9]+\.[0-9]+\.[0-9]+' | head -1)
echo "Latest available version: $VERSION"

# Check which version is currently installed
CURRENT=$($INSTALL_PREFIX/bin/kate --version 2>/dev/null | grep -oP '[0-9]+\.[0-9]+\.[0-9]+' || echo "none")
echo "Currently installed version: $CURRENT"

# Compare versions and exit if already up to date
if [ "$VERSION" = "$CURRENT" ]; then
    echo "Kate is already up to date. No action needed."
    exit 0
fi

echo "Update available: $CURRENT -> $VERSION"
echo "Starting update process..."

# Clean previous build files and download the new version
mkdir -p "$BUILD_DIR" && cd "$BUILD_DIR"
rm -rf kate-* v*.tar.gz
wget "https://github.com/KDE/kate/archive/refs/tags/v${VERSION}.tar.gz"
tar -xzf "v${VERSION}.tar.gz"
cd "kate-${VERSION}"

# Configure and build (this may take 5-10 minutes)
echo "Configuring build..."
cmake -B build -G Ninja -DCMAKE_INSTALL_PREFIX=$INSTALL_PREFIX -DCMAKE_BUILD_TYPE=Release

echo "Compiling Kate (this may take several minutes)..."
cmake --build build --parallel $(nproc)

# Install the new version (requires sudo)
echo "Installing updated Kate..."
sudo cmake --install build

echo ""
echo "Successfully updated Kate to version $VERSION"
Save the file by pressing Ctrl+O, then Enter, then exit with Ctrl+X.
Next, make the script executable so you can run it:
chmod +x ~/update-kate.shWhenever you want to check for updates and install them, run the script from your home directory:
~/update-kate.shThe script will display progress messages as it works. If Kate is already up to date, it exits immediately without downloading or building anything. If an update is available, it downloads the new source code, compiles it, and prompts for your password to install the updated files.
Remove Source-Compiled Kate
Alternatively, to remove a source-compiled Kate installation:
sudo rm -rf /usr/local/bin/kate /usr/local/bin/kwrite /usr/local/lib/*/libkateprivate* /usr/local/share/applications/org.kde.kate.desktopIf you saved the build directory, you can also run sudo ninja -C ~/kate-build/kate-*/build uninstall if the project provides an uninstall target, though this is not guaranteed for all versions.
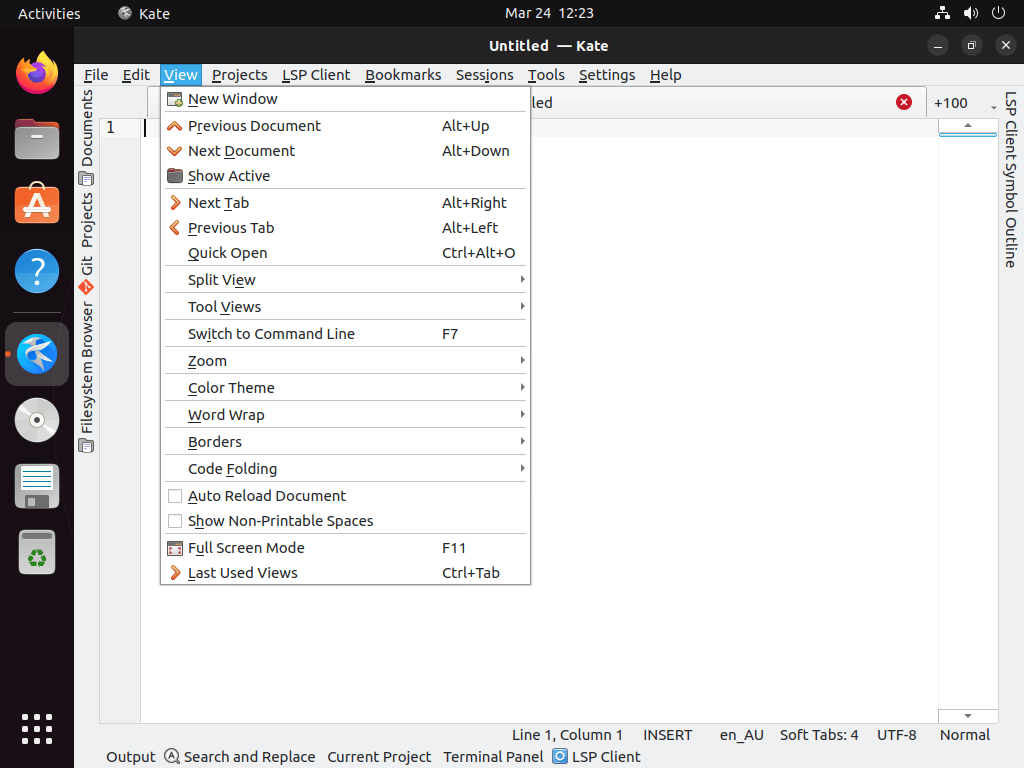
Launch Kate Text Editor
With Kate installed, you can launch it from either the terminal or your desktop environment’s application menu.
Launch Kate from Terminal
For APT installations, launch Kate directly by typing:
kateFor Flatpak installations, use the Flatpak run command:
flatpak run org.kde.kateAlternatively, if you installed Kate via Snap, use:
snap run kateBoth Flatpak and Snap create desktop entries that make Kate available as simply
katein most cases. If the short command does not work, use the full command shown above for your installation method. For source-compiled installations, use/usr/local/bin/kate.
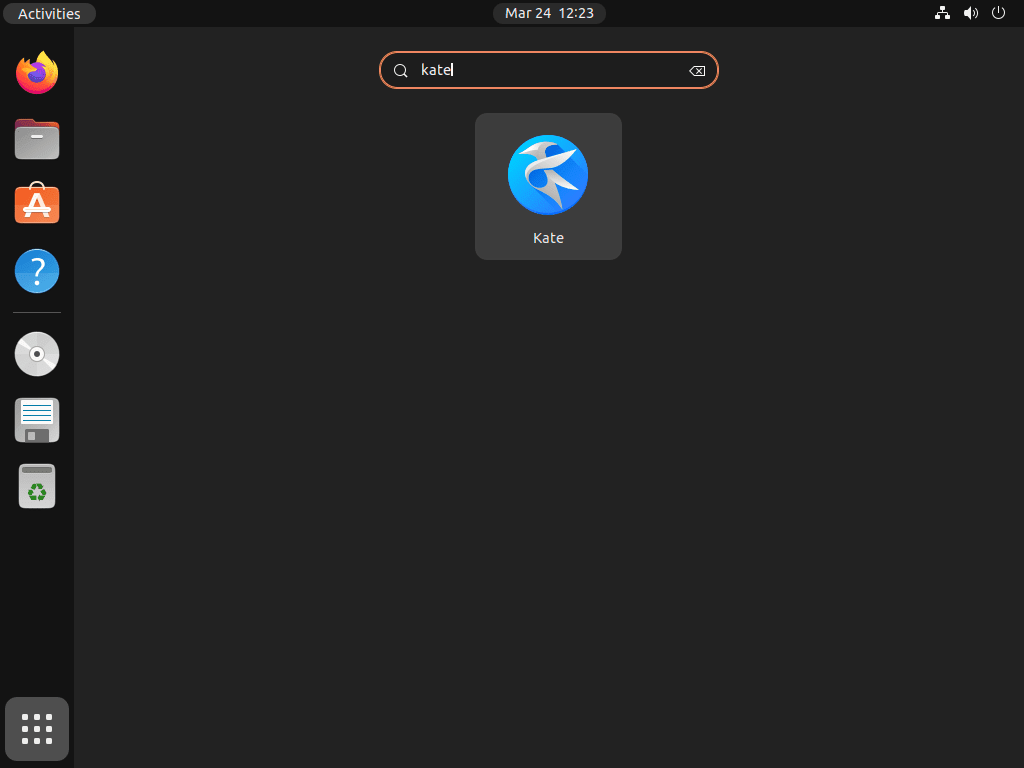
Launch Kate from Applications Menu
Click the Activities button (top-left corner) or press the Super key, then type “Kate” in the search bar and click the Kate icon to launch the application.
Manage Kate Text Editor
Update Kate
Keeping Kate updated ensures you have the latest features and security fixes. The update process differs depending on how you installed Kate.
Update Kate via APT
First, refresh your package index to check for available updates:
sudo apt updateIf an update is available, you can upgrade all system packages at once with:
sudo apt upgradeAlternatively, to update only Kate without touching other packages, use:
sudo apt install --only-upgrade kateUpdate Kate via Flatpak
Flatpak can automatically update applications in the background. However, you can also trigger a manual update:
flatpak update org.kde.kateAdditionally, to update all Flatpak applications at once:
flatpak updateUpdate Kate via Snap
Snap packages update automatically in the background. Alternatively, you can manually trigger an update for all Snap applications:
sudo snap refreshThis command checks for updates across all installed Snap applications and applies any available updates, including Kate.
Remove Kate
If Kate no longer fits your workflow, you can remove it completely from your system. Follow the instructions matching your installation method.
Remove Kate via APT
To uninstall Kate and its dependencies that are no longer needed, run:
sudo apt remove kate && sudo apt autoremoveNext, verify that Kate is no longer installed:
which kateIf the command returns no output, you have successfully removed Kate.
Remove Kate Configuration Files (Optional)
The APT removal command leaves your personal Kate configuration files intact, allowing you to preserve your settings if you reinstall later. To completely remove all Kate user data, delete the configuration directory:
Warning: The following command permanently deletes your Kate session files, recent documents list, custom syntax highlighting, and editor preferences. Back up
~/.config/katefirst if you want to preserve these settings.
rm -rf ~/.config/kate ~/.local/share/kateRemove Kate via Flatpak
For Flatpak installations, remove Kate with:
flatpak uninstall org.kde.kateAdditionally, Flatpak stores application data in a sandboxed directory. To remove Kate’s configuration and cache data:
rm -rf ~/.var/app/org.kde.kateFinally, to remove unused Flatpak runtimes that were installed as dependencies:
flatpak uninstall --unusedRemove Kate via Snap
For Snap installations, remove Kate with:
sudo snap remove katekate removed
Snap automatically cleans up dependencies, so you do not need additional commands. Snap retains one snapshot of the application data by default. To view and remove these snapshots, run snap saved to list them, then sudo snap forget <set-id> to delete a specific snapshot.
Troubleshooting
Kate Fails to Launch
If Kate fails to start, check for error messages by launching it from the terminal:
kate 2>&1Common causes include a missing display server (when running over SSH without X forwarding) or corrupted configuration files. If Kate crashes immediately after opening, try resetting the configuration:
mv ~/.config/kate ~/.config/kate.backup
kate
If Kate works after resetting the configuration, you can selectively restore settings from the backup directory.
Snap Version Cannot Access Files
The Snap version of Kate uses --classic confinement, which should provide full filesystem access. However, if you encounter permission errors when opening files in certain directories, verify that the classic flag was used during installation:
snap list kateThe output should show classic in the Notes column. If it shows - instead, reinstall with the classic flag:
sudo snap remove kate
sudo snap install kate --classic
Theme or Font Rendering Issues
Flatpak and Snap versions of Kate may not automatically inherit your system’s GTK or Qt themes. If Kate looks inconsistent with the rest of your desktop, install the appropriate theme packages for your installation method.
For Flatpak, ensure the KDE platform runtime is updated:
flatpak update org.kde.PlatformFor better GNOME integration with the Snap version, the KDE team publishes theme snaps that may help. Check the Snapcraft store for available options.
Conclusion
You have now installed Kate on Ubuntu, with commands for launching, updating, and removing the editor as needed. Kate’s syntax highlighting for over 300 languages, multi-document interface with split views, LSP integration for code intelligence, and built-in terminal make it well-suited for editing configuration files, writing scripts, and general development work. For more information about Kate’s features and development, visit the official Kate project website. If you prefer a more traditional IDE-style editor, you might also explore Visual Studio Code on Ubuntu or its open-source alternative VSCodium on Ubuntu. For those interested in the full KDE experience, Kate integrates seamlessly with other KDE applications, so consider installing KDE Plasma on Ubuntu.

Formatting tips for your comment
You can use basic HTML to format your comment. Useful tags currently allowed in published comments:
<code>command</code>command<strong>bold</strong><em>italic</em><blockquote>quote</blockquote>