
Password sprawl gets messy fast once logins, SSH keys, and recovery codes end up scattered across browsers and notes. To install KeePassXC on Ubuntu, use the Ubuntu package, official PPA, Flatpak, or a source build.
If you need the official site or a direct Linux download, start with the official KeePassXC download page. On Ubuntu, package-managed installs are easier to update than manually tracking AppImage releases.
Install KeePassXC on Ubuntu
The best method depends on whether you want Ubuntu’s simplest package, a newer APT-managed build, store-backed desktop updates, or a manual build you control locally.
| Method | Source or Channel | Ubuntu Scope | Update Path | Best For |
|---|---|---|---|---|
| Ubuntu repository | Ubuntu Universe package | 26.04, 24.04, and 22.04 | Normal Ubuntu updates | The lowest-maintenance APT path |
| Official KeePassXC PPA | PPA stable build | 26.04, 24.04, and 22.04 | APT-managed updates from the PPA | A newer APT-managed build across supported LTS releases |
| Flatpak | Flathub stable | 26.04, 24.04, and 22.04 | Flathub updates | The upstream-recommended desktop package without adding a PPA |
| Source build | Stable Git tag | 26.04, 24.04, and 22.04 | Manual helper script and local checkout | Custom build options and hands-on updates |
Pick one method unless you deliberately want both. The Ubuntu repository, the official PPA, and the source build all install
keepassxcandkeepassxc-cli. If you mix them, the source build under/usr/local/binusually wins onPATH, so check the active binary withcommand -v keepassxcbefore you troubleshoot version mismatches.
- Choose the Ubuntu repository if you want the simplest install and are fine with Ubuntu’s packaged branch.
- Choose the PPA if you want the current stable KeePassXC build and still prefer APT updates.
- Choose Flatpak if you prefer the upstream-recommended Flathub package and do not want to add a PPA.
- Choose the source build if you want the stable tag in a local checkout you can update yourself.
The Snap package still exists, but it currently trails at 2.7.9 and its Snapcraft listing says the project gives this distribution method only minimal support, so it makes more sense as a secondary option than a primary install path.
If you know the app as KeePass, KeePassX, or KeyPass, use the package name keepassxc for this application. Ubuntu also has separate keepass2 packages, and 22.04 and 24.04 still expose the older keepassx package, but those are not the current KeePassXC install path.
Prepare Ubuntu to Install KeePassXC
Refresh APT before you choose a method so package lookups and dependency resolution use current repository metadata.
sudo apt update && sudo apt upgradeIf your account does not have sudo access yet, set that up first with add a new user to sudoers on Ubuntu.
KeePassXC lives in Ubuntu’s universe component on 26.04, 24.04, and 22.04. If apt says it cannot locate the package on a minimal or customized install, enable Universe first with enable Universe and Multiverse on Ubuntu. Only Universe is required for KeePassXC, but that guide shows the full component workflow.
Install KeePassXC from the Ubuntu Repository
Ubuntu’s own package is still the easiest way to install KeePassXC on Ubuntu when you want a clean APT-managed setup on every supported LTS release.
sudo apt install keepassxcThis method installs the desktop application and the keepassxc-cli companion tool, so you do not need a separate package for terminal-side tasks.
Verify the installed package state with:
apt-cache policy keepassxcRelevant output on Ubuntu 26.04 includes:
keepassxc:
  Installed: 2.7.10+dfsg1-2ubuntu1
  Candidate: 2.7.10+dfsg1-2ubuntu1
  Version table:
 *** 2.7.10+dfsg1-2ubuntu1 500
        500 http://au.archive.ubuntu.com/ubuntu resolute/universe amd64 Packages
Ubuntu 24.04 currently ships 2.7.6+dfsg.1-1build3, and Ubuntu 22.04 ships 2.6.6+dfsg.1-1. Those branches are older than current upstream, but they still integrate cleanly with Ubuntu’s normal update flow.
Install KeePassXC from the Official PPA on Ubuntu
The official KeePassXC PPA upgrades Ubuntu 26.04, 24.04, and 22.04 to KeePassXC 2.7.12 while keeping normal APT-managed updates. Use this method when you want the current upstream build but do not want Flatpak or a manual source build.
Minimal Ubuntu installs can miss
add-apt-repository. If that command is unavailable, installsoftware-properties-commonfirst and then continue.
Add the PPA with:
sudo add-apt-repository ppa:phoerious/keepassxc -yThe -y flag accepts the Launchpad prompt automatically, which makes the command safe to paste in one shot.
Refresh APT so Ubuntu sees the new source:
sudo apt updateUbuntu 24.04 and 22.04 use their own release codenames in the PPA source. Once sudo apt update completes, install the package:
sudo apt install keepassxcThen confirm that APT selected the PPA build:
apt-cache policy keepassxcRelevant output on Ubuntu 26.04 includes:
keepassxc:
  Installed: 2.7.12-1ppa2~resolute1
  Candidate: 2.7.12-1ppa2~resolute1
  Version table:
 *** 2.7.12-1ppa2~resolute1 500
        500 https://ppa.launchpadcontent.net/phoerious/keepassxc/ubuntu resolute/main amd64 Packages
        100 /var/lib/dpkg/status
     2.7.10+dfsg1-2ubuntu1 500
        500 http://au.archive.ubuntu.com/ubuntu resolute/universe amd64 Packages
Ubuntu 24.04 and 22.04 show the same upstream version with ~noble1 or ~jammy1 package suffixes. The PPA package includes keepassxc, keepassxc-cli, and keepassxc-proxy, so it replaces the older distro build for both desktop and terminal use.
Install KeePassXC with Flatpak on Ubuntu
Flatpak currently gives Ubuntu 26.04, 24.04, and 22.04 the same KeePassXC 2.7.12 build through Flathub. It is the upstream-recommended desktop package when you prefer store-backed updates over adding the PPA.
Install Flatpak first if your system does not already have it:
sudo apt install flatpakAdd Flathub as a system remote. The --if-not-exists flag keeps the command safe to rerun if Flathub is already configured:
sudo flatpak remote-add --if-not-exists flathub https://dl.flathub.org/repo/flathub.flatpakrepoConfirm that Flathub is available at system scope before you install the app:
flatpak remotesflathub system
If you want the broader Flatpak desktop setup, permissions background, or Flathub basics, see install Flatpak on Ubuntu.
Install KeePassXC from Flathub with:
sudo flatpak install flathub org.keepassxc.KeePassXC -yVerify the installed Flatpak package with:
flatpak info org.keepassxc.KeePassXCRelevant output includes:
KeePassXC - Secure and Full-featured Password Manager

          ID: org.keepassxc.KeePassXC
         Ref: app/org.keepassxc.KeePassXC/x86_64/stable
        Arch: x86_64
      Branch: stable
     Version: 2.7.12
Installation: system
If the launcher does not appear in your applications menu immediately, sign out and back in once so the desktop session refreshes the Flatpak exports.
Compile KeePassXC from Source on Ubuntu
This path makes sense when you want the current stable tag with manual control over the build instead of waiting for package repositories to catch up. The workflow keeps the source tree in $HOME/keepassxc-build, which makes later updates easier than rebuilding from a throwaway directory.
Ubuntu 26.04 renamed Botan’s development package, so set one variable first and keep using the same terminal session for the dependency and build commands that follow.
if apt-cache show libbotan-3-dev >/dev/null 2>&1; then
  BOTAN_DEV=libbotan-3-dev
else
  BOTAN_DEV=libbotan-2-dev
fi
printf 'Using %s\n' "$BOTAN_DEV"
On Ubuntu 26.04 this prints Using libbotan-3-dev. Ubuntu 24.04 and 22.04 print Using libbotan-2-dev.
Install the build dependencies with:
sudo apt install build-essential cmake g++ git asciidoctor \
  qtbase5-dev qtbase5-private-dev qttools5-dev qttools5-dev-tools \
  libqt5svg5-dev libargon2-dev libminizip-dev "$BOTAN_DEV" libqrencode-dev \
  libkeyutils-dev zlib1g-dev libreadline-dev libpcsclite-dev libusb-1.0-0-dev \
  libxi-dev libxtst-dev libqt5x11extras5-dev
Resolve the latest stable KeePassXC tag next, then use that tag in the clone and checkout steps that follow.
LATEST_TAG=$(git ls-remote --tags --refs https://github.com/keepassxreboot/keepassxc.git | sed 's#.*refs/tags/##' | grep -E '^[0-9]+(\.[0-9]+){2}$' | sort -V | tail -1)
printf 'Latest stable tag: %s\n' "$LATEST_TAG"
Latest stable tag: 2.7.12
Clone the repository into the persistent build directory and check out that tag:
mkdir -p "$HOME/keepassxc-build"
cd "$HOME/keepassxc-build"
git clone https://github.com/keepassxreboot/keepassxc.git
cd keepassxc
git checkout "$LATEST_TAG"
Build and install KeePassXC from that checked-out source tree:
cmake -S . -B build -DWITH_XC_ALL=ON -DCMAKE_BUILD_TYPE=Release
make -C build -j"$(nproc)"
sudo make -C build install
Verify the installed source build with:
command -v keepassxc
command -v keepassxc-cli
keepassxc-cli --version
Relevant output after the source build installs cleanly includes:
/usr/local/bin/keepassxc
/usr/local/bin/keepassxc-cli
2.7.12
The source build also installs a desktop entry at /usr/local/share/applications/org.keepassxc.KeePassXC.desktop, so it shows up in the applications menu like the packaged methods.
Create the KeePassXC Source Update Command on Ubuntu
Because the source build lives in a persistent git checkout, you can update it in place with a small helper command. The helper script checks for the source tree, refuses to overwrite a dirty checkout, compares your current tag with the latest stable tag, and only rebuilds when an update is actually available.
Use sudo tee here because the script is being saved into /usr/local/bin, and plain shell redirection would not write to that root-owned path.
sudo tee /usr/local/bin/update-keepassxc > /dev/null <<'EOF'
#!/bin/bash
set -euo pipefail

SOURCE_DIR="$HOME/keepassxc-build/keepassxc"

for cmd in git cmake make keepassxc-cli; do
  if ! command -v "$cmd" >/dev/null 2>&1; then
    echo "Error: $cmd is required but not installed."
    exit 1
  fi
done

if [[ ! -d "$SOURCE_DIR/.git" ]]; then
  echo "Error: Source checkout not found at $SOURCE_DIR"
  exit 1
fi

if [[ -n "$(git -C "$SOURCE_DIR" status --porcelain)" ]]; then
  echo "Error: Uncommitted changes found in $SOURCE_DIR"
  exit 1
fi

CURRENT_TAG=$(git -C "$SOURCE_DIR" tag --points-at HEAD | grep -E '^[0-9]+(\.[0-9]+){2}$' | sort -V | tail -1 || true)
CURRENT_TAG=${CURRENT_TAG:-none}
LATEST_TAG=$(git ls-remote --tags --refs https://github.com/keepassxreboot/keepassxc.git | sed 's#.*refs/tags/##' | grep -E '^[0-9]+(\.[0-9]+){2}$' | sort -V | tail -1)

if [[ -z "$LATEST_TAG" ]]; then
  echo "Error: Could not determine the latest stable tag."
  exit 1
fi

echo "Current source tag: $CURRENT_TAG"
echo "Latest stable tag: $LATEST_TAG"

if [[ "$CURRENT_TAG" == "$LATEST_TAG" ]]; then
  echo "Already up to date."
  exit 0
fi

echo "Checking out $LATEST_TAG..."
git -C "$SOURCE_DIR" fetch --tags
git -C "$SOURCE_DIR" checkout "$LATEST_TAG"

echo "Configuring build..."
cmake -S "$SOURCE_DIR" -B "$SOURCE_DIR/build" -DWITH_XC_ALL=ON -DCMAKE_BUILD_TYPE=Release

echo "Compiling KeePassXC..."
make -C "$SOURCE_DIR/build" -j"$(nproc)"

echo "Installing KeePassXC..."
sudo make -C "$SOURCE_DIR/build" install

echo "Installed version:"
keepassxc-cli --version
EOF
Make the command executable and confirm your shell can find it:
sudo chmod +x /usr/local/bin/update-keepassxc
command -v update-keepassxc
/usr/local/bin/update-keepassxc
Run the updater with:
update-keepassxcRelevant output on an already-current build includes:
Current source tag: 2.7.12
Latest stable tag: 2.7.12
Already up to date.
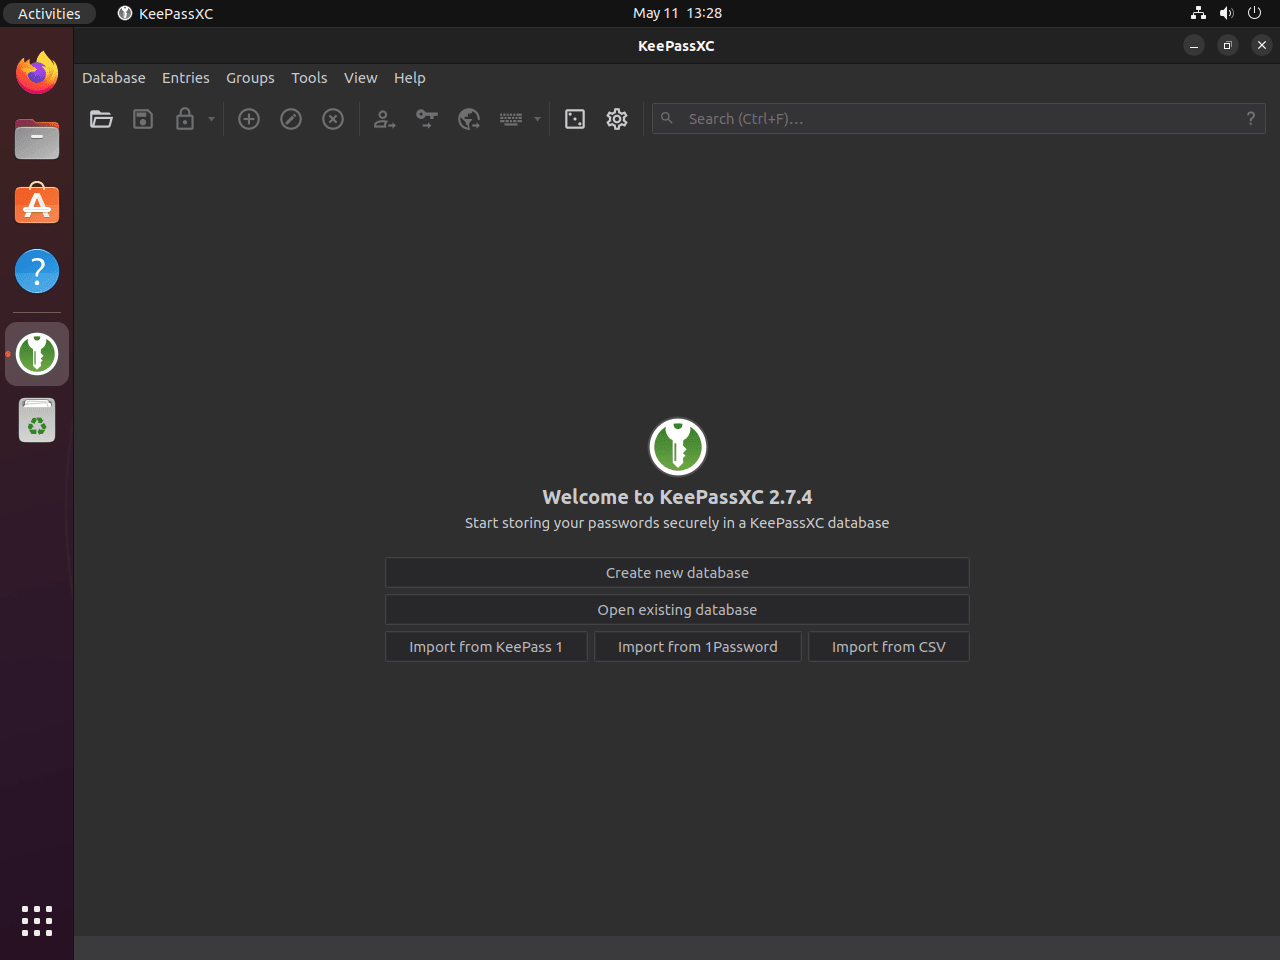
Launch KeePassXC on Ubuntu
You can install KeePassXC entirely from a terminal, but the desktop application still needs an active graphical session to open. For terminal-only database work, the Ubuntu repository, the official PPA, and the source build all install keepassxc-cli, so you do not need a separate CLI package for those methods.
Launch KeePassXC from the Terminal on Ubuntu
APT, PPA, and source installs launch with the standard command:
keepassxcAPT and PPA packages place the command under /usr/bin, and the source build uses /usr/local/bin. Both locations are normally on Ubuntu’s default PATH, so you should not need to edit shell profile files just to launch KeePassXC.
Flatpak installs launch with:
flatpak run org.keepassxc.KeePassXCLaunch KeePassXC from the Applications Menu on Ubuntu
Once the package is installed, the graphical launcher appears in the normal Ubuntu applications menu.
- Press the Super key or open Activities.
- Type KeePassXC.
- Select the KeePassXC launcher.
Update or Remove KeePassXC on Ubuntu
Update KeePassXC on Ubuntu
Ubuntu repository and PPA installs update through APT with the rest of your system:
sudo apt update
sudo apt upgrade
Flatpak installs update with:
sudo flatpak update org.keepassxc.KeePassXCSource builds update with the helper command created earlier:
update-keepassxcRemove KeePassXC on Ubuntu
Start APT removal with:
sudo apt remove keepassxcOn Ubuntu 26.04, the distro package can also install keepassxc-full as an automatic dependency. Use the autoremove preview to see whether that dependency will be removed too.
Preview any unused dependency cleanup before you run it, especially on systems that have seen other package testing or older desktop-app installs:
sudo apt autoremove --dry-runIf the preview lists only packages you no longer need, run the real cleanup:
sudo apt autoremoveIf you added the PPA, remove the source and refresh APT:
sudo add-apt-repository --remove ppa:phoerious/keepassxc -y
sudo apt update
Then confirm the package is gone and the candidate has fallen back to Ubuntu’s own build:
apt-cache policy keepassxcRelevant output after removing the PPA build on Ubuntu 26.04 includes:
keepassxc:
  Installed: (none)
  Candidate: 2.7.10+dfsg1-2ubuntu1
  Version table:
     2.7.10+dfsg1-2ubuntu1 500
        500 http://au.archive.ubuntu.com/ubuntu resolute/universe amd64 Packages
Flatpak installs can be removed with:
sudo flatpak uninstall org.keepassxc.KeePassXCAfter removal, the info command should report that the app is no longer installed:
flatpak info org.keepassxc.KeePassXCerror: org.keepassxc.KeePassXC/*unspecified*/*unspecified* not installed
Source builds can be removed with the CMake install manifest that was created during the build, plus the helper command and persistent git checkout used for updates.
The final command removes the local source tree under
$HOME/keepassxc-build. If you added local patches or other changes there, back them up first.
SOURCE_DIR="$HOME/keepassxc-build/keepassxc"
if [ -f "$SOURCE_DIR/build/install_manifest.txt" ]; then
  while IFS= read -r installed_path; do
    [ -n "$installed_path" ] && sudo rm -f "$installed_path"
  done < "$SOURCE_DIR/build/install_manifest.txt"
else
  sudo rm -f /usr/local/bin/keepassxc /usr/local/bin/keepassxc-cli /usr/local/bin/keepassxc-proxy
  sudo rm -f /usr/local/share/applications/org.keepassxc.KeePassXC.desktop
  sudo rm -rf /usr/local/share/keepassxc
fi
sudo rm -f /usr/local/bin/update-keepassxc
rm -rf "$HOME/keepassxc-build"
Check for remaining KeePassXC-named files under /usr/local afterward:
find /usr/local \( -iname "*keepassxc*" -o -iname "*KeePassXC*" \) -printNo output means the source-installed KeePassXC files and the article-owned update helper are gone.
Check for Remaining KeePassXC User Data on Ubuntu
Package removal does not always delete per-user settings, so scan your account first instead of assuming a fixed cleanup path.
This cleanup step removes application settings, recent database history, and other local state. Your
.kdbxdatabase files stay wherever you saved them, so delete those separately only if you intentionally want to remove them too.
find "$HOME" -maxdepth 3 \( -path "$HOME/.config/keepassxc" -o -path "$HOME/.cache/keepassxc" -o -path "$HOME/.local/share/keepassxc" -o -path "$HOME/.var/app/org.keepassxc.KeePassXC" \) -printNo output means KeePassXC did not leave a per-user directory in those common locations. If the scan prints one or more paths, remove only the directories you actually want to delete.
For example, if the scan shows the common config directory, remove it with:
rm -rf ~/.config/keepassxcTroubleshoot KeePassXC on Ubuntu
These issues are the ones most likely to trip readers up on current Ubuntu LTS releases.
Fix KeePassXC Package Name Confusion on Ubuntu
Use keepassxc when you want this application. Ubuntu 26.04 splits the distro package into keepassxc plus keepassxc-full or keepassxc-minimal, while the official PPA uses a single keepassxc package. Older package names such as keepassx and separate KeePass-compatible packages are not the same install path.
Check the package candidates with:
apt-cache policy keepassxc keepassxc-full keepassx keepass2keepassxc: Candidate: 2.7.10+dfsg1-2ubuntu1 keepassxc-full: Candidate: 2.7.10+dfsg1-2ubuntu1 keepass2: Candidate: 2.60+dfsg-1
Ubuntu 26.04 does not print a keepassx policy stanza because that older package is no longer in the release. Ubuntu 24.04 and 22.04 still expose keepassx, but it is a separate older application. If the PPA is enabled, apt-cache policy keepassxc should show the 2.7.12 PPA candidate instead of Ubuntu’s own package.
Fix KeePassXC PPA Connection Errors on Ubuntu
If sudo apt update reports that it cannot connect to ppa.launchpadcontent.net, the PPA source has not been ingested successfully. Check name resolution, refresh APT again, and then confirm whether the PPA candidate appears:
getent hosts ppa.launchpadcontent.net
sudo apt update
apt-cache policy keepassxc
If the host still cannot reach Launchpad, use the Ubuntu repository or Flatpak method until the network, proxy, or Launchpad-side issue clears. Remove the failed PPA source before returning to the distro package path:
sudo add-apt-repository --remove ppa:phoerious/keepassxc -y
sudo apt update
Fix KeePassXC Browser Integration on Ubuntu
Install the matching extension from the KeePassXC browser integration guide, then open KeePassXC and enable it under Tools > Settings > Browser Integration. KeePassXC’s docs also note that Flatpak and Snap based browsers are generally not supported on Linux, with Ubuntu’s Firefox Snap the current exception, so a supported browser package is still the safer choice when the extension refuses to connect.
Conclusion
Install KeePassXC on Ubuntu with the method that matches how you manage the rest of your system: Ubuntu’s own package for the simplest upkeep, the official PPA for the newest APT build, Flatpak for the upstream-recommended Flathub package, or a source build when you want the stable tag in a local checkout you can update yourself. Once it is in place, you can start building an offline vault without handing your credentials to a hosted password service.

Formatting tips for your comment
You can use basic HTML to format your comment. Useful tags currently allowed in published comments:
<code>command</code>command<strong>bold</strong><em>italic</em><a href="https://example.com">link</a><blockquote>quote</blockquote>