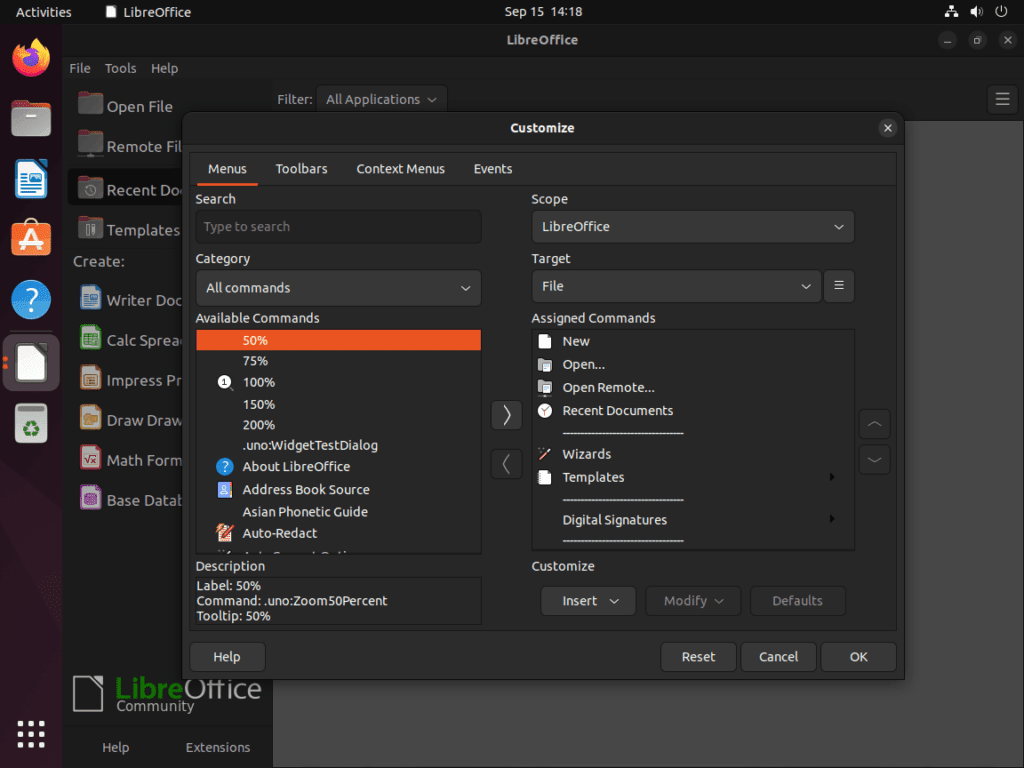
LibreOffice is a full-featured office suite that handles word processing, spreadsheets, presentations, diagrams, databases, and formula editing. Whether you need to create professional documents, manage complex data, or collaborate on presentations, LibreOffice provides the tools without licensing costs. This guide walks through installing LibreOffice on Ubuntu using APT, the LibreOffice PPA for newer versions, Flatpak, or Snap. By the end, you will have a working LibreOffice installation with all components ready to use.
Ubuntu Desktop typically includes LibreOffice by default, but server installations and minimal setups omit it. Additionally, even if LibreOffice is already installed, you may want a newer version than Ubuntu’s default repositories provide. The methods below cover both fresh installations and upgrades.
Choose Your LibreOffice Installation Method
LibreOffice is available through several channels on Ubuntu, and each method offers different trade-offs between version freshness, update frequency, and system integration. To help you decide, the comparison table below summarizes your options:
| Method | Channel | Version | Updates | Best For |
|---|---|---|---|---|
| APT (Default) | Ubuntu Repos | Distribution default | Automatic via apt upgrade | Most users who prefer stability |
| LibreOffice PPA | Launchpad PPA | Latest stable | Automatic via apt upgrade | Users who need newer features |
| Flatpak | Flathub | Latest stable | Automatic via flatpak update | Sandboxed installation with isolation |
| Snap | Snapcraft | Latest stable | Automatic background updates | Users preferring Snap ecosystem |
For most users, the default APT method is recommended because it integrates seamlessly with Ubuntu’s package management and receives security updates through standard system updates. Only use the PPA if you specifically need features unavailable in your Ubuntu version’s default LibreOffice, or choose Flatpak/Snap if you prefer application sandboxing.
This guide supports Ubuntu 22.04 LTS and 24.04 LTS installations. The LibreOffice PPA provides packages for both LTS releases, while Flatpak and Snap methods remain compatible across all Ubuntu versions. Commands shown work identically on both supported LTS releases.
Install LibreOffice from Ubuntu Default Repositories
The simplest approach uses Ubuntu’s default repositories. Because this method provides a stable version tested with your Ubuntu release, it receives security patches through regular system updates.
Update Package Index
First, refresh your package lists to ensure APT knows about the latest available versions:
sudo apt updateInstall LibreOffice
Next, install the LibreOffice metapackage, which includes all core applications (Writer, Calc, Impress, Draw, Base, and Math):
sudo apt install libreofficeAPT automatically resolves and installs all required dependencies. As a result, the download size is approximately 500 MB, depending on what packages are already installed on your system.
Verify Installation
Once the installation completes, confirm that LibreOffice is accessible by checking its version:
libreoffice --versionYou should see output similar to the following, showing the installed version:
LibreOffice 24.x.x 30(Build:x)
The exact version number varies depending on your Ubuntu release. For reference, Ubuntu 24.04 LTS ships LibreOffice 24.2.x by default, while Ubuntu 22.04 LTS includes version 7.3.x.
Install LibreOffice from the Official PPA
For users who need the latest features, the LibreOffice Packaging team maintains a PPA (Personal Package Archive) with the latest stable releases. This method provides newer versions than Ubuntu’s default repositories while still using APT for updates.
Add the LibreOffice PPA
Several PPA options are available depending on your needs. The table below compares each repository to help you choose the right one:
| PPA | Channel | Version | Best For |
|---|---|---|---|
| Fresh (Stable) | ppa:libreoffice/ppa | Latest stable release | Most users wanting newer features |
| Pre-Release | ppa:libreoffice/libreoffice-prereleases | Release candidates and betas | Testers comfortable with potential bugs |
| Still (Backports) | ppa:libreoffice/libreoffice-still | Previous major version | Users preferring proven stability |
For the Fresh (Stable) PPA, which is recommended for most users, run:
sudo add-apt-repository ppa:libreoffice/ppa -yAlternatively, if you want to test upcoming features, add the Pre-Release PPA:
sudo add-apt-repository ppa:libreoffice/libreoffice-prereleases -yFor maximum stability with the previous major version, use the Still PPA instead:
sudo add-apt-repository ppa:libreoffice/libreoffice-still -yYou can only have one LibreOffice PPA active at a time. If you later want to switch from pre-release to stable, remove the current PPA first using the removal instructions at the end of this guide, then add the new PPA.
Refresh Package Index and Install
After adding the PPA, update your package lists to make the new packages available:
sudo apt updateTo confirm that APT recognizes the PPA, check the package policy:
apt-cache policy libreoffice | head -10If successful, the output will show a candidate version from the PPA repository (ppa.launchpadcontent.net):
libreoffice:
  Installed: (none)
  Candidate: 4:25.x.x~rc2-0ubuntu0.24.04.1~lo1
  Version table:
     4:25.x.x~rc2-0ubuntu0.24.04.1~lo1 500
        500 https://ppa.launchpadcontent.net/libreoffice/ppa/ubuntu noble/main amd64 Packages
Now you can install LibreOffice from the PPA:
sudo apt install libreofficeIf you already have LibreOffice installed from the default repositories, APT automatically upgrades it to the PPA version.
Install LibreOffice via Flatpak
Another option is Flatpak, which provides LibreOffice in a sandboxed environment that runs independently of your system’s package manager. As a result, this method ensures you always have the latest version regardless of your Ubuntu release.
Flatpak is not pre-installed on Ubuntu. If you have not set it up yet, install it with
sudo apt install flatpakand restart your session before continuing. For detailed setup including the Flathub repository, follow our Flatpak installation guide for Ubuntu.
Once Flatpak and Flathub are configured, install LibreOffice:
flatpak install flathub org.libreoffice.LibreOffice -yThis command downloads the application along with any required runtimes. Consequently, the initial download is larger than APT packages (approximately 1 GB) because Flatpak bundles its own runtime libraries.
Next, verify the installation by checking the Flatpak info:
flatpak info org.libreoffice.LibreOfficeLibreOffice - The LibreOffice productivity suite
ID: org.libreoffice.LibreOffice
Ref: app/org.libreoffice.LibreOffice/x86_64/stable
Arch: x86_64
Branch: stable
Origin: flathub
Version: 25.x.x
Alternatively, to launch the Flatpak version from the terminal, use:
flatpak run org.libreoffice.LibreOfficeInstall LibreOffice via Snap
Snap packages are another option, offering containerized applications that update automatically in the background. Since Ubuntu includes Snap by default, this is a straightforward installation option.
To install LibreOffice from the Snap Store, run:
sudo snap install libreofficeSnap handles the download and installation automatically. Once the process completes, verify the installation with:
snap info libreoffice | grep -E 'installed|tracking'installed: 25.x.x (xxx) 1.1GB - tracking: latest/stable
If you have LibreOffice installed via APT and also install the Snap version, both will coexist. Desktop launchers may point to the APT version by default. To avoid confusion, remove the APT version if you prefer using Snap exclusively.
Launch LibreOffice
After completing the installation, you can launch LibreOffice either through the applications menu or directly from the terminal.
Launch from Applications Menu
Search for “LibreOffice” in the Activities overview. You will see entries for the main LibreOffice Start Center as well as individual applications like Writer, Calc, and Impress. Simply click any entry to launch that component.
Launch from Terminal
For APT or PPA installations, use the libreoffice command to open the Start Center:
libreofficeAdditionally, you can launch specific applications directly using command-line flags:
libreoffice --writer   # Word processor
libreoffice --calc     # Spreadsheet
libreoffice --impress  # Presentations
libreoffice --draw     # Vector graphics
libreoffice --base     # Database
libreoffice --math     # Formula editor
Troubleshooting LibreOffice Installation
LibreOffice Base Requires Java
LibreOffice Base (the database component) requires a Java Runtime Environment to function. Therefore, if you attempt to open Base without Java installed, you will see an error message about missing Java.
To resolve this issue, install the default JRE:
sudo apt install default-jreAfter installing Java, restart LibreOffice. Then navigate to Tools > Options > LibreOffice > Advanced to verify that Java is detected and enabled.
PPA Package Not Found
If apt update reports errors about the LibreOffice PPA, the PPA may not support your Ubuntu version yet. Check the Launchpad PPA page to see which Ubuntu releases have available packages. As of writing, the PPA supports Ubuntu 22.04 (jammy) and 24.04 (noble).
In that case, use Flatpak or Snap instead, which work across all Ubuntu versions.
Conflicting LibreOffice Versions
If you have installed LibreOffice through multiple methods (APT, Flatpak, and Snap), desktop launchers may behave unexpectedly. In this case, remove the versions you do not need:
# Remove APT version
sudo apt remove libreoffice

# Remove Flatpak version
flatpak uninstall org.libreoffice.LibreOffice

# Remove Snap version
sudo snap remove libreoffice
As a best practice, keep only one installation method to avoid version confusion.
Update LibreOffice
The update process depends on how you installed LibreOffice. Below are the commands for each installation method.
For APT or PPA installations, updates come through standard system updates:
sudo apt update && sudo apt upgradeIf you installed via Flatpak, run the following command to check for updates:
flatpak updateFinally, Snap installations update automatically in the background. However, you can trigger a manual update with:
sudo snap refresh libreofficeRemove LibreOffice
If you no longer need LibreOffice, follow the removal steps below based on your installation method.
Remove APT Installation
First, uninstall LibreOffice and clean up orphaned dependencies:
sudo apt remove libreoffice*
sudo apt autoremove
The autoremove command removes packages that were installed as dependencies but are no longer needed.
Remove LibreOffice PPA
If you added a LibreOffice PPA, you should also remove it to prevent future package conflicts. Use the command matching the PPA you originally added:
# Remove Fresh (Stable) PPA
sudo add-apt-repository --remove ppa:libreoffice/ppa -y

# Remove Pre-Release PPA
sudo add-apt-repository --remove ppa:libreoffice/libreoffice-prereleases -y

# Remove Still (Backports) PPA
sudo add-apt-repository --remove ppa:libreoffice/libreoffice-still -y
Afterwards, refresh your package lists:
sudo apt updateRemove Flatpak Installation
To remove the Flatpak version, uninstall the package and clean up unused runtimes:
flatpak uninstall org.libreoffice.LibreOffice
flatpak uninstall --unused
User data for the Flatpak version is stored in ~/.var/app/org.libreoffice.LibreOffice/. Remove this directory if you want to delete all settings and cached files:
rm -rf ~/.var/app/org.libreoffice.LibreOfficeRemove Snap Installation
For Snap installations, remove the package with:
sudo snap remove libreofficeSnap automatically cleans up its data when you remove packages, so no additional steps are needed.
Conclusion
You now have LibreOffice installed on Ubuntu using your preferred method. The APT installation integrates with standard system updates, while the PPA provides access to the latest releases. Alternatively, Flatpak and Snap offer sandboxed installations that work consistently across Ubuntu versions. To maintain your installation, apply updates regularly to receive security patches and new features.
Useful Links
For additional resources on using and configuring LibreOffice:
- LibreOffice Official Website: Download options, release notes, and project information.
- LibreOffice Documentation: Official user guides for all applications in the suite.
- Ask LibreOffice: Community Q&A for troubleshooting and usage questions.

