RetroArch gives Ubuntu users one frontend for emulator cores, controller profiles, shaders, playlists, and content scanning. You can install RetroArch on Ubuntu from Ubuntu Universe, the Libretro stable PPA, Snap, or Flathub, so the right method mostly depends on your Ubuntu release and how you want updates handled.
Supported Ubuntu LTS releases here are 26.04, 24.04, and 22.04. Ubuntu 26.04 already ships RetroArch 1.22.2 from Universe, while Ubuntu 24.04 and 22.04 still carry older Universe builds. If you searched for a manual Linux download, the official RetroArch site is still useful for upstream downloads and docs, but the methods below keep install, update, and removal tied to Ubuntu package tools.
Install RetroArch on Ubuntu
Choose a RetroArch Installation Method on Ubuntu
All four methods below work on supported Ubuntu LTS releases, but they solve slightly different problems. The default Ubuntu package is the simplest route, the PPA keeps APT users on a newer build for older LTS releases, and the Snap and Flatpak packages suit readers who already use those app ecosystems.
| Method | Source | Current Package or Channel | Updates | Best For |
|---|---|---|---|---|
| Ubuntu repository | Ubuntu Universe | 26.04: 1.22.2; 24.04: 1.18.0; 22.04: 1.7.3 | Via APT | The simplest package-managed install |
| Libretro stable PPA | Launchpad | 26.04 and 24.04: 1.22.2; 22.04: 1.21.0 | Via APT | A newer APT build on older LTS releases |
| Snap | Snapcraft | latest/stable: 1.22.2, strict confinement | Automatic Snap refreshes | Readers who already use Snap apps |
| Flatpak | Flathub | Verified Flathub app, 1.22.2 | Via Flatpak | Readers who already use Flathub |
Current package checks show RetroArch 1.22.2 from Ubuntu Universe on 26.04, RetroArch 1.18.0 from Universe on 24.04, RetroArch 1.7.3 from Universe on 22.04, RetroArch 1.22.2 from the Libretro stable PPA on 26.04 and 24.04, and RetroArch 1.21.0 from the PPA on 22.04.
- Use the Ubuntu repository on 26.04 when you want the simplest APT install and Ubuntu already ships RetroArch 1.22.2.
- Use the Libretro stable PPA on 24.04 or 22.04 when you want a newer APT build than Ubuntu ships in Universe.
- Use the Snap when you want automatic updates through Ubuntu’s snap tooling and are comfortable with strict Snap confinement.
- Use the Flatpak when you already keep desktop apps in Flathub, want Flathub-managed app and runtime updates, and are comfortable with its broad filesystem and device access.
On Ubuntu 26.04, 24.04, and 22.04, sudo apt install retroarch installs the Ubuntu-packaged build from Universe. Ubuntu 26.04 already matches the current 1.22.2 upstream release, while Ubuntu 24.04 and 22.04 still trail behind enough that the Libretro stable PPA remains useful for readers who want a newer APT package. You can install RetroArch from a terminal on any supported Ubuntu setup, but launching it still requires an active graphical session.
Update Ubuntu Before Installing RetroArch
Start with a normal package refresh so APT sees the current Ubuntu repository metadata before you choose a RetroArch method.
sudo apt update && sudo apt upgrade -yThese commands use
sudofor tasks that need root privileges. If your account does not have sudo access yet, follow the guide on how to add a new user to sudoers on Ubuntu before continuing.
Install RetroArch from the Ubuntu Repository
This is the cleanest APT path and it now works across Ubuntu 26.04, 24.04, and 22.04. It is the best fit when you want RetroArch integrated with Ubuntu’s own package set and you do not need a newer build than the release in Universe.
RetroArch is packaged in Ubuntu’s Universe component. If
apt-cache policy retroarchshows no candidate on your system, enable Universe first with our Ubuntu Universe and Multiverse guide. Only Universe is required for this package.
sudo apt install retroarch -yConfirm that APT installed the package and that Ubuntu is now using the expected repository candidate. On Ubuntu 26.04, current output shows the 1.22.2 Universe package.
apt-cache policy retroarchretroarch:
Installed: 1.22.2+dfsg-2ubuntu1
Candidate: 1.22.2+dfsg-2ubuntu1
Version table:
*** 1.22.2+dfsg-2ubuntu1 500
500 http://au.archive.ubuntu.com/ubuntu resolute/universe amd64 Packages
100 /var/lib/dpkg/status
Ubuntu 24.04 and 22.04 show older Universe candidates, which is where the Libretro stable PPA becomes useful if you want a newer APT build without switching to Snap or Flatpak.
Install RetroArch from the Libretro Stable PPA
Use the Libretro stable PPA when you want a newer RetroArch package on Ubuntu 24.04 or 22.04 while staying on APT. On Ubuntu 26.04 and 24.04, the PPA currently offers RetroArch 1.22.2. On Ubuntu 22.04, it currently offers RetroArch 1.21.0, which is still much newer than the 1.7.3 package in Universe.
Minimal Ubuntu installs can miss the add-apt-repository helper even though the RetroArch package itself is available. If that command is missing on your system, install software-properties-common first.
sudo apt install software-properties-common -yAdd the Libretro stable PPA, then refresh APT metadata.
sudo add-apt-repository ppa:libretro/stable -ysudo apt updateCheck that APT now prefers the Launchpad build before you install it. On Ubuntu 24.04, the candidate should move from the older Universe package to the newer PPA package.
apt-cache policy retroarchretroarch:
Installed: (none)
Candidate: 1.22.2+ppa1.1-1~ubuntu24.04.1
Version table:
1.22.2+ppa1.1-1~ubuntu24.04.1 500
500 https://ppa.launchpadcontent.net/libretro/stable/ubuntu noble/main amd64 Packages
1.18.0+dfsg-1 500
500 http://au.archive.ubuntu.com/ubuntu noble/universe amd64 Packages
On Ubuntu 22.04, the same check currently shows 1.21.0+ppa1-1~ubuntu22.04.1 from the PPA above the older 1.7.3+dfsg1-1.1build1 Universe package.
Once the newer candidate appears, install RetroArch from the PPA with the usual APT command.
sudo apt install retroarch -yAfter the package finishes installing, rerun apt-cache policy retroarch. The installed and candidate versions should both show the newer PPA build instead of Ubuntu’s older Universe package on 24.04 or 22.04.
Install RetroArch from Snap
The Snap package suits readers who want automatic updates and already use Ubuntu’s snap tooling for desktop apps. Standard Ubuntu desktop installs already include Snap support, so there is no extra repository setup here. The current Snap Store package is published by hunterk (libretro) with strict confinement.
sudo snap install retroarchUse snap list to confirm the installed channel and revision.
snap list retroarchCheck the store metadata when you need the current publisher, confinement, and stable-channel version.
snap info --verbose retroarch | grep -E 'publisher:|confinement:|latest/stable:'publisher: hunterk (libretro) confinement: strict latest/stable: 1.22.2 2025-11-17 (3843) 306MB -
Install RetroArch from Flatpak
The Flatpak build is a good fit when you already use Flathub for desktop apps and want Flathub to manage RetroArch and its runtime. The Flathub listing currently marks org.libretro.RetroArch as verified and publishes RetroArch 1.22.2, but it also labels the app potentially unsafe because the manifest grants broad host filesystem and device access.
Flatpak is not pre-installed on Ubuntu. If you have not enabled it yet, follow the guide on how to install Flatpak on Ubuntu before adding Flathub and RetroArch.
sudo flatpak remote-add --if-not-exists flathub https://dl.flathub.org/repo/flathub.flatpakrepoVerify that Flathub exists at system scope before you install RetroArch from it.
flatpak remotes --columns=name,options | grep -E '^flathub[[:space:]]'flathub system
sudo flatpak install flathub org.libretro.RetroArch -yCheck the installed Flatpak metadata to confirm the app ID, branch, origin, and installed version.
flatpak info org.libretro.RetroArchRetroArch - Frontend for emulators, game engines and media players
ID: org.libretro.RetroArch
Ref: app/org.libretro.RetroArch/x86_64/stable
Arch: x86_64
Branch: stable
Version: 1.22.2
Origin: flathub
Installation: system
Launch and Use RetroArch on Ubuntu
RetroArch can be launched from the terminal or from the desktop menu once the package install completes. After the first start, you can download the emulator cores you need and build playlists from your ROM directories.
Launch RetroArch from the Terminal
Ubuntu repository and PPA installs provide the normal host command.
retroarchThe Snap package uses the Snap wrapper command, which also works when /snap/bin is not already in your shell path.
snap run retroarchThe Flatpak build uses the application ID instead of the shorter launcher name.
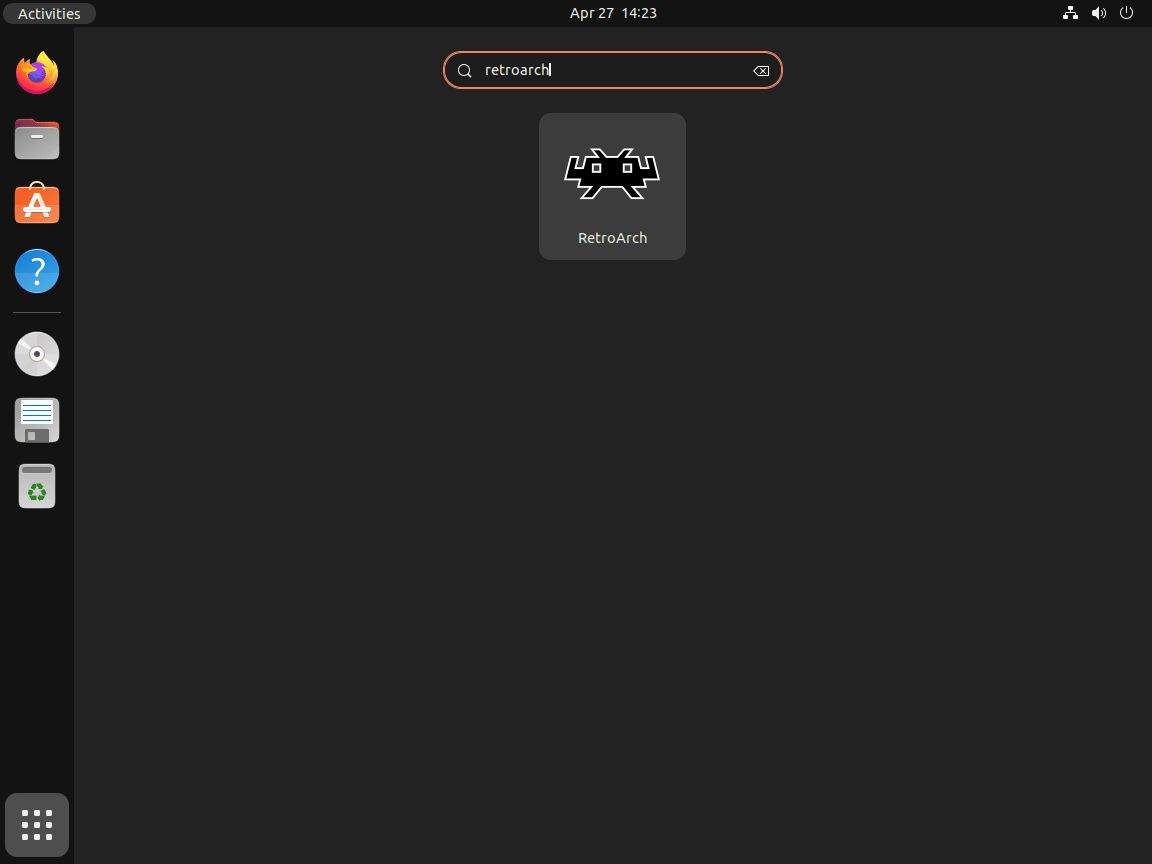
flatpak run org.libretro.RetroArchLaunch RetroArch from the Applications Menu
Desktop users can also open the app from the Ubuntu applications menu by searching for RetroArch.
Download RetroArch Cores on Ubuntu
RetroArch itself is the frontend, so your next step is downloading the cores you actually want to use. It does not include commercial game files, so you still need your own legally obtained ROMs, BIOS files, or other game data before the playlists become useful. Open Main Menu > Online Updater > Core Downloader, then install only the systems you plan to emulate instead of pulling everything at once.
Import Games into RetroArch on Ubuntu
Use Import Content > Scan Directory when you want RetroArch to build playlists from a ROM folder, or use Main Menu > Load Content for one-off launches. If RetroArch has more than one suitable core, it asks you to choose the emulator backend before starting the game.
Remove RetroArch Cores on Ubuntu
Package removal is different from deleting an individual emulator core. To remove one core from inside RetroArch, open Main Menu > Load Core > Manage Cores, select the installed core, then use the delete option for that core. This does not remove your RetroArch package or other installed cores.
Core availability depends on the RetroArch build, the platform, and any BIOS or system files a core requires. Avoid assuming that every console named in search results has a ready-to-use core on Ubuntu.
Update RetroArch on Ubuntu
The update command depends on the package format you chose. Use the same tool that originally installed RetroArch so the package manager updates the correct build.
Update RetroArch from Ubuntu APT or the Libretro PPA
APT can update just the RetroArch package without upgrading everything else on your system.
sudo apt install --only-upgrade retroarch -yUpdate RetroArch from Snap on Ubuntu
The Snap package usually updates automatically, but you can refresh it manually whenever you want to pull the current stable revision right away.
sudo snap refresh retroarchUpdate RetroArch from Flatpak on Ubuntu
Use the app ID to update only the RetroArch Flatpak instead of every Flatpak app on the system.
sudo flatpak update org.libretro.RetroArch -yRemove RetroArch on Ubuntu
Use the removal path that matches the package format you installed. Package removal and user-data cleanup are separate on Ubuntu, so remove the app first and then decide whether you also want to delete your local RetroArch settings.
Remove APT or PPA RetroArch on Ubuntu
This removes the RetroArch package installed from Ubuntu Universe or the Libretro PPA.
sudo apt remove retroarch -yIf APT reports unused dependencies afterward, inspect the dry-run before running any cleanup command.
sudo apt autoremove --dry-runAfter removal, confirm that the installed package entry is gone.
dpkg-query -W -f='${db:Status-Abbrev} ${binary:Package}\n' retroarch 2>/dev/null | grep '^ii' || echo "retroarch not installed"retroarch not installed
Remove the Libretro PPA on Ubuntu
Only PPA users need this extra cleanup step. If you want a broader walkthrough for Launchpad sources, see our guide on how to remove a PPA from Ubuntu.
sudo add-apt-repository --remove ppa:libretro/stable -y
sudo rm -f /etc/apt/trusted.gpg.d/libretro-ubuntu-stable.gpg /etc/apt/trusted.gpg.d/libretro-ubuntu-stable.gpg~
sudo apt update
Check that the Launchpad source no longer appears under your APT source files. The extra rm line is harmless when the files do not exist and cleans up older helper-created trust files when they remain after PPA removal. No output from the find line means no matching Libretro source or trust files remain.
grep -R "ppa.launchpadcontent.net/libretro/stable" /etc/apt/sources.list.d || echo "PPA source removed"
sudo find /etc/apt/sources.list.d /etc/apt/trusted.gpg.d -maxdepth 1 -iname '*libretro*' -print
PPA source removed
Remove the RetroArch Snap on Ubuntu
Snap removal is a separate step from APT or Flatpak cleanup. Use --purge when you do not want Snap to keep a removal snapshot for this app.
sudo snap remove --purge retroarchConfirm that Snap no longer lists the package.
snap list retroarch 2>/dev/null || echo "retroarch not installed"retroarch not installed
Remove the RetroArch Flatpak on Ubuntu
Use the Flatpak application ID for removal so you only remove RetroArch and not every app from Flathub.
sudo flatpak remove org.libretro.RetroArch -yConfirm that the app no longer appears in the installed Flatpak application list.
flatpak list --app --columns=application | grep -Fx org.libretro.RetroArch || echo "org.libretro.RetroArch not installed"org.libretro.RetroArch not installed
Remove Remaining RetroArch Settings on Ubuntu
RetroArch keeps settings under your home directory, and those locations can vary by package format and whether you launched the app yet. Find the actual paths on your account first, then delete only the directories you really want to remove.
These commands permanently delete local RetroArch settings, save locations, and any other directories the search finds under your home folder. Back up anything you still need before removing those paths.
find "$HOME" -maxdepth 4 \( -path "$HOME/.config/retroarch" -o -path "$HOME/.local/share/retroarch" -o -path "$HOME/.cache/retroarch" -o -path "$HOME/.var/app/org.libretro.RetroArch" -o -path "$HOME/snap/retroarch" \) 2>/dev/nullFor example, APT and PPA installs commonly create ~/.config/retroarch after the first launch.
If your results only show the standard Ubuntu package directory, remove it with:
rm -rf "$HOME/.config/retroarch"Troubleshoot RetroArch on Ubuntu
Most RetroArch issues on Ubuntu come down to missing assets, missing cores, or audio settings that need a quick adjustment after the first launch.
Fix Missing RetroArch Assets on Ubuntu
If RetroArch opens with missing icons, incomplete menus, or broken fonts, refresh the packaged assets from inside the app. Open Main Menu > Online Updater > Update Assets, let the download finish, then restart RetroArch so it reloads the refreshed files.
Fix RetroArch Audio Crackling on Ubuntu
Audio stutter usually improves after switching the output backend or raising the latency slightly. Open Settings > Audio, try pipewire or pulse as the audio driver, then increase the latency a little if the sound still crackles under load.
Install Missing RetroArch Cores on Ubuntu
If a game opens with a no-core message, download the matching emulator backend from Main Menu > Online Updater > Core Downloader. After that, load the game again through Main Menu > Load Content or rescan the folder from Import Content so RetroArch can match the file with the correct core.
Conclusion
RetroArch is ready on Ubuntu once you match the package source to your release: Universe for the simplest APT install, the Libretro PPA for newer APT builds on older LTS releases, or Snap/Flatpak for store-managed app updates. For a broader gaming setup, install Steam on Ubuntu for Proton titles, or install Wine on Ubuntu for Windows launchers outside Steam.

Formatting tips for your comment
You can use basic HTML to format your comment. Useful tags currently allowed in published comments:
<code>command</code>command<strong>bold</strong><em>italic</em><a href="https://example.com">link</a><blockquote>quote</blockquote>