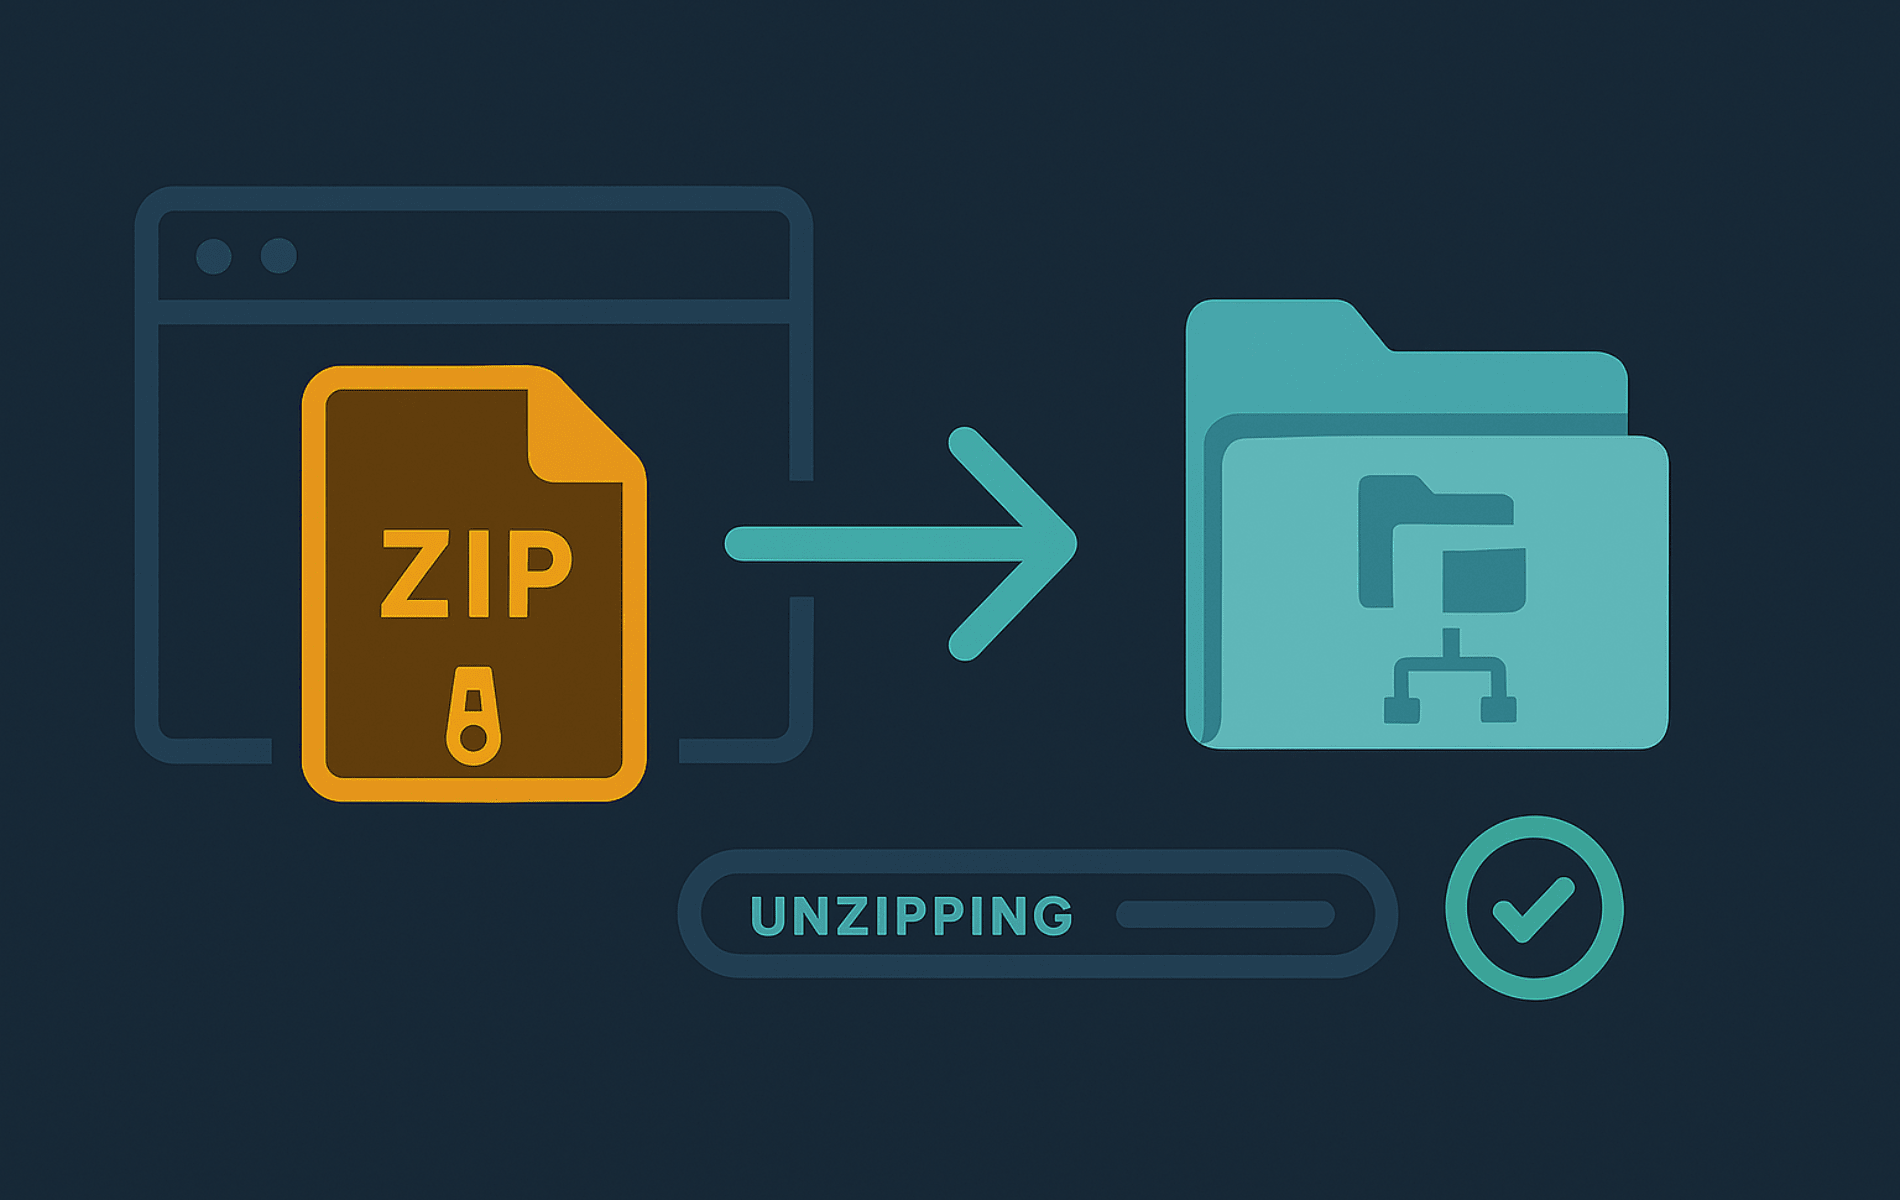
Zip archives still show up everywhere, from project downloads and backups to file bundles shared across Windows and Linux systems. To unzip to another directory in Linux, use unzip archive.zip -d /path/to/destination. The same unzip command in Linux also lists archive contents, tests archive integrity, and skips files you do not want to extract.
unzip is already available on many desktop and server installations, but minimal images and containers sometimes leave it out. Most readers only need a quick availability check, the -d extraction pattern, and a short list of the errors that point to a bad path or the wrong archive format.
Understand the unzip Command
The unzip command extracts .zip archives from the terminal while preserving the directory structure stored inside the archive. If you also work with tarballs, use a different workflow to extract .gz and .tgz files in Linux, because unzip only handles ZIP archives.
Use zip when you need to create a ZIP archive, and use unzip when you need to inspect or extract one. Keeping those jobs separate prevents common mistakes such as trying to unpack a .tar.gz file with unzip or looking for compression options in the extraction command.
Check Whether unzip Is Already Available
Before you install anything, check whether unzip is already on your system:
command -v unzipA successful result usually looks like this:
/usr/bin/unzip
If the command prints a path, unzip is installed and ready to use. It is a better first check than bare unzip -v when you only want to confirm the binary exists, because the version command prints compile options for the installed binary. Those build details are diagnostic only; they do not change the extraction syntax. If the check prints nothing or your shell reports unzip: command not found, install the package from your distribution repositories.
unzip Command Syntax
The basic syntax is short:
unzip [options] archive.zip [-d destination]Each part controls a different part of the extraction process:
- unzip runs the extraction command.
- [options] changes how extraction works, for example
-oto overwrite files or-nto keep existing files. - archive.zip is the ZIP file you want to inspect or extract.
- [-d destination] sends the extracted files to another directory instead of the current one.
At its simplest, unzip archive.zip extracts everything into the current directory. To send the same archive somewhere else, append -d /path/to/destination.
Common unzip Options by Task
Use these options for common extraction tasks:
| Task | Command or Option | What It Does |
|---|---|---|
| Extract into the current directory | unzip archive.zip | Unpacks the entire archive where you are currently working. |
| Extract to another directory | -d /path/to/destination | Sends extracted files to another location; create missing parent directories first when the path is nested. |
| List contents without extracting | -l | Shows file names, sizes, and stored paths without changing anything on disk. |
| Show a detailed listing | -v archive.zip | Displays compression methods, ratios, CRC values, and timestamps for archive entries. |
| Test archive integrity | -t | Checks the archive for corruption before you extract it. |
| Overwrite existing files | -o | Replaces matching files without asking for confirmation. |
| Keep existing files | -n | Skips files that already exist in the destination. |
| Quiet normal output | -q | Reduces extraction messages; repeat as -qq for quieter output. |
| Flatten stored directories | -j | Extracts files without recreating the directory tree stored in the archive. |
| Exclude files or directories | -x pattern | Skips archive paths that match the supplied pattern. |
| Restore stored owner and group IDs | -X | Restores UID/GID metadata on Unix systems when the archive contains it and privileges allow it. |
You can combine options when they solve different problems. For example, unzip -q -o archive.zip -d /tmp/extract overwrites files quietly into a different directory.
Install the unzip Command
If command -v unzip returns nothing, install the package from your distribution repositories:
# Ubuntu and Debian
sudo apt install unzip

# Fedora, CentOS Stream, RHEL, Rocky Linux, and AlmaLinux
sudo dnf install unzip

# Arch Linux and Manjaro
sudo pacman -S unzip

# openSUSE
sudo zypper install unzip

# Alpine Linux (root shell)
apk add unzip

# Gentoo
sudo emerge app-arch/unzip
After installation, rerun command -v unzip to confirm that the binary is on your PATH.
Alpine examples often run from a root shell on minimal systems. Use doas or sudo only when that privilege tool is configured. Minimal Alpine images often omit the standalone Info-ZIP tool, so install the unzip package when you want the full option set; smaller archive utilities do not always match the same flags or output format.
Practical unzip Command Examples
Most unzip work comes down to four things: extracting archives, checking what is inside them, verifying that the ZIP file is intact, and controlling how existing files are handled.
Extract to a Specific Directory
When you want the extracted files to land in a dedicated folder instead of your current working directory, use -d. Here, -d means destination directory. The mkdir command in Linux creates missing parent paths first; unzip can create a final destination folder only when its parent path already exists.
mkdir -p "$HOME/extract"
unzip archive.zip -d "$HOME/extract"
Expected extraction output shows the destination path for each file:
Archive:  archive.zip
  inflating: /home/alex/extract/file1.txt
  inflating: /home/alex/extract/notes.txt
  inflating: /home/alex/extract/file2.txt
This is the core pattern behind most unzip to directory searches: keep the archive where it is and send the extracted files to a different location.
Extract in the Current Directory
If you are already standing in the directory where the files should land, run unzip without any extra options:
unzip archive.zipThe archive contents land in the current directory, with any stored folders recreated under that location.
Extract One File or Folder From a ZIP Archive
You do not have to extract the whole ZIP file. Start by listing the stored paths:
unzip -l archive.zipAfter you confirm the stored path, pass the exact file after the archive name:
unzip archive.zip docs/readme.txt -d "$HOME/extract"To extract a stored folder, quote the wildcard so your shell leaves the pattern for unzip to match inside the archive:
unzip archive.zip 'docs/*' -d "$HOME/extract"This pattern is useful when a ZIP archive contains a large project but you only need one subdirectory.
Extract Files Without Stored Directories
Use -j when you want all extracted files in one destination instead of the folder tree stored in the archive:
unzip -j archive.zip -d "$HOME/extract"Flattening paths can overwrite or prompt on files with the same name from different folders, so list the archive first when you are not sure whether names collide. The -j option removes every stored directory component, not only a single top-level wrapper folder.
Extract Multiple Archives at Once
When a directory contains several ZIP files, a short loop can process all of them. Sending each archive into its own directory avoids filename collisions between different extracts.
for archive in *.zip; do
  [ -e "$archive" ] || continue
  unzip "$archive" -d "${archive%.zip}"
done
If no ZIP files are present, the loop does nothing. Otherwise, each archive extracts into a directory named after the archive file. If those generated folder names need cleanup later, you can rename directories with mv. For nested directory trees, use a controlled find -exec command workflow in Linux instead of a broad recursive loop.
Overwrite Existing Files Without Prompting
Automated workflows break when unzip pauses to ask whether a file should be replaced. Use -o when you want the archive copy to win every time.
unzip -o archive.zipThis replaces existing files with matching names without interactive prompts, which makes it suitable for scripts and repeatable deployment steps.
Skip Overwriting Existing Files
Use -n when local files should stay untouched and you only want missing files from the archive:
unzip -n archive.zipThis keeps existing files in place and extracts only the files that are not already present in the destination directory.
List Archive Contents Without Extracting
Before you unpack anything, check the archive contents with -l:
unzip -l archive.zipA standard listing looks like this:
Archive:  archive.zip
  Length      Date    Time    Name
---------  ---------- -----   ----
     6  2026-03-15 10:16   file1.txt
    11  2026-03-15 10:16   notes.txt
     5  2026-03-15 10:16   file2.txt
---------                     -------
    22                     3 files
This is the safest way to confirm filenames, sizes, and stored paths before extraction.
Show Detailed Archive Information
When you need more than filenames, use -v for a verbose listing. Compression ratios, timestamps, and CRC values vary by archive, but the output format looks like this:
unzip -v archive.zipArchive: archive.zip
Length Method Size Cmpr Date Time CRC-32 Name
-------- ------ ------- ---- ---------- ----- -------- ----
6 Defl:N 8 -33% 03-15-2026 10:16 9f606eec file1.txt
11 Defl:N 13 -18% 03-15-2026 10:16 f7293622 notes.txt
5 Defl:N 7 -40% 03-15-2026 10:16 e6e3a775 file2.txt
-------- ------- --- -------
22 28 -27% 3 files
Use this view when you need CRC data, stored timestamps, or compression ratios before you decide whether to extract the archive. For very small files, negative compression percentages are normal because ZIP metadata can be larger than the original content.
Test Archive Integrity Before Extraction
If the archive came from an unreliable download or a third-party source, run an integrity test before extracting it:
unzip -t archive.zipA clean archive returns output like this:
Archive:  archive.zip
  testing: file1.txt                OK
  testing: notes.txt                OK
  testing: file2.txt                OK
No errors detected in compressed data of archive.zip.
If any file fails, stop there and replace the archive before you scatter partial or damaged files across your system.
Restore Stored Owner and Group IDs
Archives created on Unix-like systems can store numeric owner and group IDs. Use -X when you want unzip to restore that UID/GID metadata and you have the privileges needed to apply it.
unzip -X archive.zipThis option does not make a ZIP archive preserve every Linux file attribute. If the extracted permissions still need adjustment afterward, you can change file permissions with chmod.
Exclude Specific Files or Patterns
Many ZIP files contain logs, temporary files, or platform-specific metadata you do not need. Use -x to skip matching paths during extraction:
unzip archive.zip -x 'logs/*' -d "$HOME/extract"The example skips the stored logs/ directory. Add another quoted pattern, such as '__MACOSX/*', only when the archive listing shows that path. Patterns match paths as they appear inside the archive, so check unzip -l archive.zip when an exclude rule does not match what you expected.
Troubleshoot Common unzip Errors
These are the unzip problems readers hit most often when the archive path is wrong, the package is missing, or the file is not a valid ZIP archive.
Fix unzip: command not found
If your shell returns this error:
bash: unzip: command not found
The unzip package is not installed, or the binary is not on your shell PATH. Install the package for your distribution, then verify the command location:
command -v unzipA working result usually prints a full path like this:
/usr/bin/unzip
Fix End-of-central-directory Signature Errors
If unzip prints an error like this:
End-of-central-directory signature not found.  Either this file is not
a zipfile, or it constitutes one disk of a multi-part archive.
The file is either damaged, incomplete, or not a real ZIP archive even if it ends in .zip. Test the archive directly before extracting it:
unzip -t archive.zipA healthy archive ends with output like this:
No errors detected in compressed data of archive.zip.
If the test fails, download the archive again and confirm that the source actually provides a ZIP file rather than another archive format.
Split ZIP sets are a separate case. If the download includes files such as archive.z01, archive.z02, and archive.zip, keep all parts in the same directory and follow the source’s documented join or conversion workflow before extracting. The standard unzip command does not read split ZIP archives directly.
Fix cannot find or open archive.zip
If you run unzip from the wrong directory or misspell the archive name, you will see an error like this:
unzip: cannot find or open archive.zip, archive.zip.zip or archive.zip.ZIP.
Use the full archive path and point unzip at a directory you know exists. If needed, create the destination first:
mkdir -p "$HOME/extract"
unzip "$HOME/Downloads/archive.zip" -d "$HOME/extract"
Once the path is correct, extraction begins like this:
Archive:  /home/user/Downloads/archive.zip
  inflating: /home/user/extract/file1.txt
Conclusion
unzip is ready for the ZIP jobs that come up most often on Linux, whether you need a clean destination directory, one stored folder, a contents check, or an integrity test before extraction. When the file is not a ZIP archive at all, switch to the matching archive workflow, such as using tar for .gz and .tgz files in Linux.

zip is the best format to use for the most compatibility across the operating systems. I’ve been using it since windows 3.11.