Apache Cassandra is a highly scalable, high-performance distributed database designed to handle large amounts of data across many commodity servers, providing high availability with no single point of failure. It is renowned for its robust support for clusters spanning multiple data centers, with asynchronous masterless replication allowing low latency and operational simplicity. Cassandra is ideal for applications requiring high write throughput, fault tolerance, and linear scalability.
The following guide will demonstrate the steps to install Apache Cassandra on Rocky Linux 9 or 8 using command-line commands. This process involves setting up the appropriate repository and configuring your system to ensure optimal performance and reliability for your distributed database environment.
Update Rocky Linux System Before Apache Cassandra Installation
First, before installing Apache Cassandra, it is a good idea to ensure all system packages are up-to-date to avoid any potential issues when installing the NoSQL database.
In your terminal, run the following command and upgrade any outstanding packages.
sudo dnf upgrade --refreshImport Apache Cassandra Repository
The first step involves importing the repository for Apache Cassandra. Fortunately, you can accomplish this with a single command. The tutorial will show how to import the 5.0, 4.0, or 4.1 branches. Since the 3.xx branch is nearing its end, the tutorial will not include instructions for adding these.
4.0 Apache Cassandra RPM Import
sudo tee /etc/yum.repos.d/cassandra-4.0.repo<<EOF
[cassandra]
name=Apache Cassandra 4.0
baseurl=https://redhat.cassandra.apache.org/41x/
gpgcheck=1
repo_gpgcheck=1
gpgkey=https://downloads.apache.org/cassandra/KEYS
EOF
4.1 Apache Cassandra RPM Import
sudo tee /etc/yum.repos.d/cassandra-4.1.repo<<EOF
[cassandra]
name=Apache Cassandra 4.1
baseurl=https://redhat.cassandra.apache.org/41x/
gpgcheck=1
repo_gpgcheck=1
gpgkey=https://downloads.apache.org/cassandra/KEYS
EOF
5.0 Apache Cassandra RPM Import
sudo tee /etc/yum.repos.d/cassandra-5.0.alpha.repo<<EOF
[cassandra]
name=Apache Cassandra 5.0
baseurl=https://redhat.cassandra.apache.org/50x/
gpgcheck=1
repo_gpgcheck=1
gpgkey=https://downloads.apache.org/cassandra/KEYS
EOF
Install Apache Cassandra via DNF Command
You can install Cassandra with the following command; the repository has been imported.
sudo dnf install cassandra -yConfirm the version installed by running the following command.
cassandra -vNote if you see the following error importing GPG keys.
Key import failed (code 2). Failing package is: cassandra-4.1~alpha1-1.noarch
 GPG Keys are configured as: https://www.apache.org/dist/cassandra/KEYS
The downloaded packages were saved in cache until the next successful transaction.
You can remove cached packages by executing 'dnf clean packages'.
Change the crypto policies and set the policy to LEGACY.
sudo update-crypto-policies --set LEGACYSometimes, you may need to reboot for this change to occur successfully. I found you did not need to, but it is advised.
rebootCreate Apache Cassandra Systemd Service
After the installation is complete, you need to create the systemd service. Again, this is a simple task; copy and paste the following command to create the file.
sudo tee /etc/systemd/system/cassandra.service<<EOF
[Unit]
Description=Apache Cassandra
After=network.target

[Service]
Type=simple
PIDFile=/var/run/cassandra/cassandra.pid
User=cassandra
Group=cassandra

ExecStart=/usr/sbin/cassandra -f -p /var/run/cassandra/cassandra.pid
Restart=always

[Install]
WantedBy=multi-user.target
EOF
You must reload the daemon to start using the Cassandra service, and you cannot skip this step.
sudo systemctl daemon-reloadNow, start the Cassandra service.
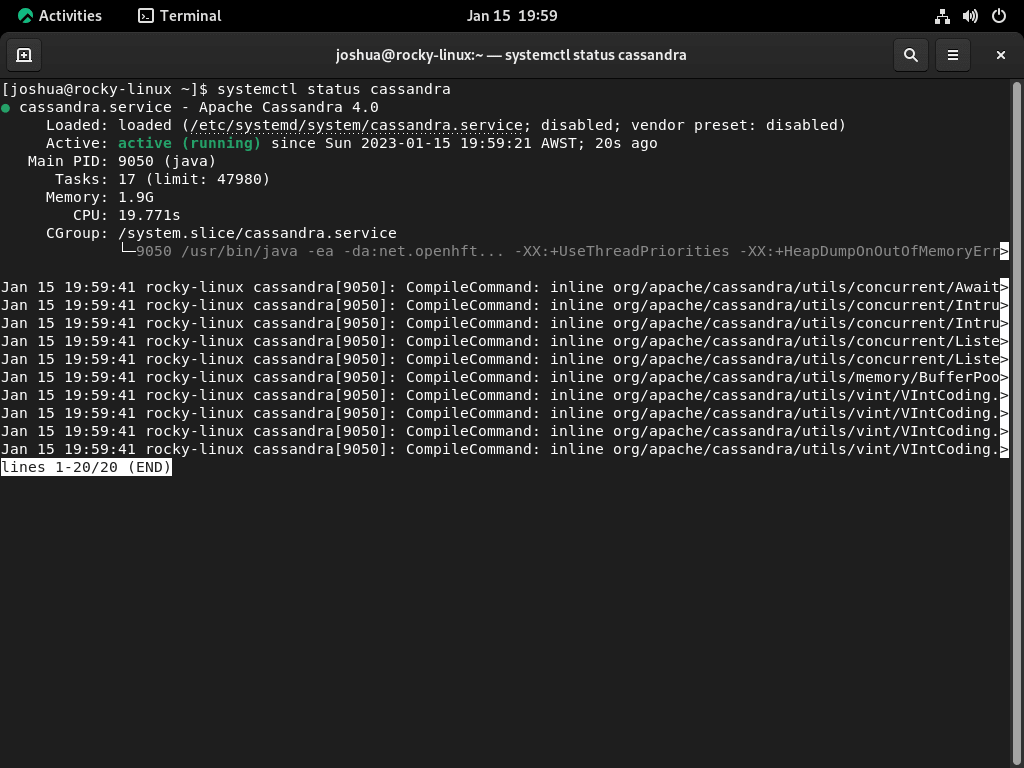
sudo systemctl start cassandraNext, check the systemctl status of Cassandra to ensure there are no errors.
systemctl status cassandra
Optionally, you can enable the Cassandra service on automatic start when you start your computer or server using the following command.
sudo systemctl enable cassandraInstall Apache Cassandra Client (cqlsh) on Rocky Linux
Install Python
Before installing the Cassandra client, ensure Python is available on your system. Apache Cassandra’s client, cqlsh, is Python-based, making Python a prerequisite. Install Python on Rocky Linux by executing:
sudo dnf install python3 -yInstall PIP
Next, install PIP, Python’s package manager, for managing Python packages. PIP is essential for installing the Cassandra Python driver. If PIP is not already installed on your system, add it by running:
sudo dnf install python3-pip -yInstall Cassandra Python Driver
The Cassandra Python driver is necessary for cqlsh to connect to the Cassandra database. This driver enables communication between the client and the database. Install the driver using PIP with the command:
pip install cassandra-driverInstalling cqlsh
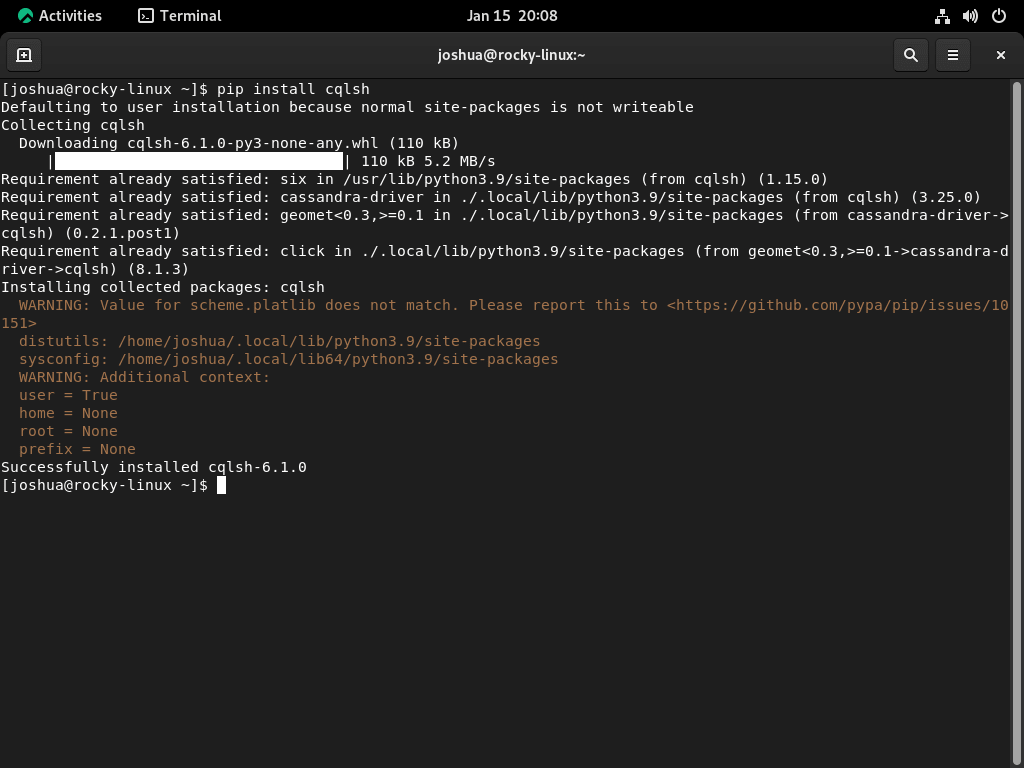
With the prerequisites in place, you’re now ready to install cqlsh. This command-line interface allows for interaction with Apache Cassandra, enabling you to execute queries and manage your database. Install cqlsh by executing:
pip install cqlsh
Lastly, connect with cqlsh using the following command.
cqlshExample output of your successful connection:
[cqlsh 6.1.0 | Cassandra 4.1-alpha1 | CQL spec 3.4.5 | Native protocol v5]
Use HELP for help.
cqlsh>
Configure Apache Cassandra
Setting up and personalizing Cassandra requires alterations in its configuration files and utilizing certain command line utilities.
Setting Up Basic Configuration
The principal configuration files for Cassandra are located in /etc/cassandra. Meanwhile, logs and data directories are typically situated at /var/log/cassandra and /var/lib/cassandra respectively.
For adjustments at the JVM level, such as heap size, you’d look towards the /etc/cassandra/conf/cassandra-env.sh file. Within this file, you can add supplementary JVM command-line arguments to the JVM_OPTS variable which Cassandra reads upon startup.
Enabling User Authentication with Apache Cassandra
Before activating user authentication, it’s wise to create a backup of the /etc/cassandra/conf/cassandra.yaml file:
sudo cp /etc/cassandra/conf/cassandra.yaml /etc/cassandra/conf/cassandra.yaml.backupSubsequently, open the cassandra.yaml file:
sudo nano /etc/cassandra/conf/cassandra.yamlWithin the file, you’d want to search for and modify these parameters:
authenticator: org.apache.cassandra.auth.PasswordAuthenticator
authorizer: org.apache.cassandra.auth.CassandraAuthorizer
roles_validity_in_ms: 0
permissions_validity_in_ms: 0
Tweak other settings per your needs, and if they appear commented out, ensure you uncomment them. Complete the editing process by saving the file.
Afterward, reboot Cassandra to apply your modifications:
sudo systemctl restart cassandraAdding an Administrative Superuser For Apache Cassandra
With authentication now activated, it’s essential to configure a user. Using the Cassandra Command shell utility, log in using the default user credentials:
cqlsh -u cassandra -p cassandraInitiate a new superuser by replacing [username] and [yourpassword] with your specifics:
CREATE ROLE [username] WITH PASSWORD = '[yourpassword]' AND SUPERUSER = true AND LOGIN = true;After that, exit and re-login with your new superuser details:
cqlsh -u username -p yourpasswordDiminish the default Cassandra account’s elevated permissions:
ALTER ROLE cassandra WITH PASSWORD = 'cassandra' AND SUPERUSER = false AND LOGIN = false;
REVOKE ALL PERMISSIONS ON ALL KEYSPACES FROM cassandra;
And, grant full permissions to your superuser:
GRANT ALL PERMISSIONS ON ALL KEYSPACES TO '[username]';Conclude this section by logging out.
Customizing the Console Configuration
The Cassandra Shell can be tailored to your needs. It reads its configuration from the cqlshrc file found in the ~/.cassandra directory. A sample file providing insights into possible settings lies at /etc/cassandra/conf/cqlshrc.sample.
Begin by copying this sample file:
sudo cp /etc/cassandra/conf/cqlshrc.sample ~/.cassandra/cqlshrcAdjust the cqlshrc file’s permissions:
sudo chmod 600 ~/.cassandra/cqlshrc
sudo chown $USER:$USER ~/.cassandra/cqlshrc
Open it for editing:
nano ~/.cassandra/cqlshrcTo automate login with superuser credentials, locate and edit the following section:
[authentication]
username = [superuser]
password = [password]
Remember to save after completing your edits. Now, when you log in to the Cassandra shell, it will reflect your changes:
cqlshRenaming the Cluster
You might want to rename the cluster to make the system more identifiable. Initiate by logging into the cqlsh terminal:
cqlshReplace [new_name] with your desired cluster name:
UPDATE system.local SET cluster_name = '[new_name]' WHERE KEY = 'local';
Exit the terminal and open /etc/cassandra/conf/cassandra.yaml for further editing:
sudo nano /etc/cassandra/conf/cassandra.yaml
Locate the cluster_name variable and replace its value with your chosen name. Save your changes.
Lastly, clear Cassandra’s system cache:
nodetool flush systemRestart Cassandra:
sudo systemctl restart cassandraWhen you log in to the shell, it will display your chosen cluster name.
Verifying Configuration Changes
After making configuration alterations, it’s always a good practice to ensure they’ve taken effect and check the Cassandra cluster’s overall health.
Cluster Name Verification: Post the renaming process when you log back into the cqlsh shell:
cqlshThe prompt should now display the newly set cluster name.
Conclusion
In this guide, we’ve walked through the steps to install Apache Cassandra on Rocky Linux, covering both versions 9 and 8. These instructions provide you with a robust, scalable database solution for big data needs. Regularly check for updates to keep Cassandra performing well and secure. Practice using Cassandra to fully master its features. Dive in, experiment, and see how it can transform your data management.

