

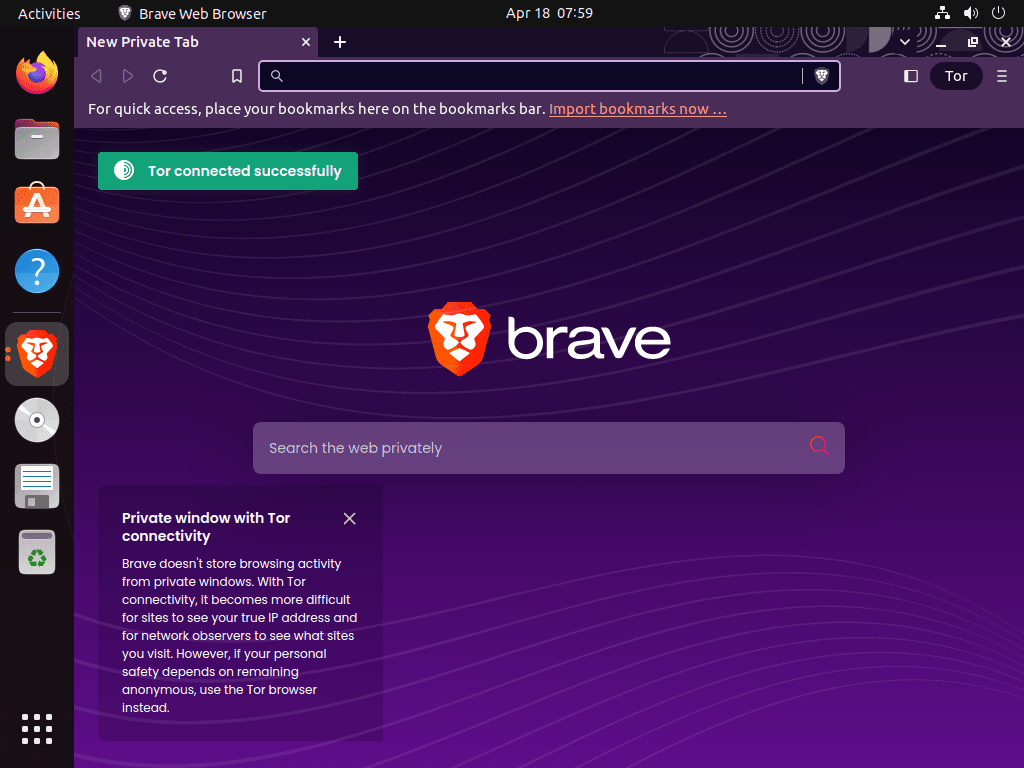
Brave Browser is a Chromium-based browser that blocks ads and trackers by default, supports Chrome extensions through the Web Store, and includes built-in Tor browsing for enhanced anonymity. You can install Brave Browser on Ubuntu through the official APT repository, Snap, or Flatpak, with each method offering different trade-offs for update control and system integration.
The sections below walk through repository setup with GPG key verification, package installation across all three methods, browser launch, ongoing management, and complete removal instructions.
Choose Your Brave Browser Installation Method on Ubuntu
Ubuntu supports three installation paths for Brave Browser, each with different trade-offs for version access, update control, and system integration.
| Method | Channel | Version | Updates | Best For |
|---|---|---|---|---|
| APT Repository | Brave Official | Stable, Beta, or Nightly | Manual via apt upgrade | Full channel access with traditional package management |
| Snap | Snapcraft | Latest stable | Automatic background updates | Sandboxed installation with zero maintenance |
| Flatpak | Flathub | Latest stable | Manual via flatpak update | Cross-distribution compatibility with sandboxing |
Brave Software officially recommends using the APT repository method over Snap or Flatpak when possible. While Brave maintains both Snap and Flatpak packages, they acknowledge these containerized versions are “not yet working as well” as native packages due to sandboxing limitations that can affect desktop integration, performance, and certain browser features. Choose Snap or Flatpak only if you specifically need cross-distribution portability or enhanced isolation.
We recommend the APT stable repository for most users because it provides reliable performance with full system integration, as Brave Software officially recommends. The beta and nightly channels offer early access to upcoming features but may introduce instability or bugs suitable only for testing environments. Snap and Flatpak provide enhanced security through containerization, but the sandbox environment can cause desktop integration issues with file pickers, notifications, system theme inheritance, and other native features. For daily browsing, the APT stable method delivers the optimal experience; choose beta or nightly only when you need specific upcoming functionality.
The Brave repository uses a universal package format that works on all current Ubuntu releases, including LTS versions and interim releases. Commands shown in this guide work identically regardless of your specific Ubuntu version.
Prerequisites for Installing Brave Browser on Ubuntu
Any Ubuntu desktop or laptop with sudo access and an internet connection can install Brave Browser with no extra hardware requirements. Make sure you can open a terminal and run commands with sudo, then keep a stable network connection active while the repositories synchronize.
It also helps to refresh your package lists ahead of time with sudo apt update so new Brave packages appear immediately after you add the repository.
Install Brave Browser on Ubuntu via APT Repository
Check If Brave Browser Is Already Installed
Verify whether Brave already exists on your system, especially if you tested beta or nightly builds in the past.
command -v brave-browser && brave-browser --versionIf you use the beta or nightly channels, adjust the command to brave-browser-beta or brave-browser-nightly. When a version number prints, you can skip directly to the update instructions later in this section.
Update System Package Index
Before starting the installation, update your package lists and upgrade existing packages to ensure all dependencies are current:
sudo apt update && sudo apt upgradeThis guide uses
sudofor commands that need root privileges. If your user account is not in the sudoers file yet, follow the guide on how to add and manage sudo users on Ubuntu.
Install Repository Management Tools
Install the packages needed for managing third-party repositories and secure key handling:
sudo apt install curl ca-certificates -yThe curl utility downloads files from URLs, and ca-certificates provides the trusted certificate authorities needed for HTTPS connections to Brave’s repository. Both packages are typically pre-installed on standard Ubuntu systems but may be missing on minimal or container installations.
Add Brave Repository and GPG Key
Brave Browser offers three repository options: stable, beta, and nightly builds. We recommend the stable version for most users as it delivers reliable performance. Advanced users or those curious about upcoming features can install the beta or nightly repositories, which run as separate installations alongside the stable version.
Beta and nightly channels provide early access to new features but may introduce bugs or instability. Use these channels only in testing environments or when you need specific upcoming functionality. The stable channel receives thorough testing and offers the most reliable browsing experience for daily use.
Import Brave Stable Repository (Recommended)
First, import the GPG signing key for the stable repository:
sudo curl -fsSLo /usr/share/keyrings/brave-browser-archive-keyring.gpg https://brave-browser-apt-release.s3.brave.com/brave-browser-archive-keyring.gpgNext, download and add the stable repository configuration by running this command:
sudo curl -fsSLo /etc/apt/sources.list.d/brave-browser-release.sources https://brave-browser-apt-release.s3.brave.com/brave-browser.sourcesImport Brave Beta Repository
Import the GPG signing key for the beta repository:
sudo curl -fsSLo /usr/share/keyrings/brave-browser-beta-archive-keyring.gpg https://brave-browser-apt-beta.s3.brave.com/brave-browser-beta-archive-keyring.gpgNext, download and add the beta repository configuration by running this command:
sudo curl -fsSLo /etc/apt/sources.list.d/brave-browser-beta.sources https://brave-browser-apt-beta.s3.brave.com/brave-browser.sourcesImport Brave Nightly Repository
Import the GPG signing key for the nightly repository:
sudo curl -fsSLo /usr/share/keyrings/brave-browser-nightly-archive-keyring.gpg https://brave-browser-apt-nightly.s3.brave.com/brave-browser-nightly-archive-keyring.gpgNext, download and add the nightly repository configuration by running this command:
sudo curl -fsSLo /etc/apt/sources.list.d/brave-browser-nightly.sources https://brave-browser-apt-nightly.s3.brave.com/brave-browser.sourcesUpdate APT Package Lists
After adding the Brave repository, refresh the package list so APT recognizes the new packages:
sudo apt updateInstall Brave Browser from Repository
Now that the repositories are configured, you can install the Brave Browser stable version or any other channel (beta or nightly). The commands below cover all installation options.
Install the stable version of Brave Browser:
sudo apt install brave-browserAfter the installation completes, verify the installation succeeded by checking the installed version:
brave-browser --versionThe output confirms you can access Brave from the terminal and shows the installed version:
Brave Browser 1.x.x Chromium: 1xx.x.xxxx.xxx
Install Brave Browser Beta Build
If you have imported the beta repository and would like to install the beta version of Brave Browser, run the following command:
sudo apt install brave-browser-betaTo verify the beta installation, check the version:
brave-browser-beta --versionBrave Browser Beta 1.x.x Chromium: 1xx.x.xxxx.xxx
Install Brave Browser Nightly Build
If you have imported the nightly repository and wish to install the nightly version of Brave Browser, use this command:
sudo apt install brave-browser-nightlyConfirm the nightly installation by checking the version:
brave-browser-nightly --versionBrave Browser Nightly 1.x.x Chromium: 1xx.x.xxxx.xxx
Snap and Flatpak provide only the stable channel since beta and nightly builds are exclusive to the APT repository. Choose these alternatives if you prefer sandboxed installations or need cross-distribution compatibility.
Install Brave Browser on Ubuntu via Snap
Snap provides sandboxed Brave Browser installations with automatic background updates. Ubuntu includes Snap by default on standard desktop installations.
Verify Snap Installation
Ubuntu desktop editions include Snap (snapd) by default. Confirm it is available on your system:
snap versionIf the command prints version information, Snap is ready. When you see a command not found message, install Snap with the following command:
sudo apt install snapd -yThis command sets up the Snap Daemon (snapd) that manages your snap packages.
Install Brave Browser with Snap
After confirming Snap works, check whether Brave already exists as a Snap package:
snap list braveIf the command reports Brave is not installed, run the install command below. When the list output shows Brave is already present, use the refresh command after the install block to pull the latest build.
sudo snap install braveThe installation downloads the Brave Snap package and sets up automatic updates. Once complete, verify the installation:
snap info braveThe output shows the installed version and confirms Brave is available:
name:      brave
summary:   Browse faster and safer with Brave.
publisher: Brave Software (brave✓)
store-url: https://snapcraft.io/brave
installed: 1.x.x (xxx) xxxMB
tracking:  latest/stable
If Brave already exists as a Snap package, update it to the latest version:
sudo snap refresh braveInstall Brave Browser on Ubuntu via Flatpak and Flathub
Flatpak delivers Brave Browser through Flathub with sandboxed isolation and cross-distribution compatibility. Unlike Snap, Flatpak requires manual updates but gives you more control over when updates apply.
Verify Flatpak Installation
Flatpak is not pre-installed on standard Ubuntu editions. Check whether it is available:
flatpak --versionFlatpak is not pre-installed on Ubuntu. If you have not set it up yet, install it with
sudo apt install flatpakand restart your session before continuing. For detailed setup including the Flathub repository, follow our Flatpak installation guide for Ubuntu.
Enable Flathub Repository
To install the Brave Browser using Flatpak, first activate the Flathub repository, a primary source for Flatpak apps. Run the following command to add Flathub to your Flatpak setup:
sudo flatpak remote-add --if-not-exists flathub https://flathub.org/repo/flathub.flatpakrepoThe --if-not-exists flag ensures the command succeeds even if Flathub is already configured. Once added, Flathub provides access to thousands of applications including Brave Browser.
Install Brave Browser with Flatpak
Check whether the Brave Flatpak is already present before installing:
flatpak list --app | grep -i braveIf no output appears, install Brave Browser with Flatpak:
sudo flatpak install flathub com.brave.Browser -yAfter the installation completes, verify Brave is available:
sudo flatpak info com.brave.BrowserThe output shows the installed Brave version and confirms the Flatpak is ready:
Brave - com.brave.Browser

          ID: com.brave.Browser
         Ref: app/com.brave.Browser/x86_64/stable
        Arch: x86_64
      Branch: stable
     Version: 1.x.x
      Origin: flathub
If Brave was already installed, update it to the latest version:
sudo flatpak update com.brave.BrowserLaunch Brave Browser
After successfully installing Brave Browser, you can launch the browser using either command-line or graphical methods. Choose the approach that suits your workflow.
Launch from Command Line
You can launch Brave Browser directly from the terminal by executing the appropriate command based on the version you have installed:
Stable installations of the Brave browser can use one of the following commands that match the method of installation:
APT installations
brave-browserSnap installations:
snap run braveFlatpak installations:
flatpak run com.brave.BrowserFor Brave beta and nightly APT installations, use the following commands depending on the version you installed and want to run:
brave-browser-betabrave-browser-nightlyLaunch from Application Menu
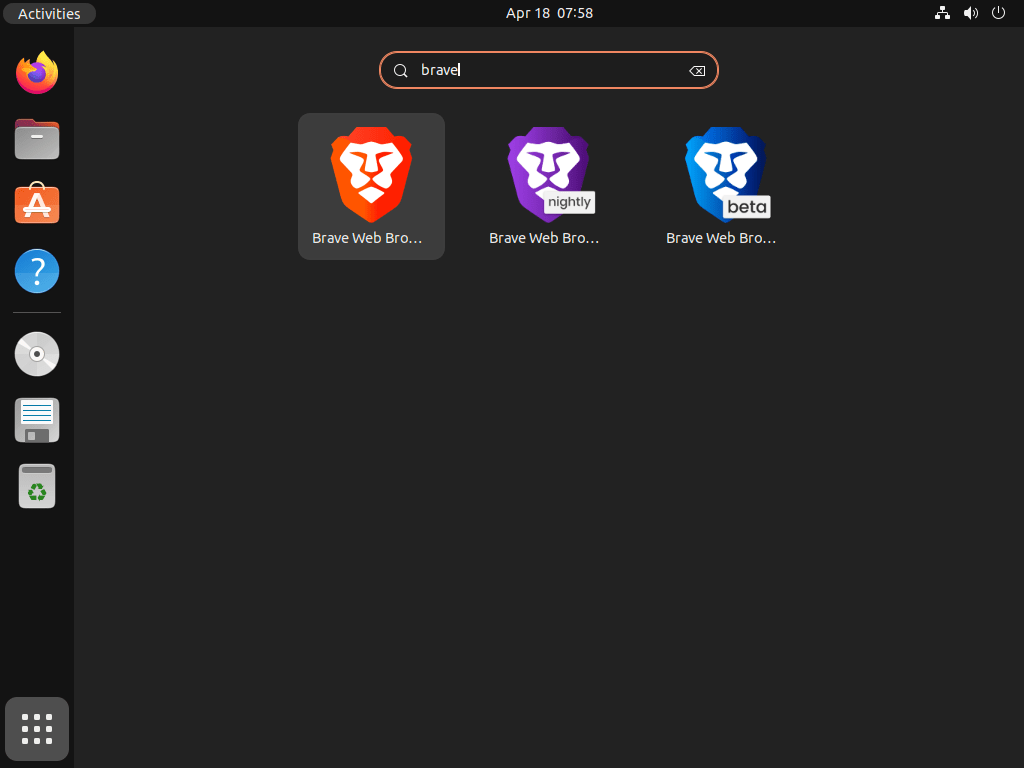
Alternatively, you can easily find and launch Brave Browser from your desktop environment using the following steps:
- Click on Activities or your system’s application launcher.
- Click on Show Apps or a similar option to display the installed applications.
- Locate the Brave Web Browser icon and click on it to launch the browser.
Manage Brave Browser on Ubuntu
Update Brave Browser
To keep Brave Browser up-to-date, you can use the APT package manager. First, check for available updates for your entire system:
sudo apt updateIf there is an update available for Brave Browser, you can upgrade all packages:
sudo apt upgradeTo update only Brave Browser without upgrading other packages, use the --only-upgrade flag:
sudo apt install --only-upgrade brave-browserThis command upgrades Brave only if it is already installed, leaving other packages unchanged. For beta or nightly builds, replace brave-browser with brave-browser-beta or brave-browser-nightly.
Snap packages update automatically in the background. To manually check for and apply updates:
sudo snap refresh braveFor Flatpak installations, update Brave manually with:
sudo flatpak update com.brave.BrowserRemove Brave Browser
Uninstall Brave Browser APT Package
If you need to uninstall Brave Browser, follow these steps based on the installed version(s).
sudo apt remove brave-browsersudo apt remove brave-browser-betasudo apt remove brave-browser-nightlyAfter removing the package, clean up any orphaned dependencies:
sudo apt autoremoveIf you do not plan to reinstall Brave, also remove the repository configuration and GPG signing key. Run the appropriate commands based on the channel you installed:
Stable channel cleanup:
sudo rm /etc/apt/sources.list.d/brave-browser-release.sources
sudo rm /usr/share/keyrings/brave-browser-archive-keyring.gpg
Beta channel cleanup:
sudo rm /etc/apt/sources.list.d/brave-browser-beta.sources
sudo rm /usr/share/keyrings/brave-browser-beta-archive-keyring.gpg
Nightly channel cleanup:
sudo rm /etc/apt/sources.list.d/brave-browser-nightly.sources
sudo rm /usr/share/keyrings/brave-browser-nightly-archive-keyring.gpg
After removing the repository files, refresh the package cache so APT stops referencing the removed source:
sudo apt updateThe Brave repository will no longer appear in your sources.
Uninstall Brave Browser Snap Package
To remove Brave Browser from a Snap installation:
sudo snap remove braveUninstall Brave Browser Flatpak Package
For Flatpak installations, uninstall Brave with:
sudo flatpak uninstall com.brave.BrowserAfter uninstalling, you can optionally remove unused runtimes that Brave installed as dependencies:
sudo flatpak uninstall --unusedRemove Brave User Data (Optional)
The following commands permanently delete your Brave browsing data, including bookmarks, saved passwords, browsing history, and settings. Export any data you want to keep before proceeding.
For APT installations, Brave stores user data in your home directory:
rm -rf ~/.config/BraveSoftwareFor Snap installations, Brave stores user data in the Snap directory:
rm -rf ~/snap/braveFor Flatpak installations, Brave stores user data in the sandbox directory:
rm -rf ~/.var/app/com.brave.BrowserTroubleshoot Brave Browser on Ubuntu
GPG Key or Repository Errors
If apt update reports GPG signature errors after adding the Brave repository, the keyring file may be corrupted or missing. Re-download the GPG key:
sudo curl -fsSLo /usr/share/keyrings/brave-browser-archive-keyring.gpg https://brave-browser-apt-release.s3.brave.com/brave-browser-archive-keyring.gpgThen refresh the package cache:
sudo apt updateBrave Not Launching on Ubuntu 24.04 or 26.04 (AppArmor)
Ubuntu 24.04 and newer restrict unprivileged user namespaces through AppArmor, which affects Chromium-based browsers including Brave. The Brave .deb package includes an AppArmor profile at /etc/apparmor.d/brave that grants the necessary permissions automatically. If Brave fails to launch with sandbox-related errors, verify the profile is loaded:
sudo aa-status | grep braveIf no output appears, reload the AppArmor profile manually:
sudo apparmor_parser -r /etc/apparmor.d/braveIf the profile file is missing entirely, reinstall the Brave package to restore it:
sudo apt install --reinstall brave-browserAvoid using
--no-sandboxas a permanent workaround. This flag disables Chromium’s security sandbox entirely, leaving the browser vulnerable to exploits. Fix the AppArmor profile instead.
Brave Not Launching on Ubuntu 22.04
Ubuntu 22.04 does not restrict unprivileged user namespaces, so AppArmor profiles are not needed. If Brave fails to start, run it from the terminal to see error output:
brave-browserCheck the terminal output for specific error messages. Common causes include missing GPU drivers or display server issues. If errors mention sandbox failures, verify your kernel supports user namespaces:
cat /proc/sys/kernel/unprivileged_userns_cloneA value of 1 means user namespaces are enabled. If the value is 0, enable them with:
sudo sysctl -w kernel.unprivileged_userns_clone=1Snap or Flatpak Desktop Integration Issues
Sandboxed installations (Snap and Flatpak) may experience issues with file pickers, system themes, or native notifications. These are known limitations of containerized browsers. If you encounter these problems, consider switching to the APT installation method, which provides full system integration.
For Flatpak-specific issues, ensure your system has the required portal backends:
sudo apt install xdg-desktop-portal xdg-desktop-portal-gtkAfter installing the portals, log out and log back in to apply the changes.
Useful Links
Explore these resources for Brave Browser documentation and related Ubuntu browser guides:
- Brave Linux Installation Guide: Official documentation for installing Brave on Linux distributions.
- Brave Privacy Features: Details on Brave Shields, fingerprinting prevention, and tracker blocking.
- Brave Release Notes: Changelog for recent Brave Browser updates.
- Brave Community: Community forum for troubleshooting and discussion.
- Brave GitHub Repository: Source code, issue tracker, and development contributions.
- Install Chromium Browser on Ubuntu: Install the open-source browser that Brave is built upon.
- Install Google Chrome on Ubuntu: Set up Google Chrome with its official APT repository on Ubuntu.
- Install Tor Browser on Ubuntu: Maximum anonymity with Tor Browser for privacy-focused browsing.
- Install Vivaldi Browser on Ubuntu: Feature-rich Chromium-based browser with advanced customization.
- Install Firefox Beta or Nightly on Ubuntu: Firefox development channels for early access to features.
Frequently Asked Questions
Brave is built on Chromium but adds built-in ad and tracker blocking through Brave Shields, a built-in Tor browsing mode, and optional Brave Rewards. Chromium is the open-source base without these privacy features. Both support Chrome Web Store extensions.
No. Brave does not use a PPA (Personal Package Archive). Instead, Brave provides its own official APT repository with a DEB822 .sources file and GPG signing key. This repository works on all current Ubuntu releases without codename-specific builds.
Yes. The APT repository provides separate packages for each channel: brave-browser (stable), brave-browser-beta, and brave-browser-nightly. Each installs as its own application with a separate binary and profile directory, so you can run multiple channels simultaneously.
Brave offers Brave VPN as an optional paid subscription integrated into the browser. The built-in Tor browsing mode is separate and free, routing traffic through the Tor network for enhanced anonymity without a VPN subscription.
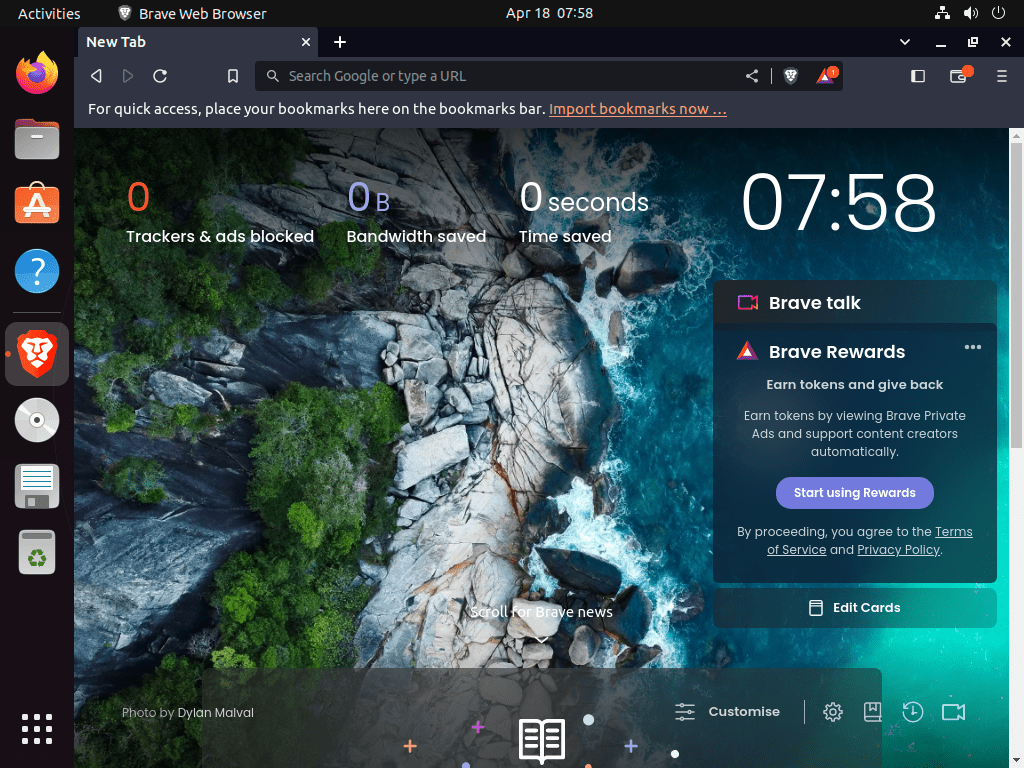
Conclusion
Brave Browser is running on Ubuntu with ad and tracker blocking active by default. The APT repository method provides access to stable, beta, and nightly channels with full system integration, while Snap and Flatpak offer sandboxed alternatives for users who prefer containerized applications. With Chrome extension support, built-in Tor browsing, and a privacy-first approach to web browsing, Brave handles daily browsing without requiring additional privacy extensions.

Brave Browsr has “saved” a password I did NOT want saved, …. How do I remove that “saved” password.
Thanks for reaching out, Fred. Removing unwanted saved passwords in Brave is straightforward through the browser’s password manager.
Open Brave and click the three-line menu icon (top-right), then navigate to Settings → Additional Settings → Auto-fill → Password Manager. Locate the saved password you want to remove in the list, click on it, and select Delete. The password will be removed immediately from Brave’s storage.
Alternatively, you can access the password manager directly by typing
brave://settings/passwordsin the address bar. For enhanced security going forward, consider disabling the “Offer to save passwords” toggle in Password Settings to prevent Brave from auto-saving credentials without your explicit confirmation.