

Looking to install DeaDBeeF on Linux Mint? DeaDBeeF is a lightweight and versatile audio player tailored for Linux users who demand simplicity and performance. In fact, whether you’re an audiophile or a casual listener, DeaDBeeF offers high-quality playback and extensive customization options, thereby ensuring a top-tier listening experience. Additionally, designed to run seamlessly even on older hardware, it is ultimately a reliable choice for anyone seeking a powerful, resource-efficient music player.
In this guide, we’ll show you how to install DeaDBeeF on Linux Mint 22 or 21. Follow these steps to get started with this powerful yet streamlined audio player on your Linux Mint system.
Key Features of DeaDBeeF
DeaDBeeF stands out among Linux music players for its combination of performance, flexibility, and advanced features. Moreover, here’s a look at what makes it a compelling choice:
- Universal Format Compatibility
DeaDBeeF supports an extensive range of audio formats, ensuring you can play almost any file without needing additional codecs. Popular formats include:- Lossy Formats: MP3, AAC, OGG
- Lossless Formats: FLAC, WAV, APE, WavPack
- Advanced Formats: M4A, ALAC, TTA, and more
- Customizable User Interface
Take full control over how DeaDBeeF looks and feels:- Rearrange panels with drag-and-drop functionality.
- Show or hide elements like playlists, album art, and equalizer controls.
- Resize windows and panes to create a layout that suits your workflow.
- Extensive Plugin Ecosystem
Expand DeaDBeeF’s capabilities with plugins that cater to your unique needs:- Audio Enhancements: Add effects, filters, and advanced equalization.
- Online Features: Integrate with Last.fm for scrobbling or fetch lyrics for your tracks.
- File Management: Automate tasks like organizing your library or exporting playlists.
- Gapless Playback
Experience uninterrupted transitions between songs, perfect for albums or live recordings where seamless playback is essential. - Optimized for Audiophiles
DeaDBeeF delivers superior sound quality:- Support for high-resolution audio files ensures accurate reproduction of your music.
- Fine-tune playback with an 18-band equalizer.
- Customize your listening experience by adding DSP (Digital Signal Processing) plugins.
Update Your Linux Mint System Before Installation
Before installing, it’s essential to update your system to ensure all packages are current. As a result, this prevents compatibility issues during the installation process.
Open a terminal and run:
sudo apt update && sudo apt upgrade -yAdd the DeaDBeeF PPA on Linux Mint
What is a PPA? A Personal Package Archive (PPA) is a software repository hosted on Launchpad that allows developers to distribute the latest versions of their applications directly to users. By adding a PPA, you can access newer or specialized software that may not be available in the default Linux Mint repositories.
Next, add the official DeaDBeeF PPA repository, which contains the latest stable and development versions. After that, choose the version that suits your needs. Note: However, PPAs are maintained by third parties, so always ensure you trust the source before adding one to your system.
Option 1: Add the Stable PPA (Recommended)
For most users, the stable version is generally the best choice for reliability. Accordingly, add it with the following command:
sudo add-apt-repository ppa:spvkgn/deadbeef -yOption 2: Add the Development PPA (Optional)
Alternatively, to explore experimental features, you can instead use the development PPA:
sudo add-apt-repository ppa:spvkgn/deadbeef-devel -yNote: Development versions may have untested features and are less stable than the stable release.
Update the Linux Mint Package Sources for DeaDBeeF
Once you’ve added the PPA, you should then update the package list to include the newly added repository:
sudo apt updateInstall DeaDBeeF on Linux Mint
After updating the package sources, you can now install the DeaDBeeF application with the following command:
sudo apt install deadbeef -yOptional: Install the Plugin Developer Package
Meanwhile, if you plan to create custom plugins for DeaDBeeF, you should also install the development tools with this command:
sudo apt install deadbeef-plugins-dev -yLaunch DeaDBeeF on Linux Mint
After DeaDBeeF is successfully installed, you can subsequently launch it using either the command line or the graphical interface. Therefore, follow the method that best suits your workflow.
Launch DeaDBeeF on Linux Mint Using the Terminal (CLI)
For those who prefer the terminal, specifically, you can quickly open DeaDBeeF by simply typing the following command:
deadbeefThis will start the music player in its default configuration.
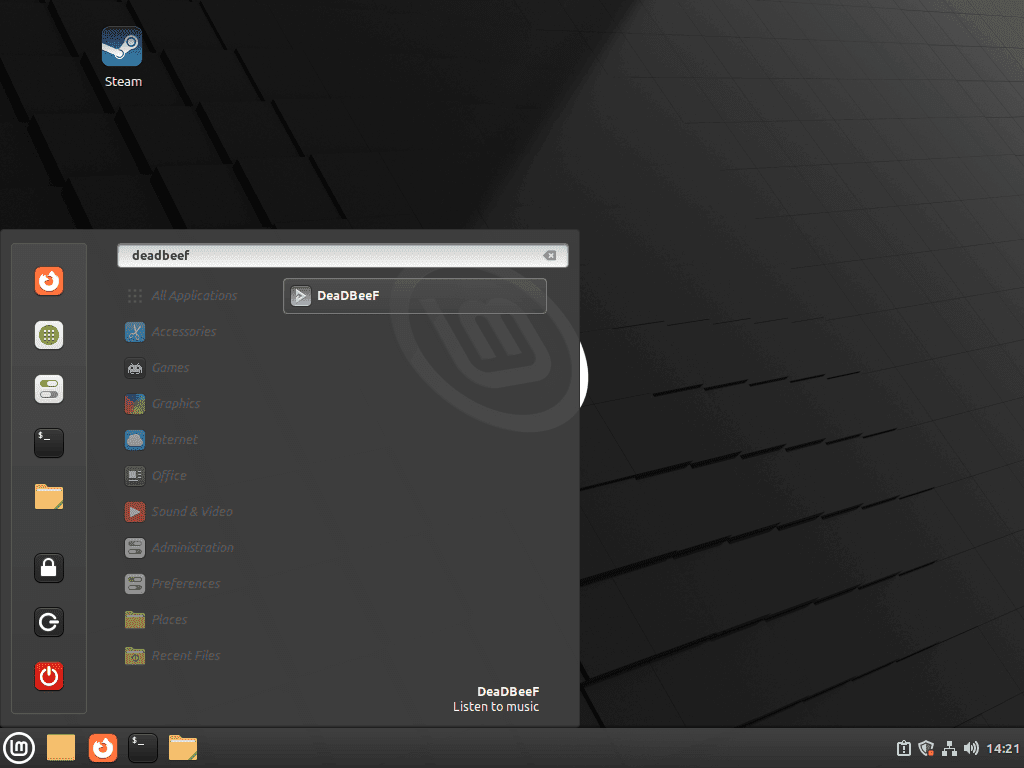
Launch DeaDBeeF on Linux Mint Using the Menu (GUI)
On the other hand, if you prefer a graphical approach, follow these steps to open DeaDBeeF instead:
- Open the Menu: Click the Menu button in your taskbar, typically located in the bottom-left corner.
- Search for DeaDBeeF: Type DeaDBeeF in the search bar or navigate to the Sound & Video category.
- Launch the Application: Click on the DeaDBeeF icon to open the player.
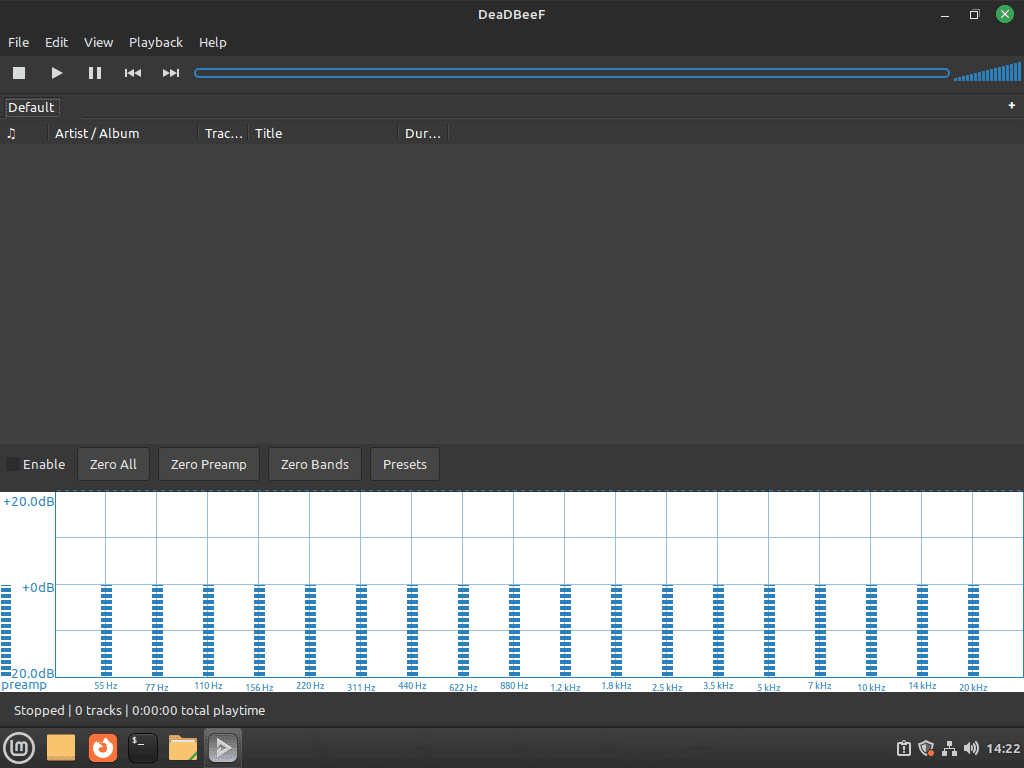
Once launched, you’ll be greeted by the DeaDBeeF interface, ready to customize and start your listening experience.
Set Up DeaDBeeF Plugins on Linux Mint
To further enhance your DeaDBeeF experience, consider adding plugins. These extend functionality and unlock features like scrobbling, advanced equalization, and more. Note: Not all plugins are official or maintained by the DeaDBeeF team. Therefore, only download plugins from trusted sources, and additionally, review documentation or user feedback when possible to ensure compatibility and security. Follow the steps below to set up the plugins directory and install additional plugins.
Step 1: Create the Plugins Directory
By default, DeaDBeeF does not create a directory for plugins. Therefore, you need to create it manually. First, open a terminal and run:
mkdir -p ~/.local/lib/deadbeef/As a result, this command creates the ~/.local/lib/deadbeef/ directory where DeaDBeeF will subsequently look for plugins.
Step 2: Download and Install Plugins
- Visit the DeaDBeeF Plugins Page to browse available plugins.
- Download the plugin(s) you want to install. These are typically provided as compressed files (e.g.,
.zipor.tar.gz). - Extract the contents of the downloaded archive into the
~/.local/lib/deadbeef/directory. For example:
unzip plugin-name.zip -d ~/.local/lib/deadbeef/Replace plugin-name.zip with the actual name of the plugin file.
Step 3: Enable Installed Plugins
After placing the plugins in the correct directory, follow these steps to activate them:
- Launch DeaDBeeF.
- Navigate to Edit > Preferences in the menu bar.
- Select the Plugins tab.
- Locate the newly installed plugin(s) in the list and enable them if necessary by checking the corresponding box.
Finally, your plugins are now installed and ready to use!
Update DeaDBeeF Installation on Linux Mint
Obviously, keeping DeaDBeeF and your Linux Mint system up to date ensures you benefit from the latest features, improvements, and security patches. Consequently, this will provide a better overall experience.
Step 1: Update Your DeaDBeeF Installation on Linux Mint
To begin with, to check for and apply updates specifically for DeaDBeeF, use the following command:
sudo apt update && sudo apt upgrade deadbeefNotably, this command ensures only DeaDBeeF is upgraded to the latest version available in the PPA repository without affecting other packages.
Step 2: Update All System Packages
To ensure your entire system, including DeaDBeeF and all other packages, is up to date, run:
sudo apt update && sudo apt upgrade -yIn contrast to the previous command, this updates all installed packages on your system to their latest versions.
Remove DeaDBeeF from Linux Mint
If you no longer need DeaDBeeF at some point, you can easily remove it along with any associated PPAs. Accordingly, follow these steps for a clean and complete uninstallation.
Step 1: Uninstall DeaDBeeF
Open a terminal and run the following command to remove DeaDBeeF:
sudo apt remove deadbeef -yThis command removes the application but retains its configuration files. To remove all associated files, proceed to the next step.
Step 2: Purge Configuration Files
To completely remove DeaDBeeF, including its configuration files, run:
sudo apt purge deadbeef -yStep 3: Remove the DeaDBeeF PPA
If you added the DeaDBeeF PPA during installation, you can remove it with these commands:
- Remove the stable PPA:
sudo add-apt-repository --remove ppa:spvkgn/deadbeef -y- Remove the development PPA (if applicable):
sudo add-apt-repository --remove ppa:spvkgn/deadbeef-devel -yStep 4: Clean Up Your System
After uninstalling and removing the PPAs, update your package list and clean up unnecessary files:
sudo apt update && sudo apt autoremove -yTroubleshooting DeaDBeeF Installation on Linux Mint
If you encounter problems while installing or using DeaDBeeF on Linux Mint, try these solutions to common issues:
- DeaDBeeF won’t launch or crashes immediately: Open a terminal and run
deadbeefto see any error messages. Missing libraries or dependencies are a common cause. Try reinstalling withsudo apt install --reinstall deadbeefor check for missing packages in the output. - No sound output: Ensure your system audio is not muted and that DeaDBeeF is using the correct output device. Check Edit > Preferences > Output in DeaDBeeF. If you use PulseAudio or PipeWire, make sure those services are running.
- PPA errors during update or install: If you see errors related to the PPA, you may need to remove and re-add it. Use
sudo add-apt-repository --remove ppa:spvkgn/deadbeefand then add it again. Also, check your network connection and runsudo apt updateto refresh package lists. - Plugins not showing up or not working: Double-check that plugins are placed in the correct directory (
~/.local/lib/deadbeef/) and have the right permissions. Only use plugins compatible with your DeaDBeeF version. Restart DeaDBeeF after adding new plugins.
For more help, visit the DeaDBeeF FAQ or the GitHub Issues page to search for solutions or report bugs.
Useful Links
Here are some helpful resources to enhance your experience with DeaDBeeF on Linux Mint:
- DeaDBeeF Stable PPA – Access the stable version of DeaDBeeF through the official Launchpad PPA.
- DeaDBeeF Development PPA – Explore experimental features by using the development PPA.
- Official DeaDBeeF Website – Learn more about DeaDBeeF and its features.
- DeaDBeeF GitHub Repository – Access the source code, contribute, or report issues on GitHub.
- DeaDBeeF FAQ – Find answers to common questions and troubleshooting tips.
Conclusion: Successfully Install DeaDBeeF on Linux Mint
DeaDBeeF is more than just an audio player; it’s a comprehensive music management solution tailored for Linux users. With its lightweight design, robust feature set, and extensive customization options, it caters to both casual listeners and audiophiles who choose to install DeaDBeeF on Linux Mint.
By following this guide, you’ve learned how to install DeaDBeeF on Linux Mint, set it up, and even customize it to suit your needs. Furthermore, whether you’re exploring its plugins, configuring the interface, or fine-tuning audio settings, DeaDBeeF offers a high-quality listening experience on your Linux Mint system.
If your needs change in the future, you also have the flexibility to remove it cleanly and completely from your system. In conclusion, enjoy exploring the world of music with DeaDBeeF on Linux Mint!
We Want to Hear From You
Have any questions, tips, or experiences with DeaDBeeF on Linux Mint? Let us know in the comments below. Your feedback helps improve this guide and creates a space where Linux users can share knowledge and ideas. Together, we can make this resource even more helpful for everyone.