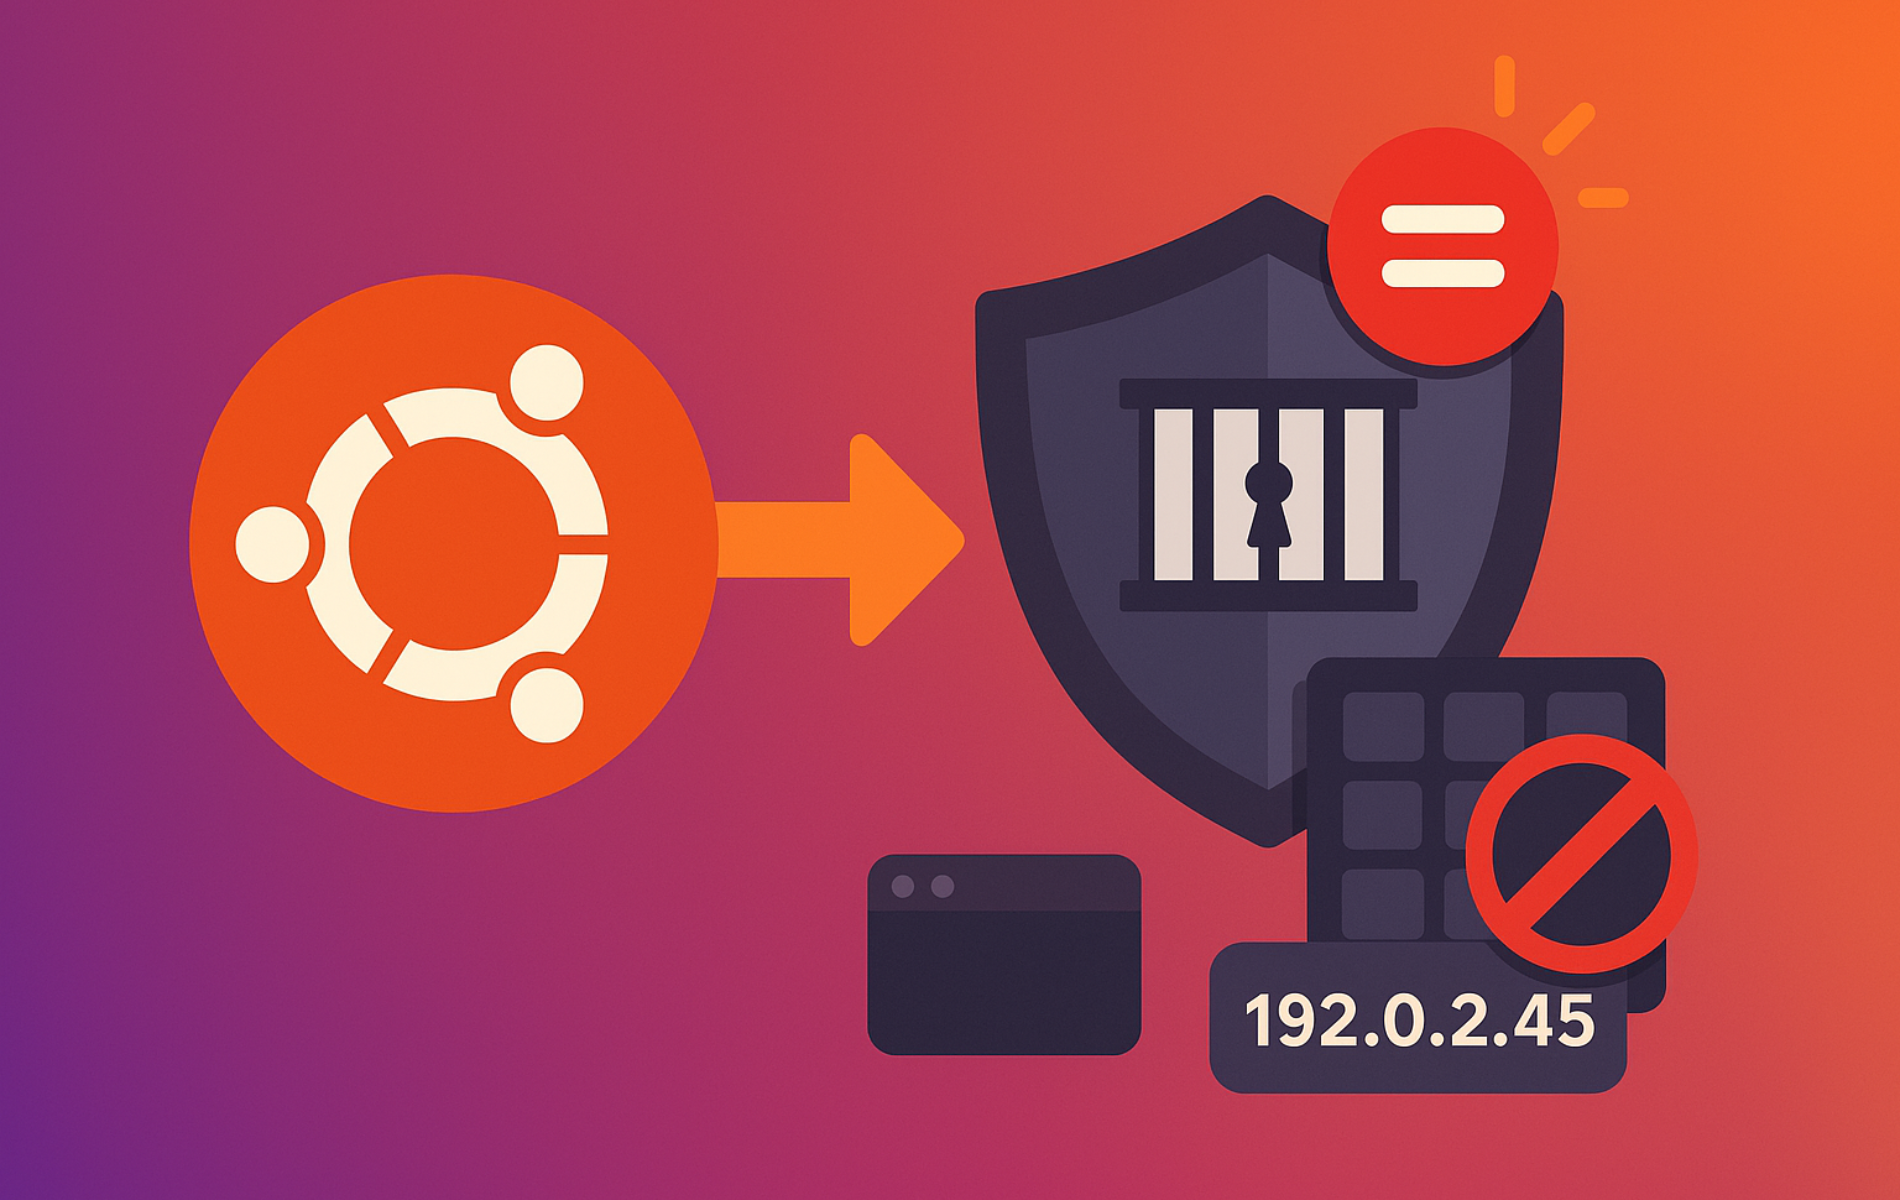
Fail2Ban watches your service logs, catches brute-force attacks and other suspicious patterns, and bans offending IPs automatically by updating firewall rules. You can install Fail2Ban on Ubuntu with a single APT command, then lock down SSH, Apache, Nginx, or any networked service that writes structured logs.
Ubuntu ships Fail2Ban through the Universe component on Ubuntu 26.04, 24.04, and 22.04. Beyond the SSHD jail, Fail2Ban integrates with UFW, supports incremental ban timing for repeat offenders, and lets you define custom filters and actions for virtually any networked service.
Install Fail2Ban on Ubuntu
Refresh your package metadata and bring existing packages current before installing:
sudo apt update && sudo apt upgradeSome commands in this guide use
sudo. If your account is not yet in the sudo group, see how to add a user to sudoers on Ubuntu.
If APT reports
Unable to locate package fail2banon a minimal Ubuntu install, enable the Universe component first withsudo add-apt-repository universe, then runsudo apt updateagain. If theadd-apt-repositorycommand is missing, install the helper package withsudo apt install software-properties-commonfirst.
Install Fail2Ban with its dependencies and register the systemd service:
sudo apt install fail2banConfirm the binary is ready by checking its version:
fail2ban-client --versionExpected output on Ubuntu 26.04:
Fail2Ban v1.1.0
Enable and Verify the Fail2Ban Service on Ubuntu
Enable the systemd unit so Fail2Ban starts immediately and persists after reboots. The --now flag combines enable (register for boot) and start (launch immediately) into one step:
sudo systemctl enable fail2ban --nowConfirm the service is healthy:
sudo systemctl status fail2banLook for active (running) in the output:
fail2ban.service - Fail2Ban Service
     Loaded: loaded (/usr/lib/systemd/system/fail2ban.service; enabled; preset: enabled)
     Active: active (running)
       Docs: man:fail2ban(1)
   Main PID: 1234 (fail2ban-server)
      Tasks: 5
     Memory: 12.4M
        CPU: 245ms
On Ubuntu 22.04, the unit file path reads
/lib/systemd/system/fail2ban.serviceandvendor preset: enabled. Both are cosmetic differences from the usrmerge transition and do not affect behavior.
Fail2Ban Versions and Defaults by Ubuntu Release
Before configuring jails, it helps to know what Fail2Ban ships on your release. The version, firewall backend, and SSHD log backend differ across Ubuntu LTS:
| Ubuntu Release | Fail2Ban Version | Firewall Backend | SSHD Log Backend |
|---|---|---|---|
| 26.04 | 1.1.x | nftables | systemd (explicit journalmatch) |
| 24.04 | 1.0.x | nftables | systemd |
| 22.04 | 0.11.x | iptables-multiport | file-based (/var/log/auth.log) |
All installation and configuration commands remain identical across these releases. The distro-provided defaults-debian.conf handles backend differences automatically, so you do not need to set the firewall or log backend manually. On Ubuntu 22.04, python3-systemd is recommended rather than a hard dependency, and the packaged SSHD jail still watches /var/log/auth.log by default unless you intentionally switch that jail to the systemd backend.
Create Fail2Ban Override Files on Ubuntu
Fail2Ban ships with baseline configuration in /etc/fail2ban/jail.conf and /etc/fail2ban/jail.d/defaults-debian.conf. Editing those files directly invites merge conflicts during package upgrades because APT overwrites .conf files. Instead, create minimal .local override files that contain only the settings you change.
Fail2Ban reads .local files after their .conf counterparts and merges only the keys you define, so your overrides survive upgrades while upstream defaults continue to apply for everything else.
Create a blank override file for jail settings:
sudo touch /etc/fail2ban/jail.localYou will populate this file with specific overrides in the sections that follow. There is no need to copy the entire jail.conf; keeping jail.local minimal makes it easier to audit what you changed.
Configure Fail2Ban Jails and Defaults on Ubuntu
With your .local files in place, tailor Fail2Ban to match your services and threat model. The following examples highlight common tweaks you can drop into /etc/fail2ban/jail.local; adjust values to reflect the services, log locations, and ban policies in your environment.
Edit the Fail2Ban jail.local File
Open the jail.local file in your preferred editor (Nano shown below) to start applying overrides:
sudo nano /etc/fail2ban/jail.localAdd only the directives you want to override. Fail2Ban merges jail.local on top of jail.conf, so any key you omit falls back to its upstream default.
Set Fail2Ban Incremental Ban Time
Escalating ban durations discourages persistent attackers who rotate addresses. Enable incremental bans by setting the following values inside the [DEFAULT] section:
bantime.increment = true
bantime.factor = 2
bantime.formula = ban.Time * (1<<(ban.Count if ban.Count<20 else 20)) * banFactor
Setting bantime.factor = 2 doubles the penalty for each subsequent offense (up to 20 iterations). Inside the formula, the variable name is banFactor (camelCase), which Fail2Ban maps from the bantime.factor setting automatically.
Allowlist IPs with Fail2Ban ignoreip
Exclude administration networks so legitimate maintenance sessions do not trigger bans. The ignoreip directive accepts single IPs or CIDR ranges separated by spaces:
ignoreip = 127.0.0.1/8 ::1 192.0.2.10Stick to the minimal set of addresses you control; avoid adding broad ISP ranges because a compromised host inside that range could bypass Fail2Ban entirely.
Set Fail2Ban Global Ban Defaults
Fail2Ban’s [DEFAULT] section governs how quickly hosts are banned and for how long. Tune the following baseline values, then override them per jail when a service needs stricter or looser limits:
[DEFAULT]
bantime = 10m
findtime = 10m
maxretry = 5
These defaults ban a host for ten minutes after five failed attempts inside a ten-minute window. Increase the bantime or lower maxretry for exposed services like SSH.
Configure Fail2Ban Email Alerts
Email notifications keep you informed about bans without tailing logs. Define the destination, sender, and action template inside [DEFAULT]:
[DEFAULT]
destemail = admin@example.com
sender = fail2ban@example.com
action = %(action_mwl)s
The %(action_mwl)s syntax is Fail2Ban’s variable interpolation; it expands to a predefined action that emails a report with WHOIS data and the relevant log excerpt. Replace the addresses with mailboxes you monitor and ensure the host can relay mail (via Postfix, msmtp, or another MTA).
Enable Individual Fail2Ban Jails
Each jail pairs a log filter with an action (firewall ban, Cloudflare API call, etc.). Enable only the jails that apply to the services you run so Fail2Ban watches the right log files without wasting CPU.
Set enabled = true inside the jail definition to activate it. Variables like %(apache_access_log)s are Fail2Ban built-ins that resolve to the distro’s default log path:
[apache-badbots]
enabled = true
port     = http,https
logpath  = %(apache_access_log)s
bantime  = 48h
maxretry = 1
You can also swap in actions from /etc/fail2ban/action.d/ to call out to services like Cloudflare or custom scripts:
[apache-botsearch]
enabled = true
port     = http,https
logpath  = %(apache_error_log)s
banaction = cloudflare
bantime = 72h
maxretry = 1
Restart Fail2Ban to apply the new jail definitions:
sudo systemctl restart fail2banTest Fail2Ban Filters Before Enabling Custom Jails
Before deploying a custom filter or a stricter SSHD mode, test it against the same log source the jail will read. On Ubuntu 26.04 and 24.04, the packaged SSHD jail uses the systemd journal; on Ubuntu 22.04, it reads /var/log/auth.log by default.
For Ubuntu 26.04, test the SSHD filter against the journal match used by the package:
sudo fail2ban-regex -v -m "_SYSTEMD_UNIT=ssh.service + _COMM=sshd" systemd-journal /etc/fail2ban/filter.d/sshd.confOn Ubuntu 24.04, use _SYSTEMD_UNIT=sshd.service + _COMM=sshd instead. On Ubuntu 22.04, test the default file-based backend with:
sudo fail2ban-regex -v /var/log/auth.log /etc/fail2ban/filter.d/sshd.confIn verbose output, confirm the failure-counting matches capture a real host and are not marked F-NOFAIL. A high match count alone does not prove the jail will ban; some helper patterns match context lines without counting them as failures.
Configure the SSHD Jail on Ubuntu
The SSHD jail is enabled by default through /etc/fail2ban/jail.d/defaults-debian.conf, protecting your SSH server on Ubuntu immediately. Tighten its settings by adding an [sshd] section to /etc/fail2ban/jail.local:
[sshd]
enabled  = true
port     = ssh
maxretry = 3
findtime = 10m
bantime  = 1h
This overrides the global defaults and bans a host for one hour after three failed SSH login attempts within ten minutes. Adjust port if you run SSH on a non-standard port (e.g., port = 2222).
On Ubuntu 24.04 and 26.04,
defaults-debian.confoverrides the ban action tonftablesand the log backend tosystemd. Ubuntu 26.04 also sets an explicitjournalmatchtargetingssh.service(24.04 targetssshd.service). On Ubuntu 22.04, the defaults use file-based log monitoring at/var/log/auth.logandiptables-multiportfor banning. You do not need to change these values manually.
Restart Fail2Ban after editing the jail, then verify the SSHD jail is active:
sudo systemctl restart fail2ban
sudo fail2ban-client status sshd
Expected output on Ubuntu 26.04 (24.04 shows sshd.service instead of ssh.service; 22.04 shows File list: /var/log/auth.log):
Status for the jail: sshd
|- Filter
|  |- Currently failed:	0
|  |- Total failed:	0
|  `- Journal matches:	_SYSTEMD_UNIT=ssh.service + _COMM=sshd
`- Actions
   |- Currently banned:	0
   |- Total banned:	0
   `- Banned IP list:
Use Fail2Ban with UFW on Ubuntu
Ubuntu systems commonly use UFW as their firewall. Fail2Ban ships a dedicated ufw ban action at /etc/fail2ban/action.d/ufw.conf, so bans appear as UFW deny rules instead of raw iptables or nftables entries.
To switch the SSHD jail to UFW, add the following to /etc/fail2ban/jail.local:
[sshd]
banaction = ufw
You can also set ufw as the default ban action for all jails by placing it under [DEFAULT]:
[DEFAULT]
banaction = ufw
Restart Fail2Ban to apply the change. Once a ban triggers (or you manually ban an IP with fail2ban-client set sshd banip), confirm UFW received the rule:
sudo systemctl restart fail2ban
sudo ufw status numbered
Banned IPs appear as numbered UFW deny rules that Fail2Ban manages automatically.
Manage Fail2Ban Bans with fail2ban-client on Ubuntu
The fail2ban-client utility lets you ban or unban hosts, inspect jail stats, and reload configuration without touching service files directly. Run it with sudo so the command can communicate with the Fail2Ban socket.
Ban an IP with fail2ban-client
Manually ban a host when you spot suspicious activity before Fail2Ban triggers automatically. Target the affected jail; this example uses the default SSHD jail:
sudo fail2ban-client set sshd banip 203.0.113.50The command confirms the ban:
1
Unban an IP with fail2ban-client
Lift a ban after troubleshooting or if a legitimate user locked themselves out:
sudo fail2ban-client set sshd unbanip 203.0.113.50Swap 203.0.113.50 for the host you need to release and update the jail name to match your configuration.
View fail2ban-client Help
Print the full list of subcommands and options:
sudo fail2ban-client -hMore fail2ban-client Examples
Check a jail’s status to review failure counters and active bans:
sudo fail2ban-client status sshdThe output displays jail statistics and currently banned IPs. The example below uses Ubuntu 26.04; Ubuntu 24.04 shows sshd.service, while Ubuntu 22.04 shows File list: /var/log/auth.log.
Status for the jail: sshd
|- Filter
|  |- Currently failed: 0
|  |- Total failed:     0
|  `- Journal matches:  _SYSTEMD_UNIT=ssh.service + _COMM=sshd
`- Actions
   |- Currently banned: 0
   |- Total banned:     0
   `- Banned IP list:
Alternatively, reload the configuration without restarting the Fail2Ban service:
sudo fail2ban-client reloadPrint the “Banned IP list” section for a specific jail to review every blocked address:
sudo fail2ban-client status sshd | grep -A1 "Banned IP list"Monitor Fail2Ban Logs on Ubuntu
Review /var/log/fail2ban.log regularly so you catch misconfigured jails or unexpected brute-force patterns early.
Watch Logs in Real Time
Use the tail command to follow new entries as they occur. Prefix with sudo unless your user belongs to the adm group:
sudo tail -f /var/log/fail2ban.logThis stream lets you confirm bans in real time while testing new filters:
2026-02-05 14:25:13,456 fail2ban.filter         [12345]: INFO    [sshd] Found 203.0.113.89 - 2026-02-05 14:25:13
2026-02-05 14:25:45,234 fail2ban.filter         [12345]: INFO    [sshd] Found 203.0.113.89 - 2026-02-05 14:25:45
2026-02-05 14:26:02,567 fail2ban.actions        [12345]: NOTICE  [sshd] Ban 203.0.113.89
2026-02-05 14:26:03,123 fail2ban.filter         [12345]: INFO    [apache-badbots] Found 198.51.100.15 - 2026-02-05 14:26:03
2026-02-05 14:26:15,890 fail2ban.actions        [12345]: NOTICE  [apache-badbots] Ban 198.51.100.15
Search Logs for Specific Events
Use grep to zero in on patterns, user agents, or IP addresses of interest:
User-Agent Example:
sudo grep "Bing" /var/log/fail2ban.logError Example:
sudo grep "error" /var/log/fail2ban.logIP Address Example:
sudo grep "123.123.123.1" /var/log/fail2ban.logCombining tail and grep gives you quick insight into how each jail behaves and whether additional tuning is necessary.
Troubleshoot Fail2Ban on Ubuntu
If Fail2Ban does not behave as expected, work through these common scenarios.
Fail2Ban Service Does Not Start
A syntax error in jail.local is the most frequent cause. Check the journal for the exact error:
sudo journalctl -u fail2ban --no-pager -n 20Fix the reported line in /etc/fail2ban/jail.local, then restart:
sudo fail2ban-client -t
sudo systemctl restart fail2ban
The -t flag tests the configuration without starting the server, letting you catch errors before restarting.
Jail Shows 0 Bans When Attacks Are Visible
Confirm the jail is enabled and watching the correct log source:
sudo fail2ban-client status sshdIf the output shows File list: as empty or points to a log file that does not exist, the filter cannot find matches. On Ubuntu 24.04 and 26.04, the SSHD jail uses the systemd journal by default. If the backend is set to auto or pyinotify while SSH logs go to the journal, Fail2Ban will never see the failures. Verify the backend in defaults-debian.conf matches your log setup.
“No file(s) found for glob” Warning
This warning appears when a jail references a log path that does not exist on the system. For example, enabling the apache-badbots jail on a server without Apache produces:
WARNING No file(s) found for glob /var/log/apache2/access.log
Only enable jails for services you have installed. Disable unneeded jails in jail.local by setting enabled = false.
Remove Fail2Ban from Ubuntu
Retire Fail2Ban cleanly if you migrate to another intrusion-prevention solution or decommission the server.
Disable the Fail2Ban Service
Stop the service and prevent it from starting at boot:
sudo systemctl disable --now fail2banThis immediately halts Fail2Ban and unregisters it from systemd’s boot targets.
Remove the Fail2Ban Package
Remove the software and its package-owned system configuration files:
sudo apt remove --purge fail2banPreview orphaned dependencies before removing them. Continue only if the preview lists packages you no longer need:
sudo apt autoremove --dry-runIf the preview is acceptable, run the real cleanup interactively:
sudo apt autoremoveVerify APT no longer has Fail2Ban installed:
dpkg-query -W -f='${db:Status-Abbrev} ${binary:Package}\n' fail2ban 2>/dev/null | grep '^ii' || trueA successful removal returns no output. Clear the shell command cache, then confirm the client binary is no longer on your PATH:
hash -r
command -v fail2ban-client
This command should also return no output after removal.
Clean Up Fail2Ban Log Files (Optional)
Delete any lingering log files if you no longer need historical ban data. The --purge flag already removes /etc/fail2ban/, so this step targets only the log:
The following command permanently deletes Fail2Ban log history. Skip this step if you plan to reinstall later or need the logs for auditing.
sudo rm -f /var/log/fail2ban.log*Conclusion
Fail2Ban now starts with the SSHD jail active, Ubuntu’s packaged backend defaults in place, and /var/log/fail2ban.log recording ban decisions. Keep jail.local minimal, tighten maxretry and bantime as real traffic patterns emerge, and test custom filters with fail2ban-regex before deploying them. For a stronger security baseline, configure a UFW firewall on Ubuntu, enable unattended upgrades on Ubuntu, and follow the Fail2Ban GitHub repository for release notes and community filters.

Formatting tips for your comment
You can use basic HTML to format your comment. Useful tags currently allowed in published comments:
<code>command</code>command<strong>bold</strong><em>italic</em><a href="https://example.com">link</a><blockquote>quote</blockquote>