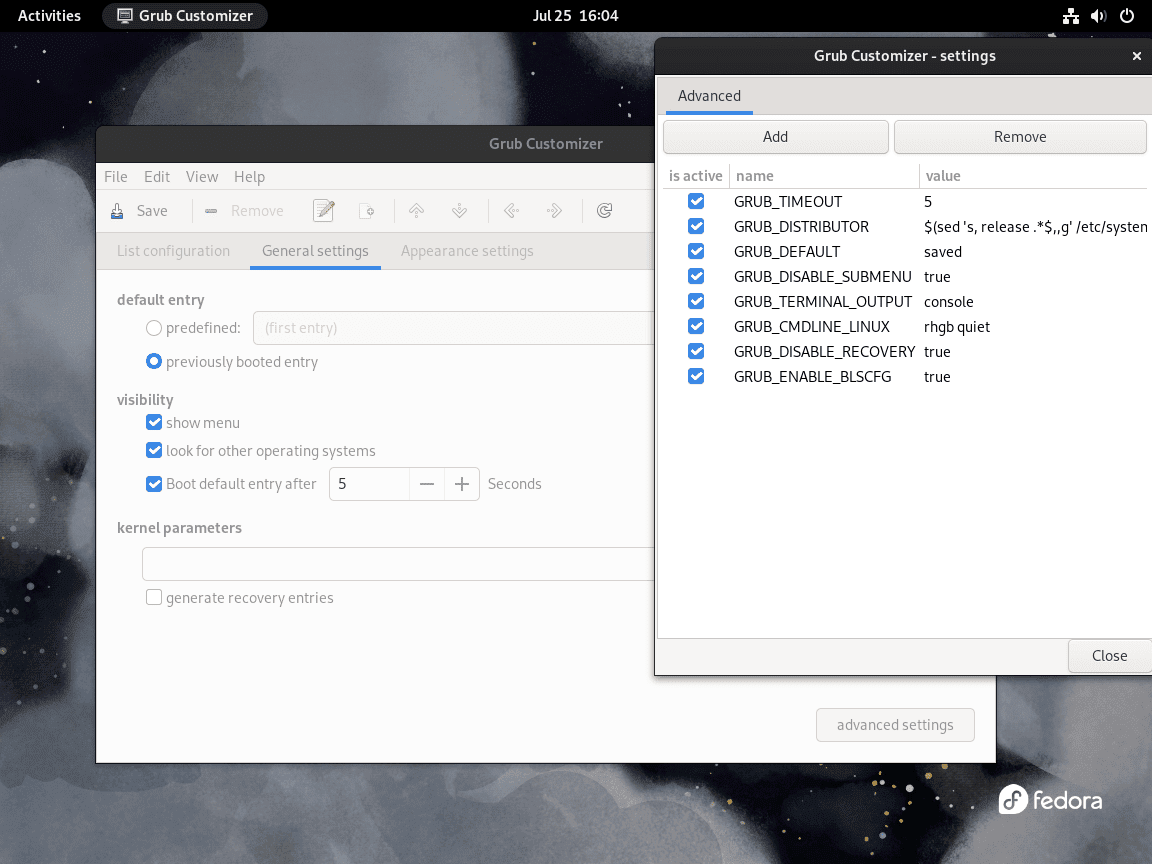
Grub Customizer is a powerful tool allowing Fedora users to manage and customize their GRUB bootloader easily. It’s an invaluable tool for anyone needing more control over their system’s boot process. Here are some standout features and benefits:
- Intuitive Interface: A user-friendly GUI that simplifies GRUB configuration without manually editing complex text files.
- Boot Entry Management: Easily add, remove, and reorder boot menu entries to prioritize different operating systems or kernels.
- Theme Customization: Personalize the appearance of the GRUB menu with custom themes, fonts, and colors to match your preferences.
- Kernel Parameters: Modify kernel parameters for troubleshooting or optimizing performance directly from the interface.
- Backup and Restore: Create backups of your GRUB configuration, ensuring you can revert to a previous state if needed.
- Advanced Settings: Access advanced settings for fine-tuning, such as setting default boot options and timeout durations.
Using Grub Customizer, Fedora users can streamline their boot process and tailor their system’s startup to meet their needs better. This guide will walk you through the steps to install and use Grub Customizer effectively, ensuring you get the most out of this versatile tool.
Prerequisites for Installing GRUB Customizer on Fedora Linux
To successfully install GRUB Customizer on Fedora Linux, ensure you meet the following requirements:
System Requirements and Supported Fedora Versions
| Component | Recommended Requirement |
|---|---|
| Processor | 2 GHz or faster dual-core processor |
| RAM | 4 GB or more |
| Disk Space | 25 GB of free space |
| Network | High-speed internet connection |
| Supported Versions | Fedora Workstation |
Additional Requirements
| Requirement | Description |
|---|---|
| Internet Connection | Necessary for downloading GRUB Customizer and applying updates. |
| Terminal Conventions | All terminal commands should be executed as a regular user with sudo privileges. |
| CLI Commands | Utilize the Command Line Interface (CLI) for installation and setup. |
| Boot Configuration | Ensure you have a backup of your current GRUB configuration before making changes. |
Update Fedora Before Grub Customizer Installation
Let’s start by making sure your Fedora system is up-to-date. This step is crucial to ensure that all installed packages, including the DNF package manager, are at their latest versions, improving the system’s security and stability. Run the following command in your terminal:
sudo dnf upgrade --refreshThe upgrade command updates all the installed packages, while the --refresh flag forces DNF to synchronize its package database with the server before upgrading. This ensures that DNF is aware of the latest versions of all packages.
Install Grub Customizer via DNF Command
Now that your Fedora system is up-to-date, we’ll install Grub Customizer. For that, we’re going to utilize DNF’s install command, which fetches and installs the specified package along with its dependencies.
To install Grub Customizer, execute the following command:
sudo dnf install grub-customizerThis command will locate the Grub Customizer package in the Fedora repository, download it, and install it.
Initiating Grub Customizer
Launch Grub Customizer via CLI
Launching Grub Customizer via CLI might be the preferred method for those who often work with the terminal and appreciate its efficiency. It’s pretty simple. All you need to do is open your terminal application (which could be GNOME Terminal, Konsole, xterm, or others, depending on your preferences and installed programs) and type the following command:
grub-customizerAfter pressing the enter key, this command initializes the Grub Customizer tool, allowing you to start managing and customizing your GRUB boot entries directly from your terminal.
Launch Grub Customizer via GUI
Launching Grub Customizer via the GUI is ideal for users more comfortable navigating through visual menus and icons. It is a straightforward process, as follows:
- Start by clicking on ‘Activities’ at the top left corner of your screen.
- Click on ‘Show Applications’ – usually represented by a grid of dots at the bottom of the dock.
- In the applications menu, search for ‘Grub Customizer’ by typing it into the search bar at the top.
- Click on the ‘Grub Customizer’ icon to launch the application.

Managing Grub Customizer
Update Grub Customizer on Fedora
Use this command to refresh your repositories and update all your installed packages, including Grub Customizer:
sudo dnf update --refreshWith this command, your Fedora system checks for updates and applies them to your installed packages.
Remove Grub Customizer From Fedora
If Grub Customizer was installed via DNF, it could be removed, along with any unused packages or residuals from other applications, by using this command:
sudo dnf remove grub-customizerThis command will remove Grub Customizer and any associated data from your system.
Conclusion and Final Thoughts
In conclusion, we’ve journeyed through the steps required to install, launch, manage, and even remove Grub Customizer on Fedora Linux. We offer comprehensive coverage on getting started with this pivotal tool for boot entries. Regular updates to your Grub Customizer ensure improved functionality and robust security. Uninstallation, although seldom needed, is just as easy and can be done following the steps provided. Ultimately, mastering these operations enhances your overall Linux experience.

