Insomnia is an open-source API client for testing and debugging RESTful APIs, GraphQL endpoints, gRPC services, and WebSocket connections. For example, common use cases include testing authentication flows, debugging API responses with detailed request history, and managing environment variables across development, staging, and production environments. Ultimately, by the end of this guide, you will have Insomnia installed on your Ubuntu system with a working API client ready to import OpenAPI specifications and create collections.
Specifically, this guide covers installation on Ubuntu LTS releases using three methods: official APT repository from Cloudsmith, manual .deb package download from GitHub releases, and Snap package installation. Notably, all methods provide the latest stable version with different update mechanisms.
Choose Your Insomnia Installation Method
Insomnia offers three installation methods on Ubuntu. First, the official APT repository integrates with your system’s package manager for automatic updates via standard Ubuntu commands. Alternatively, the manual .deb method provides direct control over versioning without repository configuration. Finally, the Snap method offers automatic background updates with sandboxed execution.
| Method | Channel | Version | Updates | Best For |
|---|---|---|---|---|
| APT Repository (Cloudsmith) | Official Repository | Latest stable | Automatic via apt upgrade | Users who want integrated package management with system updates |
| Manual .deb Package | GitHub Releases | Latest stable | Manual re-download and reinstall | Users who prefer version control without repository configuration |
| Snap Package | Snapcraft | Latest stable | Automatic via snapd | Desktop users who prefer automatic updates with sandboxing |
For most users, the APT repository method is recommended because it integrates with standard Ubuntu update commands and provides automatic updates. The repository uses the focal suite for cross-version compatibility, meaning the same package works across all Ubuntu LTS releases.
This guide covers Ubuntu 22.04 LTS, 24.04 LTS, and 26.04 LTS. The Kong Insomnia repository uses a universal package format that works across all supported Ubuntu releases. Commands shown work identically on all supported LTS versions.
Update Ubuntu Before Installation
Before proceeding, first update your package cache to ensure you have access to the latest package versions.
sudo apt update && sudo apt upgradeMethod 1: Install Insomnia via Official APT Repository
Primarily, the official APT repository from Cloudsmith integrates Insomnia updates with your standard system package management. More specifically, this method configures a repository using DEB822 format with proper GPG key verification.
Install Required Dependencies
To begin, install the required dependencies for downloading and verifying the repository configuration.
sudo apt install curl ca-certificates gpgHere, curl downloads the GPG key, ca-certificates enables secure HTTPS connections, and gpg converts the signing key to binary format. Ubuntu desktop installations typically include these by default, but minimal or container environments may require installing them.
Add Kong Insomnia GPG Key
Next, once the dependencies are installed, download and install the official GPG signing key for package verification.
curl -fsSL 'https://packages.konghq.com/public/insomnia/gpg.474B9148D779222B.key' | sudo gpg --dearmor -o /usr/share/keyrings/kong-insomnia-archive-keyring.gpg
sudo chmod 644 /usr/share/keyrings/kong-insomnia-archive-keyring.gpg
Add Insomnia APT Repository
Subsequently, with the GPG key in place, create the repository configuration file using DEB822 format with scoped GPG key verification.
cat <<'EOF' | sudo tee /etc/apt/sources.list.d/kong-insomnia.sources
Types: deb
URIs: https://packages.konghq.com/public/insomnia/deb/ubuntu
Suites: focal
Components: main
Signed-By: /usr/share/keyrings/kong-insomnia-archive-keyring.gpg
EOF
The repository uses the
focalsuite regardless of your Ubuntu version. This is a standard vendor practice where packages are built against a stable base and work across all Ubuntu LTS releases (22.04, 24.04, 26.04). You do not need to changefocalto match your Ubuntu codename.
Update Package Cache
Then, once configured, refresh your package cache to include the new repository.
sudo apt updateInstall Insomnia from Repository
Finally, with the repository configured, install Insomnia using the apt package manager.
sudo apt install insomniaVerify Installation
As a verification step, check the installed version and repository source to confirm successful installation.
apt-cache policy insomniainsomnia:
Installed: 12.2.0
Candidate: 12.2.0
Version table:
*** 12.2.0 500
500 https://packages.konghq.com/public/insomnia/deb/ubuntu focal/main amd64 Packages
Method 2: Install Insomnia via Manual .deb Package
The manual .deb method downloads the latest release directly from the official GitHub repository. In contrast to the repository method, this approach gives you control over which version to install and avoids Snap dependencies.
Install Required Dependencies
First, install curl and ca-certificates to download the package securely.
sudo apt install curl ca-certificates wgetDownload Latest Insomnia .deb Package
Next, once the dependencies are ready, fetch the latest release version and download the .deb package from GitHub.
INSOMNIA_VERSION=$(curl -s https://api.github.com/repos/Kong/insomnia/releases/latest | grep '"tag_name":' | sed -E 's/.*"core@([^"]+)".*/\1/')
wget -O insomnia.deb "https://github.com/Kong/insomnia/releases/download/core%40${INSOMNIA_VERSION}/Insomnia.Core-${INSOMNIA_VERSION}.deb"
The command automatically detects the latest version from the GitHub API. If the automatic download fails, visit the GitHub releases page directly to download the
.debfile manually.
Install the Downloaded Package
Subsequently, once the download completes, install the .deb package using apt to handle dependency resolution automatically.
sudo apt install ./insomnia.debVerify Installation
Finally, check the installed version to confirm successful installation.
insomnia --version12.2.0
Method 3: Install Insomnia via Snap
As an alternative to traditional package management, the Snap package provides automatic background updates and sandboxed execution. Ubuntu includes snapd by default on standard desktop and server installations, though minimal images or containers may require installing it first.
Install Insomnia Snap Package
To install Insomnia from the Snap Store, run the following command.
sudo snap install insomniaVerify Snap Installation
Then, check the installed Snap version and status.
snap info insomnianame: insomnia version: 12.2.0 tracking: latest/stable installed: 12.2.0
Launch Insomnia on Ubuntu
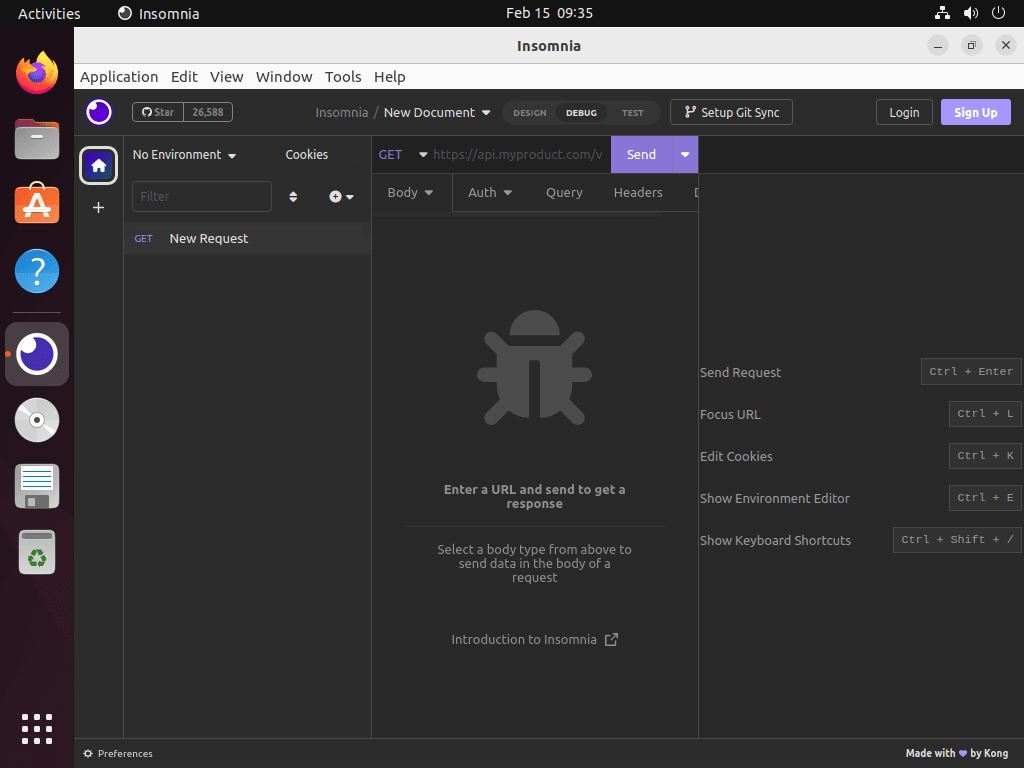
Once installation is complete, launch Insomnia from the command line or applications menu.
Launch from Command Line
For example, to start Insomnia from the terminal, run the following command.
insomnia &Launch from Applications Menu
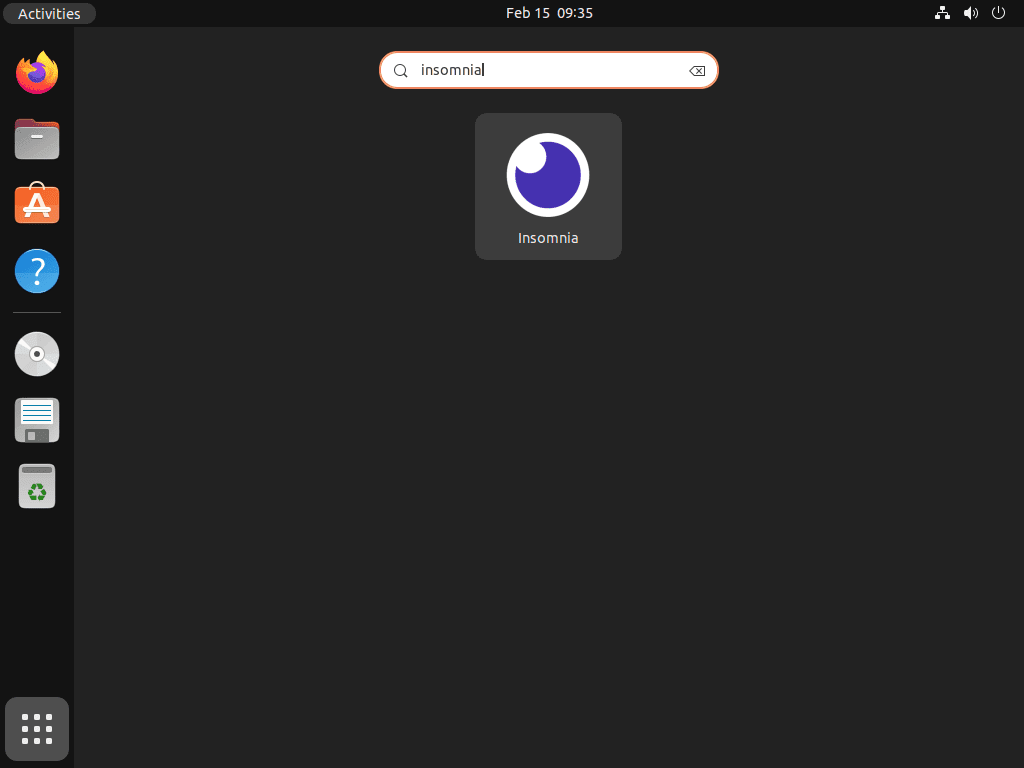
For desktop users, alternatively open Insomnia from your desktop environment’s application launcher.
Activities > Show Applications > Insomnia


Manage Insomnia Installation
Eventually, following installation, update or remove Insomnia using the method you chose for installation.
Update Insomnia (APT Repository Method)
For APT repository installations, simply update Insomnia along with your regular system updates.
sudo apt update
sudo apt upgrade
However, to update only Insomnia without upgrading other packages, use this command instead.
sudo apt install --only-upgrade insomniaUpdate Insomnia (Manual .deb Method)
Conversely, for manual .deb installations, download the latest version and reinstall the package.
INSOMNIA_VERSION=$(curl -s https://api.github.com/repos/Kong/insomnia/releases/latest | grep '"tag_name":' | sed -E 's/.*"core@([^"]+)".*/\1/')
wget -O insomnia.deb "https://github.com/Kong/insomnia/releases/download/core%40${INSOMNIA_VERSION}/Insomnia.Core-${INSOMNIA_VERSION}.deb"
sudo apt install ./insomnia.deb
Then, following the installation, verify the updated version.
insomnia --versionUpdate Insomnia (Snap Method)
For Snap installations, Snap handles updates automatically in the background. Nevertheless, to manually trigger an update, use this command.
sudo snap refresh insomniaRemove Insomnia (APT Repository Method)
To uninstall, first remove Insomnia installed via the official APT repository. Notably, this keeps the repository configured for future installations.
sudo apt remove insomnia
sudo apt autoremove
Moreover, to remove the repository configuration and GPG key as well, use these commands after removing the package.
sudo rm /etc/apt/sources.list.d/kong-insomnia.sources
sudo rm /usr/share/keyrings/kong-insomnia-archive-keyring.gpg
sudo apt update
Following this, ensure the repository is removed by checking the policy.
apt-cache policy insomniaBelow is an example output showing successful removal (no repository listed).
insomnia:
  Installed: (none)
  Candidate: (none)
  Version table:
Furthermore, to completely remove all user data including cached files, run these commands after uninstalling.
rm -rf ~/.config/Insomnia
rm -rf ~/.cache/Insomnia
This permanently deletes your Insomnia configuration, preferences, request history, and cached data. Export any workspaces or collections you want to keep before removing these directories.
Remove Insomnia (Manual .deb Method)
Similarly, for manual installations, remove Insomnia installed via the manual .deb package method.
sudo apt remove insomnia
sudo apt autoremove
Then, verify removal.
dpkg -l | grep insomniaUpon successful removal, the command returns no output.
Additionally, to completely remove all user data, run the same cleanup commands shown in the APT removal section above (rm -rf ~/.config/Insomnia ~/.cache/Insomnia). Remember to export any workspaces first.
Remove Insomnia (Snap Method)
Likewise, for Snap installations, remove Insomnia using the snap command. By default, Snap retains application data for potential reinstallation.
sudo snap remove insomniaNext, verify removal.
snap list | grep insomniaUpon successful removal, the command returns no output.
To also remove all Snap-stored application data, add the --purge flag: sudo snap remove --purge insomnia. Without this flag, Snap retains the data for potential reinstallation.
Troubleshooting Common Insomnia Issues
However, despite following the installation steps, you may encounter common installation and launch issues with solutions below.
Package Download Fails with 404 Error
For instance, if the download command fails, you may see this error.
HTTP request sent, awaiting response... 404 Not Found
ERROR 404: Not Found.
Generally, this occurs when version detection fails or the release structure changed.
Solution: To resolve this, visit the GitHub releases page manually, copy the .deb download link for the latest version, and download it directly.
wget -O insomnia.deb "https://github.com/Kong/insomnia/releases/download/core%4012.2.0/Insomnia.Core-12.2.0.deb"
sudo apt install ./insomnia.deb
Replace the version number with the current release shown on the GitHub releases page.
Afterward, verify installation.
insomnia --versionInsomnia Fails to Launch on Wayland
Unfortunately, in some cases, Electron-based applications like Insomnia may encounter rendering issues on Wayland display servers. Symptoms include blank windows, visual glitches, or failure to launch.
Solution 1 (Force native Wayland): Enable the Ozone platform layer for proper Wayland support.
insomnia --enable-features=UseOzonePlatform --ozone-platform=waylandSolution 2 (Force X11 via XWayland): If Wayland mode causes issues, force the application to use X11 compatibility instead.
insomnia --ozone-platform=x11These Electron Ozone flags work for many applications but may not resolve all Wayland issues with Insomnia. If problems persist, run under Xorg or use the
--disable-gpuflag as an alternative.
As an alternative, switch your session to X11 from the login screen.
Snap Installation Blocked by Policy
Occasionally, in some environments, Ubuntu configurations restrict Snap installations due to organizational policies.
Solution: Therefore, in this case, use the manual .deb installation method instead, which does not depend on Snap services.
Conclusion
You now have Insomnia installed on Ubuntu with full API testing, debugging, and collection management capabilities. As covered, the APT repository method provides integrated system updates, the manual .deb method offers version control without repository configuration, and Snap provides hands-off background updates. Moving forward, consider importing OpenAPI specifications, configuring environment variables for multiple deployment targets, or exploring Node.js on Ubuntu for backend API development. Additionally, for secure API testing with SSH tunneling or containerized APIs, our SSH on Ubuntu and Docker on Ubuntu guides complement Insomnia for complete testing environments.


Formatting tips for your comment
You can use basic HTML to format your comment. Useful tags currently allowed:
<code>command</code>command<strong>bold</strong><em>italic</em><a href="URL">link</a><blockquote>quote</blockquote>