

Public Wi-Fi and ISP-level tracking are easy to ignore until you want a desktop VPN that stays simple on Linux. You can install Mozilla VPN on Ubuntu with an official PPA, and the package installs from a terminal even though the app still needs a graphical session for sign-in and connections.
The working Ubuntu path currently covers Ubuntu 24.04 LTS and 22.04 LTS. Mozilla publishes Release metadata for Ubuntu 26.04, but the official PPA still does not provide an installable mozillavpn package on resolute, so this article keeps 24.04 and 22.04 in scope for now.
Mozilla VPN is a paid subscription, not a free VPN service, and one account covers up to five devices. If you also want stronger browser-side privacy defaults, consider installing the Brave browser on Ubuntu.
Install Mozilla VPN on Ubuntu
Update Ubuntu Before Installing Mozilla VPN
Refresh the package index and apply pending upgrades before you add the Mozilla VPN repository.
sudo apt update
sudo apt upgrade -y
These commands use
sudofor system changes. If your account does not have admin rights yet, follow the guide on how to add a new user to sudoers on Ubuntu before continuing.
Compare Mozilla VPN Channels on Ubuntu
Mozilla VPN has three Ubuntu PPA tracks. Stable is the normal desktop choice, while testing and nightly move faster and trade away predictability.
| Method | Package Track | Update Cadence | Best For | Channel |
|---|---|---|---|---|
| Stable | Latest stable release | Normal release cadence | Most Ubuntu desktops | Mozilla stable PPA |
| Testing | Release candidate builds | Pre-release updates | Users who want fixes before stable | Mozilla VPN testing PPA |
| Nightly | Daily development builds | Fastest, least stable | Debugging and feature testing | Mozilla VPN nightly PPA |
- Choose stable if you want the supported everyday Ubuntu package.
- Choose testing if you are comfortable running release candidates before they land in stable.
- Choose nightly only if you actively want fresh development builds and can tolerate breakage.
These steps are verified on Ubuntu 24.04 LTS and 22.04 LTS. The official Mozilla PPA currently publishes Release metadata for Ubuntu 26.04, but
aptstill cannot locate an installablemozillavpnpackage on resolute, so Ubuntu 26.04 stays out of scope for now.
Use one Mozilla VPN channel at a time. If you switch from stable to testing or nightly later, remove the old PPA first so
aptdoes not mix competing package sources.
Add the Stable Mozilla VPN PPA on Ubuntu
Add the stable PPA first if you want the normal release channel.
sudo add-apt-repository ppa:mozillacorp/mozillavpn -yGet:5 https://ppa.launchpadcontent.net/mozillacorp/mozillavpn/ubuntu noble InRelease [17.8 kB] Get:6 https://ppa.launchpadcontent.net/mozillacorp/mozillavpn/ubuntu noble/main amd64 Packages [988 B] Reading package lists... Adding repository.
Ubuntu 24.04 writes this PPA to a .sources file. Ubuntu 22.04 still creates a traditional .list file for the same add-apt-repository command, which is normal on Jammy.
Verify the Mozilla VPN Package Candidate on Ubuntu
Confirm that apt now sees the Mozilla VPN package from the PPA before you install it.
apt-cache policy mozillavpnmozillavpn:
Installed: (none)
Candidate: 2.34.1-noble1
Version table:
2.34.1-noble1 500
500 https://ppa.launchpadcontent.net/mozillacorp/mozillavpn/ubuntu noble/main amd64 Packages
On Ubuntu 22.04, the same command also shows the older 2.2.0-1 package from jammy/universe. The PPA still wins while it is enabled because the newer 2.34.1-jammy1 package becomes the active candidate.
Add the Testing Mozilla VPN PPA on Ubuntu
Use the testing PPA when you want release candidate builds ahead of the stable channel.
sudo add-apt-repository ppa:okirby/mozilla-vpn-testing -yThis PPA currently exposes 2.35.0~rc20260320154003-noble1 on Ubuntu 24.04 and 2.35.0~rc20260320154003-jammy1 on Ubuntu 22.04.
Add the Nightly Mozilla VPN PPA on Ubuntu
Use the nightly PPA only when you want the newest development builds as soon as they publish.
sudo add-apt-repository ppa:okirby/mozilla-vpn-nightly -yThis PPA currently exposes 2.36.0~build20260320-noble1 on Ubuntu 24.04 and 2.36.0~build20260320-jammy1 on Ubuntu 22.04.
Install Mozilla VPN on Ubuntu
After you choose one channel, install the desktop client with apt.
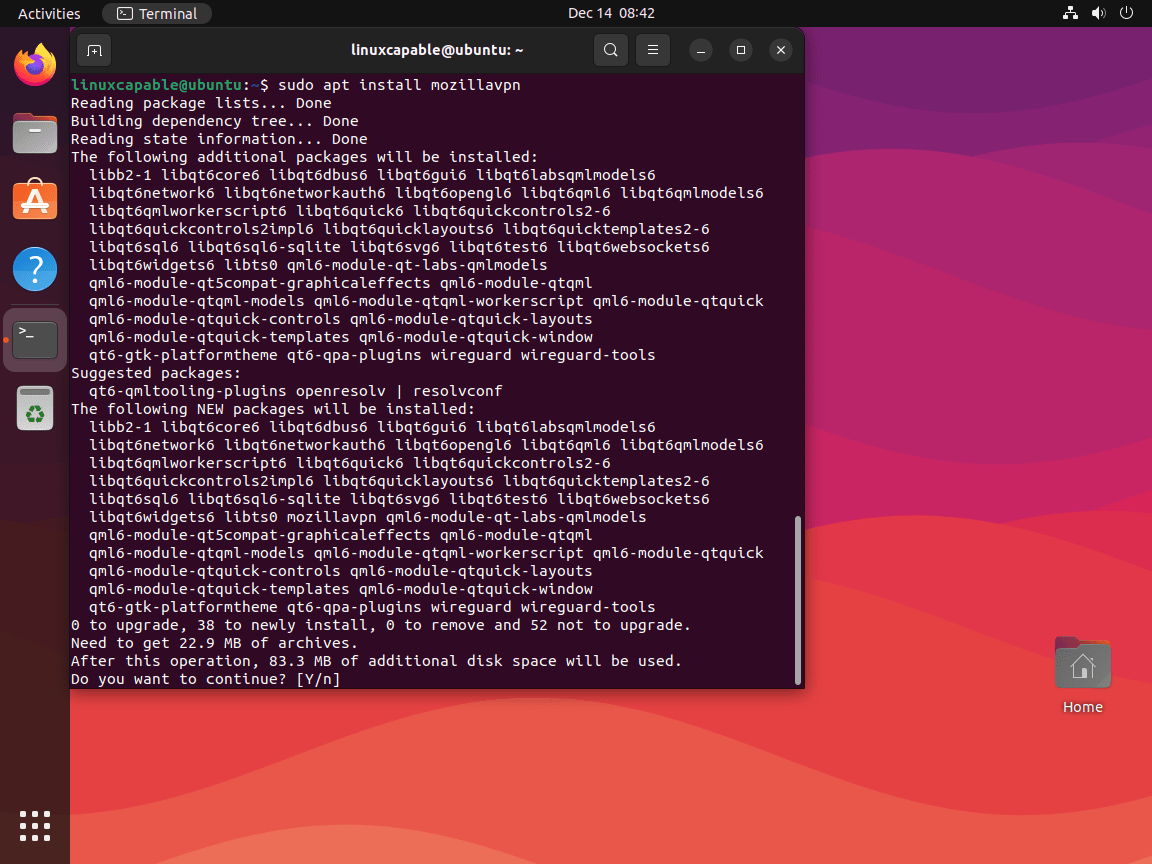
sudo apt install mozillavpn -yThe following NEW packages will be installed: mozillavpn wireguard wireguard-tools 0 upgraded, 50 newly installed, 0 to remove and 9 not upgraded. Setting up mozillavpn (2.34.1-noble1) ... Created symlink /etc/systemd/system/multi-user.target.wants/mozillavpn.service -> /usr/lib/systemd/system/mozillavpn.service.
Verify Mozilla VPN on Ubuntu
Check the installed application version before you move to the desktop sign-in step.
mozillavpn --versionMozilla VPN 2.34.0
This version check worked safely over SSH on Ubuntu 24.04 and 22.04, so it is a reliable package verification step. The app itself still needs a graphical session when you want to open the sign-in window and connect.
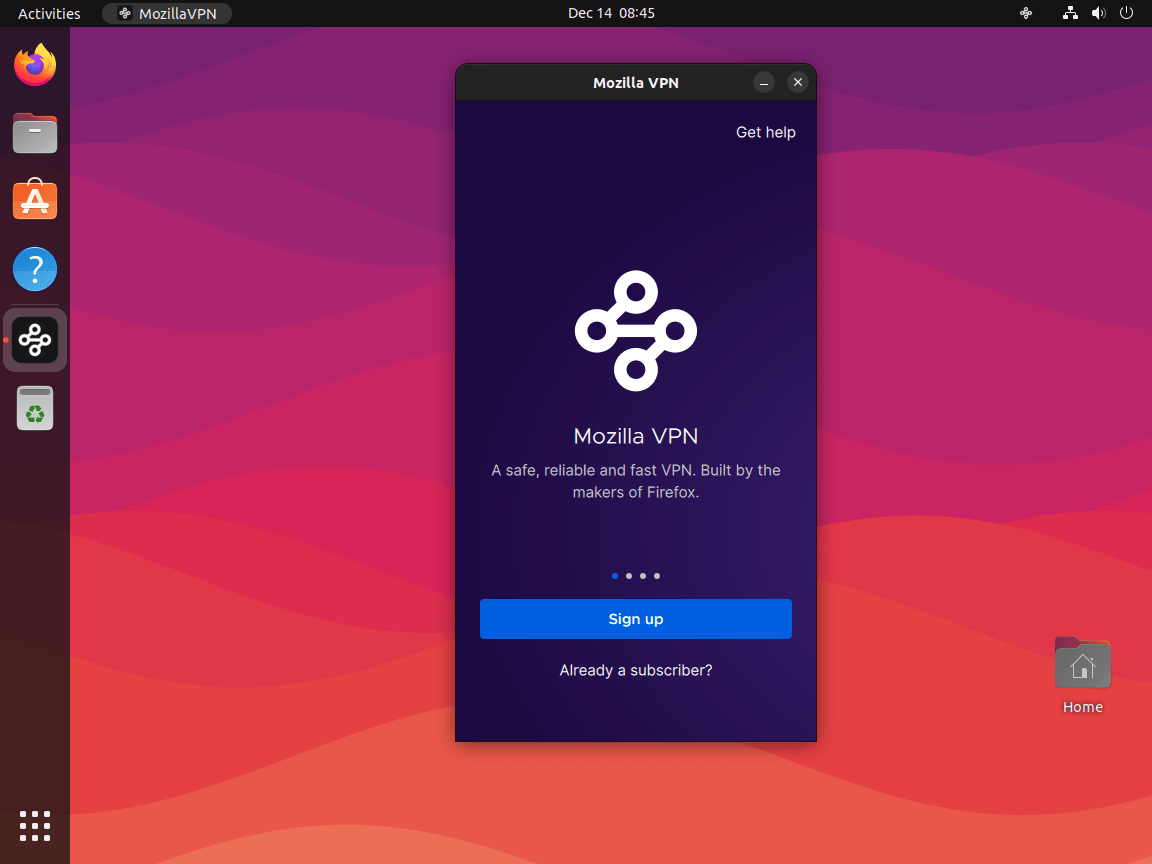
Launch Mozilla VPN on Ubuntu
Launch Mozilla VPN From a Terminal on Ubuntu
If you already have a desktop session open, the terminal command launches the graphical client directly.
mozillavpnThat command starts the GUI, so it is useful from a local desktop terminal. Installing the package over SSH is fine, but the sign-in flow still happens in the desktop app.
Launch Mozilla VPN From the Applications Menu on Ubuntu
You can also open Mozilla VPN from the applications menu once the package finishes installing.
- Open Activities in the upper-left corner of the desktop.
- Select Show Applications.
- Search for Mozilla VPN and open it.
Sign in with your Mozilla account, choose a server location, and connect.
Update or Remove Mozilla VPN on Ubuntu
Update Mozilla VPN on Ubuntu
Refresh package metadata, then upgrade only the Mozilla VPN package if a newer build is available in your chosen channel.
sudo apt update
sudo apt install --only-upgrade mozillavpn -y
If you want a quick post-update check, rerun mozillavpn --version after the package upgrade finishes.
Remove Mozilla VPN on Ubuntu
Remove the installed package and its automatically installed dependencies with one command.
sudo apt remove --autoremove -y mozillavpnInstalling and removing the package over SSH did not create user-data directories on its own. If you already signed in from the desktop app, inspect your home directory for Mozilla VPN data before deleting anything manually.
Remove the Mozilla VPN PPA From Ubuntu
Remove only the channel you actually used so your package sources stay clean.
# Stable channel
sudo add-apt-repository --remove ppa:mozillacorp/mozillavpn -y

# Testing channel
sudo add-apt-repository --remove ppa:okirby/mozilla-vpn-testing -y

# Nightly channel
sudo add-apt-repository --remove ppa:okirby/mozilla-vpn-nightly -y
After that, refresh the package metadata and confirm which package source still provides mozillavpn.
Verify Mozilla VPN Removal on Ubuntu
Run the policy check again after package and PPA removal.
sudo apt update
apt-cache policy mozillavpn
mozillavpn: Installed: (none) Candidate: (none) Version table:
That is the verified Ubuntu 24.04 result after the stable PPA is removed. On Ubuntu 22.04, the same command falls back to the older 2.2.0-1 package from jammy/universe, which still confirms the PPA itself is gone. On both supported releases, add-apt-repository --remove cleaned up the Mozilla VPN source file without leaving a disabled entry behind.
Mozilla VPN on Ubuntu FAQ
Not through a working install path at the moment. The official Mozilla PPA publishes Release metadata for resolute, but apt still cannot locate an installable mozillavpn package on Ubuntu 26.04. Ubuntu 24.04 and 22.04 remain the working PPA targets in this article.
No. Mozilla VPN is a paid subscription service. The Linux client is free to install, but you need an active Mozilla VPN subscription before you can sign in and connect.
Mozilla markets the service as Mozilla VPN. Some readers still search for Firefox VPN because Firefox and Mozilla share the same company, but on Ubuntu you install the mozillavpn desktop client rather than a separate Firefox-specific VPN package.
Linux Mint uses an Ubuntu base, but this article validates only Ubuntu 24.04 and 22.04. If you try the Mozilla VPN PPA on Mint, confirm the underlying Ubuntu base first and expect package behavior to follow that base rather than Mint branding.
Conclusion
Mozilla VPN is installed on Ubuntu from the channel you chose, and the desktop client is ready for sign-in from your graphical session. If you also want stronger browser-side privacy defaults, consider installing the Brave browser on Ubuntu. If this machine needs tighter host-level network rules as well, configure UFW on Ubuntu next.

Formatting tips for your comment
You can use basic HTML to format your comment. Useful tags currently allowed in published comments:
<code>command</code>command<strong>bold</strong><em>italic</em><blockquote>quote</blockquote>