Tor Browser is a beacon of privacy and anonymity in the digital age, offering users a secure way to browse the internet without revealing their identity or location. It routes your web traffic through multiple layers of encryption, making it extremely difficult for anyone to track your online activities. Ideal for journalists, activists, and anyone concerned with maintaining their digital privacy, Tor Browser is an essential tool in the fight against surveillance and data monitoring.
To understand why and how to install Tor Browser on Ubuntu, consider these key points:
- Privacy Protection: Tor Browser masks your IP address, making it nearly impossible for websites, advertisers, and cybercriminals to track your online movements.
- Access Restricted Content: Navigate the web freely, accessing content that may be restricted in your region without compromising your privacy.
- Enhanced Security: The Tor Browser focuses on security and protects against common web threats, offering a safer browsing experience.
- Open Source: As an open-source project, Tor Browser benefits from the scrutiny and contributions of a global community of developers, ensuring its security measures are robust and up-to-date.
- Easy to Update: Regular updates keep Tor Browser secure against the latest threats, with the community actively working to patch vulnerabilities.
- Free to Use: Tor Browser is free, making privacy accessible to everyone, regardless of their financial situation.
- Community Support: A vast network of volunteers and privacy advocates support and develop Tor, providing valuable resources and assistance.
Next, follow the technical steps to install Tor Browser on your Ubuntu system using the command-line terminal, utilizing one of three methods.
Method 1: Install Tor Browser via Ubuntu Default Repository
Update Ubuntu Before Tor Browser Installation
Before starting the installation process, it’s important to update your system to ensure all existing packages are current and avoid potential conflicts. To do this, open your terminal and run the following command:
sudo apt update && sudo apt upgradeInstall Tor Browser on Ubuntu via APT Command
The most straightforward and efficient method to install and maintain the Tor Browser up-to-date, as outlined in this tutorial, is to install it from the default repository of Ubuntu. To accomplish this, enter the following command in your terminal:
sudo apt install tor torbrowser-launcherUsing this method, you can confidently integrate your Tor Browser installation with your Ubuntu system for easy updates and management.
Method 2: Install Tor Browser via Flatpak and Flathub
The second good option for installing the Tor Browser on Ubuntu is to use the Flatpak package manager with Flathub. Many people prefer Flatpak to Snapcraft, which has already been installed on Ubuntu. Many other Linux distributions support Flatpak as the default third-party package manager for additional applications.
Note: If Flatpak isn’t installed on your system, please refer to “How to Install Flatpak on Ubuntu with the Flatpak Team Official LaunchPAD PPA.” This guide offers step-by-step instructions for acquiring the most recent supported version using the Flatpak Team Official LaunchPAD PPA.
Confirm Flathub is Enabled For Flatpak for Tor Browser
To begin, enable Flatpak on your system by executing the following command in your terminal:
sudo flatpak remote-add --if-not-exists flathub https://flathub.org/repo/flathub.flatpakrepoWith Flatpak and Flathub, you can access a vast library of applications, including the Tor Browser, and easily install and maintain them on your Ubuntu system.
Install Tor Browser on Ubuntu via Flatpak Command
With Flatpak enabled on Ubuntu, use the following command to install the Tor Browser:
flatpak install flathub com.github.micahflee.torbrowser-launcher -yMethod 3: Install Tor Browser via Archive Download Method
The final installation method involves downloading the latest archive from the Tor Browser’s official download page. This approach ensures that you receive the most recent version of the browser. However, remember that you may need to repeat this process for significant updates, although the browser should mostly self-update.
Download Tor Browser Archive
To begin, use the wget command to download the latest .tar.xz file, as shown below:
wget https://www.torproject.org/dist/torbrowser/{version}/tor-browser-linux64-{version}_ALL.tar.xzNote: The above command is for illustration purposes only. Make sure to verify and use the most recent version available.
Extract Tor Browser Archive
Once you’ve downloaded the installation archive, use the command below to unpack its contents:
tar -xvJf tor-browser-linux64-{version}_ALL.tar.xzRelocate Tor Browser Directory
Before registering the Tor Browser as a desktop application, we should transfer it to a better-designed directory for these applications. Specifically, /usr/local/share is the perfect spot, as it typically houses shared data from local, independent applications.
First, let’s transfer the tor-browser directory to /usr/local/share using this command:
sudo mv tor-browser /usr/local/share/Be aware that we’re employing sudo for this task because altering the contents of /usr/local/share usually demands root access.
Once you’ve relocated the tor-browser folder, access the new directory with the cd command:
cd /usr/local/share/tor-browserRegister Tor Browser Desktop Application
Now that we’re in the right folder, let’s set up the Tor Browser as a desktop app. Run the command below:
./start-tor-browser.desktop --register-appThis command produces a result that resembles the following:
Tor Browser has been registered as a desktop app for this user in ~/.local/share/applications/
Launch the Tor Browser via GUI or CLI Methods
With the Tor Browser installed on your system, there are several ways to launch it, depending on your chosen installation method.
CLI Methods to Launch Tor Browser
To launch the Tor Browser from the terminal, enter:
tor-browserTo start the Tor Browser from the terminal, use the following command:
flatpak run com.github.micahflee.torbrowser-launcherGUI Method to Launch Tor Browser
Alternatively, you can also access the Tor Browser through the applications menu:
Activities > Show Applications > Tor Browser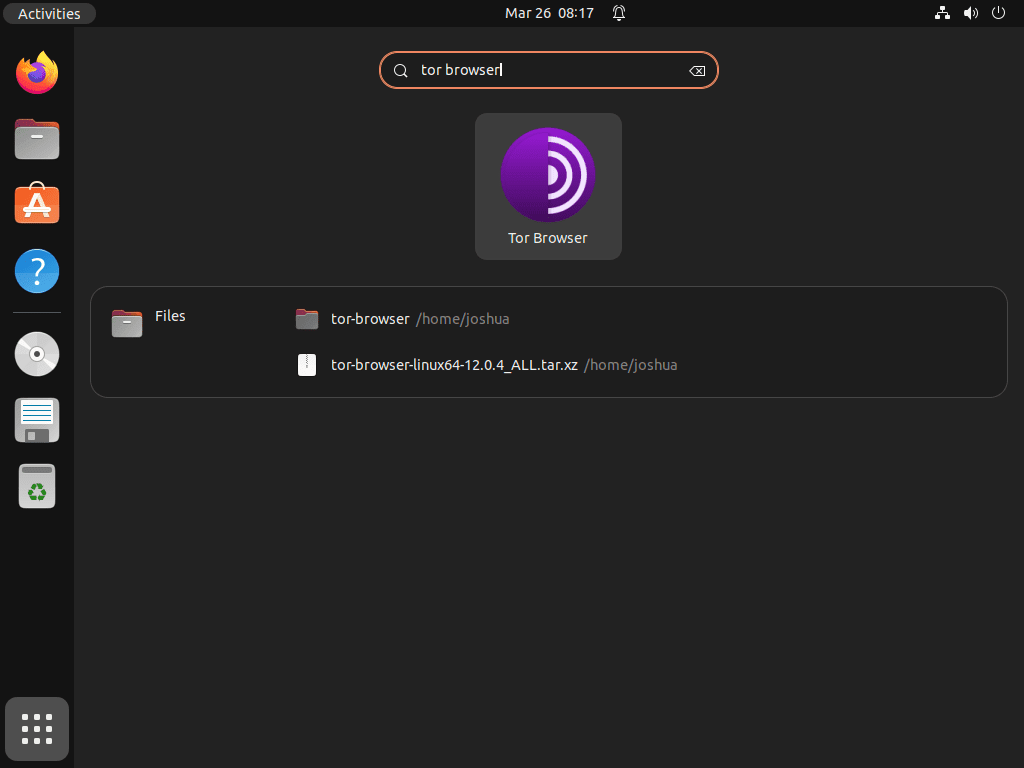
Example: First-Time Tor Browser Initial Connection Setup
Upon the initial launch, you will encounter a window with two buttons: “Connect” and “Configure Connection…”
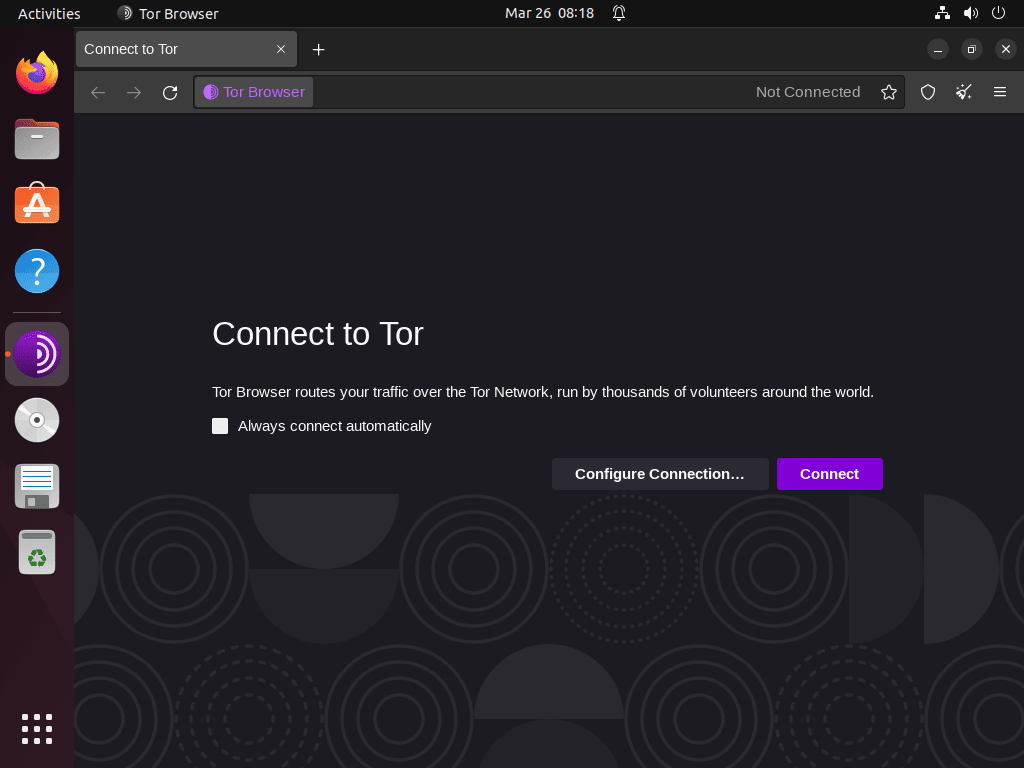
The majority of users will opt for the default “Connect” option. However, for those in countries with strict restrictions or seeking enhanced privacy, “Tor Network Settings” allows for proxy settings configuration. Additionally, Tor can set up bridges for users desiring better connections or experiencing difficulties accessing specific websites.
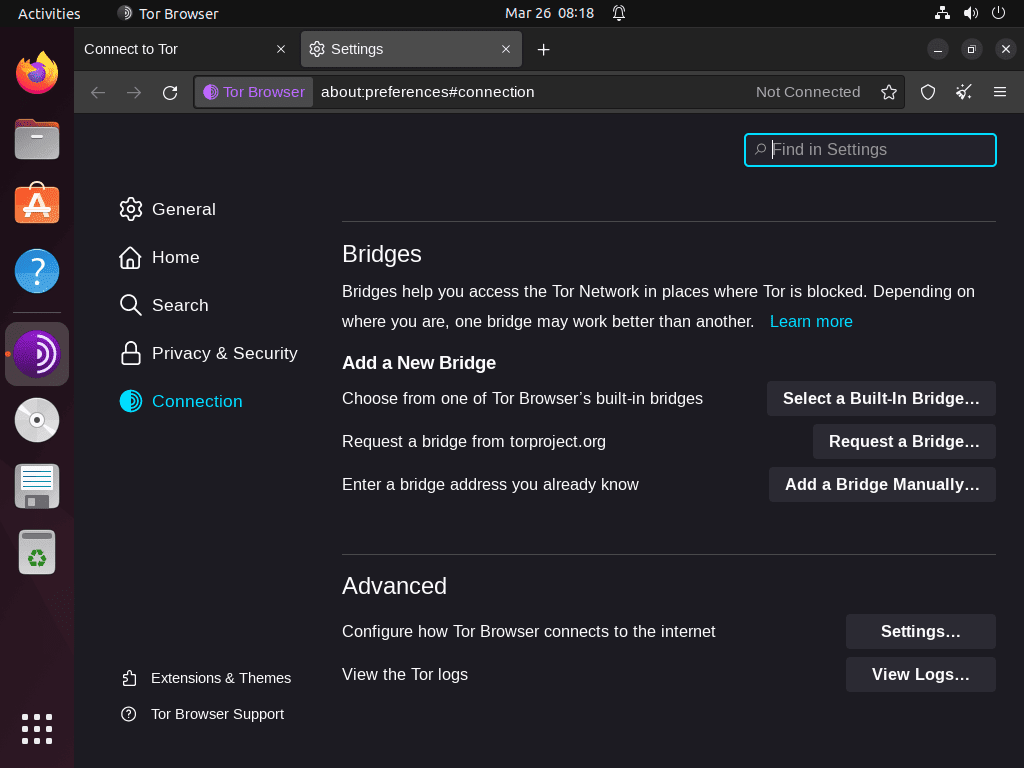
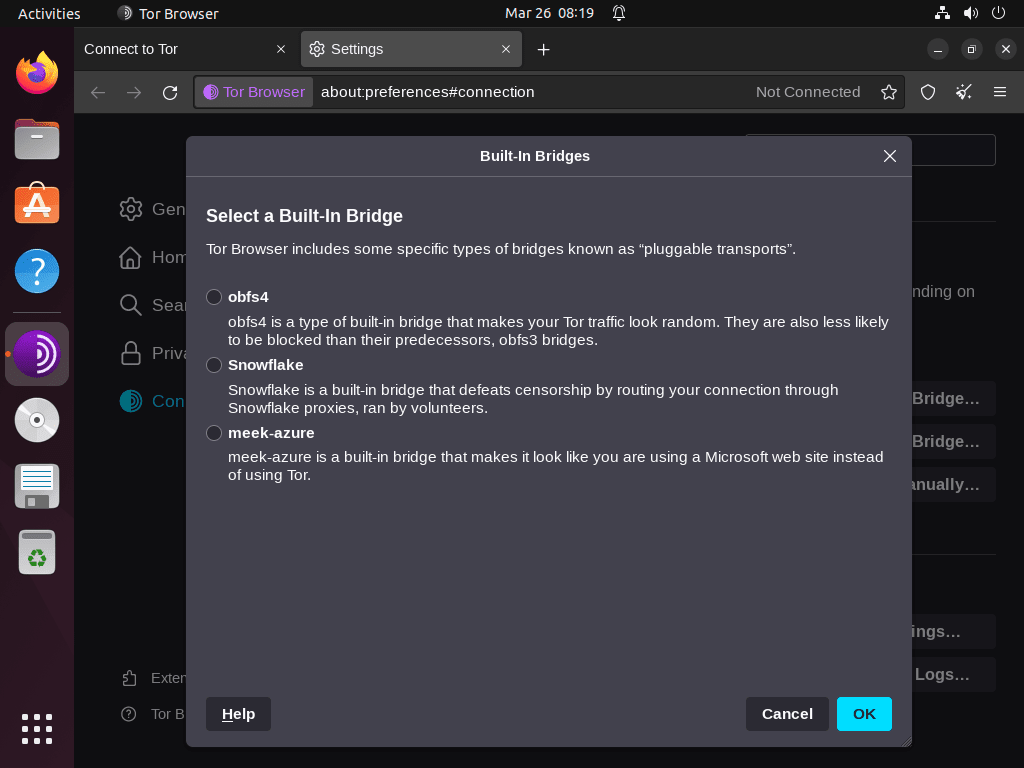
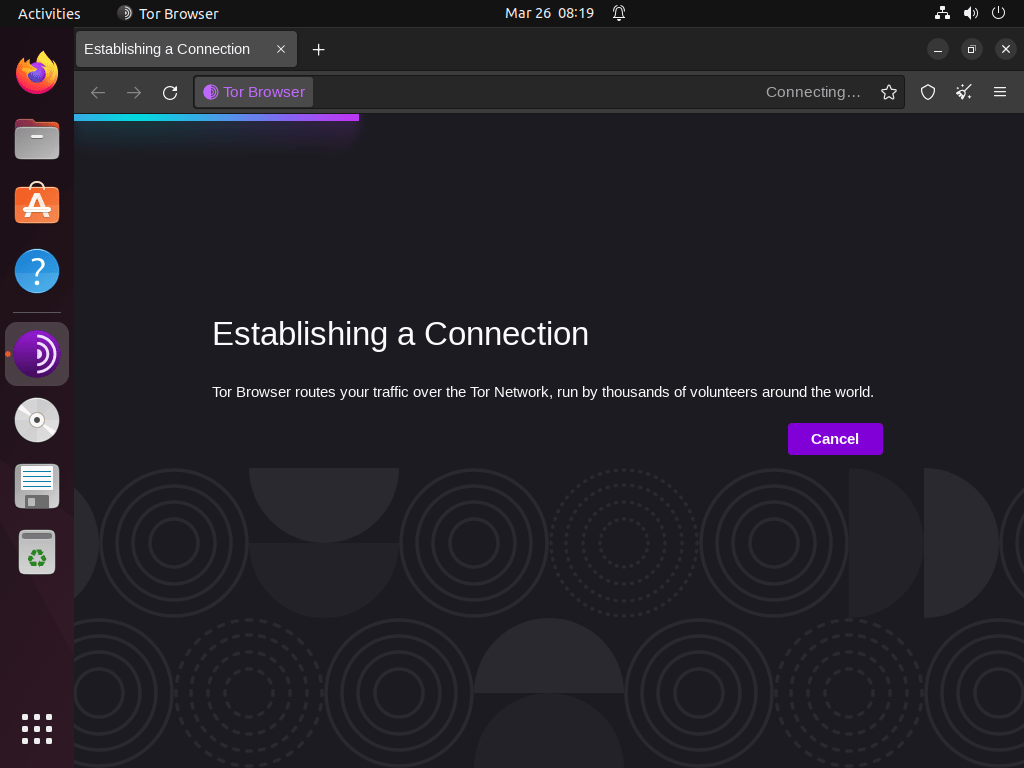
After clicking “Connect,” the connection process will take anywhere from 15 to 60 seconds, depending on your location and the destination you are connecting to.
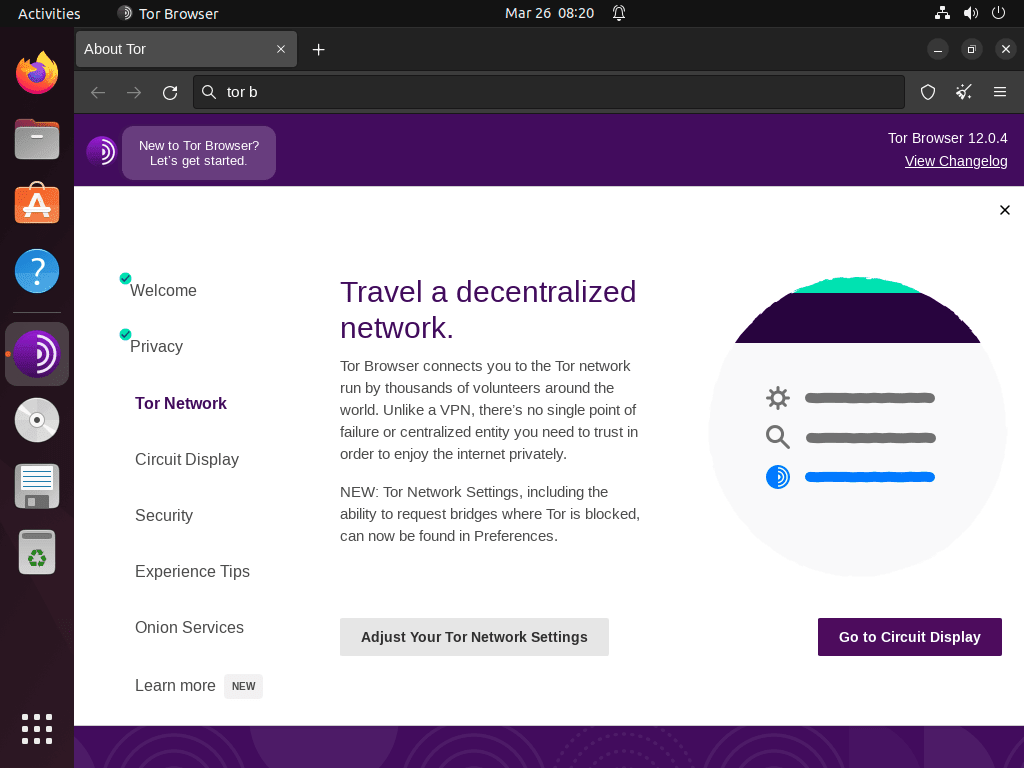
After connecting, you’ll land on Tor’s main page, which uses DuckDuckGo for searching.
Additional Tor Browser Commands
Update Tor Browser
The Tor Browser generally updates itself within the browser. However, for any additional updates, you can use the standard update command that corresponds to your installation method:
APT Tor Browser Update Command
sudo apt update && sudo apt upgradeFlatpak Tor Browser Update Command
flatpak updateRemove Tor Browser
If you no longer need the Tor Browser, use the appropriate command based on your original installation method:
APT Tor Browser Remove Command
sudo apt remove tor torbrowser-launcherFlatpak Tor Browser Remove Command
flatpak remove --delete-data com.github.micahflee.torbrowser-launcherConclusion
In wrapping up, this guide walked you through installing Tor Browser on Ubuntu, offering different methods to suit your preference. Whether you opted for the straightforward APT method, ventured into downloading directly from the archive, or explored the Flatpak option, you’re now equipped with a powerful tool for safeguarding your online privacy. My parting advice? Keep Tor Browser updated for the best security and don’t shy away from diving deeper into its features to maximize your anonymity online.


ubuntu
I have removed Tor because of unusual high cpu frequency.
After a new installation- which works fine- two of four cpus are running
with 100% while using bridges. It doesn’t stop if i shut up both bridges and
browser. I have to kill the process in htop
Appreciate the easy to follow instructions!
thanks for the clear and easy to understand tutorial!
Thank you for the feedback.