

OpenShot is a free, open-source video editor that makes video creation accessible to users of all skill levels. Whether you need to trim clips for social media, add transitions to home videos, or create professional presentations with motion graphics, OpenShot provides the tools without the steep learning curve of commercial alternatives. The editor supports a wide range of video, audio, and image formats, and includes features like keyframe animations, audio mixing, chroma-key (green screen) compositing, and slow-motion effects.
This guide walks you through installing OpenShot on Linux Mint using the default repository, the OpenShot developers’ PPA for newer versions, or Flatpak for sandboxed installation. By the end, you will have OpenShot running and ready for your first editing project, along with the knowledge to update or remove it later.
Choose Your OpenShot Installation Method
Linux Mint offers multiple ways to install OpenShot, each with different trade-offs between version freshness, stability, and system integration. The table below summarizes your options to help you choose the right approach for your needs.
| Method | Channel | Version | Updates | Best For |
|---|---|---|---|---|
| APT (Default Repository) | Ubuntu Universe | Distribution default | Automatic via apt upgrade | Most users who prefer stability and simplicity |
| APT (OpenShot PPA) | Stable PPA | Latest stable | Automatic via apt upgrade | Users who want the newest features |
| Flatpak | Flathub | Latest stable | Automatic via flatpak update | Users who prefer sandboxed applications |
For most users, the default APT method is recommended because it requires no additional setup and receives security updates through the standard system update process. If you want the latest OpenShot features, the PPA or Flatpak methods provide access to newer releases.
Method 1: Install OpenShot via APT
Update Linux Mint Before Installing OpenShot
Before installing any new software, update your package lists to ensure you are working with the latest available versions. Open a terminal from the applications menu and run the following command:
sudo apt updateThis command refreshes your local package index from the Linux Mint and Ubuntu repositories. After the update completes, upgrade any outdated packages to prevent dependency conflicts:
sudo apt upgradeWith your system current, you can proceed with OpenShot installation using either the default repository or a PPA.
Option 1: Install OpenShot from the Linux Mint Repository
The simplest approach is installing OpenShot from the default repository. This version is maintained by the Ubuntu packaging team and tested for compatibility with your system, making it the most reliable choice for most users.
Install OpenShot with the following command:
sudo apt install openshot-qtOnce the installation finishes, verify it by checking the installed version:
apt-cache policy openshot-qtYou should see output similar to the following, confirming the package source:
openshot-qt:
  Installed: 3.1.1+dfsg1-1
  Candidate: 3.1.1+dfsg1-1
  Version table:
 *** 3.1.1+dfsg1-1 500
        500 http://archive.ubuntu.com/ubuntu noble/universe amd64 Packages
        100 /var/lib/dpkg/status
The version number will differ depending on your Linux Mint release and whether you use the default repository. The repository version is tested for compatibility with your system, making it a reliable choice for most users.
Option 2: Install OpenShot via PPA
The OpenShot developers’ PPA provides newer versions than the default repository, including bug fixes and features that have not yet reached the Ubuntu archives.
Add the PPA to your system:
sudo add-apt-repository ppa:openshot.developers/ppa -yAfter adding the PPA, update your package lists to include the new packages:
sudo apt updateNext, install OpenShot from the PPA:
sudo apt install openshot-qtTo confirm the installation is using the PPA version rather than the repository default, check the package policy:
apt-cache policy openshot-qtThe output should show the PPA URL as the package source:
openshot-qt:
  Installed: 3.4.0+dfsg2+1744+202512180311~ubuntu22.04.1
  Candidate: 3.4.0+dfsg2+1744+202512180311~ubuntu22.04.1
  Version table:
 *** 3.4.0+dfsg2+1744+202512180311~ubuntu22.04.1 500
        500 https://ppa.launchpadcontent.net/openshot.developers/ppa/ubuntu jammy/main amd64 Packages
        100 /var/lib/dpkg/status
     2.5.1+dfsg1-2ubuntu0.1 500
        500 http://archive.ubuntu.com/ubuntu jammy-updates/universe amd64 Packages
Method 2: Install OpenShot via Flatpak
Flatpak provides a sandboxed installation that runs independently of your system’s libraries, which can improve stability and security. This method works on all supported Linux Mint versions and provides access to the latest OpenShot release regardless of what is available in your distribution’s repository.
Verify Flathub is Enabled
Linux Mint comes with Flatpak pre-installed and the Flathub repository already configured, so you typically do not need to add it manually. However, if you have a minimal or customized installation, you can ensure Flathub is enabled by running:
sudo flatpak remote-add --if-not-exists flathub https://flathub.org/repo/flathub.flatpakrepoThe --if-not-exists flag prevents errors if Flathub is already configured, making this command safe to run in any case.
Install OpenShot from Flathub
With Flathub available, install OpenShot using the following command:
sudo flatpak install flathub org.openshot.OpenShot -yFlatpak will download the application and any required runtime dependencies. This process may take a few minutes on the first installation, as the shared runtime (approximately 1 GB) needs to be downloaded if not already present.
Once complete, verify the installation by listing installed Flatpak applications:
flatpak list --app | grep -i openshotYou should see output confirming the installation:
OpenShot Video Editor org.openshot.OpenShot 3.3.0 stable flathub
Launch OpenShot
After installation, you can launch OpenShot using either the graphical interface or the command line, depending on your preference and how you installed it.
Launch from the Applications Menu
The easiest way to start OpenShot is through your desktop environment’s application menu:
Cinnamon (Linux Mint Default):
- Click the Menu button in the bottom-left corner of the screen (or press the Super key).
- Type “OpenShot” in the search box, or browse to the Sound & Video category.
- Click “OpenShot Video Editor” to launch the application.
MATE, Xfce, and KDE:
- Open your panel menu or application launcher.
- Navigate to the Multimedia or Sound & Video category, or use the search function.
- Click “OpenShot Video Editor” to launch the application.
Launch from the Terminal
You can also start OpenShot from a terminal, which is useful for troubleshooting or scripting. The command depends on your installation method:
For APT installations:
openshot-qtFor Flatpak installations:
flatpak run org.openshot.OpenShotLaunching from the terminal displays any warning or error messages that might not appear when starting from the menu, which can be helpful when diagnosing issues.
Manage OpenShot
Update OpenShot
Keeping OpenShot updated ensures you have the latest features, performance improvements, and security fixes. The update process depends on your installation method.
For APT installations (repository or PPA):
OpenShot updates are included in normal system updates. Run the following to check for and install updates:
sudo apt update && sudo apt upgradeIf you want to update only OpenShot without upgrading other packages, use:
sudo apt install --only-upgrade openshot-qtFor Flatpak installations:
Flatpak applications update independently from system packages. Check for and install Flatpak updates with:
sudo flatpak updateLinux Mint’s Update Manager also handles Flatpak updates automatically if you have enabled this option in its settings. For more details on managing Flatpak applications, see our guide on upgrading Flatpak on Linux Mint.
Remove OpenShot
If you no longer need OpenShot, you can remove it along with its associated configuration. The removal process differs based on how you installed it.
Remove APT Installation
To remove OpenShot installed via APT (either from the repository or a PPA), run:
sudo apt remove openshot-qtAfter removing the package, clean up any orphaned dependencies that were installed automatically:
sudo apt autoremoveIf you installed from the PPA and no longer want to receive updates from it, remove the repository as well:
sudo add-apt-repository --remove ppa:openshot.developers/ppa -yAfter removing the PPA, refresh your package lists to ensure the system no longer references the removed source:
sudo apt updateRemove Flatpak Installation
The
--delete-dataflag in the following command permanently removes all OpenShot user data stored by Flatpak, including project settings, recent file history, and cached thumbnails. If you have active projects you want to preserve, export them first before running this command.
To uninstall the Flatpak version of OpenShot and delete its sandboxed data:
sudo flatpak uninstall --delete-data org.openshot.OpenShot -yIf you prefer to keep the application data in case you reinstall later, omit the --delete-data flag:
sudo flatpak uninstall org.openshot.OpenShot -yTroubleshoot Common Issues
OpenShot Crashes on Startup
If OpenShot crashes immediately after launching, the issue is often related to graphics drivers or corrupted user configuration. First, try launching from the terminal to see any error messages:
openshot-qtIf the output mentions OpenGL or graphics-related errors, try resetting OpenShot’s configuration by removing its configuration directory:
mv ~/.openshot_qt ~/.openshot_qt.backupThis renames the existing configuration so OpenShot creates fresh settings on the next launch. If the problem persists, your graphics drivers may need updating. See our guide on installing NVIDIA drivers on Linux Mint if you have an NVIDIA graphics card.
Flatpak Version Cannot Access Files
Flatpak applications run in a sandbox that limits file system access for security. If OpenShot cannot open video files from certain locations, you may need to grant additional permissions.
To allow access to your entire home directory:
flatpak override --user --filesystem=home org.openshot.OpenShotFor external drives mounted under /media or /mnt:
flatpak override --user --filesystem=/media org.openshot.OpenShot
flatpak override --user --filesystem=/mnt org.openshot.OpenShot
Alternatively, you can manage Flatpak permissions graphically using Flatseal, which provides a user-friendly interface for adjusting application sandbox settings.
Conclusion
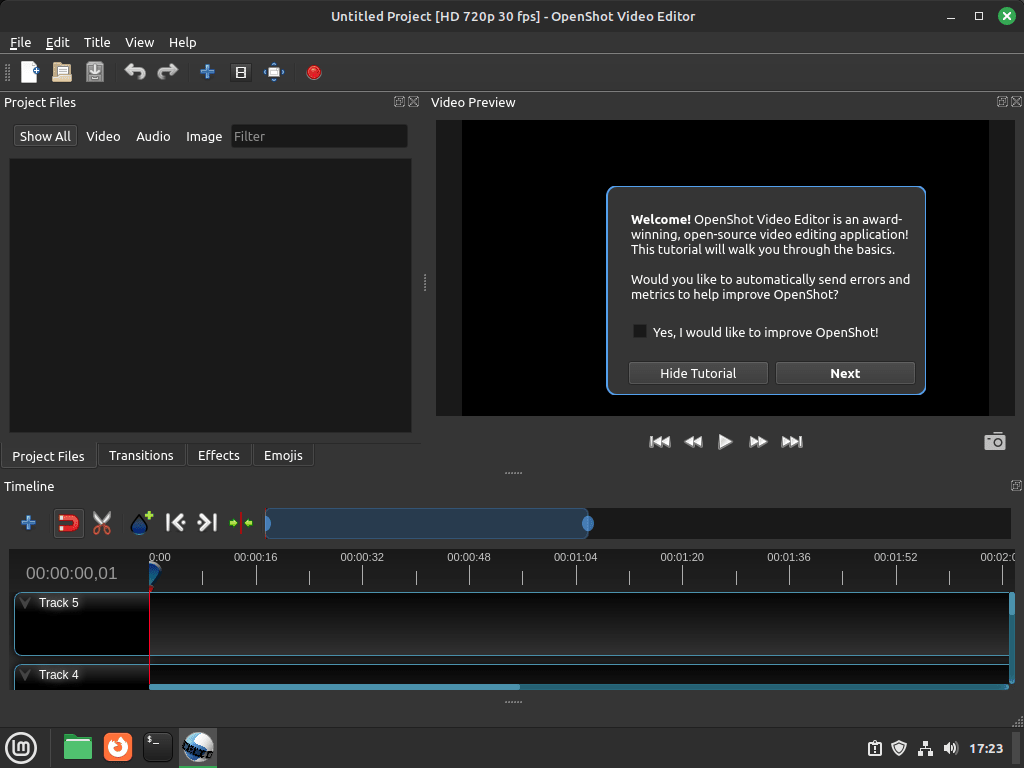
You now have OpenShot Video Editor installed on Linux Mint, ready for creating and editing video projects. Whether you chose the repository version for simplicity, the PPA for the latest features, or Flatpak for sandboxed installation, OpenShot provides the same intuitive editing experience across all installation methods. Check for updates periodically to benefit from new features and bug fixes, and consider exploring OpenShot’s built-in tutorial when you first launch the application to learn the interface quickly. If you plan to share your finished videos, you might also explore setting up a Jellyfin media server on Linux Mint for streaming to other devices on your network.

Formatting tips for your comment
You can use basic HTML to format your comment. Useful tags currently allowed:
<code>command</code>command<strong>bold</strong><em>italic</em><blockquote>quote</blockquote>