
Resume memory, subtitle timing, and per-file audio settings are the reasons many people stick with SMPlayer once their library gets messy. Those same strengths are why many readers install SMPlayer on Fedora from the default repositories or from Flathub instead of chasing a separate third-party repository, while still using it as a front-end for both MPV and MPlayer.
Most Fedora desktops should start with the native DNF package. Flatpak is useful if you prefer Flathub updates or want SMPlayer isolated from the rest of the system, and the extra codec steps only matter when Fedora’s patent-limited multimedia stack still blocks H.264, H.265, or disc playback.
Install SMPlayer on Fedora
SMPlayer is available directly from Fedora’s default repositories, and a Flatpak build is available on Flathub. Use the Fedora package when you want the simplest setup, or use Flatpak when you want a separate app lifecycle.
Update Fedora before installing SMPlayer
Refresh package metadata and install any pending updates first so SMPlayer and its dependencies come from the current Fedora repositories:
sudo dnf upgrade --refreshThis guide uses
sudofor commands that need root privileges. If your account is not in the sudoers file yet, follow the guide on how to add a user to sudoers on Fedora.
Install SMPlayer with DNF
The Fedora package gives you the most direct integration with the desktop, file associations, and normal system updates:
sudo dnf install smplayerVerify that Fedora installed SMPlayer correctly:
rpm -q smplayersmplayer-25.6.0-2.fc43.x86_64
Install SMPlayer with Flatpak
Use the Flatpak build when you want SMPlayer from Flathub with a sandboxed runtime. These commands keep everything at system scope so the remote, install, updates, and removal steps all match.
sudo flatpak remote-add --if-not-exists --system flathub https://flathub.org/repo/flathub.flatpakrepoNo output usually means the Flathub remote was added successfully. The --if-not-exists flag leaves an existing Flathub setup unchanged.
sudo flatpak install --system flathub info.smplayer.SMPlayerAfter the install finishes, confirm that the system Flatpak build is present:
flatpak list --system | grep -i '^SMPlayer'SMPlayer info.smplayer.SMPlayer 25.6.0 stable
Compare SMPlayer Install Methods on Fedora
Both install paths get you the same player, but they fit different maintenance styles.
| Method | Channel | Updates | Best For |
|---|---|---|---|
| DNF | Fedora repositories | With normal system updates | Most users who want the simplest Fedora-native setup |
| Flatpak | Flathub | With Flatpak updates | Users who prefer sandboxing or a separate app lifecycle |
The Fedora package is the better default because it is already in the standard repositories and needs less maintenance. Choose Flatpak when you already manage desktop apps through Flathub or want stronger isolation.
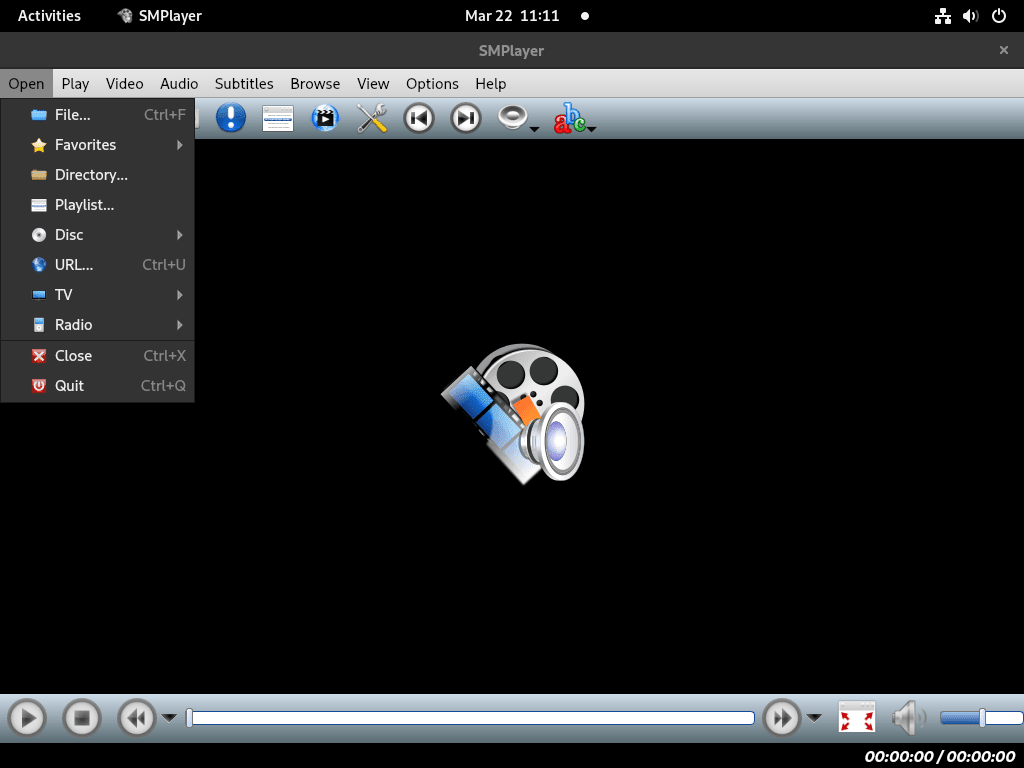
Launch SMPlayer on Fedora
After installation, you can open SMPlayer from a terminal or from Fedora Activities.
Launch SMPlayer from the terminal
Search for Terminal in Activities if you want a shell, then use the command that matches your install method:
smplayerFor the Flatpak build, run:
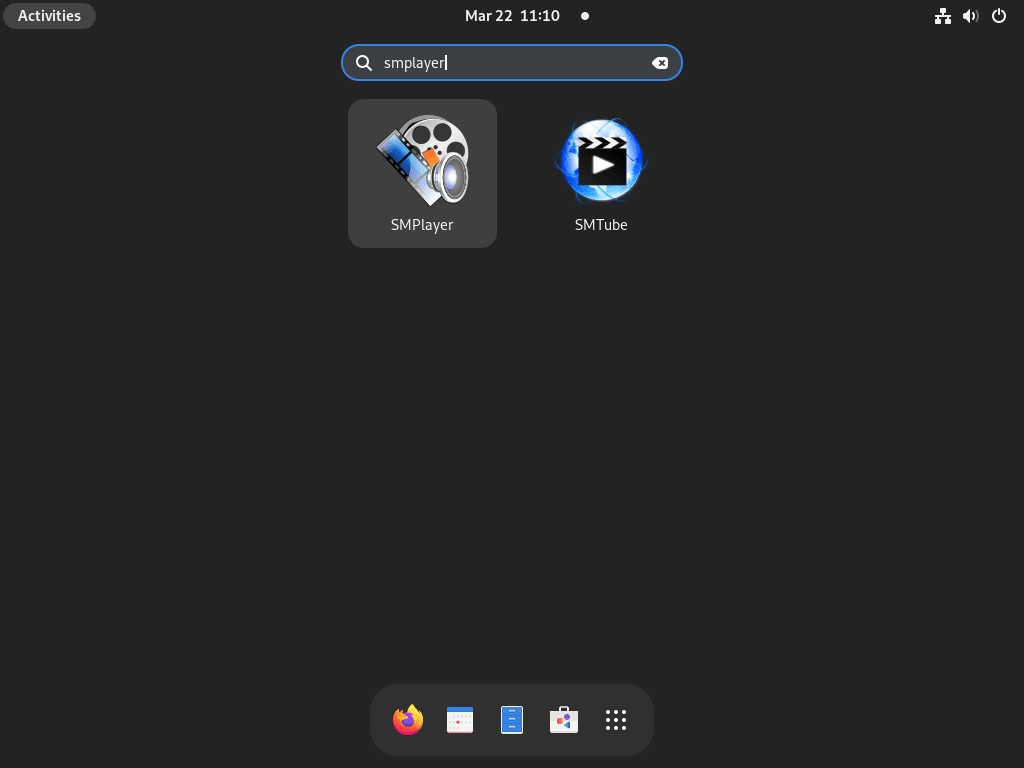
flatpak run info.smplayer.SMPlayerLaunch SMPlayer from Fedora Activities
Open Activities, search for SMPlayer, then launch it from the search results or the application grid.
- Open Activities.
- Type SMPlayer in the search bar.
- Click the SMPlayer icon to start the player.
Update SMPlayer on Fedora
Update SMPlayer with DNF
Use DNF when you only want to refresh the Fedora package:
sudo dnf upgrade smplayerUpdating and loading repositories: Repositories loaded. Nothing to do.
If you prefer to refresh everything on the system at the same time, run:
sudo dnf upgrade --refreshUpdate the SMPlayer Flatpak build
For the system-scoped Flatpak install, update SMPlayer with:
sudo flatpak update --system info.smplayer.SMPlayerLooking for updates... Nothing to do.
Remove SMPlayer from Fedora
Use the removal command that matches the way you installed the player.
Remove the SMPlayer DNF package
The Fedora package removes cleanly with DNF:
sudo dnf remove smplayerRemoving: smplayer x86_64 25.6.0-2.fc43 fedora 15.7 MiB Transaction Summary: Removing: 16 packages Complete!
Confirm that the package is gone:
rpm -q smplayerpackage smplayer is not installed
Remove the SMPlayer Flatpak build
Remove the system Flatpak build with:
sudo flatpak uninstall --system info.smplayer.SMPlayerUninstalling... Uninstall complete.
Verify that the Flatpak app is no longer installed:
flatpak info --system info.smplayer.SMPlayererror: info.smplayer.SMPlayer/*unspecified*/*unspecified* not installed
Remove SMPlayer user data on Fedora
Removing these directories permanently deletes SMPlayer preferences, playlists, watch history, and cached data. Keep them if you plan to reinstall the player later.
For the DNF package, remove the local configuration and cache directories with:
rm -rf ~/.config/smplayer ~/.cache/smplayerFor the Flatpak build, remove the sandboxed application data with:
rm -rf ~/.var/app/info.smplayer.SMPlayerTroubleshoot SMPlayer on Fedora
Most playback problems on Fedora come from the display backend, the codec stack, or extra helpers such as yt-dlp. Start with the symptom that matches what SMPlayer is doing, then work through the related fix.
Fix SMPlayer black screen on Fedora
If audio plays but the video area stays black, check which display session your local desktop is using before changing the output driver in SMPlayer.
Run this from a terminal inside your desktop session, not from SSH:
echo $XDG_SESSION_TYPEwayland
Fedora Workstation usually reports wayland. Some other desktop environments can still report x11.
Open Options -> Preferences -> General -> Video, then try the driver that matches your session:
- Wayland: Try
gpu-nextoropengl. - X11: Try
xvoropengl. - Fallback: Use
x11for basic software rendering.
If the same file still fails elsewhere, you can also install VLC on Fedora to rule out file corruption or a damaged local media file.
Enable H.265 and HEVC playback for SMPlayer on Fedora
The Fedora package installs SMPlayer itself, but Fedora still ships the patent-limited ffmpeg-free stack by default. If H.264, H.265, AAC, or E-AC3 files refuse to play, add RPM Fusion and replace the limited FFmpeg build.
If RPM Fusion is not enabled yet, start with the standard Free and Nonfree repositories. The $(rpm -E %fedora) expression expands to your Fedora release number automatically. For the full walkthrough, see install RPM Fusion on Fedora.
sudo dnf install https://mirrors.rpmfusion.org/free/fedora/rpmfusion-free-release-$(rpm -E %fedora).noarch.rpm https://mirrors.rpmfusion.org/nonfree/fedora/rpmfusion-nonfree-release-$(rpm -E %fedora).noarch.rpmSwap Fedora’s limited FFmpeg build for the full RPM Fusion package:
sudo dnf swap ffmpeg-free ffmpeg --allowerasingIf hardware decoding still fails on AMD or Intel graphics, add RPM Fusion’s VA-API package:
sudo dnf install mesa-va-drivers-freeworldVerify that the full FFmpeg package is installed:
rpm -q ffmpegffmpeg-7.1.2-7.fc43.x86_64
The Flatpak build ships with its own runtime, so codec failures usually affect the Fedora DNF package more often than the Flathub build.
Fix SMPlayer YouTube playback on Fedora
The Fedora package relies on yt-dlp for YouTube playback. If URLs stop opening or SMPlayer reports extractor errors, make sure the helper package is still installed and current.
rpm -q yt-dlpyt-dlp-2026.02.21-1.fc43.noarch
If the package is missing or older than the current Fedora build, install or refresh it with:
sudo dnf install yt-dlpThen confirm that the command is available from your shell:
yt-dlp --version2026.02.21
Restart SMPlayer after updating yt-dlp so the player picks up the refreshed helper binary.
Fix DVD or Blu-ray playback in SMPlayer on Fedora
Commercial DVDs and Blu-ray discs need extra libraries for CSS, AACS, and BD+ handling. On Fedora, those packages come from RPM Fusion Free and RPM Fusion Free tainted.
If RPM Fusion Free is not enabled yet, add it first:
sudo dnf install https://mirrors.rpmfusion.org/free/fedora/rpmfusion-free-release-$(rpm -E %fedora).noarch.rpmEnable the tainted repository that provides libdvdcss:
sudo dnf install rpmfusion-free-release-taintedInstall the optical-disc libraries:
sudo dnf install libdvdcss libaacs libbdplus libblurayVerify that all four packages are present:
rpm -q libdvdcss libaacs libbdplus libbluraylibdvdcss-1.5.0-1.fc43.x86_64 libaacs-0.11.1-7.fc43.x86_64 libbdplus-0.2.0-7.fc43.x86_64 libbluray-1.3.4-11.fc43.x86_64
After the packages are in place, open Open -> Disc in SMPlayer and try the drive again. Some Blu-ray titles still need an AACS key database, so encrypted discs can require one extra step beyond the packages above.
Frequently Asked Questions
Yes. Fedora’s default repositories already carry smplayer, so the native install only needs sudo dnf install smplayer. You only need the Flathub route if you prefer the Flatpak build.
Those commands add Flathub and install SMPlayer as a system Flatpak, which makes the app available to every local user. System-scope Flatpak operations need elevated privileges, so the commands use sudo consistently for add, install, update, and removal.
SMPlayer can act as a front-end for both, but Fedora’s smplayer package pulls in mpv as the playback backend dependency. You still launch and control playback from the SMPlayer interface.
Conclusion
SMPlayer now has a clean install path on Fedora whether you want the native DNF package or the Flathub build. Start with the Fedora package for the simplest setup, then add codec or disc support only when a file format actually needs it. If you want more media tools next, install FFmpeg on Fedora or install OBS Studio on Fedora.

Formatting tips for your comment
You can use basic HTML to format your comment. Useful tags currently allowed in published comments:
<code>command</code>command<strong>bold</strong><em>italic</em><blockquote>quote</blockquote>