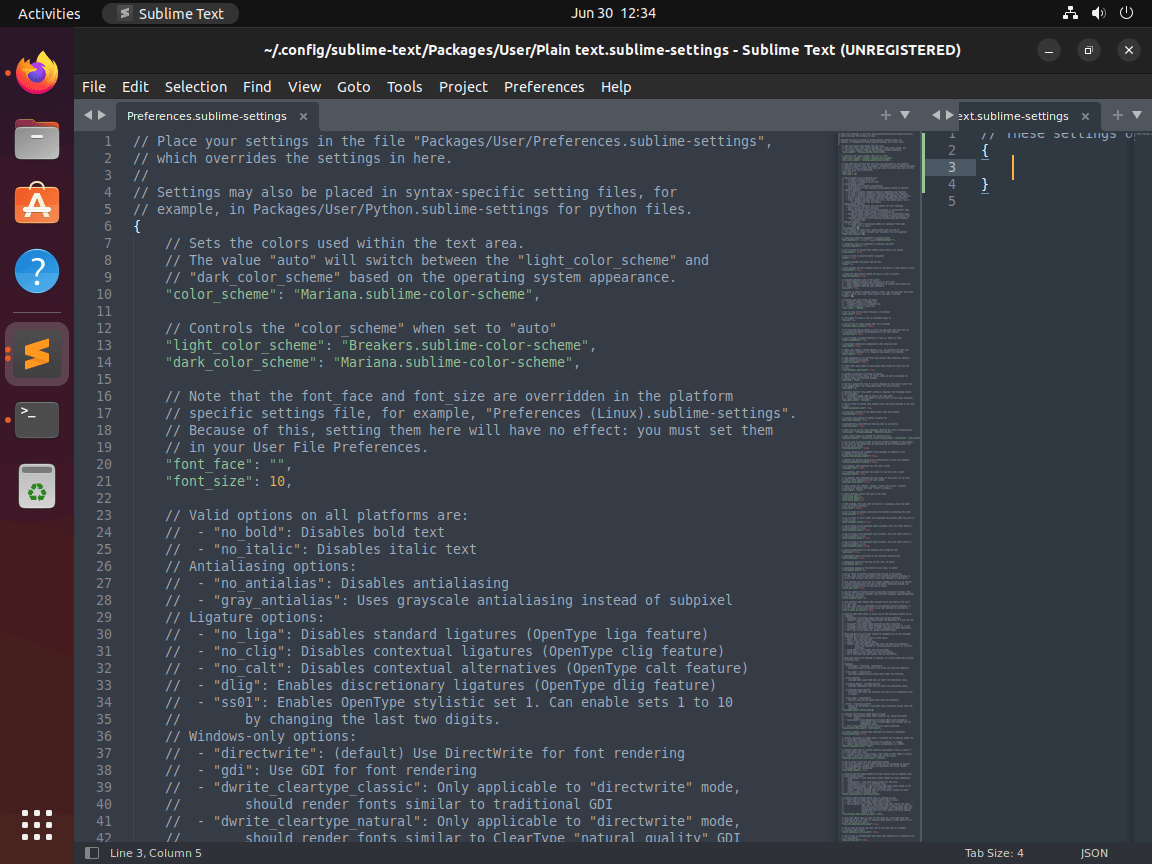
Sublime Text is a fast, lightweight text editor renowned for its speed, flexibility, and powerful feature set. Whether you write code, edit configuration files, or draft documentation, Sublime Text provides a responsive editing experience with minimal resource usage. Its extensive plugin ecosystem through Package Control, combined with customizable themes and key bindings, makes it a versatile choice for developers, system administrators, and writers looking for a distraction-free editing environment.
By the end of this guide, you will have Sublime Text installed on your Ubuntu system using your preferred method, with the knowledge to keep it updated and remove it cleanly if needed. If you are exploring text editor options, you might also consider Visual Studio Code for a feature-rich IDE experience, Neovim for terminal-based editing, or Kate for a KDE-native alternative.
Choose Your Sublime Text Installation Method
Ubuntu offers several ways to install Sublime Text, each with different trade-offs between convenience and control. The table below summarizes your options to help you decide which approach fits your workflow.
| Method | Channel | Version | Updates | Best For |
|---|---|---|---|---|
| Extrepo (Recommended) | Official Vendor Repo | Latest stable | Automatic via apt upgrade | Most users who want the latest version with simple setup |
| Manual Vendor Repo | Official Vendor Repo | Latest stable | Automatic via apt upgrade | Users who prefer explicit control over repository configuration |
| Snap | Snapcraft | Latest stable | Automatic via snap refresh | Users who prefer containerized applications |
| Flatpak | Flathub | Latest stable | Automatic via flatpak update | Users already using Flatpak for other applications |
This guide covers Ubuntu 22.04 LTS, 24.04 LTS, and 26.04 LTS installations. The Sublime Text repository uses a universal package format that works across all current Ubuntu releases. Commands shown work identically on all supported LTS versions.
For most users, the Extrepo method is recommended because it simplifies repository management while still providing the latest stable version directly from Sublime HQ. If you prefer full control over the repository configuration, the manual method achieves the same result with explicit steps.
Update Ubuntu Before Installation
Before installing new software, update your system’s package index and upgrade existing packages. This step ensures you have the latest security patches and reduces potential dependency conflicts during installation.
sudo apt update && sudo apt upgradeAfter the upgrade completes, you can proceed with your preferred installation method below.
Method 1: Install Sublime Text with Extrepo (Recommended)
Extrepo is a tool that simplifies managing external repositories on Debian-based systems. It handles GPG key imports, repository configuration, and cleanup automatically. As a result, extrepo is the most straightforward way to install vendor software like Sublime Text.
Install Extrepo
First, install the extrepo package if it is not already present on your system:
sudo apt install extrepo -yEnable Non-Free Repositories in Extrepo
Because Sublime Text is proprietary software, its repository is classified as non-free in extrepo’s policy system. By default, extrepo only enables main (DFSG-free) repositories. To enable Sublime Text’s repository, uncomment the non-free policy in the configuration file:
sudo sed -i 's/# - non-free/- non-free/' /etc/extrepo/config.yamlSpecifically, this command edits the extrepo configuration file in place, enabling repositories that contain non-free software. Alternatively, you can manually edit /etc/extrepo/config.yaml and uncomment the - non-free line under the policies section.
Enable the Sublime Text Repository
With the non-free policy enabled, activate the Sublime Text stable repository:
sudo extrepo enable sublime_stableAs a result, extrepo automatically downloads the GPG signing key and creates a DEB822-format .sources file at /etc/apt/sources.list.d/extrepo_sublime_stable.sources.
The Sublime Text repository also includes Sublime Merge, the Git client from the same developers. After enabling the repository, you can install either or both applications.
Install Sublime Text
Next, update the package index to include the newly added repository, then install Sublime Text:
sudo apt update
sudo apt install sublime-text
Once the installation finishes, verify it by checking the installed package version:
dpkg -s sublime-text | grep -E 'Status|Version'The output below confirms a successful installation:
Status: install ok installed
Version: 4200
Method 2: Install Sublime Text with Manual Repository Setup
If you prefer explicit control over repository configuration or need to troubleshoot the setup process, you can add the Sublime Text repository manually. While this method requires more steps than extrepo, it achieves the same result with full visibility into the configuration process.
Install Prerequisites
First, install the packages needed to download and verify the GPG key:
sudo apt install curl gpg ca-certificates -yIn particular, these packages provide curl for downloading the key, gpg for converting the key format, and ca-certificates for HTTPS verification.
Import the Sublime Text GPG Key
Next, download and convert the Sublime HQ signing key to the binary format required by APT:
curl -fsSL https://download.sublimetext.com/sublimehq-pub.gpg | sudo gpg --dearmor -o /usr/share/keyrings/sublimehq-pub.gpgThis command downloads the ASCII-armored GPG key, converts it to binary format using gpg --dearmor, and saves it to the system keyrings directory. The -fsSL flags tell curl to fail silently on errors, show no progress meter, and follow redirects.
Add the Sublime Text Repository
Now create the repository source file using the modern DEB822 format. This format is more readable and less error-prone than the legacy single-line format:
cat <<EOF | sudo tee /etc/apt/sources.list.d/sublime-text.sources
Types: deb
URIs: https://download.sublimetext.com/
Suites: apt/stable/
Signed-By: /usr/share/keyrings/sublimehq-pub.gpg
EOF
In effect, this creates a DEB822-format source file that points to the stable Sublime Text repository. The Signed-By field ensures only packages signed with the official Sublime HQ key are accepted.
If you prefer development builds with the latest features and bug fixes, replace
apt/stable/withapt/dev/in the Suites field. Development builds may contain experimental features and are updated more frequently.
Install Sublime Text
Finally, update the package index to include the new repository, then install Sublime Text:
sudo apt update
sudo apt install sublime-text
After the installation completes, verify it by checking the package status:
dpkg -s sublime-text | grep -E 'Status|Version'Status: install ok installed Version: 4200
Method 3: Install Sublime Text with Snap
Snap provides a containerized installation that bundles all dependencies with the application. This method is useful if you prefer application isolation or want automatic background updates.
Ubuntu includes Snap by default on standard desktop and server installations. If Snap is missing (minimal, WSL, or container environments), install it with sudo apt install snapd.
To proceed, install Sublime Text from the Snap Store:
sudo snap install sublime-text --classicImportantly, the --classic flag grants the application full access to your filesystem, which is necessary for a text editor to function properly. Without this flag, Sublime Text would be restricted to a sandboxed environment and unable to open files outside its container.
Once installation completes, verify it with:
snap list sublime-textThe Snap version of Sublime Text is maintained by the Snapcrafters community, not directly by Sublime HQ. While it tracks the official releases, there may be a slight delay compared to the vendor repository.
Method 4: Install Sublime Text with Flatpak
Flatpak offers another containerized installation option with its own sandboxing model. If you already use Flatpak for other applications, this method keeps your software management consistent across your system.
If Flatpak is not installed on your system, set it up first by following our Flatpak installation guide for Ubuntu.
Once Flatpak and the Flathub repository are configured, install Sublime Text:
sudo flatpak install flathub com.sublimetext.three -yAfter installation, verify it by listing your Flatpak applications:
flatpak list | grep -i sublimeThe Flathub version of Sublime Text currently uses an older runtime, which may result in compatibility notices during installation. The application itself functions normally, but consider using the vendor repository or Snap if you prefer a more current runtime environment.
Launch Sublime Text
Launch from Terminal
After installation, you can open Sublime Text directly from the terminal. This is especially useful when you want to open a specific file or directory:
sublYou can also open a specific file directly:
subl /path/to/file.txtSimilarly, you can open the current directory as a project:
subl .Launch from Applications Menu
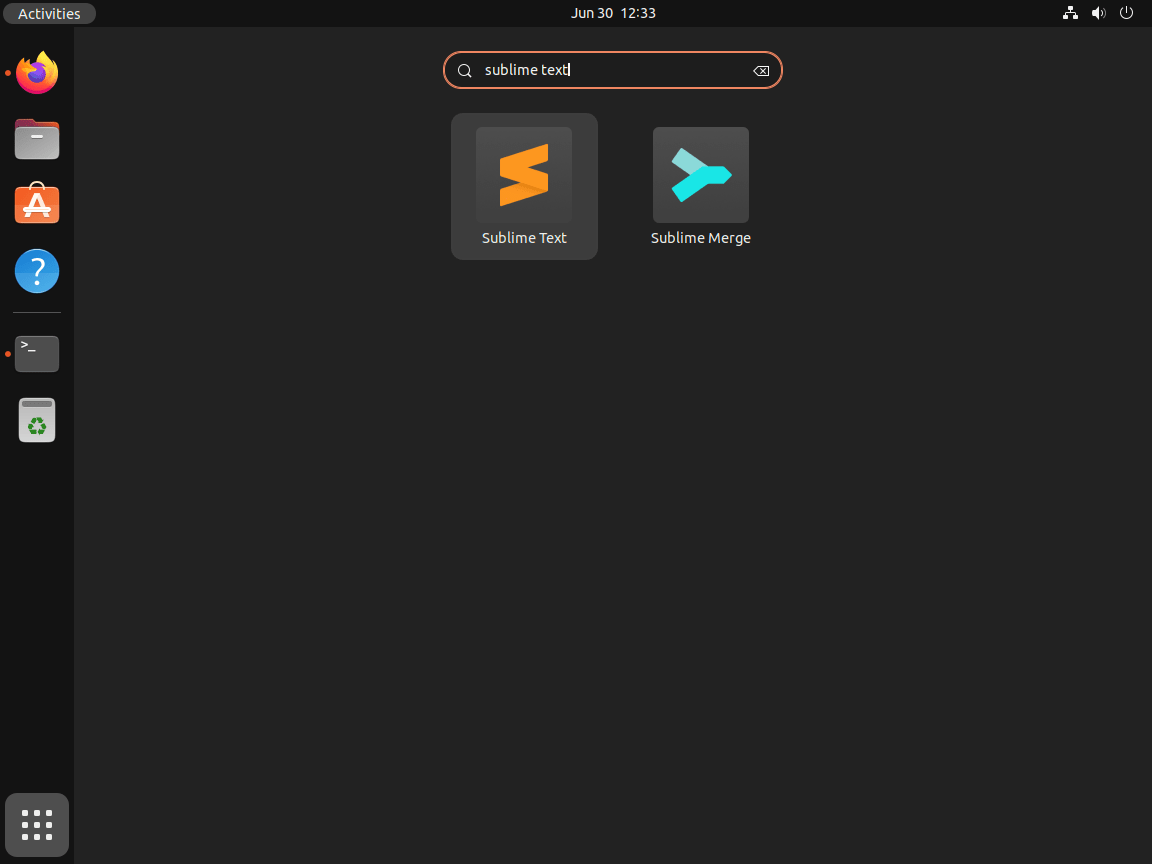
Alternatively, for desktop users, Sublime Text appears in your application menu after installation. Search for “Sublime Text” in your Activities overview or application launcher, then click the icon to start the editor.


Update Sublime Text
Keeping Sublime Text updated ensures you have the latest features, performance improvements, and security fixes. Consequently, you should periodically check for updates based on your installation method.
Update APT Installation (Extrepo or Manual)
If you installed Sublime Text using extrepo or the manual repository method, updates arrive through the standard APT upgrade process:
sudo apt update
sudo apt upgrade sublime-text
Alternatively, to update only Sublime Text without upgrading other packages, use:
sudo apt install --only-upgrade sublime-textUpdate Snap Installation
Snap applications typically update automatically in the background. However, to manually trigger an update:
sudo snap refresh sublime-textUpdate Flatpak Installation
Similarly, update the Flatpak version with:
sudo flatpak update com.sublimetext.threeRemove Sublime Text
If you no longer need Sublime Text, follow the removal instructions for your installation method below.
Remove APT Installation (Extrepo Method)
If you installed via extrepo, uninstall the package and disable the repository:
sudo apt remove sublime-text
sudo apt autoremove
sudo extrepo disable sublime_stable
Notably, the extrepo disable command adds Enabled: no to the repository file, preventing future updates. If you want to completely remove the repository file and GPG key:
sudo rm /etc/apt/sources.list.d/extrepo_sublime_stable.sources
sudo rm /var/lib/extrepo/keys/sublime_stable.asc
Remove APT Installation (Manual Method)
For the manual repository method, remove the package along with the repository file and GPG key:
sudo apt remove sublime-text
sudo apt autoremove
sudo rm /etc/apt/sources.list.d/sublime-text.sources
sudo rm /usr/share/keyrings/sublimehq-pub.gpg
Remove Snap Installation
Snap users can uninstall with a single command:
sudo snap remove sublime-textRemove Flatpak Installation
For Flatpak installations, uninstall the application and clean up unused runtimes:
sudo flatpak uninstall com.sublimetext.three
sudo flatpak uninstall --unused
Subsequently, the second command removes any orphaned runtimes that are no longer needed by other Flatpak applications.
Remove User Configuration Data (Optional)
Warning: The following command permanently deletes your Sublime Text settings, installed packages, session data, and license information. Back up this directory first if you want to preserve any customizations.
Sublime Text stores user configurations, installed packages, and license data in your home directory. To remove this data for a complete cleanup:
rm -rf ~/.config/sublime-textConclusion
You now have Sublime Text installed on Ubuntu using your preferred method, whether through extrepo’s simplified repository management, manual configuration for full control, or containerized options like Snap or Flatpak. With Package Control and the official documentation, you can customize the editor to match your workflow and explore the extensive plugin ecosystem for additional functionality.


Formatting tips for your comment
You can use basic HTML to format your comment. Useful tags:
<code>command</code>command<pre>block of code</pre><strong>bold</strong><em>italic</em><a href="URL">link</a><blockquote>quote</blockquote>