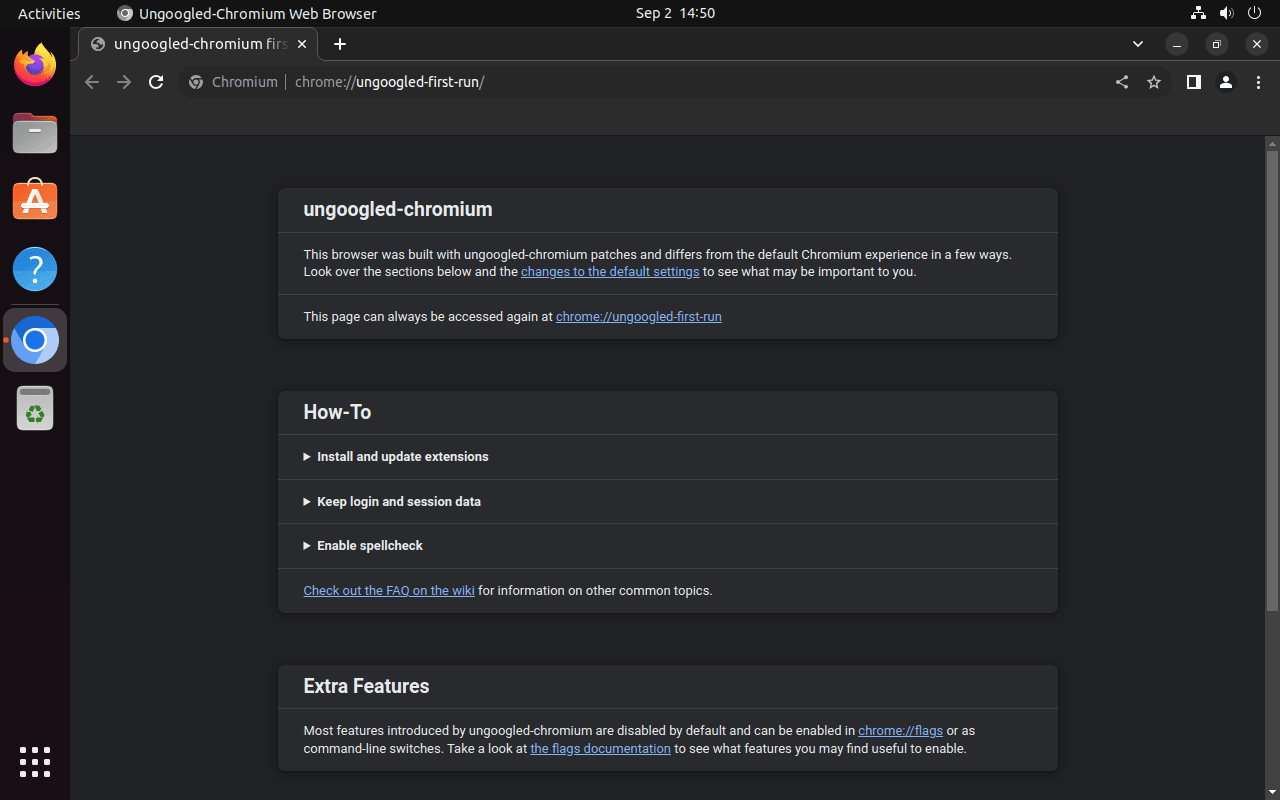
Ungoogled Chromium is an open-source web browser based on the Chromium project with all Google-specific code and services removed. Unlike standard Chromium, this fork disables WebRTC IP leak vulnerabilities, blocks background requests to Google servers, removes pre-built binaries, and enforces strict SSL certificate pinning. These modifications make it a practical choice for users who want a Chromium-based browser without the privacy trade-offs.
This guide walks through installing Ungoogled Chromium on Ubuntu using the xtradeb PPA or Flatpak via Flathub. By the end, you will have a working browser with verification steps to confirm the installation succeeded, along with update and removal instructions for both methods.
Choose Your Ungoogled Chromium Installation Method
Currently, Ungoogled Chromium is available through two reliable channels on Ubuntu. The table below compares both options so you can decide which approach fits your needs.
| Method | Channel | Version | Updates | Best For |
|---|---|---|---|---|
| xtradeb PPA | Launchpad PPA | Latest stable | Automatic via APT | Users who prefer native packages with APT integration |
| Flatpak | Flathub | Latest stable | Automatic via Flatpak | Users who want sandboxed installs or need 26.04 LTS support |
For most users, the PPA method is recommended because it integrates directly with Ubuntu’s package manager and receives updates alongside your system. However, if you are running Ubuntu 26.04 LTS or prefer application sandboxing, use the Flatpak method instead.
The xtradeb PPA currently provides packages for Ubuntu 22.04 LTS and 24.04 LTS. Ubuntu 26.04 LTS users should use the Flatpak method, which works across all Ubuntu versions. Commands shown below are identical on supported LTS releases unless noted otherwise.
Method 1: Install Ungoogled Chromium via xtradeb PPA
Update Ubuntu Before Installation
First, refresh your package index and upgrade existing packages before adding the PPA. This step ensures your system has the latest dependency versions and reduces the chance of conflicts during installation.
sudo apt update && sudo apt upgradeAdditionally, if the upgrade includes kernel updates or other core components, reboot your system before continuing so the new packages take effect.
Import the xtradeb PPA
The xtradeb Applications PPA provides up-to-date builds of Ungoogled Chromium along with other applications. To add this repository to your system, run the following command:
sudo add-apt-repository ppa:xtradeb/apps -yOnce the PPA is added, refresh your package index so APT recognizes the newly available packages:
sudo apt updateConfigure APT Pinning (Recommended)
Importantly, the xtradeb PPA contains multiple applications beyond Ungoogled Chromium. Without APT pinning, your system might pull unintended package updates from the PPA. Therefore, the configuration below deprioritizes all PPA packages except Ungoogled Chromium, ensuring only the browser receives updates from this source.
cat <<EOF | sudo tee /etc/apt/preferences.d/ungoogled-chromium-pin
Package: *
Pin: release o=LP-PPA-xtradeb-apps
Pin-Priority: 100

Package: ungoogled-chromium*
Pin: release o=LP-PPA-xtradeb-apps
Pin-Priority: 700
EOF
In effect, this creates a two-rule configuration. The first rule sets all PPA packages to priority 100, which is below the default 500 and prevents automatic selection. Meanwhile, the second rule overrides this for Ungoogled Chromium packages specifically, giving them priority 700 so APT prefers them over other sources.
Install Ungoogled Chromium
Now that the PPA is configured and package index updated, install Ungoogled Chromium using APT:
sudo apt install ungoogled-chromiumVerify the Installation
Finally, confirm the browser is accessible by checking its version after installation completes:
ungoogled-chromium --versionAs a result, you should see output similar to the following, confirming the browser is installed and ready to use:
Chromium 143.0.7499.169 built on Ubuntu 24.04.3 LTS
Method 2: Install Ungoogled Chromium via Flatpak
Alternatively, Flatpak provides a sandboxed installation that works independently of your system’s package manager. This method is particularly useful for Ubuntu 26.04 LTS users since the xtradeb PPA does not yet support that release.
Flatpak is not pre-installed on Ubuntu. If you have not set it up yet, install it with
sudo apt install flatpakand restart your session before continuing. For detailed setup including the Flathub repository, follow our Flatpak installation guide for Ubuntu.
Enable Flathub Repository
First, ensure the Flathub repository is available on your system. The --if-not-exists flag prevents errors if you have already added it previously:
sudo flatpak remote-add --if-not-exists flathub https://flathub.org/repo/flathub.flatpakrepoInstall Ungoogled Chromium from Flathub
Next, install the browser using the Flatpak command. The -y flag automatically confirms the installation prompt:
sudo flatpak install flathub io.github.ungoogled_software.ungoogled_chromium -yDuring installation, Flatpak will download the application and any required runtimes. This process may take a few minutes depending on your internet connection.
Verify the Flatpak Installation
Once installation completes, confirm the application appears in your Flatpak list:
flatpak list | grep -i chromiumConsequently, you should see output confirming the installation:
Ungoogled Chromium io.github.ungoogled_software.ungoogled_chromium stable system
Launch Ungoogled Chromium
Launch from Terminal
If you installed via the PPA, launch the browser directly from your terminal:
ungoogled-chromiumAlternatively, for Flatpak installations, use the Flatpak run command instead:
flatpak run io.github.ungoogled_software.ungoogled_chromium
Launch from Applications Menu
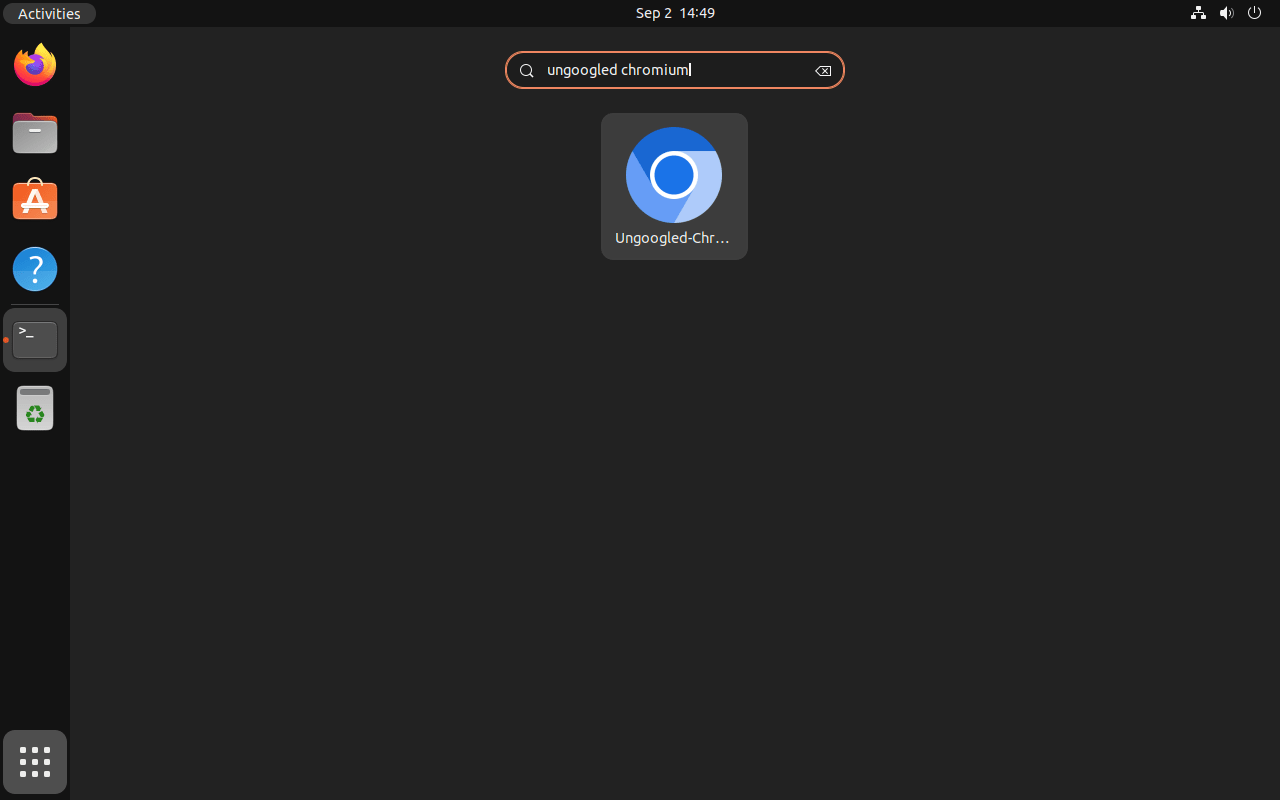
Notably, both installation methods create a desktop entry. To launch graphically, open your application menu and search for “Ungoogled Chromium” or navigate through Activities, then Show Applications, and select Ungoogled Chromium from the list.

Manage Ungoogled Chromium
Update Ungoogled Chromium
Regularly keeping your browser updated ensures you have the latest security patches and features. However, the update process differs depending on your installation method.
Update via APT (PPA Installation)
If you installed via the xtradeb PPA, Ungoogled Chromium updates automatically when you run your regular system updates:
sudo apt update && sudo apt upgradeAlternatively, to update only Ungoogled Chromium without upgrading other packages, use the --only-upgrade flag:
sudo apt install --only-upgrade ungoogled-chromiumUpdate via Flatpak
Similarly, Flatpak installations receive updates through the Flatpak update command. This updates all installed Flatpak applications:
sudo flatpak updateRemove Ungoogled Chromium
If you decide to remove Ungoogled Chromium, follow the instructions matching your installation method.
Remove APT Installation
First, remove the Ungoogled Chromium package:
sudo apt remove ungoogled-chromiumAfterwards, clean up any orphaned dependencies that were installed alongside Ungoogled Chromium:
sudo apt autoremoveFurthermore, if you do not plan to use the xtradeb PPA for other applications, remove the repository and pinning configuration:
sudo add-apt-repository --remove ppa:xtradeb/apps -y
sudo rm -f /etc/apt/preferences.d/ungoogled-chromium-pin
If you have installed other applications from the xtradeb PPA such as FileZilla or Calibre, keep the repository and only remove Ungoogled Chromium. Removing the entire PPA would disrupt updates for those applications.
Remove Flatpak Installation
Similarly, to remove the Flatpak installation including its application data, use the following command:
sudo flatpak uninstall --delete-data io.github.ungoogled_software.ungoogled_chromiumAdditionally, after removal you can optionally clean up unused Flatpak runtimes:
sudo flatpak uninstall --unusedTroubleshooting Common Issues
Installing Extensions from Chrome Web Store
By default, Ungoogled Chromium does not include Chrome Web Store integration. To install extensions, use the Chromium Web Store extension which restores web store functionality and adds semi-automatic extension updating. Alternatively, download CRX files manually and install them by enabling Developer Mode in the Extensions page (chrome://extensions).
WebRTC Leak Testing
Notably, one of Ungoogled Chromium’s privacy features is WebRTC leak prevention. After installation, verify this protection is working by visiting a WebRTC leak test site. If properly configured, your local IP address should not appear in the results.
PPA Not Available for Your Ubuntu Version
If you see an error stating the repository does not have a Release file for your Ubuntu version, the PPA does not yet support your release. This commonly occurs with new Ubuntu LTS versions. In this case, use the Flatpak installation method instead, which works independently of Ubuntu version.
Additional Resources
For further information about Ungoogled Chromium and related browser options on Ubuntu, explore these resources:
- Ungoogled Chromium project on GitHub – Source code, issue tracker, and documentation
- Install Chromium Browser on Ubuntu – Standard Chromium installation without Google service removal
- Install Brave Browser on Ubuntu – Another privacy-focused Chromium-based browser
- Install Tor Browser on Ubuntu – Maximum anonymity browser using the Tor network
Conclusion
In summary, Ungoogled Chromium provides a practical alternative for users who want Chromium’s rendering engine and compatibility without Google’s services and tracking. Currently, the xtradeb PPA offers native package management for Ubuntu 22.04 and 24.04, while Flatpak extends support to all Ubuntu versions including 26.04 LTS. Finally, keep your installation updated through your chosen method to receive the latest security patches and privacy improvements.


thanks. this is the correct way for ubuntu 24.04
also xtradeb PPA is maintained by a trusted developer (https://github.com/ungoogled-software/ungoogled-chromium-debian/issues/344#issuecomment-2092643669)
for luna/jammy use: https://software.opensuse.org//download.html?project=home%3Aungoogled_chromium&package=ungoogled-chromium