
Code::Blocks is an open-source Integrated Development Environment (IDE) designed for C, C++, and Fortran development. It supports console applications, wxWidgets GUI projects, embedded work, and educational examples. This guide shows how to install Code::Blocks on Fedora Linux from the Fedora repository or Flatpak, verify compiler integration, and optionally add development headers and debugging tools. By the end, you will have a working IDE backed by GCC and ready for your first project.
You can install Code::Blocks either from Fedora’s native repositories (stable, integrated with system updates) or via Flatpak from Flathub (sandboxed, often newer). Most users should begin with the Fedora repository method unless they need a more recent upstream release or prefer application isolation.
Choose Your Code::Blocks Installation Method
Pick the channel that fits your update expectations. Projects remain in your home directory, so switching methods later requires only reinstallation.
| Method | Channel | Version | Updates | Best For |
|---|---|---|---|---|
| Fedora repository | Fedora Repos | Distro-tested | Automatic via dnf upgrade | Most users wanting integrated updates |
| Flatpak (Flathub) | Sandboxed runtime | Upstream releases | Automatic via flatpak update | Users needing newer releases or isolation |
Recommendation: Use the Fedora repository build first. Choose Flatpak if you require newer features sooner or prefer sandboxing. The Flatpak version runs in isolation, which may require additional configuration for compiler detection.
Prerequisites
Code::Blocks requires external compilers to build projects because it does not bundle GCC. Minimal Fedora spins and server installations may omit development tools, so install the core toolchain before proceeding. Optional libraries (wxWidgets, ccache) are only needed if you plan to compile GUI projects or want faster builds.
Before proceeding, refresh your package cache and apply any pending updates:
sudo dnf upgrade --refreshNext, install the core toolchain components. This command installs the C compiler (gcc), C++ compiler (g++), debugger (gdb), and optionally the Fortran compiler:
sudo dnf install gcc gcc-c++ gdb gcc-gfortran -yAdditionally, if you plan to develop wxWidgets GUI applications or want faster compilation with ccache, install these optional packages:
sudo dnf install wxBase wxGTK wxGTK-devel ccache clang -yAlternatively, install the comprehensive Development Tools group (larger download, includes additional utilities):
sudo dnf group install "Development Tools" -yFinally, verify GCC is present by checking the version. If you plan to work with CMake-based projects, consider installing CMake on Fedora:
gcc --versiongcc (GCC) 15.2.1 20251211 (Red Hat 15.2.1-5) Copyright (C) 2025 Free Software Foundation, Inc.
Install Code::Blocks via DNF Repository
The Fedora repository method installs Code::Blocks as a native system package that receives automatic updates through regular system maintenance. This approach provides the best integration with your system libraries and requires no additional configuration for compiler detection.
Install Code::Blocks along with the contrib plugins package, which adds useful extensions like code completion, symbol browser, and DoxyBlocks documentation generator:
sudo dnf install codeblocks codeblocks-contrib -yAfter installation completes, verify the installed version:
rpm -q codeblocks codeblocks-contribcodeblocks-25.03-2.fc43.x86_64 codeblocks-contrib-25.03-2.fc43.x86_64
If you plan to develop Code::Blocks plugins rather than just using the IDE, install the development headers:
sudo dnf install codeblocks-devel codeblocks-contrib-devel -yInstall Code::Blocks via Flatpak
As an alternative to the DNF method, Flatpak installations run in an isolated sandbox that separates Code::Blocks from system libraries. This approach often provides newer releases than distribution repositories, and updates arrive independently from system packages. However, the Flatpak version may require additional configuration for compiler detection since sandboxing restricts access to host system tools.
Enable Flathub Repository
First, add the Flathub repository if you have not already configured it. Fedora Workstation may have Flathub available through the Third-Party Repositories option, but this command ensures you have enabled it:
sudo flatpak remote-add --if-not-exists flathub https://dl.flathub.org/repo/flathub.flatpakrepoInstall Code::Blocks from Flathub
Next, install Code::Blocks from Flathub at the system level so all users on the machine can access it:
sudo flatpak install flathub org.codeblocks.codeblocks -yAfter installation, verify that Flatpak registered the application:
flatpak list --app | grep -i codeblocksCode::Blocks org.codeblocks.codeblocks 25.03 stable system
You can also display detailed Flatpak metadata including the version, runtime, and permissions:
flatpak info org.codeblocks.codeblocksTroubleshoot Flathub Connection Issues
If you encounter “Unable to load summary from remote flathub,” Fedora may have disabled or misconfigured the repository. Re-enable it with the following command:
sudo flatpak remote-modify --enable flathubThen retry the installation command. If the error persists, check your network connection or firewall settings.
Flatpak Compiler Access
The Flatpak version of Code::Blocks runs in a sandbox and may not automatically detect compilers you have installed on your host system. The Flatpak includes SDK tools and extensions, but for full compiler access you may need to install the Freedesktop SDK extension or configure filesystem permissions.
If Code::Blocks reports “No compiler detected” when using the Flatpak version, ensure GCC is installed on your host system and consider granting the Flatpak filesystem access via Flatseal or the
flatpak overridecommand. The Flathub repository README provides additional guidance on SDK extensions.
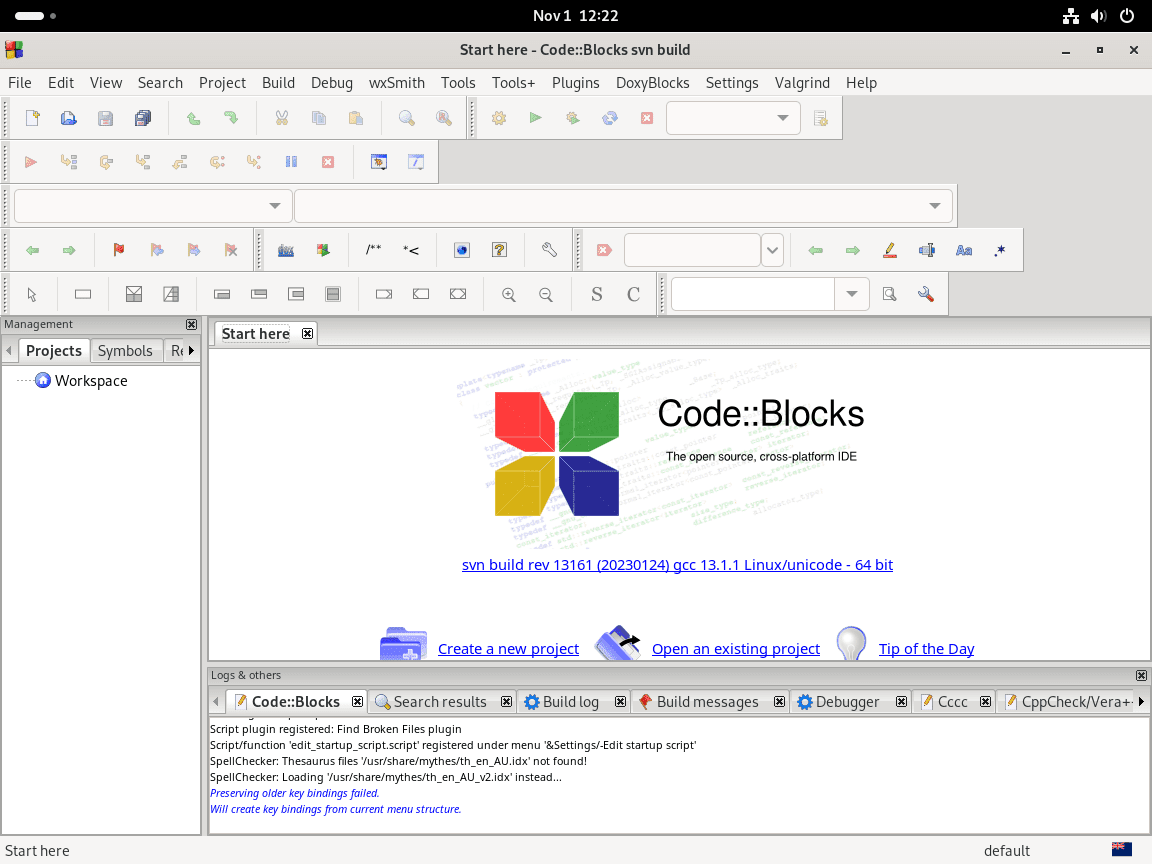
Launch Code::Blocks
Launch from Terminal
For DNF installations, launch Code::Blocks directly from the terminal:
codeblocksFor Flatpak installations, use the Flatpak run command:
flatpak run org.codeblocks.codeblocksLaunch from Applications Menu
To launch graphically, search for “Code::Blocks” in Activities and click the icon. Both DNF and Flatpak installations create desktop entries that appear in the application menu.
Activities > Show Applications > Code::Blocks
Verify Compiler Detection
On first launch, Code::Blocks scans for available compilers. If you installed GCC before Code::Blocks, the IDE should detect it automatically. To verify, navigate to Settings > Compiler > Toolchain executables and confirm the GCC paths are populated.
The toolchain paths should display:
- Compiler’s installation directory:
/usr - C compiler:
gcc - C++ compiler:
g++ - Debugger:
gdb
If detection fails, click Auto-detect to rescan. If paths remain empty, proceed to the troubleshooting section below.
Troubleshooting: Compiler Not Detected
If Code::Blocks reports “No compiler detected” on first launch, the IDE cannot locate GCC in your system PATH. This commonly occurs when you launch Code::Blocks before installing the toolchain.
First, verify GCC is installed by running:
gcc --versionIf this returns “command not found,” install the compiler:
sudo dnf install gcc gcc-c++ gdb -yIf you have GCC installed but Code::Blocks still cannot find it, check the binary paths:
type gcc g++ gdbgcc is /usr/bin/gcc g++ is /usr/bin/g++ gdb is /usr/bin/gdb
Open Code::Blocks, navigate to Settings > Compiler > Toolchain executables, and set the compiler installation directory to /usr. Click Auto-detect and then OK to apply changes. The IDE should now recognize your toolchain.
Manage Code::Blocks
Update and removal procedures differ by installation method. Use the commands that match your installation.
Update Code::Blocks
For DNF installations, Code::Blocks updates during normal system maintenance:
sudo dnf upgrade --refreshFor Flatpak installations, update all Flatpak applications or target Code::Blocks specifically:
sudo flatpak updatesudo flatpak update org.codeblocks.codeblocksRemove Code::Blocks
Remove DNF Installation
To uninstall Code::Blocks and all related packages you installed via DNF:
sudo dnf remove codeblocks*Review the DNF transaction summary carefully. The wildcard
codeblocks*removes all related packages includingcodeblocks-contrib,codeblocks-devel, andcodeblocks-contrib-devel. If you plan to develop Code::Blocks plugins later, abort withnand remove only the base package withsudo dnf remove codeblocks.
Remove Flatpak Installation
To uninstall the Flatpak version along with its application data:
sudo flatpak uninstall --delete-data org.codeblocks.codeblocksAfter removal, clean up unused Flatpak runtimes that other applications no longer need:
sudo flatpak uninstall --unusedRemove User Configuration Files
The following commands permanently delete your Code::Blocks settings, project configurations, and custom templates. Export any important configurations before proceeding.
For DNF installations, remove the configuration directory:
rm -rf ~/.config/codeblocks/For Flatpak installations, remove the sandboxed data directory:
rm -rf ~/.var/app/org.codeblocks.codeblocks/Additionally, remove any cache files if present:
rm -rf ~/.cache/codeblocks/Conclusion
You now have Code::Blocks installed on Fedora with verified compiler integration and contrib plugins. Create your first C or C++ project through File > New > Project, configure debugging symbols in your build target settings, and explore the plugin manager for code completion enhancements. For version control integration, install Git on Fedora. To expand your build system capabilities, review CMake installation or explore the Rust programming language for systems development.

Formatting tips for your comment
You can use basic HTML to format your comment. Useful tags currently allowed in published comments:
<code>command</code>command<strong>bold</strong><em>italic</em><blockquote>quote</blockquote>