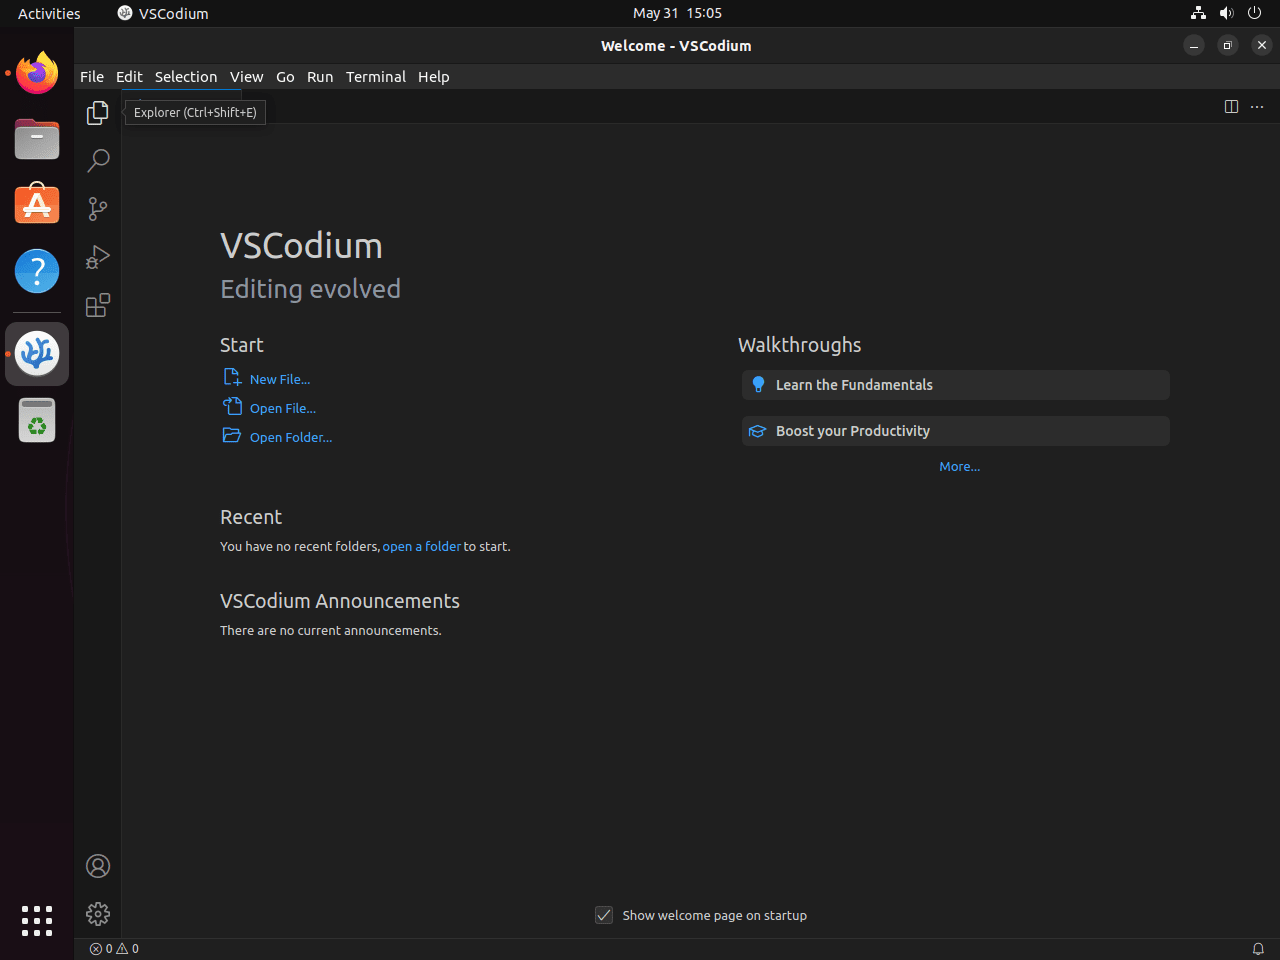
VSCodium is an open source rebuild of Visual Studio Code, shipped without Microsoft’s branding and telemetry components. If you like the VS Code workflow on Ubuntu but want a community-maintained build, VSCodium is the common choice.
This guide shows how to install VSCodium on Ubuntu using the official APT repository for the cleanest desktop integration. It also includes Snap and Flatpak alternatives, plus the standard steps to verify the install, launch the editor, update it, and remove it cleanly.
Choose Your VSCodium Installation Method
On Ubuntu, you can install VSCodium three ways. APT behaves like a normal .deb app and updates through APT. Snap and Flatpak are self-contained app formats with their own update mechanisms.
| Method | Channel | Version | Updates | Best For |
|---|---|---|---|---|
| APT Repository | Official upstream | Latest stable | Via APT upgrades | Most users, native system integration |
| Snap | Snap Store | Latest stable | Automatic background | Users wanting simple setup and automatic updates |
| Flatpak | Flathub | Latest stable | Via flatpak update | Users preferring Flatpak ecosystem consistency |
Recommended: use the APT repository for the most predictable desktop integration and to update VSCodium alongside your other packages. Use Flatpak if you prefer a sandboxed app with Flathub, or Snap if you want simple installation with automatic background updates.
VSCodium uses Open VSX for extensions by default, so a small number of Marketplace-only or licence-restricted extensions may not appear. If you need Microsoft’s official build and the default Marketplace experience, follow our Visual Studio Code installation guide for Ubuntu.
These steps cover Ubuntu 26.04 LTS, 24.04 LTS, and 22.04 LTS. The commands are the same across supported LTS releases.
Method 1: Install VSCodium via APT Repository
Update System Package Lists
First, refresh the APT package index:
sudo apt updateIf you also want to apply pending system upgrades, run sudo apt upgrade separately before continuing.
Install Dependencies
Next, install curl and GnuPG. If you are not familiar with curl, see our curl command guide for common options and examples:
sudo apt install curl gnupg -yImport VSCodium GPG Key
After installing the dependencies, download and install the GPG key to verify that VSCodium packages are authentic. Specifically, this security measure ensures that downloaded packages have not been tampered with:
curl -fsSL https://gitlab.com/paulcarroty/vscodium-deb-rpm-repo/raw/master/pub.gpg | sudo gpg --dearmor --yes -o /usr/share/keyrings/vscodium-archive-keyring.gpgAdd VSCodium Repository
Once the key is in place, add the VSCodium repository. The steps below use the modern DEB822 .sources format for maintainability.
cat <<EOF | sudo tee /etc/apt/sources.list.d/vscodium.sources
Types: deb
URIs: https://download.vscodium.com/debs
Suites: vscodium
Components: main
Architectures: amd64 arm64
Signed-By: /usr/share/keyrings/vscodium-archive-keyring.gpg
EOF
Refresh APT Package Index
Then, update your package listings to include the newly added VSCodium repository:
sudo apt updateAfter the update completes, verify that the repository is active and that VSCodium is available:
apt-cache policy codiumThe expected output below shows the package is available from the VSCodium repository:
codium:
  Installed: (none)
  Candidate: 1.x.x
  Version table:
     1.x.x 500
        500 https://download.vscodium.com/debs vscodium/main amd64 Packages
Install VSCodium
Finally, install the stable release of VSCodium, which mirrors VS Code’s stable build:
sudo apt install codium -yMethod 2: Install VSCodium via Snap
Alternatively, you can install VSCodium as a Snap. On standard Ubuntu desktop installs, Snap is available by default. On minimal installs, containers, or WSL environments, you may need to install Snap first.
If
snapis unavailable, install it withsudo apt install snapd, then start a new login session before continuing.
Install VSCodium with Snap Command
To begin, install VSCodium directly from the Snap Store:
sudo snap install codium --classicThe
--classicflag disables strict confinement and gives the Snap full system access. VSCodium typically needs this for terminal integration and development tooling, but if you prefer a more sandboxed install, use the Flatpak method instead.
Method 3: Install VSCodium via Flatpak
As another option, Flatpak offers sandboxed application installation with system-wide availability. However, this method requires the Flatpak package manager and Flathub repository setup.
Flatpak is not pre-installed on Ubuntu. If you have not set it up yet, install it with
sudo apt install flatpakand restart your session before continuing. For detailed setup including the Flathub repository, follow our Flatpak installation guide for Ubuntu.
Enable Flathub Repository for VSCodium
First, add the Flathub repository to access VSCodium and thousands of other Flatpak applications:
sudo flatpak remote-add --if-not-exists flathub https://flathub.org/repo/flathub.flatpakrepoInstall VSCodium with Flatpak Command
Once the repository is enabled, proceed to install VSCodium system-wide so that all users can access it and updates apply automatically:
sudo flatpak install flathub com.vscodium.codium -yLaunch VSCodium
Launch VSCodium from Terminal
After completing the installation, you can launch VSCodium from the terminal. However, the specific command depends on your installation method.
For APT installation:
codiumFor Snap installation:
snap run codiumFor Flatpak installation:
flatpak run com.vscodium.codiumLaunch VSCodium from Desktop
From application menu:
Alternatively, you can launch VSCodium through Ubuntu’s application menu:
- First, click Activities in the top-left corner
- Then click Show Applications (grid icon at the bottom of the dock)
- Finally, find and click VSCodium

Verify the Installation
After installing VSCodium, you should verify that the installation completed successfully by checking the version. Note that the specific verification command depends on your installation method.
For APT installation:
codium --versionThe expected output showing the version confirms that VSCodium is accessible:
1.96.x
abc123def456
x64
For Snap installation:
snap info codiumSimilarly, the expected output displays installation details:
name:      codium
summary:   Code editing. Redefined.
publisher: VSCodium
installed: 1.x.x (xxx) 342MB classic
For Flatpak installation:
flatpak info com.vscodium.codiumLikewise, the expected output confirms the Flatpak installation:
VSCodium - Code Editing. Redefined.

          ID: com.vscodium.codium
         Ref: app/com.vscodium.codium/x86_64/stable
      Origin: flathub
     Version: 1.x.x
Install Extensions
To install extensions, open the Extensions view in VSCodium with Ctrl+Shift+X, then search and install what you need. By default, VSCodium uses the Open VSX registry, so most popular extensions are available. Some Marketplace-only or license-restricted extensions may not appear or may not work in VSCodium. If you rely on one of these, refer to the VSCodium documentation on extensions and marketplaces. Extension updates are handled in the editor, while application updates come from APT, Snap, or Flatpak depending on how you installed VSCodium.
Compatibility with Ubuntu Derivatives
These steps usually work on Ubuntu-based distributions because they use the same APT tooling and often the same Snap and Flatpak stacks. If you are not on Ubuntu, use a distribution-specific guide to avoid repository and dependency mismatches.
Manage VSCodium
Update VSCodium
To keep VSCodium current, update it using the same package manager you used for installation. Note that each method handles updates differently:
For APT installations:
sudo apt update && sudo apt install --only-upgrade codium -yFor Snap installations:
sudo snap refresh codiumFor Flatpak installations:
sudo flatpak updateRemove VSCodium
If you need to uninstall VSCodium, remove it using the package manager that handled the installation.
For APT removal:
sudo apt remove codiumNext, clean up orphaned dependencies that were automatically installed with the package:
sudo apt autoremoveSubsequently, remove the repository configuration and GPG key:
sudo rm -f /etc/apt/sources.list.d/vscodium.sources /etc/apt/sources.list.d/vscodium.list
sudo rm -f /usr/share/keyrings/vscodium-archive-keyring.gpg
Finally, refresh the package cache to confirm the repository is removed:
sudo apt updateSnap removal:
sudo snap remove codiumFlatpak removal:
sudo flatpak uninstall com.vscodium.codiumRemove User Configuration Files
The following commands permanently delete your VSCodium settings, extensions, and cached data. Export any important configurations or snippets before proceeding.
VSCodium stores user data in your home directory across several locations. To complete the uninstall, remove these directories:
rm -rf ~/.config/VSCodium
rm -rf ~/.cache/VSCodium
rm -rf ~/.vscode-oss
For Flatpak installations, remove the sandboxed data directory:
rm -rf ~/.var/app/com.vscodium.codiumTo confirm the removal, verify that the codium command no longer exists. This checks your PATH using which, see our which command guide if you want more examples:
which codiumIf there is no output, this confirms the application has been completely removed from your system.
Conclusion
You now have VSCodium installed on Ubuntu via APT, Snap, or Flatpak, with steps to verify, update, and remove it cleanly. For most systems, the APT repository provides the best desktop integration. Use Flatpak if you prefer a sandboxed app from Flathub, or Snap for simple setup with automatic updates. If you need Microsoft’s official build or Marketplace-only extensions, follow our Visual Studio Code guide.
Official Documentation and Resources
For additional configuration options, troubleshooting, and community resources:
- VSCodium Official Website – Download links, project overview, and keyboard shortcuts
- VSCodium GitHub Repository – Source code, issue tracker, and release notes
- VSCodium Wiki – Extension marketplace configuration, settings sync, and community guides


Vscodium running on my Ubuntu system says it’s version 1.105.17075. According to vscodium’s github page, the current snap release is 1.106.27818. But when I do ‘sudo snap refresh codium’, it says ‘snap “codium” has no updates available.” Why?
Thanks for reporting this, Mike. The version mismatch happens because VSCodium 1.106.27818 was released just yesterday (November 22) and hasn’t been published to the Snap Store yet. Your current version 1.105.17075 was released October 22, and the Snap Store still shows it as the latest stable release.
Snap releases typically lag behind the upstream GitHub releases by a few days while the VSCodium team builds and publishes the snap packages. Your system is correctly showing the current snap version.
Check back in a few days and run the refresh command again, or monitor the VSCodium GitHub releases page to see when the snap artifacts are published. Once the 1.106.27818 snap appears in the Snap Store, the update will show up automatically.
If you want faster access to new releases, consider switching from Snap to the native APT repository method covered in the article. The APT packages typically appear within hours of upstream releases, while snaps can take several days. You would remove the snap with
sudo snap remove codiumand then follow the repository installation steps in the guide.Thanks!
I first tried to install codium using apt (my preferred method, seems more transparent), but ran into this:
`
No apt package “codium”, but there is a snap with that name.
Try “snap install codium”
`
This was on xubuntu 24.04. But it looks like your website (unlike the one I was using then) explains how to add the repository–I’ll try that now.
Update: I tried the apt method as described on this page, and it worked like…a snap! Thank you for explaining how to do it. (Opinion: I’m not sure why it has to be so hard in Linux–why I have to go through those steps to import the key and add the repository, in order to let Ubuntu know where to find the install package.)
Thanks for the update, Mike. That message appears because VSCodium isn’t in Ubuntu’s default repositories. Once you add the repository and GPG key following the guide’s instructions, you can verify the setup is working correctly.
After adding the repository, confirm it’s recognized with:
This shows available versions and which repository provides them. Then install with
sudo apt install codiumand you should pull version 1.106.27818 immediately, since the .deb packages are already published on the GitHub releases page.