Building NGINX from source on Debian 12, 11, or 10 offers several benefits and potential drawbacks. Compiling from source allows you to customize NGINX with specific modules and optimizations tailored to your needs, providing greater control over the build process. This method can also ensure that you have the latest features and security patches before they are available in the official repositories.
However, there are some potential cons to consider. Building from source requires more time and effort compared to installing precompiled packages. It also requires a good understanding of the build process and dependencies. Additionally, managing updates can be more complex, as you need to manually recompile NGINX for each new version.
This guide will demonstrate how to build NGINX from source on Debian 12, 11, or 10, covering the necessary steps and commands to ensure a successful installation.
Step 1: Update and Upgrade Debian
Before starting the installation, update your Debian system. Use these commands in the terminal:
sudo apt update
sudo apt upgrade
These commands will fetch the list of available updates and then upgrade your system, ensuring you’re working with the latest software.
Step 2: Install Required Dependencies
Install the required initial packages to compile Nginx with the following command:
sudo apt install build-essential libpcre3-dev libssl-dev zlib1g-dev libgd-devStep 3: Download NGINX Source Code
With the necessary dependencies installed, the next step is downloading the NGINX source code. Visit the NGINX website and choose the version that best suits your needs. You can opt for the latest mainline, stable, or other version.
Use the wget command to download your chosen version:
wget http://nginx.org/download/nginx-x.x.x.tar.gzReplace x.x.x with the version number. For instance, to download the latest mainline version, 1.25.1, use the following:
wget https://nginx.org/download/nginx-1.25.1.tar.gzNote: Do not copy the above command; this is just an example. Ensure you grab the latest stable or mainline download link.
Step 4: Extract the Source Code
The source code comes in a compressed tarball. Extract it using this command:
tar -xzvf nginx-1.25.1.tar.gzThen, navigate to the newly extracted directory:
cd nginx-1.25.1Step 5: Configure NGINX Options
For this step, set up the NGINX options from the source. This means choosing the paths and modules for your NGINX build. Use this command:
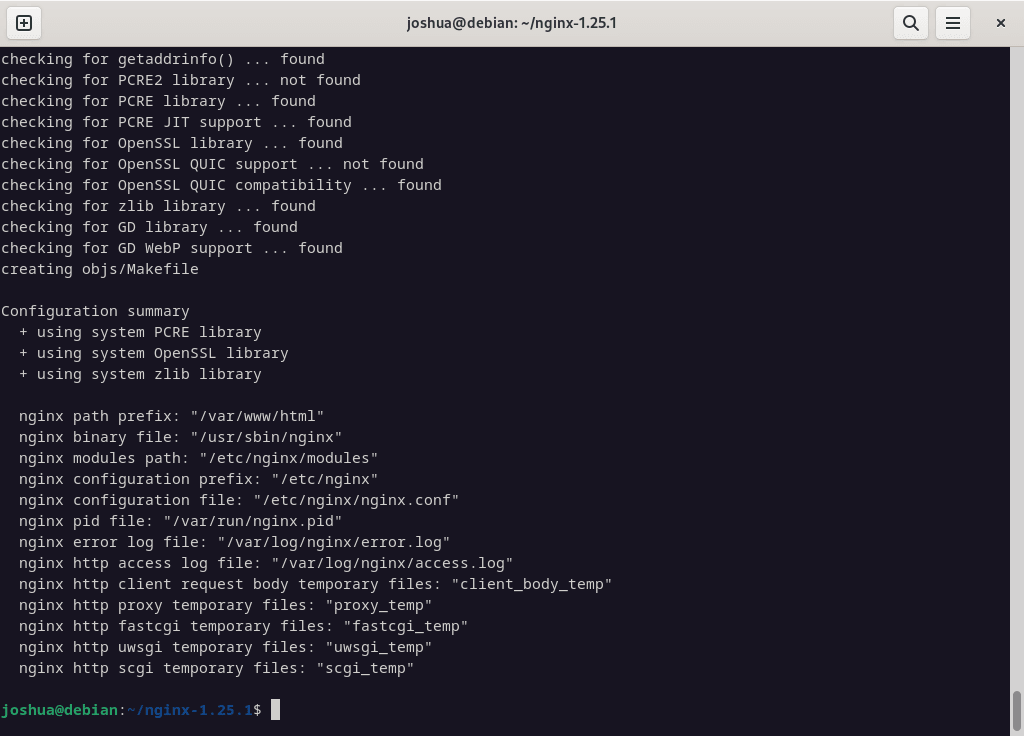
./configure --prefix=/var/www/html --sbin-path=/usr/sbin/nginx --conf-path=/etc/nginx/nginx.conf --http-log-path=/var/log/nginx/access.log --error-log-path=/var/log/nginx/error.log --with-pcre --lock-path=/var/lock/nginx.lock --pid-path=/var/run/nginx.pid --with-http_ssl_module --with-http_image_filter_module=dynamic --modules-path=/etc/nginx/modules --with-http_v2_module --with-http_v3_module --with-stream=dynamic --with-http_addition_module --with-http_mp4_moduleHere’s what the options mean:
- –prefix=/var/www/html: Sets the root directory for the install.
- –sbin-path=/usr/sbin/nginx: Sets where the nginx program goes.
- –conf-path=/etc/nginx/nginx.conf: Chooses the main NGINX configuration file location.
- –http-log-path=/var/log/nginx/access.log and –error-log-path=/var/log/nginx/error.log: Define where the log files are.
- –with-pcre: Turns on PCRE (Perl Compatible Regular Expressions) for configuration files.
- –lock-path=/var/lock/nginx.lock and –pid-path=/var/run/nginx.pid: Set locations for the lock and pid files.
- –with-http_ssl_module: Activates the SSL module for secure web connections.
- –with-http_image_filter_module=dynamic: Turns on the image filter module.
- –modules-path=/etc/nginx/modules: Defines where dynamic modules go.
- –with-http_v2_module: Turns on the HTTP/2 module.
- –with-stream=dynamic: Dynamically activates the stream module.
- –with-http_addition_module and –with-http_mp4_module: Turn on the addition and MP4 modules.
If you don’t want to use the HTTP/3 module, just leave out –with-http_v3_module. HTTP/3 offers faster, more reliable web browsing.

Step 6: Install NGINX (Compile and Build NGINX)
After configuring the options for building NGINX from the source, it’s time to compile and install NGINX. This is a two-step process:
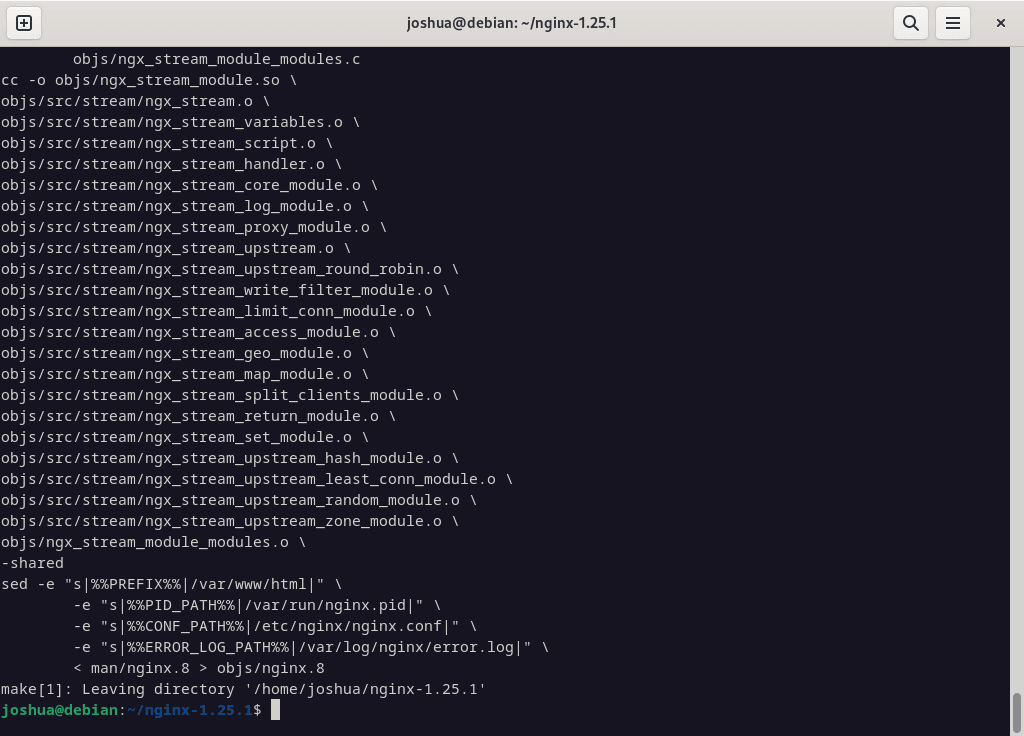
First, the make command compiles the NGINX source code using the options specified in the ./configure script. This creates the NGINX binary executable:
make
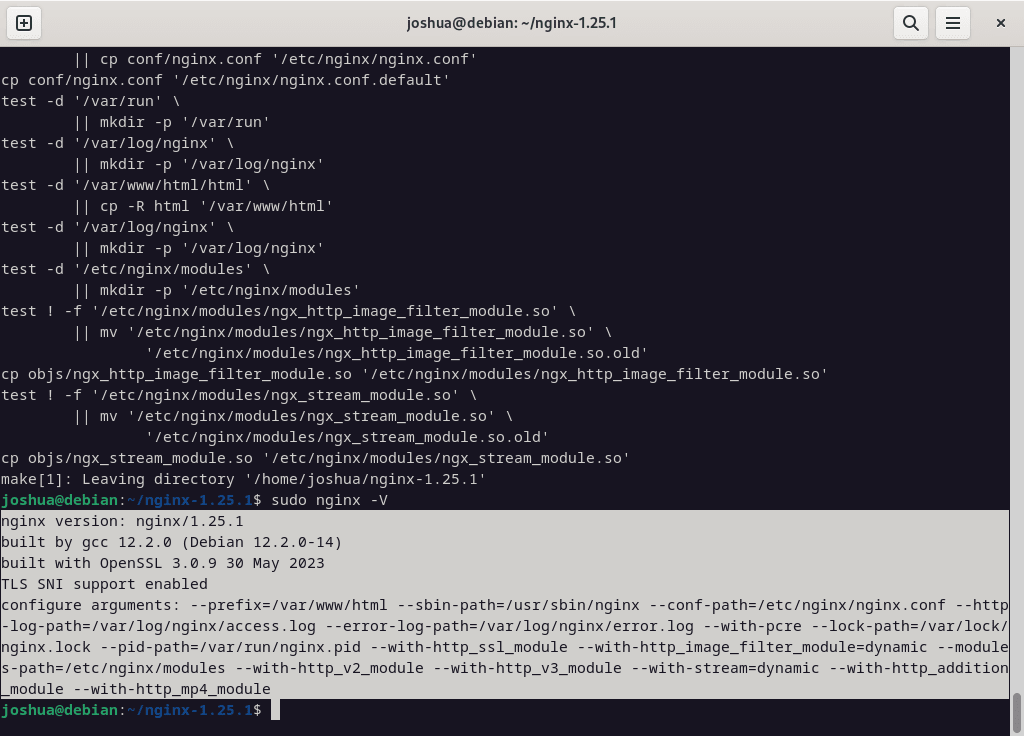
Second, the sudo make install command installs the NGINX binary, configuration files, and other files to the prefix path specified in the ./configure script:
sudo make installAfter installation, NGINX will be located in the sbin directory of the prefix path.

Step 7: Create NGINX Systemd Service
After building and compiling NGINX from the source, creating a systemd process to manage the NGINX service on your system is crucial. Here’s how:
Create a new systemd service file:
sudo nano /etc/systemd/system/nginx.serviceAdd the following content to the file:
[Unit]
Description=The NGINX HTTP and reverse proxy server
After=syslog.target network-online.target remote-fs.target nss-lookup.target
Wants=network-online.target

[Service]
Type=forking
PIDFile=/var/run/nginx.pid
ExecStartPre=/usr/sbin/nginx -t
ExecStart=/usr/sbin/nginx
ExecReload=/usr/sbin/nginx -s reload
ExecStop=/bin/kill -s QUIT $MAINPID
PrivateTmp=true

[Install]
WantedBy=multi-user.target
Reload the systemd daemon:
sudo systemctl daemon-reloadStart the NGINX service:
sudo systemctl start nginxEnable the NGINX service to start automatically at boot:
sudo systemctl enable nginxFinally, ensure the service is activated:
systemctl status nginxStep 8: Test NGINX
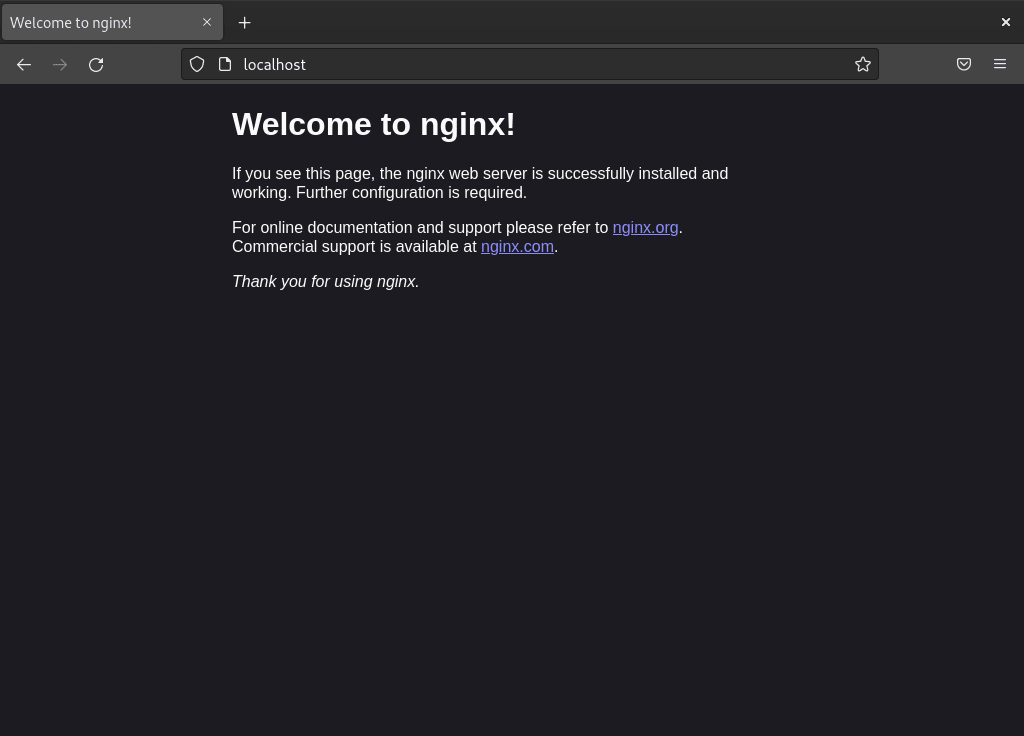
To verify that NGINX is running correctly, open a web browser and navigate to the test page using your local host or server IP address:
http://localhostOr replace localhost with your server IP address.

Additional Commands & Tips
Compile NGINX with Additional Modules
You can enhance NGINX’s functionality by compiling it with additional modules. For instance, to use the Nginx HTTP push module, use the –add-module flag during the configuration of NGINX:
./configure --add-module=/path/to/nginx-http-push-module
make
sudo make install
Conclusion
By following these steps, you can successfully build and install NGINX from source on your Debian system. This approach gives you greater flexibility and control over your NGINX installation, allowing you to tailor it to your specific requirements. Regularly check for updates and recompile as needed to maintain security and performance. Enjoy the enhanced capabilities and customization options that building NGINX from source provides.


How do I make sure these are all “found” during ./configure ?
checking for sys/filio.h … not found
checking for nobody group … not found
checking for /dev/poll … not found
checking for kqueue … not found
checking for crypt() … not found
checking for F_READAHEAD … not found
checking for F_NOCACHE … not found
checking for directio() … not found
checking for SO_SETFIB … not found
checking for SO_ACCEPTFILTER … not found
checking for SO_BINDANY … not found
checking for IP_BINDANY … not found
checking for IP_RECVDSTADDR … not found
checking for IP_SENDSRCADDR … not found
checking for IP_DONTFRAG … not found
checking for setproctitle() … not found
checking for struct dirent.d_namlen … not found
checking for OpenSSL QUIC support … not found