BBR (Bottleneck Bandwidth and Round-trip propagation time) is a cutting-edge TCP congestion control algorithm developed by Google. It aims to achieve higher bandwidth and lower latency by optimizing how data packets are sent over the network. BBR is particularly beneficial for high-speed and long-distance networks, making it an excellent choice for improving network performance and efficiency.
To enable BBR on Ubuntu 24.04, 22.04, or 20.04 using the command-line terminal, follow the steps outlined in this guide. This process involves modifying system settings to activate BBR, ensuring you can take advantage of its advanced congestion control capabilities.
Check the Current TCP Congestion Control Algorithm
Before enabling BBR, determine the TCP congestion control algorithm your system is currently using. Run the following command in the terminal to check:
sysctl net.ipv4.tcp_congestion_controlExecuting the specified command will display the TCP congestion control algorithm your system currently employs:
net.ipv4.tcp_congestion_control = cubicThe command mentioned earlier shows your system’s active TCP congestion control algorithm. Typically, systems set the algorithm to “cubic” by default. It’s crucial to acknowledge this default setting.
Enable BBR
To activate BBR on your Ubuntu system, you need to alter the sysctl configuration file. This file configures various kernel parameters in the Linux operating system. Execute the following command in the terminal to modify the sysctl configuration file:
sudo nano /etc/sysctl.confThis will open the sysctl configuration file in the nano text editor.
Next, add the following lines to the sysctl configuration file:
net.core.default_qdisc=fq
net.ipv4.tcp_congestion_control=bbr
Here’s an example of how the sysctl.conf file may appear, considering the number of existing options:
The first line establishes the default queueing discipline as fq, a prerequisite for BBR’s proper functionality. The second line designates BBR as the TCP congestion control algorithm. To save your changes, press Ctrl + O. To exit the nano text editor, press Ctrl + X.
Apply BBR Changes
To apply the changes to the sysctl configuration file, run the following command in the terminal:
sudo sysctl -pThis command will apply the changes to the kernel parameters specified in the sysctl configuration file.
Verify BBR is Enabled
Run the following command in the terminal to confirm BBR’s activation:
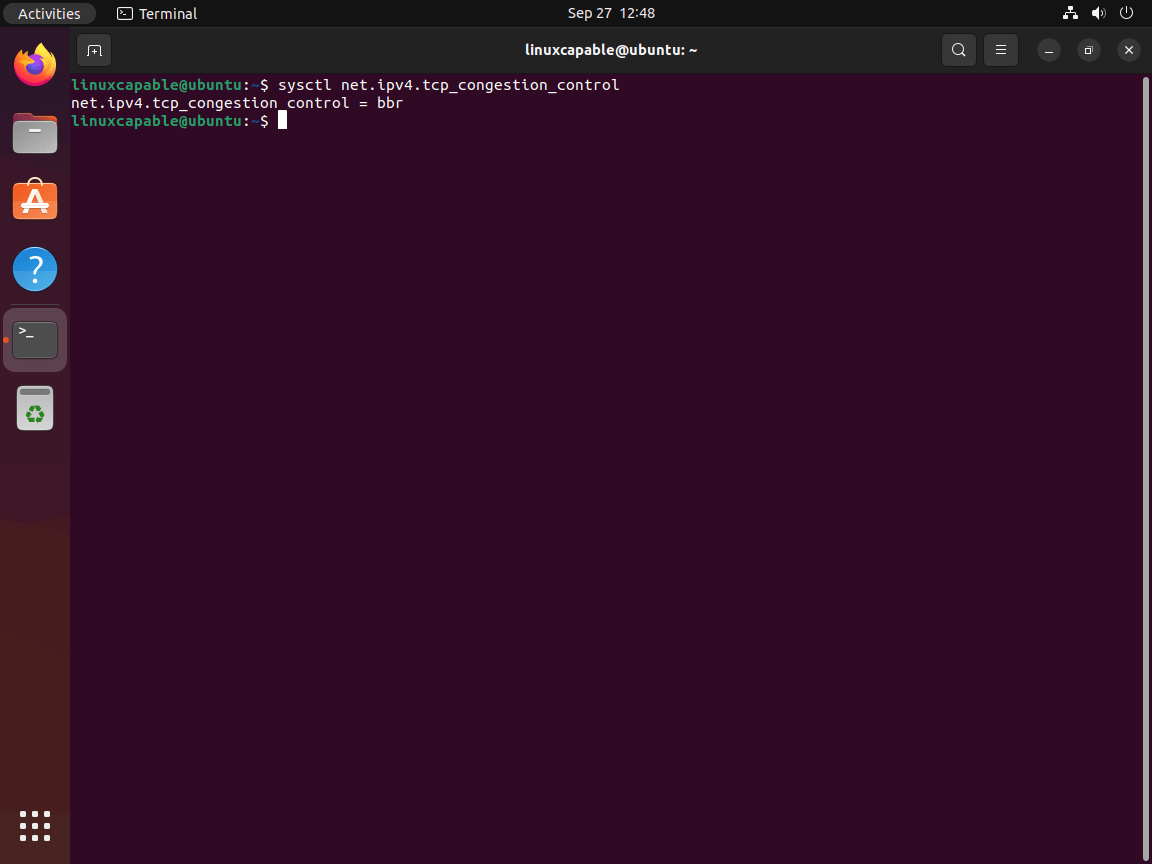
sysctl net.ipv4.tcp_congestion_controlThis command will reveal the TCP congestion control algorithm presently operating on your system. If the system has enabled BBR, the output will show “bbr”.
net.ipv4.tcp_congestion_control = bbrConclusion
With BBR successfully enabled on your Ubuntu system, you can expect improved network performance with higher bandwidth and lower latency. Regularly monitor your network to assess the benefits of BBR and make any necessary adjustments. For further support, refer to Ubuntu documentation and community resources. Enjoy the enhanced efficiency and performance that BBR brings to your network.


Does this work on Ubuntu 25.04?
Yes it does.