SSH password probes and noisy web login attempts are easier to handle when the firewall reacts automatically instead of waiting for a manual blocklist update. You can install Fail2ban with Firewalld on Fedora to watch service logs, count repeated failures, and hand temporary bans to Fedora’s normal firewall stack.
Current Fedora releases, including Fedora 44 and Fedora 43, package fail2ban and fail2ban-firewalld in the standard repositories. Fedora normally runs Firewalld already, but the same package command also covers minimal or customized systems where the firewall package is missing.
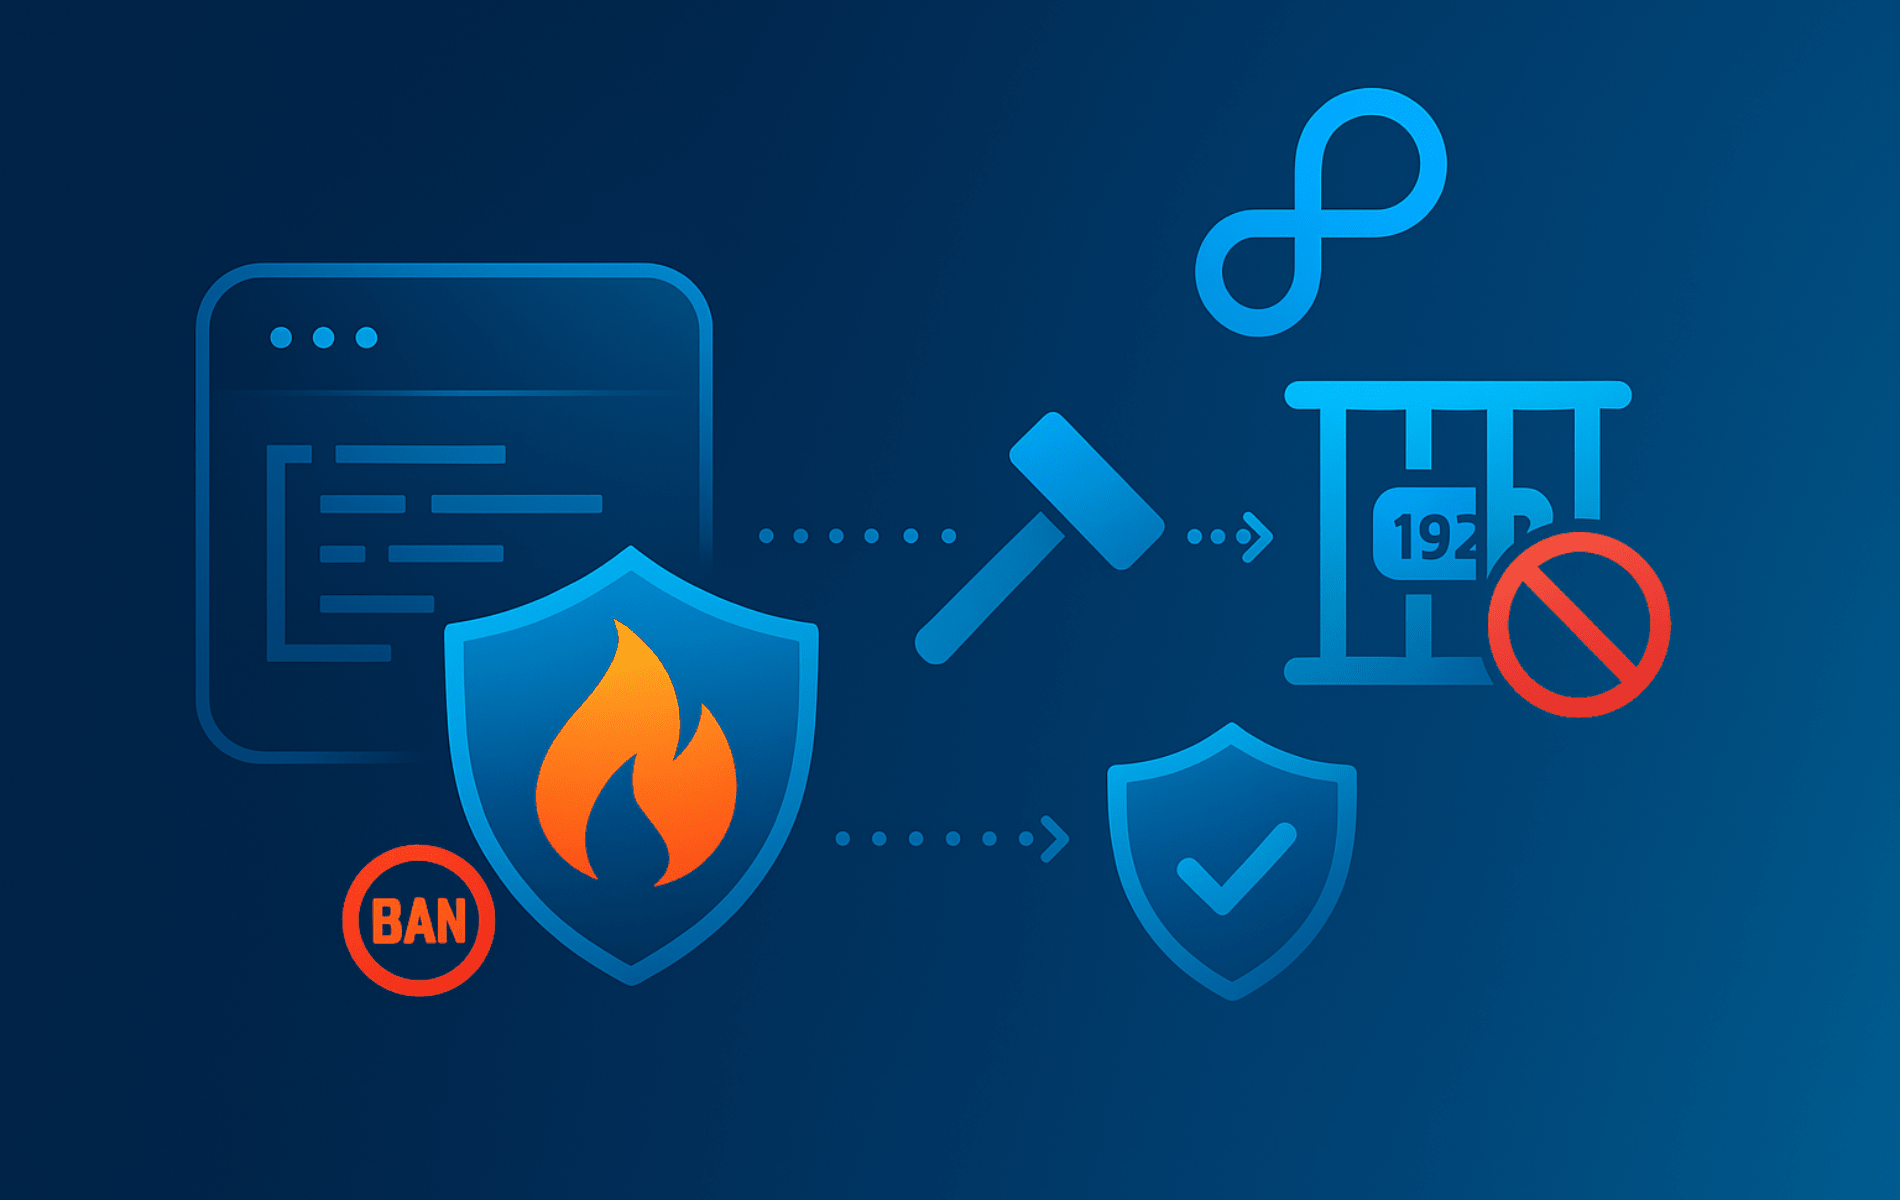
Install Fail2ban with Firewalld on Fedora
Start by refreshing Fedora’s package metadata and applying available updates. Review the transaction before confirming, especially on remote servers where kernel, OpenSSH, NetworkManager, or firewall updates may affect active sessions.
sudo dnf upgrade --refreshThese commands use
sudofor system-level package and service changes. If your account cannot run sudo yet, add the account to Fedora’swheelgroup with the guide on how to add a user to sudoers on Fedora before continuing.
Install Firewalld, Fail2ban, and the Fedora package that switches Fail2ban’s default ban action to Firewalld rich rules:
sudo dnf install firewalld fail2ban fail2ban-firewalldThe package names also answer the common DNF search path: fail2ban installs the service, while fail2ban-firewalld installs the Fedora integration file. For more package-manager examples, see the DNF5 install command guide for Fedora.
Confirm the two Fail2ban packages are installed. The command prints only the package name and upstream version so update-release suffixes do not distract from the important result:
rpm -q --qf '%{NAME} %{VERSION}\n' fail2ban fail2ban-firewalldExpected output on current Fedora releases is:
fail2ban 1.1.0
fail2ban-firewalld 1.1.0
Start Firewalld and Fail2ban
Enable Firewalld first, then start Fail2ban. Keep an existing SSH session open while changing firewall state on a remote server.
sudo systemctl enable --now firewalld
sudo systemctl enable --now fail2ban
Check that both services are active and enabled for future boots:
systemctl is-active firewalld fail2ban
systemctl is-enabled firewalld fail2ban
Expected output is:
active
active
enabled
enabled
If you administer the machine over SSH, first identify the Firewalld zone attached to your active network interface:
sudo firewall-cmd --get-active-zonesRelevant output on Fedora Workstation looks like this:
FedoraWorkstation (default)
  interfaces: ens160
Use the zone assigned to the interface that carries your SSH connection. For example, Fedora Workstation commonly uses FedoraWorkstation:
sudo firewall-cmd --zone=FedoraWorkstation --query-service=sshyes
Replace FedoraWorkstation with your active zone name when it differs. A no response means that zone does not expose Fedora’s standard SSH service, so check your zone design before changing rules, especially if SSH listens on a custom port.
Confirm the Firewalld Ban Action
The fail2ban-firewalld package writes a small override under /etc/fail2ban/jail.d/. Verify that Fail2ban will use Firewalld rich rules for normal and all-port bans:
sudo grep -E '^(banaction|banaction_allports)' /etc/fail2ban/jail.d/00-firewalld.confRelevant output includes:
banaction = firewallcmd-rich-rules
banaction_allports = firewallcmd-rich-rules
This Fedora default uses Firewalld rich rules, not Fail2ban-managed ipsets. Only switch to firewallcmd-ipset when you intentionally maintain an ipset-based policy and have tested that action on your server.
Configure Fail2ban on Fedora
Keep local settings in a separate file instead of editing the packaged defaults. That keeps Fedora package updates clean and makes your changes easier to review later.
sudo nano /etc/fail2ban/jail.d/local.confAdd a compact baseline for SSH protection:
[DEFAULT]
backend = systemd
ignoreip = 127.0.0.1/8 ::1
bantime = 3600
findtime = 600
maxretry = 5

[sshd]
enabled = true
port = ssh
backend = systemd
maxretry = 5
findtime = 600
bantime = 3600
Fedora’s packaged paths file already sets the SSHD backend to systemd, but keeping backend = systemd in the local file makes the jail’s log source explicit. Add trusted admin addresses to ignoreip only after you know their stable IPs or networks.
Validate the Fail2ban configuration before restarting the service:
sudo fail2ban-client -tOK: configuration test is successful
Restart Fail2ban, then confirm the SSHD jail is active:
sudo systemctl restart fail2ban
sudo fail2ban-client status
Expected output shows the sshd jail:
Status
|- Number of jail:    1
`- Jail list:    sshd
Inspect the jail itself when you need to check log source and ban counters:
sudo fail2ban-client status sshdRelevant output on current Fedora releases includes the systemd journal match and the current ban list:
Status for the jail: sshd
|- Filter
|  |- Currently failed:    0
|  |- Total failed:    0
|  `- Journal matches:    _SYSTEMD_UNIT=sshd.service + _COMM=sshd + _COMM=sshd-session
`- Actions
   |- Currently banned:    0
   |- Total banned:    0
   `- Banned IP list:
If SSH is not installed or enabled yet, configure SSH on Fedora first, then return to the Fail2ban jail check.
Tune Ban Timing and Allowlists
For repeat offenders, Fail2ban can increase the ban length after each new offense. Add these lines inside the existing [DEFAULT] section when longer repeat bans fit your policy:
bantime.increment = true
bantime.multipliers = 1 2 4 8 16 32 64
The first ban uses the base bantime. Later bans multiply that value, which is useful for repeated probes but can also keep a legitimate user locked out longer after a bad password loop.
To prevent trusted networks from being banned, extend ignoreip in [DEFAULT]. Use documentation addresses as placeholders only; replace them with your real management network before saving:
ignoreip = 127.0.0.1/8 ::1 192.0.2.50 198.51.100.0/24Enable Jails for Other Services
Only enable jails for services that are installed, running, and writing logs in the path or journal source the filter expects. For example, enable Apache protection only after Apache HTTP Server is installed on Fedora and authentication failures are visible in its logs.
[apache-auth]
enabled = true
port = http,https
logpath = %(apache_error_log)s
bantime = 86400
findtime = 600
maxretry = 3
After adding any service jail, run sudo fail2ban-client -t, restart Fail2ban, then check the named jail with sudo fail2ban-client status jail-name. A jail that never sees matching log entries will not ban anything.
Verify Firewalld and Fail2ban Integration
A manual test proves that Fail2ban can hand a ban to Firewalld and remove it again. The example uses 203.0.113.7, a documentation-only address that should not belong to a real client.
sudo fail2ban-client set sshd banip 203.0.113.71
Check the SSHD jail and Firewalld rich rules:
sudo fail2ban-client status sshd
sudo firewall-cmd --list-rich-rules
Relevant output includes the banned address and the Firewalld rule that rejects matching SSH traffic:
Status for the jail: sshd
|- Filter
|  |- Currently failed:    0
|  |- Total failed:    0
|  `- Journal matches:    _SYSTEMD_UNIT=sshd.service + _COMM=sshd + _COMM=sshd-session
`- Actions
   |- Currently banned:    1
   |- Total banned:    1
   `- Banned IP list:    203.0.113.7
rule family="ipv4" source address="203.0.113.7" port port="ssh" protocol="tcp" reject type="icmp-port-unreachable"
Remove the test ban immediately after confirming the rule:
sudo fail2ban-client set sshd unbanip 203.0.113.7
sudo firewall-cmd --list-rich-rules
The unban command returns 1. If the second command prints no Fail2ban rule for 203.0.113.7, Firewalld no longer has the test block.
Manage Fail2ban Bans and Logs
The fail2ban-client command is the main control tool for jail status, manual bans, and manual unbans.
sudo fail2ban-client status
sudo fail2ban-client status sshd
To ban or unban a specific address manually, target the jail by name:
sudo fail2ban-client set sshd banip 203.0.113.7
sudo fail2ban-client set sshd unbanip 203.0.113.7
Fail2ban writes its own log to /var/log/fail2ban.log. Use the tail command to review recent entries or follow new events:
sudo tail -n 30 /var/log/fail2ban.log
sudo tail -f /var/log/fail2ban.log
Use the grep command guide when you need stronger filtering. A quick IP lookup looks like this:
sudo grep '203.0.113.7' /var/log/fail2ban.logFor SSH authentication failures, the active Fedora SSHD jail reads from the systemd journal. This check is useful when Fail2ban sees no failures but SSH login attempts are definitely happening:
sudo journalctl -u sshd --since "1 hour ago" | grep "Failed password" | tail -n 10Test SSH Protection Safely
A real SSH test should come from a second machine or VM, not from your only current admin session. Trigger a few failed logins against a non-existent test user, then stop before you lock out a legitimate account or automation source.
ssh testuser@your-server-ipAfter enough failed attempts to cross maxretry, check the jail and log:
sudo fail2ban-client status sshd
sudo tail -n 20 /var/log/fail2ban.log
If you used a real client address for testing, unban it when you are done:
sudo fail2ban-client set sshd unbanip YOUR_TEST_IPCreate and Validate a Custom Fail2ban Filter
Custom filters should be tested before they are attached to a jail. Fail2ban macros such as %(__prefix_line)s need common.conf, so include it explicitly.
sudo nano /etc/fail2ban/filter.d/myapp.local[INCLUDES]
before = common.conf
[Definition]
_daemon = myapp
failregex = ^%(__prefix_line)sUnauthorized access attempt from <HOST>.*$
ignoreregex =Create a small sample log line that matches the filter, then test it with fail2ban-regex:
printf 'May 15 12:00:00 fedora myapp[123]: Unauthorized access attempt from 203.0.113.7\n' | sudo tee /tmp/myapp-fail2ban-test.log > /dev/null
fail2ban-regex /tmp/myapp-fail2ban-test.log /etc/fail2ban/filter.d/myapp.local
Relevant output includes:
Failregex: 1 total
Lines: 1 lines, 0 ignored, 1 matched, 0 missed
If the output shows 0 matched, fix the filter before enabling the jail. Once the filter works, remove the temporary sample log:
sudo rm -f /tmp/myapp-fail2ban-test.logAttach a custom filter only after the real service writes matching log lines. The jail also needs a real logpath, a service port, and a restart followed by sudo fail2ban-client -t.
Update or Remove Fail2ban from Fedora
Fail2ban and Firewalld update through Fedora’s normal DNF workflow. To update only the packages used in this setup, run:
sudo dnf upgrade fail2ban fail2ban-firewalld firewalldTo remove Fail2ban while leaving Firewalld in place, disable the service and remove the Fail2ban packages:
sudo systemctl disable --now fail2ban
sudo dnf remove fail2ban fail2ban-firewalld
Remove only the local files you created. This example deletes the SSHD jail override and the custom filter from the earlier sections:
sudo rm -f /etc/fail2ban/jail.d/local.conf
sudo rm -f /etc/fail2ban/filter.d/myapp.local
The next cleanup command deletes all Fail2ban configuration and log files, including settings you may want during a reinstall. Skip it unless you intentionally want a clean slate.
sudo rm -rf /etc/fail2ban
sudo rm -f /var/log/fail2ban.log /var/log/fail2ban.log-* /var/log/fail2ban.log.*
Verify the two Fail2ban packages are gone:
rpm -q fail2ban fail2ban-firewalldpackage fail2ban is not installed package fail2ban-firewalld is not installed
Troubleshoot Fail2ban and Firewalld on Fedora
Fail2ban Fails to Start
Start with Fail2ban’s parser because most startup failures come from a typo, duplicate option, missing bracket, or invalid filter expression:
sudo fail2ban-client -tOK: configuration test is successful
If the parser reports an error, it normally names the file and option that failed. After correcting the file, restart Fail2ban and review the unit log if it still fails:
sudo systemctl restart fail2ban
sudo journalctl -u fail2ban --since "30 minutes ago" --no-pager
The SSHD Jail Does Not Activate
Check the SSH daemon first. A Fail2ban jail can be correctly written but still useless if the service is not installed, inactive, or using a different log source.
systemctl is-active sshd
sudo fail2ban-client status sshd
If sshd is inactive or missing, fix SSH before troubleshooting Fail2ban. If the jail exists but shows no failures, compare its Journal matches line with recent SSH logs:
sudo journalctl -u sshd --since "1 hour ago" --no-pagerBans Are Logged but Not Applied in Firewalld
Confirm Firewalld is running, then verify the Fail2ban action file still points at Firewalld rich rules:
systemctl is-active firewalld
sudo grep -E '^(banaction|banaction_allports)' /etc/fail2ban/jail.d/00-firewalld.conf
sudo firewall-cmd --list-rich-rules
If Fail2ban shows a banned IP but Firewalld has no matching rich rule, restart both services in order and test another manual ban:
sudo systemctl restart firewalld
sudo systemctl restart fail2ban
sudo fail2ban-client set sshd banip 203.0.113.7
sudo firewall-cmd --list-rich-rules
sudo fail2ban-client set sshd unbanip 203.0.113.7
A Custom Filter Shows 0 Matched Lines
Use verbose regex testing to see whether the pattern matched, whether a <HOST> value was captured, and whether Fail2ban treated the line as a failure:
fail2ban-regex -v /path/to/sample.log /etc/fail2ban/filter.d/myapp.localDo not enable a custom jail until the test shows matched lines with a captured host. A filter that only matches helper lines or misses the host value can look active while never banning anything.
Conclusion
Fail2ban is running on Fedora with Firewalld enforcing bans through rich rules, and the SSHD jail has a clear test and recovery path. Keep the log checks close while tuning thresholds, then consider automatic updates on Fedora so security fixes keep arriving without turning the server into a manual maintenance queue.

Formatting tips for your comment
You can use basic HTML to format your comment. Useful tags currently allowed in published comments:
<code>command</code>command<strong>bold</strong><em>italic</em><a href="https://example.com">link</a><blockquote>quote</blockquote>