
Installing FreeOffice on Ubuntu gives you a native office suite for DOCX, XLSX, and PPTX files without a Microsoft 365 subscription. It is not Microsoft Office for Linux, but TextMaker, PlanMaker, and Presentations cover the common Word, Excel, and PowerPoint exchange workflow. For a fully open-source suite with broader community packaging, compare it with LibreOffice on Ubuntu.
The recommended Ubuntu path uses SoftMaker’s APT repository because it keeps service packs available through normal package updates. FreeOffice is not in Ubuntu’s default repositories, the Snap Store, or Flathub, and SoftMaker’s Linux download page lists installer-script, DEB, RPM, and TGZ options instead of an AppImage. Current SoftMaker Linux builds are 64-bit only, so the commands target Ubuntu amd64 systems.
Install FreeOffice on Ubuntu
The SoftMaker APT repository publishes the softmaker-freeoffice-2024 package through a universal stable suite. The same package candidate is available on Ubuntu 26.04, 24.04, and 22.04.
These steps cover Ubuntu 26.04 LTS, 24.04 LTS, and 22.04 LTS on 64-bit amd64 systems. SoftMaker’s Linux packages do not support 32-bit systems, and the APT repository currently publishes amd64 metadata only.
Update Ubuntu Packages
Refresh your package index before adding the SoftMaker repository. If your system already has pending package upgrades, apply them first to avoid mixing a new repository with stale package metadata.
sudo apt updateThese commands use
sudofor tasks that need root privileges. If your account cannot run administrative commands, add the account to sudoers first or use an administrator account. See add a new user to sudoers on Ubuntu for the account setup path.
Apply available upgrades when APT reports them:
sudo apt upgradeInstall FreeOffice Repository Prerequisites
Install the tools needed to download the repository key, validate HTTPS certificates, and convert the ASCII-armored key into an APT keyring:
sudo apt install curl ca-certificates gpgImport the SoftMaker FreeOffice GPG Key
Create the APT keyring directory, then download the current SoftMaker repository key with curl. The gpg --dearmor step converts the public key into the binary format APT expects for Signed-By repositories.
sudo install -m 0755 -d /etc/apt/keyringscurl -fsSL https://shop.softmaker.com/repo/apt/softmaker-repo.asc | gpg --dearmor | sudo tee /etc/apt/keyrings/softmaker.gpg > /dev/nullsudo chmod 0644 /etc/apt/keyrings/softmaker.gpgAdd the SoftMaker FreeOffice APT Source
Add SoftMaker’s repository as a DEB822 source file. The stable suite is a SoftMaker channel name, not an Ubuntu codename, so the same source file applies across the supported Ubuntu LTS releases. The tee command writes the file with root privileges, while the > /dev/null redirect keeps the copied text from echoing back into the terminal.
printf '%s\n' \
'Types: deb' \
'URIs: https://shop.softmaker.com/repo/apt' \
'Suites: stable' \
'Components: non-free' \
'Signed-By: /etc/apt/keyrings/softmaker.gpg' \
| sudo tee /etc/apt/sources.list.d/softmaker.sources > /dev/null
The non-free component reflects SoftMaker’s proprietary license. FreeOffice is free to use, but it is not open-source software.
Refresh APT and Check the FreeOffice Candidate
Refresh APT again so Ubuntu reads the new SoftMaker source:
sudo apt updateConfirm APT sees the FreeOffice package before installing it:
apt-cache policy softmaker-freeoffice-2024Expected output includes the SoftMaker repository and a package candidate:
softmaker-freeoffice-2024:
  Installed: (none)
  Candidate: 3702
  Version table:
     3702 500
        500 https://shop.softmaker.com/repo/apt stable/non-free amd64 Packages
The build number may change as SoftMaker publishes service packs. The important checks are that Candidate is not (none) and that the source line points to shop.softmaker.com.
Install the FreeOffice Package
Install the current FreeOffice 2024 package from the SoftMaker repository:
sudo apt install softmaker-freeoffice-2024APT should show FreeOffice as the only new package and report the download and disk-space change:
The following NEW packages will be installed:
  softmaker-freeoffice-2024
Need to get 142 MB of archives.
After this operation, 281 MB of additional disk space will be used.
APT 3 on Ubuntu 26.04 and APT 2 on Ubuntu 24.04 and 22.04 can phrase the surrounding summary differently, but they install the same softmaker-freeoffice-2024 package from the same repository.
Verify FreeOffice Installation
Confirm the installed package version:
dpkg-query -W softmaker-freeoffice-2024softmaker-freeoffice-2024 3702
Check that the three desktop application launchers are available in your command path:
command -v textmaker24 planmaker24 presentations24/usr/bin/textmaker24 /usr/bin/planmaker24 /usr/bin/presentations24
The package also installs textmaker24free, planmaker24free, and presentations24free. Both command families launch the FreeOffice 2024 applications.
Launch FreeOffice Applications
FreeOffice installs separate launchers for TextMaker, PlanMaker, and Presentations. Use the application menu for normal desktop use, or run the terminal commands when you want to start a specific component from a shell.
Launch FreeOffice from the Terminal
| FreeOffice Application | Document Type | Terminal Command |
|---|---|---|
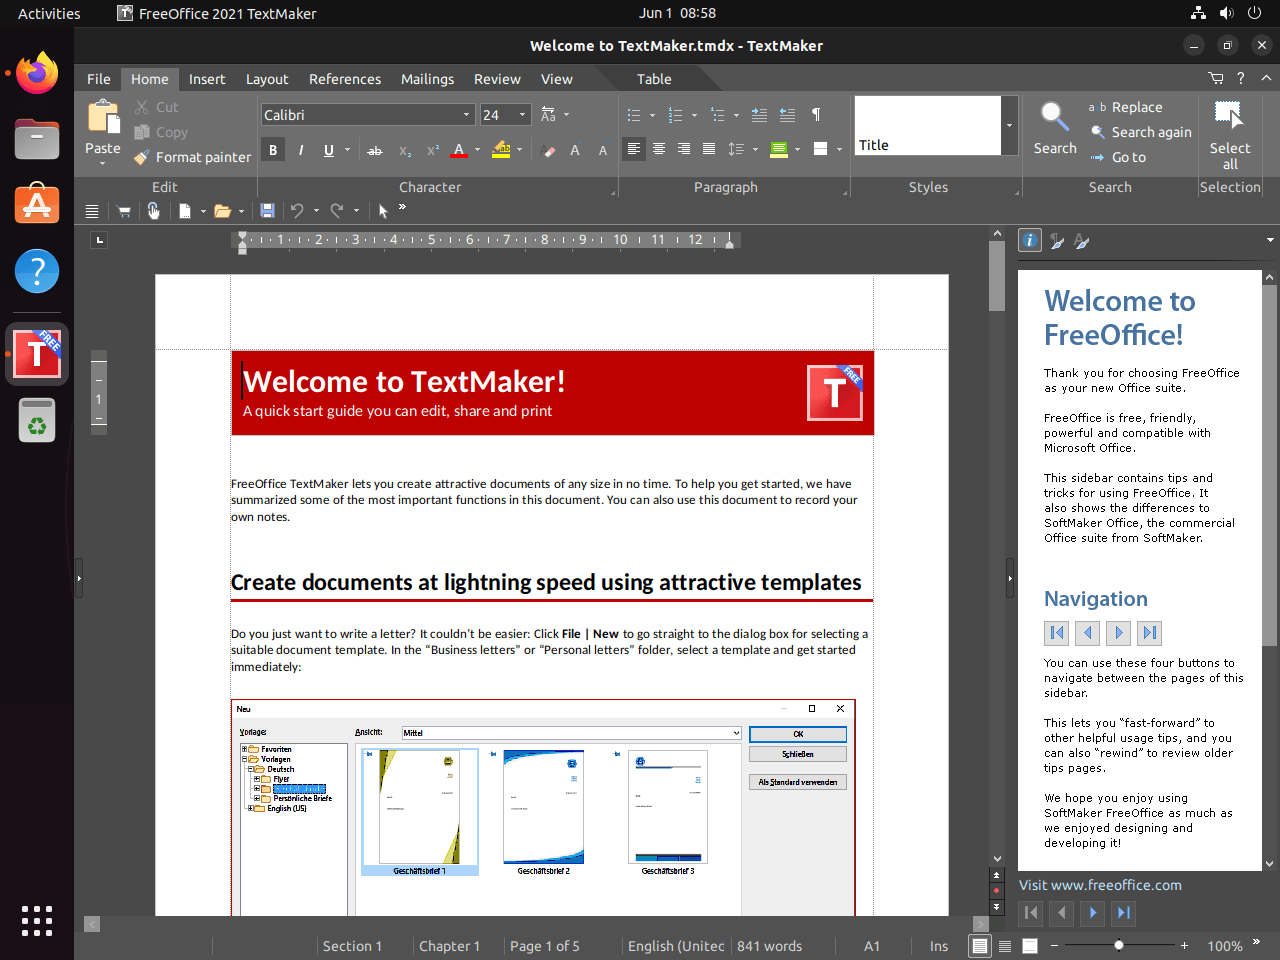
| TextMaker | Word processing, DOCX, RTF, ODT | textmaker24 |
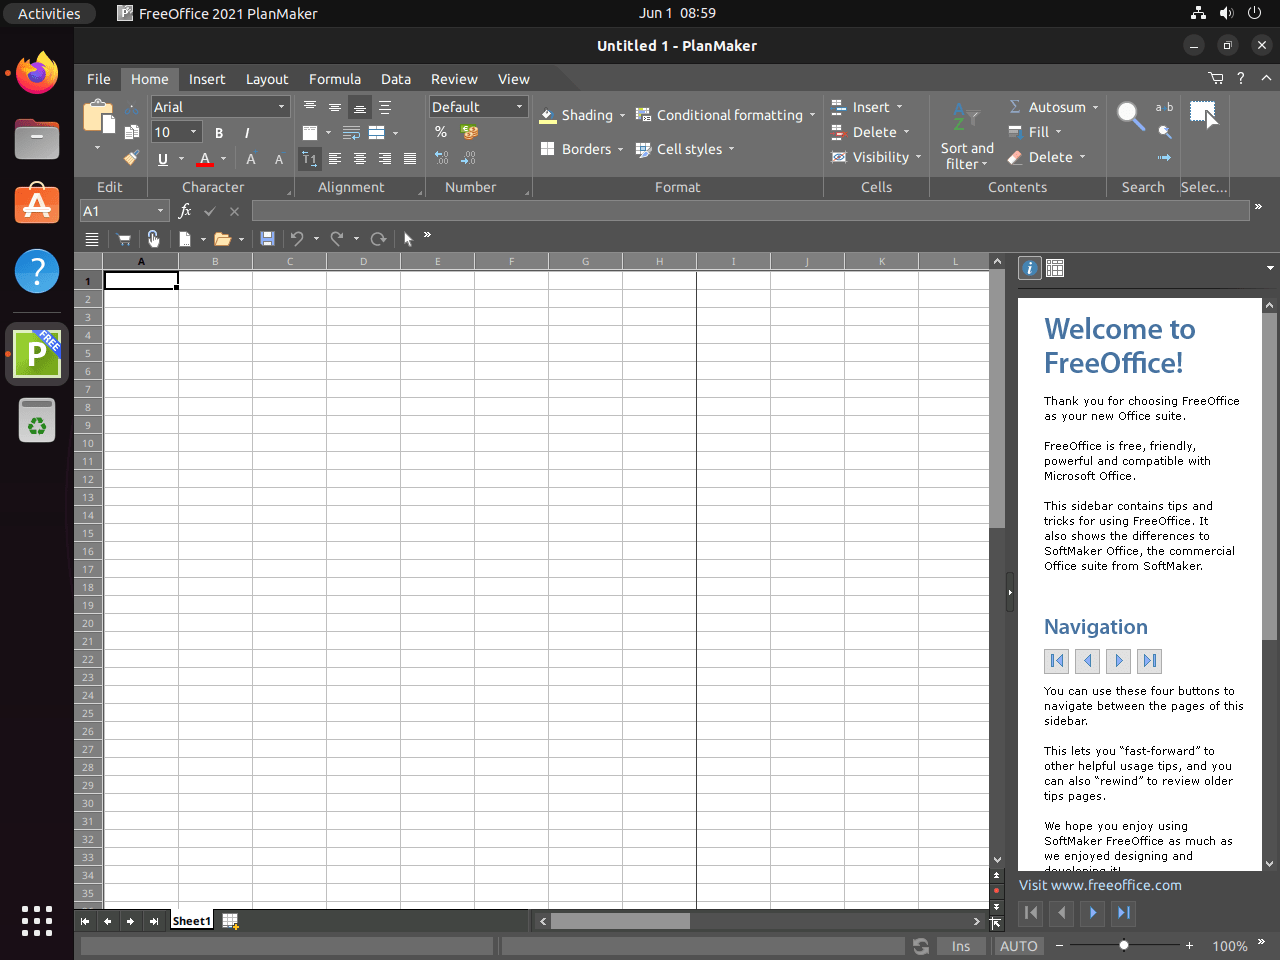
| PlanMaker | Spreadsheets, XLSX, CSV | planmaker24 |
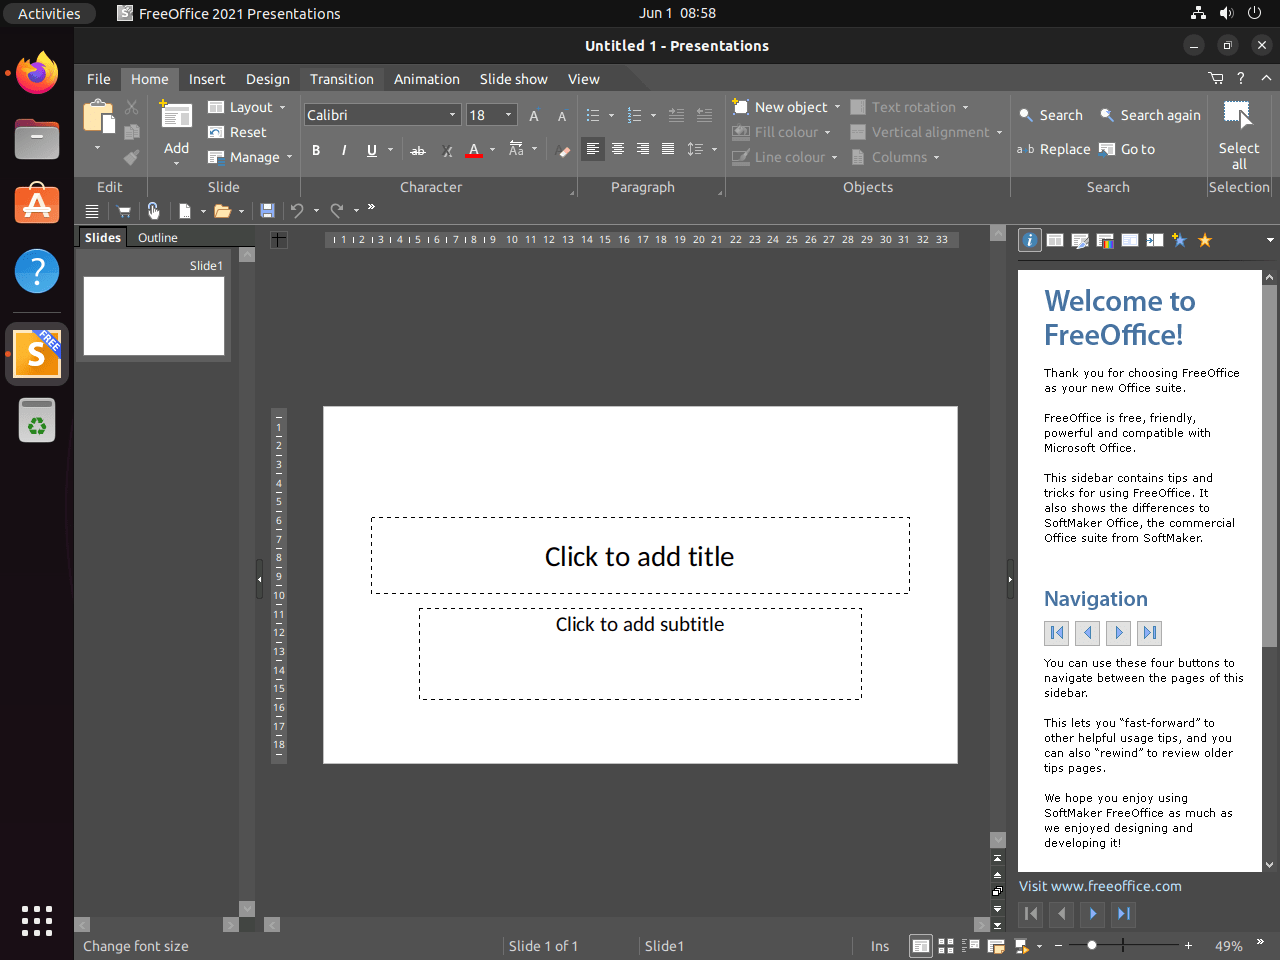
| Presentations | Slide decks, PPTX | presentations24 |
Launch FreeOffice from the Ubuntu Desktop
Open the application grid, then search for TextMaker, PlanMaker, or Presentations. GNOME users can follow Activities > Show Applications, while other desktop environments usually place the shortcuts under an Office category.
Configure FreeOffice for Office Documents
After installation, adjust the first-use settings that matter most when exchanging files with Microsoft Office users.
Set Microsoft Office Formats as Defaults
In each FreeOffice application, open File > Options > Files > Default File Formats and select the matching Microsoft Office format. TextMaker should default to DOCX, PlanMaker to XLSX, and Presentations to PPTX when your work regularly moves between FreeOffice and Microsoft Office.
To verify the setting, create a new file and open the save dialog. The default file type should be DOCX, XLSX, or PPTX instead of SoftMaker’s native TMDX, PMDX, or PRDX formats.
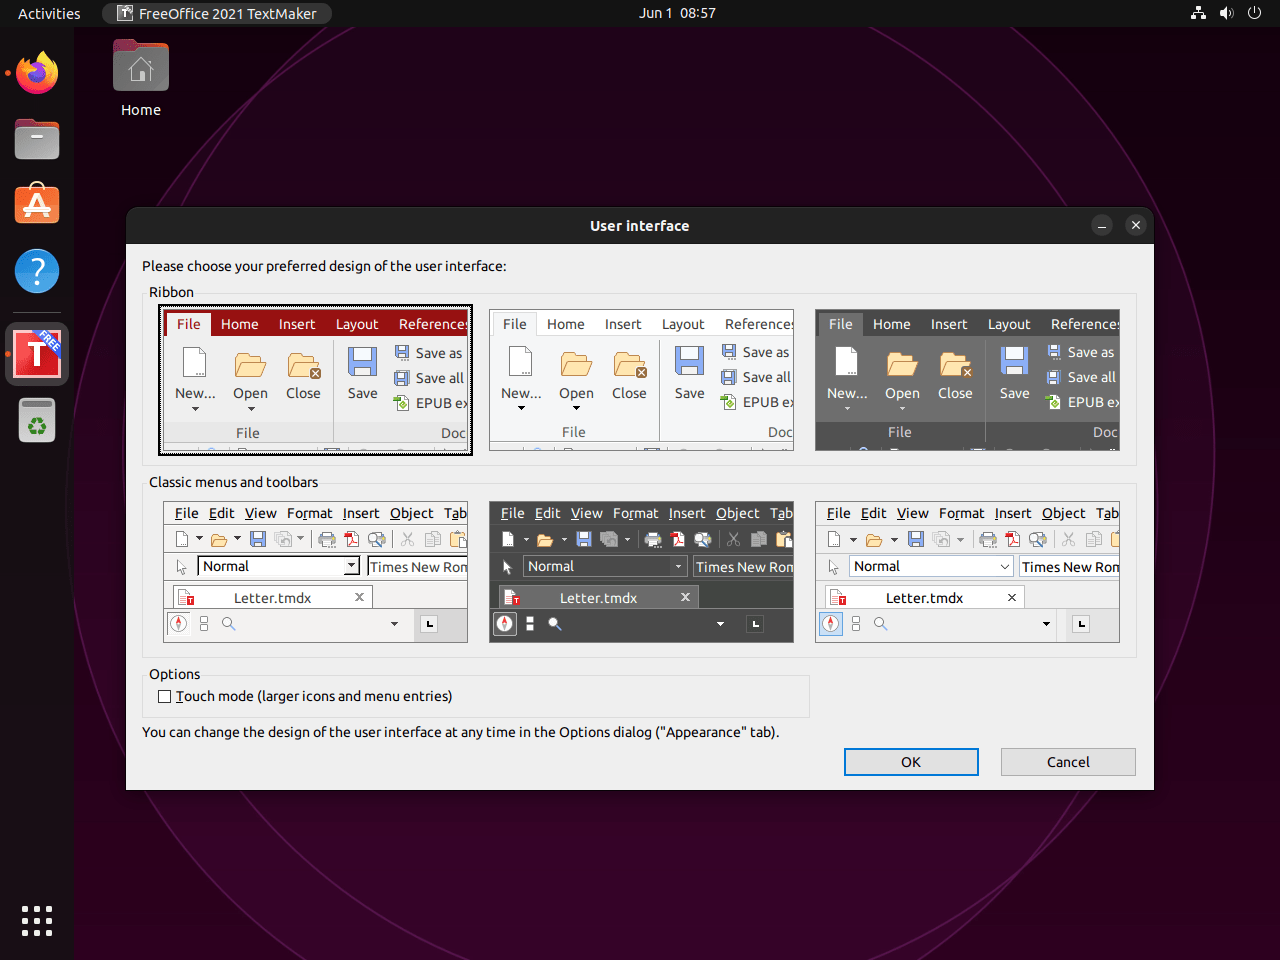
Customize the FreeOffice Interface
FreeOffice can use a ribbon-style interface or classic menus. Right-click the ribbon and select Customize Ribbon to add or remove commands, or use View > Sidebar to toggle the formatting sidebar. These changes apply per application, so repeat them in TextMaker, PlanMaker, and Presentations when needed.
Use FreeOffice Templates and Styles
Use File > New > New from template to start from built-in templates. TextMaker styles help keep long documents consistent, Presentations master slides keep deck layouts aligned, and PlanMaker cell styles help standardize spreadsheet formatting.
Match Each FreeOffice App to the Right Task
Use TextMaker for contracts, reports, and letters; use PlanMaker for worksheets, CSV files, formulas, and conditional formatting; use Presentations for slide decks and master-slide layouts. If you synchronize documents across computers, pairing FreeOffice with Nextcloud Desktop on Ubuntu can keep the same files available on multiple Linux systems.
Update or Remove FreeOffice on Ubuntu
Update FreeOffice with APT
FreeOffice service packs appear through the SoftMaker APT repository after the source is configured. To update only FreeOffice, refresh package metadata and use APT’s single-package upgrade form:
sudo apt update && sudo apt install --only-upgrade softmaker-freeoffice-2024You can also update it during a normal system upgrade:
sudo apt update && sudo apt upgradeIf you use unattended upgrades on Ubuntu, do not assume third-party repository packages are included by default. Treat automatic FreeOffice updates as a separate policy choice unless you have explicitly allowed the SoftMaker origin.
Remove FreeOffice Package
Remove the FreeOffice package with APT:
sudo apt remove softmaker-freeoffice-2024APT should show the FreeOffice package in the removal list:
The following packages will be REMOVED:
  softmaker-freeoffice-2024
After this operation, 281 MB disk space will be freed.
Verify FreeOffice Package Removal
Check for an installed package state after removal:
dpkg -l softmaker-freeoffice-2024 | grep '^ii'No output means the package is no longer installed.
Remove the FreeOffice Repository and Key
If you do not plan to reinstall FreeOffice or another SoftMaker package from the same source, remove the repository file and keyring:
sudo rm -f /etc/apt/sources.list.d/softmaker.sources
sudo rm -f /etc/apt/keyrings/softmaker.gpg
sudo apt update
Remove Leftover FreeOffice System Files
Package removal can leave a small package-created directory under /usr/share/freeoffice2024/ and the system folder /etc/SoftMaker/. Check for those paths after package removal:
sudo ls -la /usr/share/freeoffice2024 /etc/SoftMaker 2>/dev/nullIf those directories remain and the FreeOffice package is already removed, delete them:
sudo rm -rf /usr/share/freeoffice2024 /etc/SoftMakerRemove User Settings and Templates
APT removal does not remove settings stored in your home directory. These paths may contain preferences, templates, recent-file data, and other user-specific application files. They do not represent every document you created, since your documents remain wherever you saved them.
Back up anything important before running the deletion command.
rm -rfpermanently removes the listed directories and cannot be undone from the terminal.
rm -rf ~/.config/SoftMaker ~/.local/share/SoftMakerTroubleshoot FreeOffice on Ubuntu
Use the checks below when the repository does not refresh, the package candidate is missing, or FreeOffice opens but documents do not look right.
Fix SoftMaker Repository GPG Errors
If sudo apt update reports a missing public key or signature error for the SoftMaker repository, confirm the keyring exists and is readable:
file -b /etc/apt/keyrings/softmaker.gpg | cut -d, -f1
stat -c '%a %U %G %n' /etc/apt/keyrings/softmaker.gpg
OpenPGP Public Key Version 4 644 root root /etc/apt/keyrings/softmaker.gpg
If the file is missing or you used an older key URL that returns 404, recreate the keyring with the current SoftMaker key URL:
curl -fsSL https://shop.softmaker.com/repo/apt/softmaker-repo.asc | gpg --dearmor | sudo tee /etc/apt/keyrings/softmaker.gpg > /dev/null
sudo chmod 0644 /etc/apt/keyrings/softmaker.gpg
sudo apt update
Fix a Missing FreeOffice Package Candidate
If apt-cache policy softmaker-freeoffice-2024 shows Candidate: (none), inspect the repository file for typos:
cat /etc/apt/sources.list.d/softmaker.sourcesTypes: deb URIs: https://shop.softmaker.com/repo/apt Suites: stable Components: non-free Signed-By: /etc/apt/keyrings/softmaker.gpg
After correcting the file, refresh APT and recheck the candidate:
sudo apt update
apt-cache policy softmaker-freeoffice-2024
Fix FreeOffice Terminal Launch Commands
If a terminal command such as textmaker24 returns “command not found,” verify that the package is installed and that the launcher files exist:
dpkg-query -W softmaker-freeoffice-2024
command -v textmaker24 planmaker24 presentations24
If the package is installed but launchers are missing, reinstall FreeOffice from the configured repository:
sudo apt install --reinstall softmaker-freeoffice-2024Improve Microsoft Office Font Compatibility
If Word or PowerPoint files open with substituted fonts, install Microsoft’s core font package from Ubuntu’s multiverse component. The dedicated Microsoft fonts on Ubuntu guide covers the same package in more detail; if APT cannot locate it, enable the needed Ubuntu components first with enable Universe and Multiverse on Ubuntu.
sudo apt install ttf-mscorefonts-installerAPT may show a Microsoft font license prompt during installation. Accept it only if the license terms fit your use case, then restart FreeOffice so the applications can see the new fonts.
Handle Complex Office Document Formatting
FreeOffice reads and writes common Microsoft Office formats, but complex files with macros, advanced embedded objects, or unusual fonts can still render differently. Set DOCX, XLSX, and PPTX as defaults first, then test the specific document type you exchange most often. For files that still render incorrectly, try opening and resaving a copy in LibreOffice or Microsoft Office before editing the production document in FreeOffice.
Conclusion
FreeOffice on Ubuntu is best installed from SoftMaker’s signed APT repository when you want normal package-manager updates for TextMaker, PlanMaker, and Presentations. The repository path works across Ubuntu 26.04, 24.04, and 22.04 on amd64 systems, while direct downloads and portable TGZ builds remain SoftMaker-specific alternatives for users who need them. Keep the repository source and keyring only while you want APT-managed FreeOffice updates.

Formatting tips for your comment
You can use basic HTML to format your comment. Useful tags currently allowed in published comments:
<code>command</code>command<strong>bold</strong><em>italic</em><a href="https://example.com">link</a><blockquote>quote</blockquote>