A self-hosted GitLab server keeps repositories, merge requests, issue tracking, and CI/CD coordination on your own Debian host. To install GitLab on Debian, use GitLab’s Community Edition (CE) package repository for Debian 13 (Trixie), Debian 12 (Bookworm), or Debian 11 (Bullseye), then set the external URL before the first package install so the bundled services configure correctly.
In this workflow, GitLab CE refers to the Linux package, also called Omnibus GitLab. It installs the server, bundled PostgreSQL, Redis, Nginx, Puma, Sidekiq, and related services; GitLab Runner uses a separate repository and belongs after the server is reachable and you know where CI/CD jobs should run.
Install GitLab CE on Debian
Check GitLab Requirements on Debian
GitLab’s Linux package support table lists Debian 13, Debian 12, and Debian 11 packages for amd64 and arm64. Use Debian 13 or 12 for a new production server. Debian 11 remains listed, but GitLab’s table places its operating-system EOL in August 2026; keep Debian 11 installs to existing hosts while you plan a move to Debian 12 or 13.
GitLab’s current requirements page recommends 16 GB of memory for a normal small node and notes that 8 GB can work in constrained cases. Storage grows with repositories, artifacts, logs, and backups; reserve at least 40 GB before adding project data.
Use a real hostname when possible. GitLab can request a Let’s Encrypt certificate automatically when external_url uses https://, DNS points to the server, and inbound HTTP and HTTPS traffic reaches the host. For a local lab without public DNS, use http://gitlab.example.test first and switch to HTTPS after you have certificates ready.
If the server uses outbound egress filtering, allow access to packages.gitlab.com and storage.googleapis.com/packages-ops. GitLab packages and related metadata are served through Packagecloud and Google Cloud Storage, so blocking either endpoint can make repository setup succeed but package downloads fail.
Update Debian and Install Prerequisites
Refresh the APT index before adding the GitLab repository. Upgrading first also reduces the chance that GitLab pulls against stale base libraries.
sudo apt update
sudo apt upgrade
If your account cannot run
sudo, add a Debian sudo user before continuing. The package install, firewall rules, repository file, and GitLab configuration all write to system paths.
Install the tools used by the repository setup and GitLab package. gpg converts GitLab’s signing key into an APT keyring, curl downloads the key, tzdata and perl satisfy GitLab package dependencies, and openssh-server keeps Git over SSH available for users.
sudo apt install curl ca-certificates gpg perl tzdata openssh-server ufwStart the SSH service if this Debian system will accept Git pushes over SSH or if you administer it remotely.
sudo systemctl enable --now sshOpen Firewall Ports for GitLab
GitLab needs SSH for Git operations and HTTP/HTTPS for the web interface and Let’s Encrypt validation. If you are connected over SSH, allow port 22 before enabling UFW so you do not lock yourself out.
sudo ufw allow 22/tcp
sudo ufw allow 80/tcp
sudo ufw allow 443/tcp
sudo ufw --force enable
Check the active rules before installing GitLab. For a fuller firewall walkthrough, see install and configure UFW on Debian and enable SSH on Debian.
sudo ufw statusStatus: active To Action From -- ------ ---- 22/tcp ALLOW Anywhere 80/tcp ALLOW Anywhere 443/tcp ALLOW Anywhere 22/tcp (v6) ALLOW Anywhere (v6) 80/tcp (v6) ALLOW Anywhere (v6) 443/tcp (v6) ALLOW Anywhere (v6)
Add the GitLab CE APT Repository
Use one GitLab CE repository source. GitLab’s Debian package instructions use the same Packagecloud repository; the commands here store that source in Debian’s DEB822 format for easier auditing and cleanup. Older tutorials may use extrepo or GitLab’s setup script, but mixing those with a manual DEB822 source can create duplicate target or Signed-By conflicts. If this host already has an older GitLab CE source, remove it before adding the current source file.
sudo rm -f /etc/apt/sources.list.d/extrepo_gitlab_ce.sources
sudo rm -f /etc/apt/sources.list.d/gitlab_gitlab-ce.list
sudo rm -f /etc/apt/sources.list.d/gitlab_gitlab-ce.sources
Download GitLab’s Packagecloud signing key, convert the ASCII-armored key to a binary keyring, and install it into /usr/share/keyrings for the GitLab source file.
curl -fsSLo gitlab_gitlab-ce.asc https://packages.gitlab.com/gpgkey/gpg.key
gpg --batch --yes --dearmor -o gitlab_gitlab-ce-archive-keyring.gpg gitlab_gitlab-ce.asc
sudo install -m 0644 gitlab_gitlab-ce-archive-keyring.gpg /usr/share/keyrings/gitlab_gitlab-ce-archive-keyring.gpg
rm -f gitlab_gitlab-ce.asc gitlab_gitlab-ce-archive-keyring.gpg
Create a DEB822 source file. The command reads VERSION_CODENAME from /etc/os-release, checks the package architecture, and writes the source only for Debian 13, Debian 12, or Debian 11 on amd64 or arm64.
. /etc/os-release
codename="${VERSION_CODENAME:-}"
arch="$(dpkg --print-architecture)"

case "${codename}:${arch}" in
    trixie:amd64|trixie:arm64|bookworm:amd64|bookworm:arm64|bullseye:amd64|bullseye:arm64)
        printf '%s\n' \
        'Types: deb' \
        'URIs: https://packages.gitlab.com/gitlab/gitlab-ce/debian/' \
        "Suites: ${codename}" \
        'Components: main' \
        "Architectures: ${arch}" \
        'Signed-By: /usr/share/keyrings/gitlab_gitlab-ce-archive-keyring.gpg' | sudo tee /etc/apt/sources.list.d/gitlab_gitlab-ce.sources > /dev/null
        ;;
    *)
        printf 'This GitLab CE APT method supports Debian 13, 12, and 11 on amd64 or arm64 only.\n' >&2
        false
        ;;
esac
Refresh APT and confirm Debian can see the gitlab-ce package from the GitLab repository.
sudo apt update
apt-cache policy gitlab-ce
Relevant output includes the GitLab repository for your Debian codename. Current package versions change as GitLab publishes monthly releases.
gitlab-ce:
  Installed: (none)
  Candidate: 19.x.x-ce.0
  Version table:
     19.x.x-ce.0 500
        500 https://packages.gitlab.com/gitlab/gitlab-ce/debian trixie/main amd64 Packages
On Debian 12 and Debian 11, the final repository path should show bookworm/main or bullseye/main instead of trixie/main.
Install the GitLab CE Package
Set the public URL during the first package install. Replace gitlab.example.com with your real hostname. Use https:// only when DNS and ports 80 and 443 are ready for Let’s Encrypt; otherwise, use http:// and change the URL later.
sudo EXTERNAL_URL="https://gitlab.example.com" apt install gitlab-ceThe package installs GitLab and its bundled services, including PostgreSQL, Redis, Nginx, Gitaly, Puma, and Sidekiq. The download is large, and the first reconfigure run can take several minutes on a small server.
gitlab Reconfigured!
GitLab was successfully installed and configured.
Password stored to /etc/gitlab/initial_root_password. This file will be cleaned up in first reconfigure run after 24 hours.
Check service state after the package finishes. A healthy single-node install shows the main GitLab services in a run state; process IDs and uptime values vary on every host.
sudo gitlab-ctl statusSign In to GitLab
GitLab creates the first administrator account as root. Retrieve the temporary password soon after installation because GitLab removes /etc/gitlab/initial_root_password after 24 hours.
sudo cat /etc/gitlab/initial_root_passwordOpen the URL you used for EXTERNAL_URL, sign in as root, and change the password immediately from the account settings page.
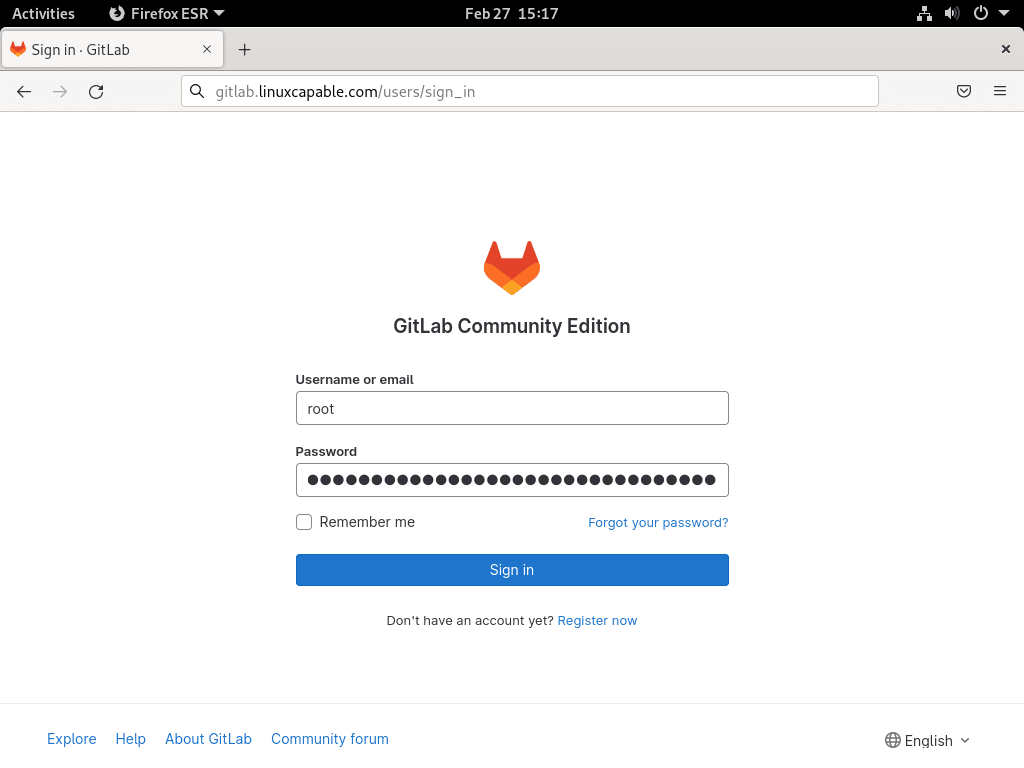
If the temporary password file is already gone, reset the root password from the server console.
sudo gitlab-rake "gitlab:password:reset[root]"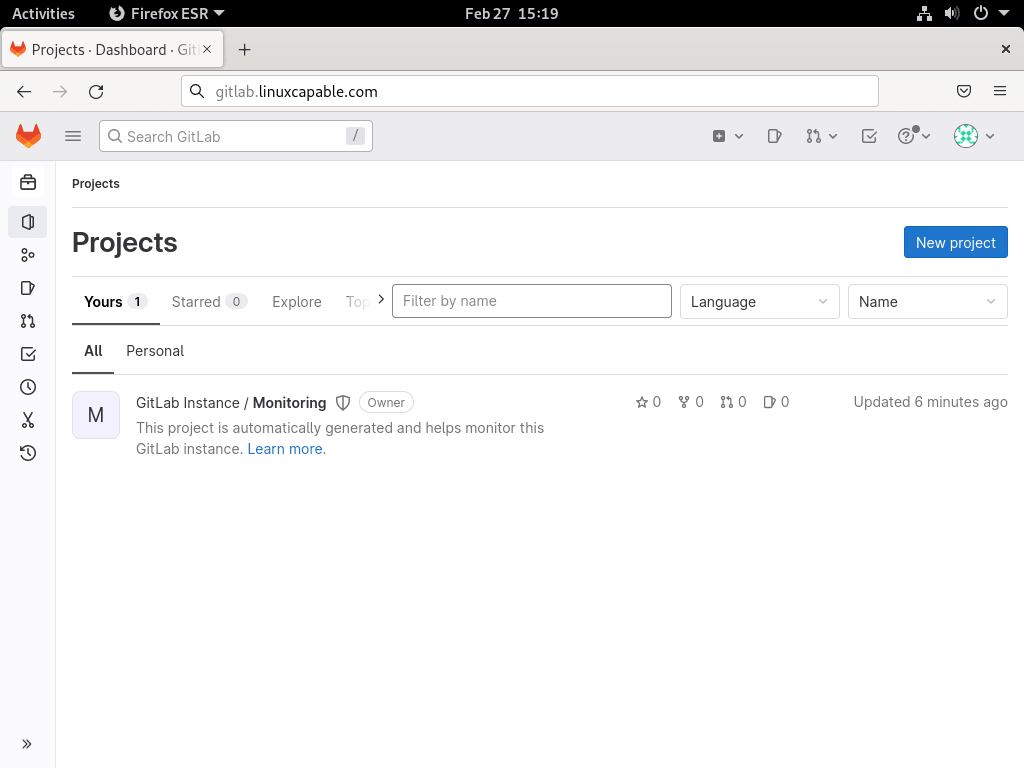
Configure GitLab After Installation
Change the External URL Later
If the hostname or protocol changes after installation, edit /etc/gitlab/gitlab.rb and update the external_url value.
sudo nano /etc/gitlab/gitlab.rbexternal_url 'https://gitlab.example.com'Apply the change with a reconfigure run.
sudo gitlab-ctl reconfigureEnable or Replace HTTPS Certificates
For public HTTPS, GitLab’s Linux package can request Let’s Encrypt certificates when external_url uses https://. DNS must already point to the server, and the firewall must allow inbound HTTP and HTTPS. GitLab’s SSL configuration documentation covers custom certificates, renewal behavior, and advanced TLS settings.
If this is a private lab or internal-only host, keep external_url on http:// until you have a trusted internal certificate path. GitLab will run over HTTP, but browsers and users should treat that as an unencrypted setup.
Configure SMTP Email
Email is optional for a test instance but important for invitations, password resets, merge request notifications, and CI/CD status messages. Add your provider’s SMTP settings to /etc/gitlab/gitlab.rb. For Gmail, use an app password or another supported SMTP authentication path, not the normal account password.
gitlab_rails['smtp_enable'] = true
gitlab_rails['smtp_address'] = "smtp.gmail.com"
gitlab_rails['smtp_port'] = 587
gitlab_rails['smtp_user_name'] = "admin@example.com"
gitlab_rails['smtp_password'] = "app-password-here"
gitlab_rails['smtp_domain'] = "smtp.gmail.com"
gitlab_rails['smtp_authentication'] = "login"
gitlab_rails['smtp_enable_starttls_auto'] = true
gitlab_rails['gitlab_email_from'] = "gitlab@example.com"
Reconfigure GitLab after changing SMTP settings.
sudo gitlab-ctl reconfigureSend a test email from the Rails console. Replace the recipient with an address you can check.
sudo gitlab-rails console -e productionNotify.test_email('you@example.com', 'GitLab SMTP test', 'SMTP is working.').deliver_now
exitBack Up GitLab on Debian
GitLab backups are not optional on a self-hosted server. Application backups protect repositories, database records, uploads, artifacts, and similar GitLab data. Configuration backups protect /etc/gitlab, including secrets required to decrypt parts of the database.
Create a Manual GitLab Backup
Create an application backup with the packaged backup command.
sudo gitlab-backup createBack up the GitLab configuration and secrets separately.
sudo gitlab-ctl backup-etcThe application backup is stored under /var/opt/gitlab/backups. The configuration archive is stored under /etc/gitlab/config_backup. Copy both locations, plus your SSH host keys under /etc/ssh, to storage outside the server.
Schedule Daily Backups
Use a root cron file for Linux package installations. This avoids the common mistake of running a GitLab backup from the git user’s crontab with commands that still need root privileges. The explicit PATH keeps cron from missing GitLab commands installed under /opt/gitlab/bin.
printf '%s\n' 'SHELL=/bin/sh' 'PATH=/opt/gitlab/bin:/usr/local/sbin:/usr/local/bin:/usr/sbin:/usr/bin:/sbin:/bin' '0 2 * * * root gitlab-backup create CRON=1' '30 2 * * * root gitlab-ctl backup-etc --delete-old-backups' | sudo tee /etc/cron.d/gitlab-backups > /dev/nullSet a retention window so local backups do not fill the disk. The example keeps seven days of local backups.
gitlab_rails['backup_keep_time'] = 604800Apply the retention setting after editing /etc/gitlab/gitlab.rb.
sudo gitlab-ctl reconfigureUseful GitLab Service Commands
The gitlab-ctl command manages the bundled services installed by the Linux package.
| Task | Command |
|---|---|
| Show service status | sudo gitlab-ctl status |
| Restart all services | sudo gitlab-ctl restart |
| Reload services that support reloads | sudo gitlab-ctl reload |
| Reapply configuration | sudo gitlab-ctl reconfigure |
| Follow GitLab Rails logs | sudo gitlab-ctl tail gitlab-rails/production.log |
| Run a health check | sudo gitlab-rake gitlab:check |
The log-follow command keeps running until you press Ctrl+C. Use the health check after configuration changes or before major upgrades.
sudo gitlab-rake gitlab:checkUpdate GitLab CE
GitLab publishes frequent security and feature releases. Before a production upgrade, create a backup and read GitLab’s upgrade path documentation. Do not let APT skip required GitLab upgrade stops; if the installed version is several minor or major releases behind, follow the required path and install each stop deliberately.
sudo apt update
apt-cache policy gitlab-ce
For a normal package update where the candidate fits your planned upgrade path, upgrade the installed GitLab CE package through APT.
sudo apt install --only-upgrade gitlab-ceVerify the running GitLab version after the upgrade.
sudo gitlab-rake gitlab:env:info | grep -i "gitlab information" -A 3GitLab information Version: 19.x.x Revision: current Directory: /opt/gitlab/embedded/service/gitlab-rails
Remove GitLab CE
Decide whether you want to preserve data before removing GitLab. The application data, configuration, secrets, repositories, uploads, CI artifacts, and backups may all be needed for a future restore.
Remove GitLab but Keep Data
This path removes the package while leaving data and configuration in place for a reinstall or migration.
sudo gitlab-ctl stop
sudo systemctl stop gitlab-runsvdir
sudo systemctl disable gitlab-runsvdir
sudo rm -f /usr/lib/systemd/system/gitlab-runsvdir.service
sudo systemctl daemon-reload
sudo systemctl reset-failed
sudo gitlab-ctl uninstall
sudo apt remove gitlab-ce
Remove GitLab and Delete Data
The following commands permanently delete GitLab application data, repositories, configuration, secrets, logs, and local backups. Run them only after you have a tested backup stored somewhere else.
sudo gitlab-ctl stop
sudo gitlab-ctl cleanse
sudo apt remove gitlab-ce
sudo rm -rf /opt/gitlab /etc/gitlab /var/opt/gitlab /var/log/gitlab
Remove GitLab Repository Files
Remove the GitLab CE repository and keyring if this Debian host no longer needs GitLab packages.
sudo rm -f /etc/apt/sources.list.d/gitlab_gitlab-ce.sources
sudo rm -f /usr/share/keyrings/gitlab_gitlab-ce-archive-keyring.gpg
sudo rm -f /etc/apt/sources.list.d/gitlab_gitlab-ce.list
sudo rm -f /etc/apt/sources.list.d/extrepo_gitlab_ce.sources
sudo apt update
Confirm the GitLab CE package no longer has a repository candidate.
apt-cache policy gitlab-ceNo GitLab CE candidate should remain after the source files are gone and APT has refreshed.
Troubleshoot GitLab on Debian
Unable to Locate Package gitlab-ce
This error usually means the GitLab repository file is missing, the codename is wrong, or APT did not refresh after the source was added.
cat /etc/apt/sources.list.d/gitlab_gitlab-ce.sources
printf 'Architecture: %s\n' "$(dpkg --print-architecture)"
sudo apt update
apt-cache policy gitlab-ce
The Suites: line must match your Debian codename from /etc/os-release, and Architectures: must be amd64 or arm64. If you see duplicate GitLab source warnings, remove old .list or extrepo files before running sudo apt update again.
Unable to Locate Package gitlab-runner
The GitLab CE server repository does not install GitLab Runner. If sudo apt install gitlab-runner returns E: Unable to locate package gitlab-runner, add the separate GitLab Runner repository from the official GitLab Runner Linux repository instructions, then install the runner package. For Docker-based CI jobs, install Docker on Debian before registering the runner.
GitLab Services Fail to Start
Start with service status and memory. GitLab can fail or loop during startup when the server is undersized.
sudo gitlab-ctl status
free -h
If this is a temporary lab system, add swap before retrying. For production, add real memory instead of relying on swap for normal GitLab workloads.
sudo fallocate -l 2G /swapfile
sudo chmod 600 /swapfile
sudo mkswap /swapfile
sudo swapon /swapfile
printf '%s\n' '/swapfile none swap sw 0 0' | sudo tee -a /etc/fstab > /dev/null
sudo gitlab-ctl restart
Cannot Access the GitLab Web Interface
Check the configured URL, the bundled Nginx service, and whether another process already owns ports 80 or 443.
sudo grep '^external_url' /etc/gitlab/gitlab.rb
sudo gitlab-ctl status nginx
sudo ss -tulpn | grep -E ':80|:443'
If UFW blocks traffic, reopen HTTP and HTTPS.
sudo ufw allow 80/tcp
sudo ufw allow 443/tcp
sudo ufw status
Email Notifications Do Not Send
Check the Rails log for SMTP authentication, TLS, or connection errors.
sudo grep -i mail /var/log/gitlab/gitlab-rails/production.log | tail -n 20For Gmail, confirm the account uses an app password. For other providers, confirm the SMTP host, port, username, password, and TLS mode match that provider’s current instructions.
502 Bad Gateway After Reconfigure
A 502 response usually means the bundled Nginx proxy is up but the Puma application process is not ready or has failed. Check Puma and PostgreSQL first.
sudo gitlab-ctl status puma
sudo gitlab-ctl status postgresql
If Puma is down or restarting repeatedly, follow its log stream and press Ctrl+C after you have captured the current error.
sudo gitlab-ctl tail pumaRestart the dependent services in order after fixing the underlying memory, disk, or configuration problem.
sudo gitlab-ctl restart postgresql
sudo gitlab-ctl restart puma
sudo gitlab-ctl status
Next Steps After Installing GitLab
Create your first project, add SSH keys for users, and decide where CI/CD jobs should run. For container-based CI jobs, install Docker on Debian before registering GitLab Runner. For server hardening, add Fail2ban on Debian and configure unattended upgrades on Debian. If some users are new to Git itself, start with installing Git on Debian before onboarding them to GitLab projects.
Conclusion
GitLab CE is installed from GitLab’s Debian repository with the external URL, firewall ports, first-login path, HTTPS context, backups, updates, and removal choices accounted for. Keep the package current, store backups away from the server, and test restores before the instance becomes the primary home for production repositories.

Formatting tips for your comment
You can use basic HTML to format your comment. Useful tags currently allowed in published comments:
<code>command</code>command<strong>bold</strong><em>italic</em><a href="https://example.com">link</a><blockquote>quote</blockquote>