
KiCad is an open-source electronics design automation (EDA) suite that helps you create schematics and printed circuit board (PCB) layouts. For instance, whether you need to design a simple hobby project or a complex multi-layer board, KiCad provides professional-grade tools including schematic capture. By the end of this guide, you will have KiCad installed and ready to start designing electronic projects on Ubuntu.
Choose Your KiCad Installation Method
Fortunately, Ubuntu offers multiple installation paths for KiCad, each with different trade-offs for version freshness and update management. Consequently, the following table summarizes your options:
| Method | Channel | Version | Updates | Best For |
|---|---|---|---|---|
| Ubuntu Default Repository | Ubuntu Repos | Stable (older) | Automatic via apt upgrade | Users who prefer distro-tested packages |
| KiCad PPA (Recommended) | Launchpad PPA | Latest stable (9.x) | Automatic via apt upgrade | Most users wanting current features |
| Flatpak | Flathub | Latest stable | Automatic via flatpak update | Desktop users preferring sandboxed apps |
| Snap | Snapcraft | Stable | Automatic background updates | Users preferring Snap ecosystem |
For most users, the KiCad PPA method is recommended because it provides the latest stable release with automatic updates through APT. The official KiCad download page recommends installing from the PPA rather than the base Ubuntu repository, as the latter is usually outdated and may lack recent features or bug fixes.
This guide supports Ubuntu 22.04 LTS and 24.04 LTS installations. The KiCad PPA provides packages for supported Ubuntu LTS releases, while Flatpak and Snap remain compatible across all versions. Commands shown work identically on both supported LTS releases.
Method 1: Install KiCad via APT
Update Your Ubuntu System Before Installation
First, before starting the installation process, update your system to ensure all existing packages are current. This preliminary step helps avoid potential conflicts during the installation:
sudo apt update && sudo apt upgradeOption 1: Install KiCad from the Ubuntu Repository
Typically, the simplest approach installs KiCad directly from the official Ubuntu repository. Although this method is straightforward and stable, the repository version is typically older than the latest release. To check what version is available in your default repositories, run:
apt-cache policy kicadExample output on Ubuntu 24.04:
kicad:
  Installed: (none)
  Candidate: 7.0.11+dfsg-1build4
  Version table:
     7.0.11+dfsg-1build4 500
        500 http://archive.ubuntu.com/ubuntu noble/universe amd64 Packages
Consequently, as shown above, the default repository on Ubuntu 24.04 provides KiCad 7.0, while Ubuntu 22.04 provides KiCad 6.0. To proceed with installing KiCad from the default repository, run:
sudo apt install kicad -yFinally, after the installation completes, verify that KiCad is accessible by checking the available applications:
which kicadExpected output:
/usr/bin/kicad
Option 2: Install KiCad via KiCad Team PPA (Recommended)
Alternatively, for users who want the latest stable or development version of KiCad, the KiCad team’s Launchpad PPA provides current releases. Furthermore, the PPA offers multiple version branches including stable releases and nightly development builds. This is the installation method recommended by the KiCad project.
Select one of the following PPAs based on your needs:
KiCad 9.0 Stable Release (Recommended):
sudo add-apt-repository ppa:kicad/kicad-9.0-releases -yKiCad 8.0 Stable Release (LTS-like stability):
sudo add-apt-repository ppa:kicad/kicad-8.0-releases -yHowever, only add one PPA version at a time. If you previously added a different KiCad PPA, remove it first using
sudo add-apt-repository --remove ppa:kicad/OLD-PPA-NAME -ybefore adding a new one to avoid version conflicts.
Additionally, for development testing, nightly builds are also available. Be aware that these contain the latest features but may be less stable:
sudo add-apt-repository ppa:kicad/kicad-9.0-nightly -ySubsequently, once you have added your preferred PPA, update your package cache to include the new repository:
sudo apt updateTherefore, before installing, verify that APT recognizes the new repository by checking the available KiCad version:
apt-cache policy kicadExample output after adding the 8.0 PPA on Ubuntu 24.04:
kicad:
  Installed: (none)
  Candidate: 8.0.9-0~ubuntu24.04.1
  Version table:
     8.0.9-0~ubuntu24.04.1 500
        500 https://ppa.launchpadcontent.net/kicad/kicad-8.0-releases/ubuntu noble/main amd64 Packages
     7.0.11+dfsg-1build4 500
        500 http://archive.ubuntu.com/ubuntu noble/universe amd64 Packages
This output confirms the PPA is active and shows the newer version is now the candidate. Next, proceed to install KiCad from the PPA. For stable releases, use:
sudo apt install kicad -yFor nightly builds, install the nightly package instead:
sudo apt install kicad-nightly -yAfter installation, verify the installed version:
apt-cache policy kicadThe “Installed” line should now show the PPA version:
kicad:
  Installed: 8.0.9-0~ubuntu24.04.1
  ...
Method 2: Install KiCad via Flatpak and Flathub
Furthermore, Flatpak provides an alternative installation method that offers sandboxing and easy updates. This method works across all Ubuntu versions regardless of PPA compatibility, making it a reliable choice for newer or older releases.
Flatpak is not pre-installed on Ubuntu. If you have not set it up yet, install it with
sudo apt install flatpakand restart your session before continuing. For detailed setup including the Flathub repository, follow our Flatpak installation guide for Ubuntu.
Add the Flathub Repository
First, before installing KiCad through Flatpak, enable the Flathub repository if you haven’t already. Flathub is the primary source for Flatpak applications:
sudo flatpak remote-add --if-not-exists flathub https://flathub.org/repo/flathub.flatpakrepoInstall KiCad from Flathub
Next, with Flathub enabled, install KiCad using the following command:
sudo flatpak install flathub org.kicad.KiCad -yEssentially, this command installs the latest stable version of KiCad from Flathub. After installation, verify the Flatpak is installed:
flatpak list | grep -i kicadExpected output:
KiCad EDA org.kicad.KiCad 9.x.x stable system
Method 3: Install KiCad via Snap
Similarly, Snap provides another universal package format for installing KiCad. Since Ubuntu includes Snap by default, you can install applications immediately without additional setup.
To proceed, install KiCad using the Snap package manager:
sudo snap install kicadMoreover, Snap automatically handles updates in the background, keeping KiCad current without manual intervention. After installation, verify the Snap is installed:
snap list kicadLaunch KiCad
Finally, once installed, you can launch KiCad through your desktop environment or from the terminal. This section covers both approaches.
Launch KiCad from Applications Menu
Typically, the easiest way to launch KiCad is through your desktop environment’s application menu:
- Open the Activities menu in the top-left corner of your screen.
- Click on Show Applications (a grid icon) or type “KiCad” in the search bar.
- Click on the KiCad icon to launch the application.
Launch KiCad from Terminal
On the other hand, you can launch KiCad from the terminal using the command corresponding to your installation method:
APT installation:
kicadFlatpak installation:
flatpak run org.kicad.KiCadSnap installation:
snap run kicad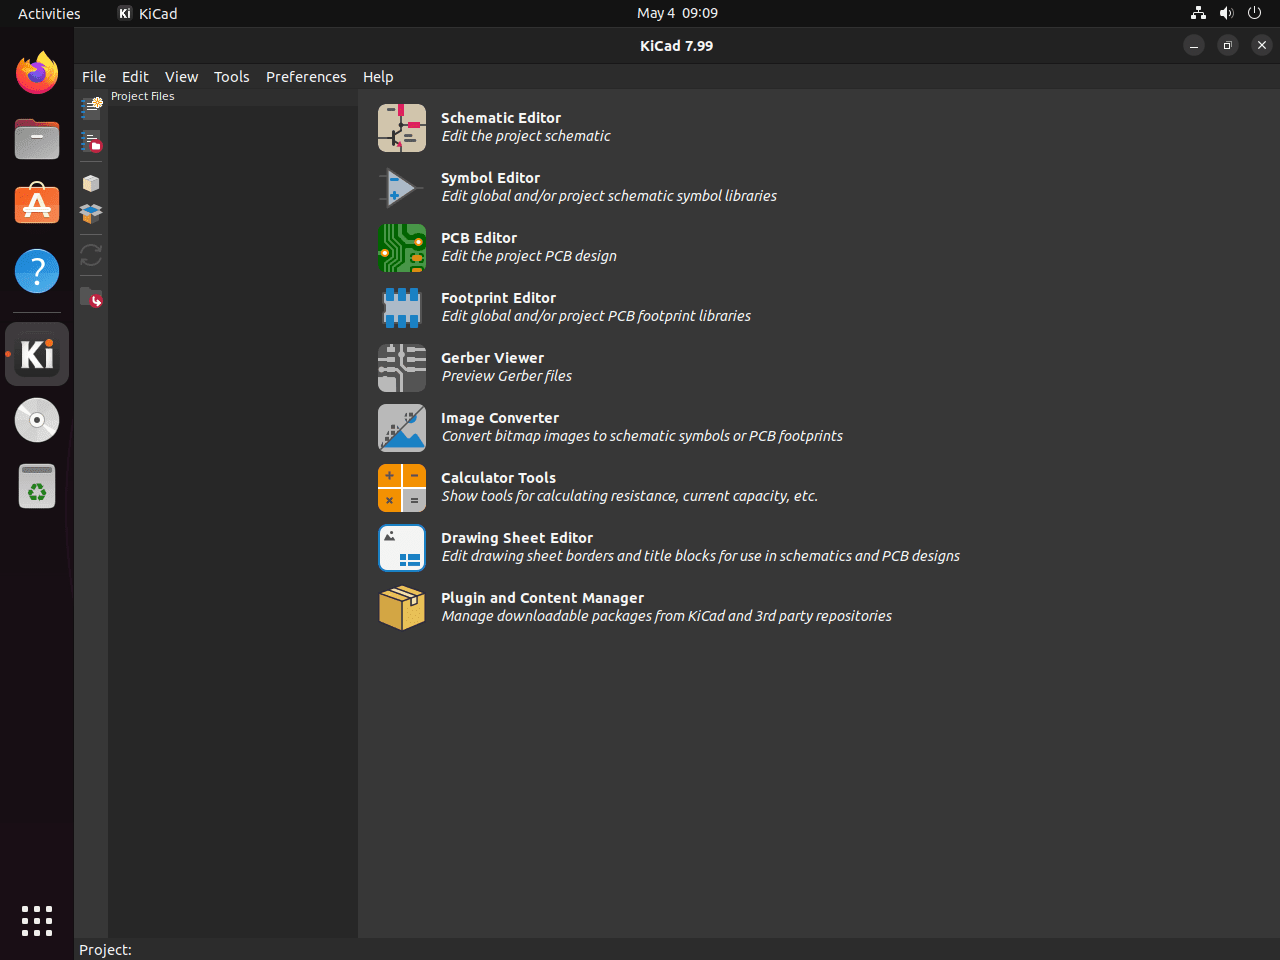
In addition, KiCad integrates well with other engineering tools. If you work on electronics projects that require mechanical design or prototyping, consider installing FreeCAD on Ubuntu for 3D modeling. Similarly, if your PCB designs connect to microcontrollers, our guide on installing Arduino on Ubuntu covers the Arduino IDE setup.
Manage KiCad Updates and Removal
This section covers updating KiCad to the latest version and removing it from your system when no longer needed.
Update KiCad
First, to keep KiCad current with the latest features and security fixes, use the update command corresponding to your installation method:
APT (default repository or PPA):
sudo apt update && sudo apt upgradeFlatpak:
sudo flatpak updateSnap:
sudo snap refreshRemove KiCad
However, if you no longer need KiCad, remove it using the appropriate command for your installation method.
Remove KiCad Installed via APT
To begin, remove KiCad and its associated configuration files:
sudo apt remove kicad --purge -yFor nightly builds, use:
sudo apt remove kicad-nightly --purge -ySubsequently, remove orphaned dependencies that were installed automatically with KiCad:
sudo apt autoremove -yIf you added a KiCad PPA, remove it to prevent future updates from that source. Use the command matching your installed PPA:
sudo add-apt-repository --remove ppa:kicad/kicad-9.0-releases -ysudo add-apt-repository --remove ppa:kicad/kicad-8.0-releases -yFinally, after removing the PPA, refresh your package cache:
sudo apt updateVerify the removal by checking that KiCad is no longer available:
apt-cache policy kicadThe output should show “Unable to locate package” or display only the default repository version if the PPA was properly removed:
kicad:
  Installed: (none)
  Candidate: 7.0.11+dfsg-1build4
  ...
Remove KiCad Installed via Flatpak
To uninstall, remove the Flatpak installation of KiCad:
sudo flatpak uninstall org.kicad.KiCad -yFlatpak user data is stored in ~/.var/app/org.kicad.KiCad/ and is not removed by the uninstall command.
Remove KiCad Installed via Snap
Likewise, remove the Snap installation of KiCad:
sudo snap remove kicadRemove KiCad User Data
The following commands permanently delete your KiCad settings, custom libraries, and local project templates. If you want to preserve any custom symbols, footprints, or configuration files, back them up before running these commands.
KiCad stores user configuration and local data in your home directory. To completely remove all traces of KiCad, delete these directories:
rm -rf ~/.config/kicad/
rm -rf ~/.local/share/kicad/
rm -rf ~/.cache/kicad/
For Flatpak installations, also remove the sandboxed data:
rm -rf ~/.var/app/org.kicad.KiCad/Conclusion
You now have KiCad installed on Ubuntu, providing a complete electronics design automation environment for schematic capture, PCB layout, and 3D visualization. The KiCad PPA offers the latest stable releases directly from the project maintainers, while Flatpak and Snap provide alternative installation paths with automatic updates. As you begin designing, explore the built-in component libraries and consider joining the KiCad community for additional symbols, footprints, and project templates.

Formatting tips for your comment
You can use basic HTML to format your comment. Useful tags currently allowed:
<code>command</code>command<strong>bold</strong><em>italic</em><blockquote>quote</blockquote>