PhotoQt is a versatile and powerful image viewer for Linux that combines speed with a user-friendly interface. This lightweight application supports various image formats and provides a seamless viewing experience with various customization options. Whether you’re a photographer or a casual user, PhotoQt offers features that cater to your needs, including support for numerous image formats, a highly customizable interface, fast and efficient performance, and advanced functionalities such as zooming, rotating, and full-screen viewing modes.
PhotoQt can be installed on Ubuntu 24.04, 22.04, and 20.04 LTS distributions using command-line methods. These methods involve the default Ubuntu repository, Launchpad PPA, or the popular Flatpak package manager with the Flathub repository.
Method 1: Install PhotoQT via APT
Update Your Ubuntu System Before the PhotoQT Installation
Before proceeding with the installation, updating your Ubuntu existing system packages is crucial. This step is necessary to avoid conflicts with outdated packages that could interfere with the new installation. This also ensures that your system has the latest security patches and updates applied.
Executing the following commands, you will update and upgrade your Ubuntu system:
sudo apt update
sudo apt upgrade
The sudo apt update command fetches the package information from all configured sources while sudo apt upgrade upgrades all the currently installed packages to their latest versions.
Select APT Installation Method for PhotoQT
Once your system is updated, you have two options to install PhotoQt using the APT package manager:
Option 1: Install PhotoQt using the Ubuntu APT Repository
Utilizing Ubuntu’s default repository for installing PhotoQt is highly recommended for stability. While this method may not include the latest features (depending on your Ubuntu version), it ensures the most minor compatibility issues with your system. The Ubuntu repository houses software versions thoroughly tested to work with Ubuntu.
To install PhotoQt using Ubuntu’s repository, run the following command:
sudo apt install photoqtOption 2: Install PhotoQt using the PPA Method
An alternative method for using the APT package manager is to import and install the Personal Package Archive (PPA) maintained by Lukas Spies. This method often provides a more updated version of PhotoQt with recent features.
Firstly, import the repository with the following command:
sudo add-apt-repository ppa:lumas/photoqt -yThis command adds the PPA to your system’s software sources, which enables APT to fetch and install packages from this PPA.
Before proceeding, run an APT update to reflect the newly imported PPA in your system’s package list:
sudo apt updateNow, you can install the application by executing the following command:
sudo apt install photoqtThis command will fetch and install the latest version of PhotoQt from the added PPA.
Note: If you have already installed the Ubuntu APT version and want to upgrade, re-run the installation command to ensure all packages are installed correctly.
Method 2: Install PhotoQt via Flatpak and Flathub
If you’re looking for an alternative installation method, you might want to consider using Flatpak—an increasingly popular universal package management system similar to Snap. Flatpak operates in a sandbox environment, isolating software dependencies and providing increased security. Flatpak also allows you to access and install applications that might not be available in your distro’s standard repositories. PhotoQt, being one of those applications, can be installed via Flatpak from the Flathub repository.
Note: If your system does not have Flatpak installed, please refer to our guide on “How to Install Flatpak on Ubuntu” for step-by-step instructions on installing the most recent supported version of Flatpak. This will equip your system with the tools to manage and use Flatpak applications.
Enable Flathub Repository for PhotoQT
Enabling the Flathub repository, the primary hub for Flatpak applications is crucial before installing PhotoQt. Flathub houses many applications packaged in the Flatpak format, enabling users to install them conveniently.
To add the Flathub repository to your Flatpak configuration, execute the following command in your terminal:
sudo flatpak remote-add --if-not-exists flathub https://flathub.org/repo/flathub.flatpakrepoThis command instructs Flatpak to add the Flathub repository, ensuring you can access many applications, including PhotoQt.
Install PhotoQt via Flatpak Command
With Flathub now available as a source, you can install PhotoQt using the flatpak install command. This command will fetch the PhotoQt package from Flathub and install it on your system.
Execute the following command in your terminal:
flatpak install flathub org.photoqt.PhotoQt -yThis command installs PhotoQt from the Flathub repository, ensuring you have the latest version of the application.
Launching PhotoQt
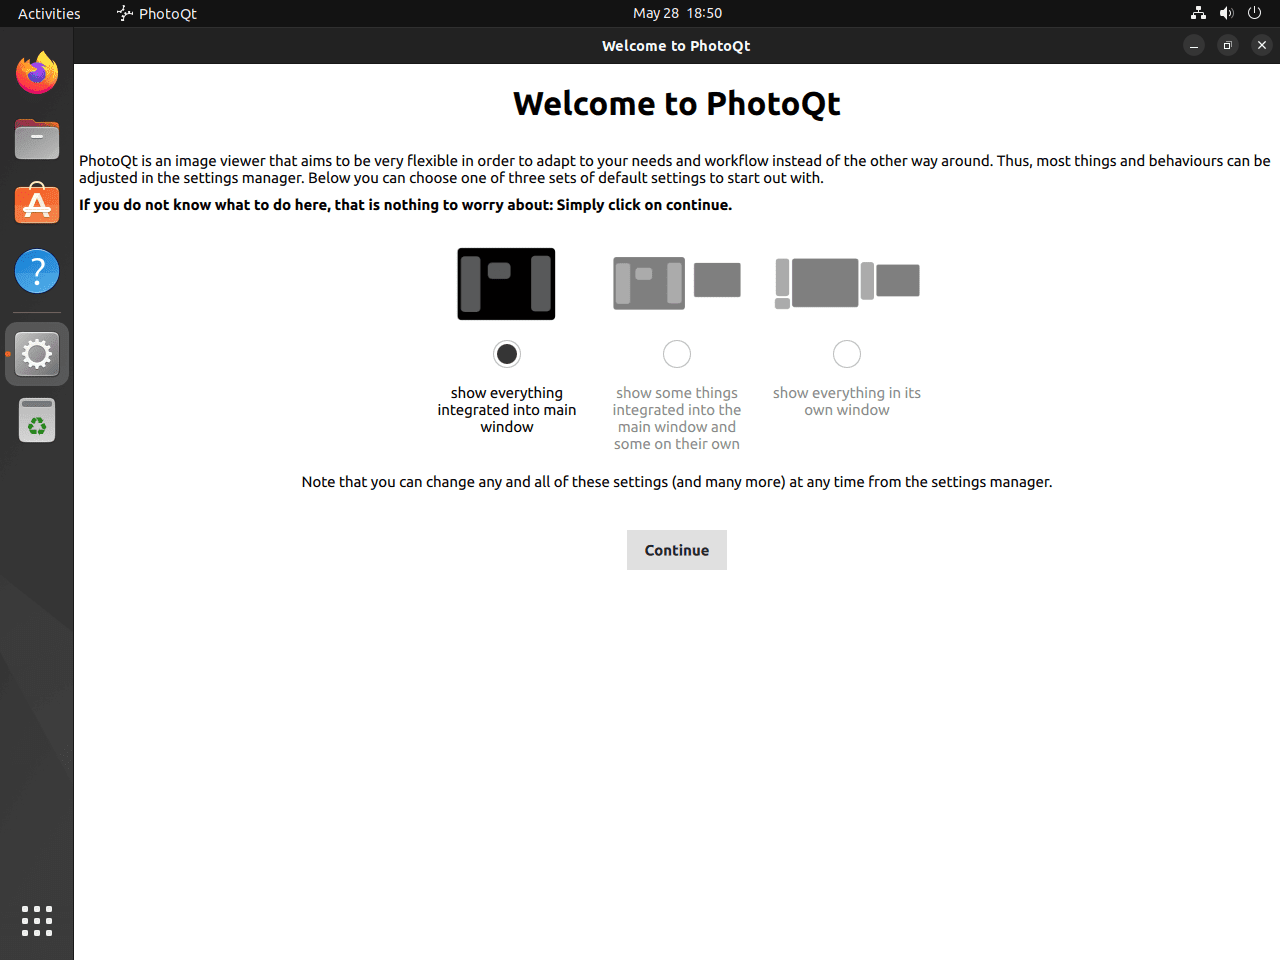
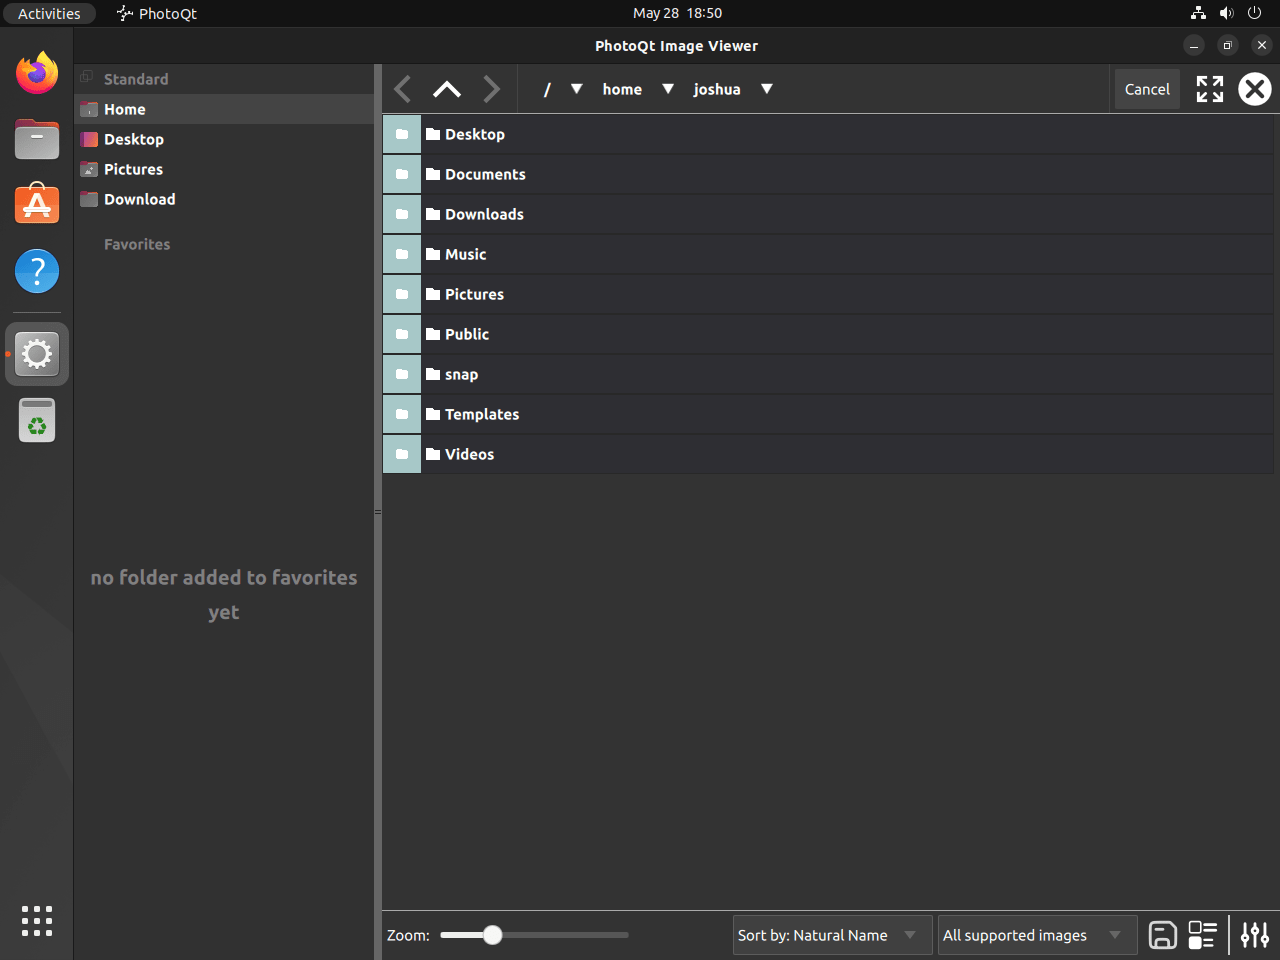
After successfully installing PhotoQt, the next step is to launch the application and explore its robust features. There are multiple ways to open PhotoQt, such as the command line or the graphical user interface (GUI).
Launch PhotoQt from the Terminal
For users comfortable with the command line, launching PhotoQt is as simple as typing a command into the terminal. Run the following command to start PhotoQt:
photoqtThis command signals your system to initiate the PhotoQt application.
If you installed PhotoQt via Flatpak, you must use a slightly different command to open the application. Execute the following command in your terminal:
flatpak run org.photoqt.PhotoQtThis command instructs Flatpak to run the PhotoQt application from the installed packages.
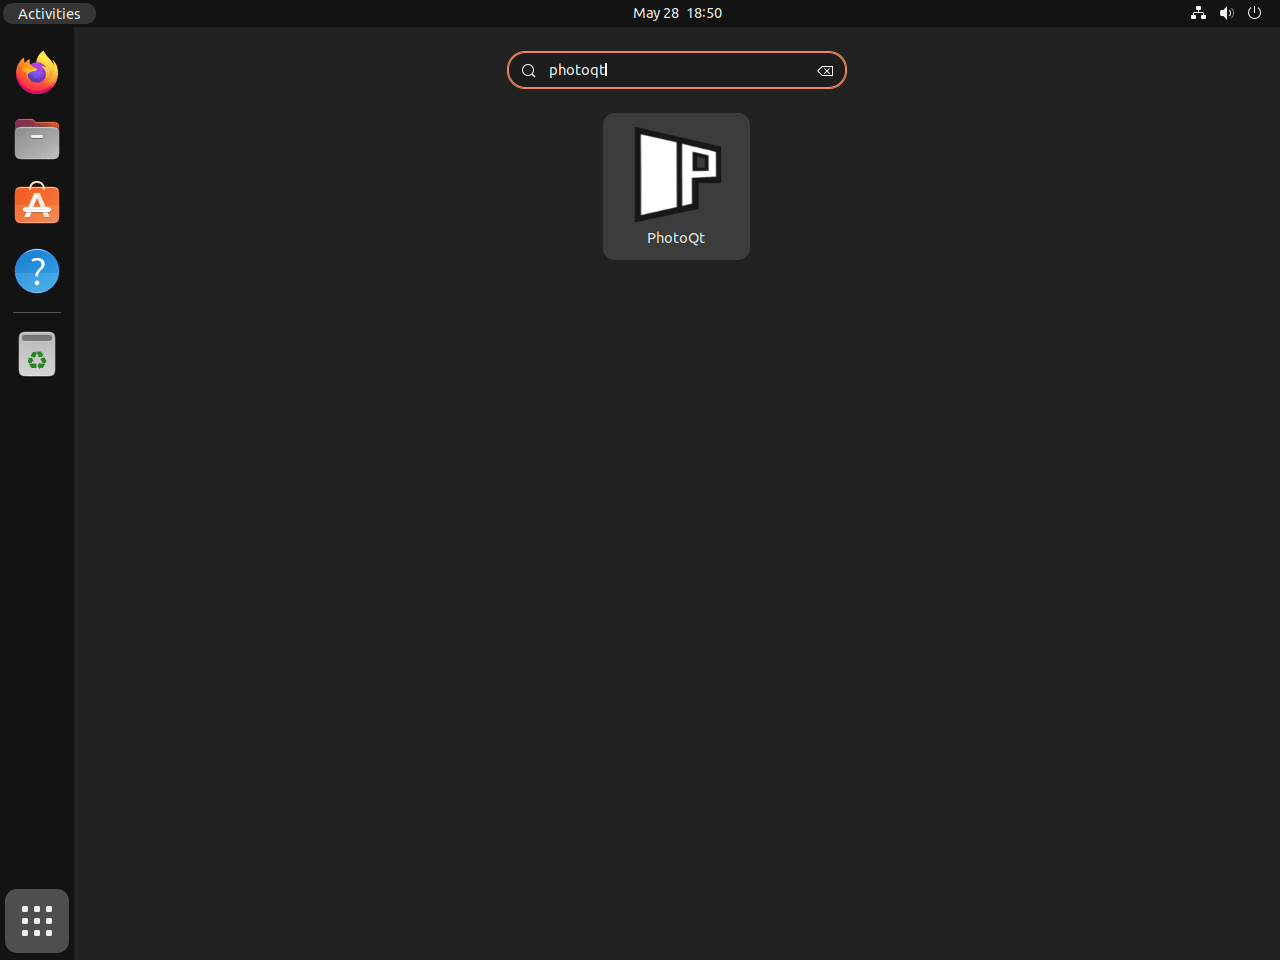
Launch PhotoQt from the GUI
Launching PhotoQt is straightforward for most desktop users who prefer using the graphical interface. You can access the application using the built-in application menu of your Ubuntu system.
Follow this path to open PhotoQt:
Activities > Show Applications > PhotoQt


Managing PhotoQT
Update PhotoQT
Keeping your applications updated is critical for ensuring optimal performance, and in the case of PhotoQt, this process is straightforward and efficient. Depending on how you installed PhotoQt, you can update it using either the APT package manager or Flatpak.
Note: It is essential to understand that these methods are not interchangeable; use the same package manager for updates as you did for the initial installation.
APT Update Command for PhotoQT
If you installed PhotoQt via the APT method, use the following command to update the application:
sudo apt upgrade && sudo apt upgradeThis command will also update all the other packages managed by the APT package manager, keeping your system up-to-date. You should frequently run this command to maintain your system, regardless of whether you receive automatic GUI updates or notifications.
Flatpak Update Command for PhotoQT
If you installed PhotoQt using Flatpak, you would need a different command to update the application:
flatpak updateThis command ensures that your PhotoQt application and other applications installed via Flatpak are up-to-date.
Remove PhotoQT
There may come a time when you no longer need PhotoQt on your system. If that is the case, you can uninstall the application using one of the following commands, depending on your original installation method.
APT Remove Commands for PhotoQT
If you installed PhotoQt via APT, you could remove it using the following command:
sudo apt remove photoqtAdditionally, you should remove the PPA repository if you do not intend to use the software again. You can do this using the following command:
sudo add-apt-repository --remove ppa:lumas/photoqt -yFlatpak Remove Command for PhotoQT
If you installed PhotoQt via Flatpak, use the following command to uninstall the application:
flatpak uninstall --delete-data org.photoqt.PhotoQtThis command will remove PhotoQt and delete its associated data from your system.
Closing Thoughts
Throughout this guide, we’ve walked you through the installation of PhotoQT on Ubuntu. Remember, the beauty of PhotoQT lies in its customization options and speed, so take some time to tweak it to your liking. Don’t be afraid to experiment with the settings and explore the keyboard shortcuts to enhance your viewing experience.

