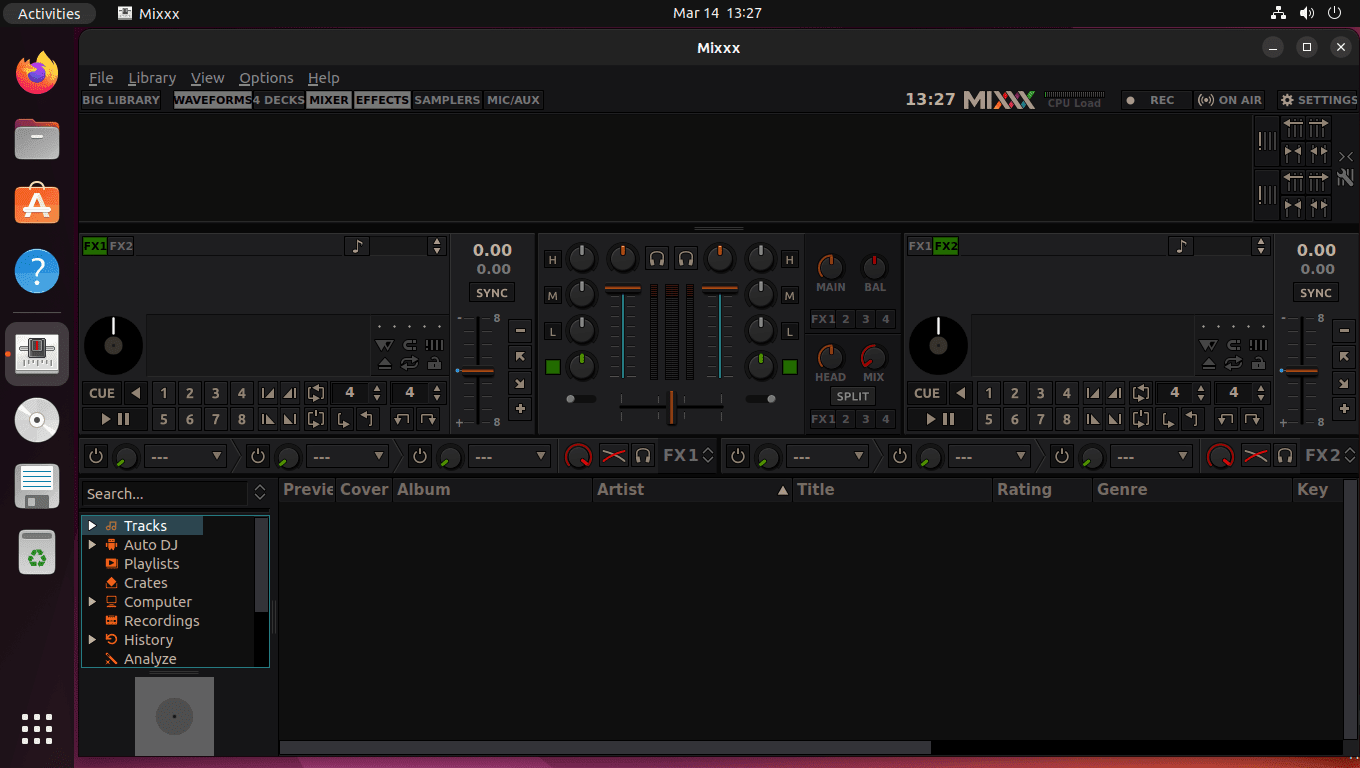
Mixxx is a feature-rich, open-source DJ software that provides professional-grade mixing capabilities for DJs of all skill levels. It offers various features, including BPM detection, key detection, pitch and tempo controls, and support for various DJ hardware controllers. Mixxx is designed to help you create seamless mixes and confidently perform live, making it a top choice for amateur and professional DJs.
To install Mixxx on Ubuntu 24.04, 22.04, or 20.04 using the command-line terminal, you can utilize the Mixxx release managers team PPA. This PPA offers three branches: the latest stable release, beta releases, and nightly builds. These options allow you to choose between the most stable version, the latest features in testing, or the cutting-edge updates, ensuring you have the best tools for your DJing needs.
Update Ubuntu Before Mixxx Installation
Keeping your system up to date is crucial for optimal performance and security. To update your system packages and upgrade any outdated packages, open your terminal and run the following command:
sudo apt update && sudo apt upgradeThis will update your package list and install any available updates.
Import Mixxx Launchpad PPA
You can choose between the stable build and the nightly build. The nightly build updates more frequently; however, you must regularly check for updates.
Choose one of the following commands to import the Mixxx PPA of your choice:
The first option is to import Mixxx Stable Repository:
sudo add-apt-repository ppa:mixxx/mixxx -ySecond, the option to import Mixxx Beta Repository:
sudo add-apt-repository ppa:mixxx/mixxxbetas -yLastly, import Mixxx Nightly Repository:
sudo add-apt-repository ppa:mixxx/nightlies -yNote: Do not import the nightly build unless prepared to deal with system instabilities or bugs from the actual software.
Finalize Mixxx Installation
After properly configuring the Mixxx Team PPA, proceed with the Mixxx installation by running the following command in the terminal:
sudo apt install mixxxThis command will install the latest version of Mixxx on your system.
Verify Mixxx Installation
Once you complete the installation, verify the successful installation of Mixxx by running the following command in the terminal:
mixxx --versionThis command will display the version number and other information about the installed version of Mixxx.
Launch Mixxx via CLI Command or GUI Path
CLI Command to Launch Mixxx UI
First, if you still have your terminal window up, you can launch Mixxx immediately using the following command:
mixxxGUI Path to Launch Mixxx UI
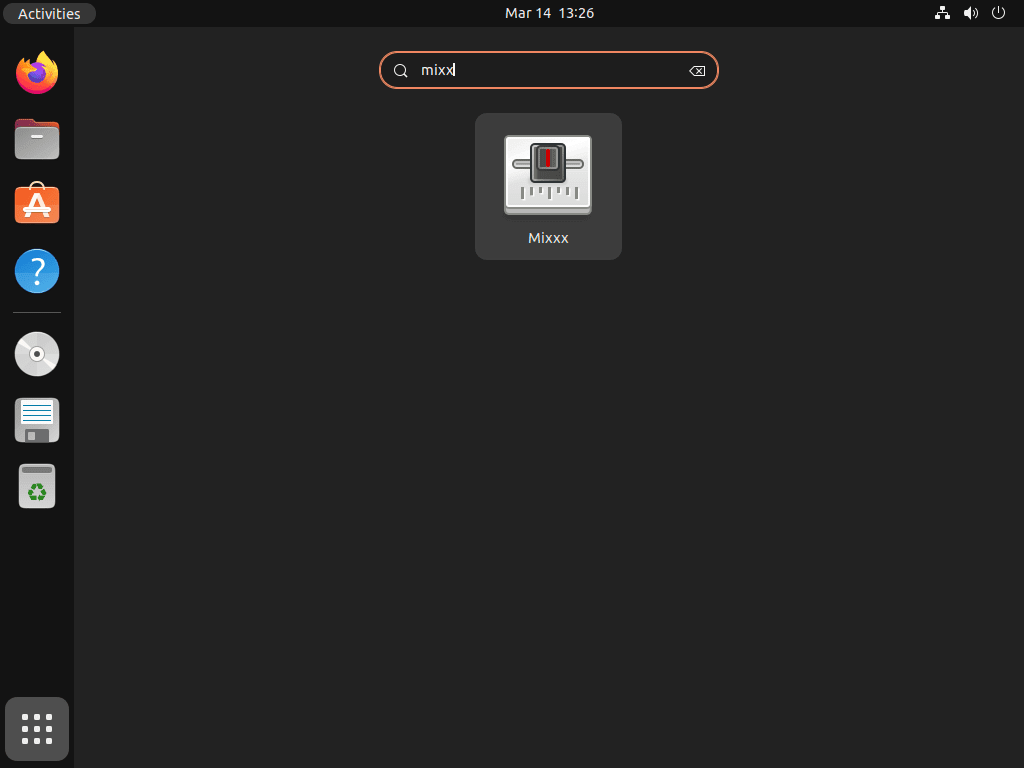
Alternatively, to launch Mixxx using the application icon on Ubuntu, use the following steps:
- Click on the “Activities” button in the top left corner of the screen.
- Click on the “Show Applications” icon.
- Search for the Mixxx icon in the application menu.
- Click on the Mixxx icon to launch the software.


Additional Commands for Mixxx
Remove Mixxx
To uninstall Mixxx on Ubuntu Linux, open the Terminal and run the following command:
sudo apt remove mixxxThis will remove the Mixxx package from your system.
To remove the Mixxx Launchpad PPA from your system with the following command:
sudo add-apt-repository --remove ppa:mixxx/mixxx -ysudo add-apt-repository --remove ppa:mixxx/mixxxbetas -ysudo add-apt-repository --remove ppa:mixxx/nightlies -yThis will delete the Mixxx Launchpad PPA file from your system.
Conclusion
With Mixxx successfully installed on your Ubuntu system using the Mixxx release managers team PPA, you now have a powerful tool for enhancing your DJing capabilities. Whether you choose the stable release, beta, or nightly builds, you can access a wide range of features for seamless mixing and professional-grade performances.
Remember to check for updates regularly to benefit from the latest improvements. The Mixxx community and documentation are available to help if you need assistance. Enjoy creating and performing your mixes with confidence.

