
Nomacs is a free, open-source image viewer that handles common image formats including RAW and PSD files. The application offers batch processing, metadata viewing and editing, synchronized multi-instance viewing for image comparison, and a thumbnail navigation bar for browsing large collections. By the end of this guide, you will have a working Nomacs installation on Ubuntu, ready to view, organize, and perform basic edits on your image files.
Choose Your Nomacs Installation Method
Ubuntu offers several ways to install Nomacs, each with different trade-offs between version freshness, update management, and system integration:
| Method | Channel | Version | Updates | Best For |
|---|---|---|---|---|
| APT | Ubuntu Repos | Distribution default | Automatic via apt upgrade | Most users who prefer distro-tested packages |
| Flatpak | Flathub | Latest stable | Automatic via flatpak update | Users wanting newest features with sandboxing |
| Source | GitHub | Latest stable | Manual recompilation | Developers and users needing custom builds |
For most users, the APT method is recommended because it provides automatic security updates and integrates with Ubuntu’s package management. Choose Flatpak if you need the latest Nomacs release (3.22) with features like color management and improved HiDPI support. Compile from source only if you need custom build flags or want to contribute to development.
This guide covers Ubuntu 26.04 LTS, 24.04 LTS, and 22.04 LTS. The APT repository version varies by release, while Flatpak and source compilation provide the same version across all supported releases. Commands shown work identically unless noted otherwise.
Install Nomacs via APT
The default Ubuntu repositories include Nomacs, making installation straightforward. The version depends on your Ubuntu release:
- Ubuntu 26.04 LTS: Nomacs 3.21.1 (Qt6-based)
- Ubuntu 24.04 LTS: Nomacs 3.17.2282
- Ubuntu 22.04 LTS: Nomacs 3.12.0
Install Nomacs from the Ubuntu repositories:
sudo apt update
sudo apt install nomacs
Verify the installation by checking the package status:
apt-cache policy nomacsExample output on Ubuntu 26.04 LTS:
nomacs:
  Installed: 3.21.1+dfsg-1
  Candidate: 3.21.1+dfsg-1
  Version table:
 *** 3.21.1+dfsg-1 500
        500 http://archive.ubuntu.com/ubuntu resolute/universe amd64 Packages
        100 /var/lib/dpkg/status
Install Nomacs via Flatpak and Flathub
Flatpak provides the latest Nomacs release (3.22) with sandboxed execution. This version includes color management, improved HiDPI rendering, and better ZIP archive support not available in older repository versions.
If Flatpak is not installed on your system, follow our Flatpak installation guide for Ubuntu to set up the framework and add the Flathub repository. This typically takes under five minutes.
Add the Flathub Repository
If you have not already added Flathub, run:
sudo flatpak remote-add --if-not-exists flathub https://flathub.org/repo/flathub.flatpakrepoInstall Nomacs from Flathub
Install Nomacs using Flatpak:
sudo flatpak install flathub org.nomacs.ImageLounge -yVerify the Flatpak installation:
flatpak list | grep -i nomacsExpected output:
nomacs - Image Lounge org.nomacs.ImageLounge stable system
Install Nomacs from Source
Compiling from source gives you the latest Nomacs release with all features enabled. This method requires Qt6 and several development libraries. The build process takes 5-15 minutes depending on your system. Ubuntu 26.04 and 24.04 provide full source build support, while Ubuntu 22.04 has some dependency limitations noted below.
Install Build Dependencies
The required packages differ between Ubuntu versions due to Qt6 package naming changes:
Ubuntu 26.04 LTS and 24.04 LTS:
sudo apt install qt6-base-dev qt6-tools-dev qt6-svg-dev qt6-image-formats-plugins libexiv2-dev libraw-dev libopencv-dev libtiff-dev libquazip1-qt6-dev build-essential git cmakeUbuntu 22.04 LTS:
sudo apt install qt6-base-dev qt6-tools-dev qt6-tools-dev-tools libqt6svg6-dev libqt6core5compat6-dev qt6-l10n-tools qt6-image-formats-plugins libexiv2-dev libraw-dev libopencv-dev libtiff-dev build-essential git cmake libgl-devUbuntu 22.04 does not provide
libquazip1-qt6-devin its repositories. The build will succeed, but QuaZIP support (browsing images inside ZIP archives) will be disabled. For full QuaZIP functionality, use Ubuntu 24.04 or newer, or install Nomacs via Flatpak.
Clone the Repository
Fetch the latest stable version tag from GitHub and clone the repository at that version:
NOMACS_VERSION=$(curl -s https://api.github.com/repos/nomacs/nomacs/tags | grep -oE '"name": "[0-9]+\.[0-9]+\.[0-9]+"' | head -n 1 | cut -d '"' -f4)
echo "Latest Nomacs version: $NOMACS_VERSION"
cd ~
git clone --branch "$NOMACS_VERSION" --depth 1 https://github.com/nomacs/nomacs.git
cd nomacs
git submodule init
git submodule update
The command fetches the latest stable tag from the GitHub API when you run it, ensuring you always compile the current release.
If the API request fails due to rate limiting or network issues, check the Nomacs tags page for the latest version and clone manually, replacing the version number in
git clone --branch [VERSION] https://github.com/nomacs/nomacs.git.
Configure and Compile
Create a build directory and run CMake to configure the build:
mkdir build
cd build
cmake ../ImageLounge -DCMAKE_BUILD_TYPE=RelWithDebInfo
CMake displays which features are enabled. A successful configuration shows:
-- nomacs - Image Lounge 3.22  <https://nomacs.org>
--  Qt version: 6.x.x
--  nomacs will be compiled with OPENCV support .................. YES
--  nomacs will be compiled with LIBRAW support .................. YES
--  nomacs will be compiled with extended TIFF support ........... YES
--  nomacs will be compiled with plugin support .................. YES
--  nomacs will be compiled with Translations .................... YES
-- Configuring done
-- Build files have been written to: /home/user/nomacs/build
The Qt version varies by Ubuntu release: 6.9.x on Ubuntu 26.04, 6.4.x on 24.04, and 6.2.x on 22.04.
Compile Nomacs using all available CPU cores:
make -j$(nproc)Compilation completes when you see:
[100%] Built target affineTransformPlugin
Install the Compiled Binary
Install Nomacs system-wide to /usr/local/:
sudo make install
sudo ldconfig
The ldconfig command updates the shared library cache so the system can find Nomacs libraries.
Verify the source-compiled installation:
which nomacs/usr/local/bin/nomacs
Launch Nomacs
Launch from Terminal
For APT or source installations, launch Nomacs directly:
nomacsFor Flatpak installations:
flatpak run org.nomacs.ImageLoungeLaunch from Applications Menu
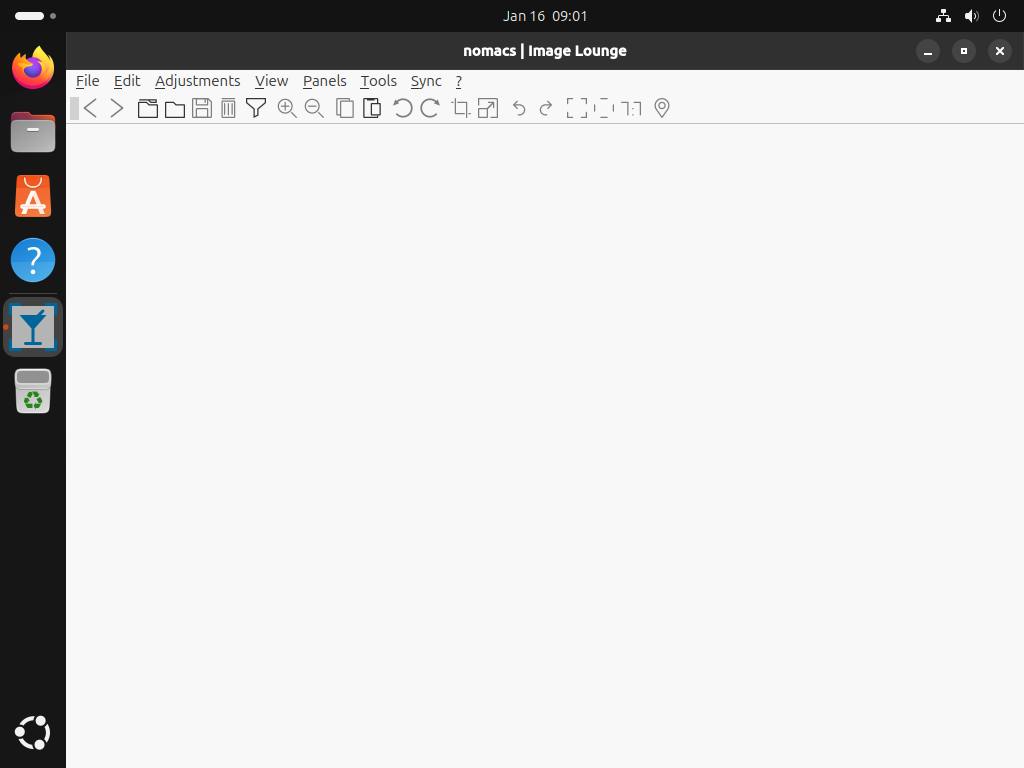
Open your application menu (Activities in GNOME, or search in your desktop environment) and search for “Nomacs.” Click the Nomacs icon to launch the image viewer.
Getting Started with Nomacs
Nomacs includes several features worth exploring once installed:
Navigation and Viewing
- Browse images: Use
Left ArrowandRight Arrowto move through images in the current folder. - Zoom: Press
Ctrl++to zoom in andCtrl+-to zoom out. - Full screen: Press
Fto toggle full-screen mode. - Thumbnail bar: Enable the thumbnail preview from
Panels>Thumbnailsto quickly navigate large image collections.
Metadata and Editing
- View EXIF data: Open
Panels>Metadata Infoto see camera settings, date taken, and GPS coordinates if available. - Basic edits: Access crop, resize, and rotation tools from the
Editmenu. - Batch processing: Select multiple images and apply bulk operations like rename, resize, or format conversion from
Tools>Batch Processing.
Image Comparison
Nomacs can synchronize multiple viewer windows for comparing images side by side. Open two images in separate Nomacs windows, then enable Sync > Synchronize with to link zoom and pan actions between them. This feature is useful for comparing before/after edits or selecting the best shot from a series.
Manage Nomacs
Update Nomacs
APT installation:
sudo apt update
sudo apt install --only-upgrade nomacs
Flatpak installation:
sudo flatpak update org.nomacs.ImageLoungeSource installation: Keeping a source-compiled installation current requires recompiling when new versions are released. The update script below automates this process by:
- Checking prerequisites: Verifies that required build tools (curl, git, cmake, make) are available before starting.
- Detecting versions: Compares your installed version against the latest GitHub release to skip unnecessary recompilation.
- Providing progress feedback: Displays status messages at each stage so you know the script is working.
Create the Update Script
Create an update script in /usr/local/bin so you can run it from any terminal location:
cat <<'EOF' | sudo tee /usr/local/bin/update-nomacs
#!/bin/bash
set -e

BUILD_DIR="$HOME/nomacs"
VERSION_FILE="$BUILD_DIR/.nomacs-version"

# ─── Check required build tools ───────────────────────────────────────────────
for cmd in curl git cmake make; do
  if ! command -v "$cmd" >/dev/null 2>&1; then
    echo "Error: $cmd is required but not installed."
    echo "Run: sudo apt install build-essential git cmake curl"
    exit 1
  fi
done

# ─── Detect installed version ─────────────────────────────────────────────────
if [ -f "$VERSION_FILE" ]; then
  CURRENT_VERSION=$(cat "$VERSION_FILE")
else
  CURRENT_VERSION="none"
fi

# ─── Fetch latest version from GitHub ─────────────────────────────────────────
echo "Checking for latest Nomacs version..."
LATEST_VERSION=$(curl -s https://api.github.com/repos/nomacs/nomacs/tags | grep -oE '"name": "[0-9]+\.[0-9]+\.[0-9]+"' | head -n 1 | cut -d '"' -f4)

if [ -z "$LATEST_VERSION" ]; then
  echo "Error: Could not fetch latest version from GitHub."
  echo "Check your internet connection or try again later."
  exit 1
fi

echo "Installed version: $CURRENT_VERSION"
echo "Latest available:  $LATEST_VERSION"

# ─── Skip if already current ──────────────────────────────────────────────────
if [ "$CURRENT_VERSION" = "$LATEST_VERSION" ]; then
  echo "Already up to date."
  exit 0
fi

echo ""
echo "Updating Nomacs from $CURRENT_VERSION to $LATEST_VERSION..."
echo ""

# ─── Download and prepare source ──────────────────────────────────────────────
echo "Downloading source code..."
rm -rf "$BUILD_DIR"
cd ~
git clone --branch "$LATEST_VERSION" --depth 1 https://github.com/nomacs/nomacs.git
cd nomacs
git submodule init
git submodule update

# ─── Configure and compile ────────────────────────────────────────────────────
echo "Configuring build..."
mkdir build && cd build
cmake ../ImageLounge -DCMAKE_BUILD_TYPE=RelWithDebInfo

echo "Compiling (this may take 5-15 minutes depending on your CPU)..."
make -j$(nproc)

echo "Installing..."
sudo make install
sudo ldconfig

# ─── Record installed version ─────────────────────────────────────────────────
echo "$LATEST_VERSION" > "$VERSION_FILE"

echo ""
echo "Update complete: Nomacs $LATEST_VERSION installed."
EOF
Mark the script as executable so you can run it as a command:
sudo chmod +x /usr/local/bin/update-nomacsRun the Update Script
Since the script is in /usr/local/bin (a directory in your PATH), you can run it by name from any terminal location:
update-nomacsExample output when already current:
Checking for latest Nomacs version...
Installed version: 3.22.0
Latest available:  3.22.0
Already up to date.
When an update is available, the script downloads the new source, recompiles, and installs it automatically. You will see progress messages at each stage.
Run this script manually rather than automating it with cron. Compilation can fail due to dependency changes, network issues, or disk space. Running manually lets you monitor the output and fix problems before they affect your system.
Remove Nomacs
APT installation:
sudo apt remove nomacs
sudo apt autoremove
Nomacs stores user preferences in ~/.config/nomacs/. Remove this directory to delete saved settings:
rm -rf ~/.config/nomacsFlatpak installation:
sudo flatpak uninstall org.nomacs.ImageLounge -yFlatpak stores application data in
~/.var/app/org.nomacs.ImageLounge/. To remove this data along with the application, add the--delete-dataflag to the uninstall command.
Source installation:
Remove the installed files from /usr/local/:
cd ~/nomacs/build
sudo make uninstall
sudo ldconfig
The following command permanently deletes the Nomacs source directory. If you modified source files or created patches you want to keep, back them up first.
Remove the source directory:
rm -rf ~/nomacsRemove user preferences:
rm -rf ~/.config/nomacsRemove the update script:
sudo rm -f /usr/local/bin/update-nomacsTroubleshooting
Nomacs Cannot Find Shared Libraries
If running a source-compiled Nomacs produces “error while loading shared libraries,” the library cache needs updating:
sudo ldconfigIf that does not help, check that /usr/local/lib is in your library path:
cat /etc/ld.so.conf.d/*.conf | grep localIf /usr/local/lib is not listed, add it:
echo "/usr/local/lib" | sudo tee /etc/ld.so.conf.d/local.conf
sudo ldconfig
RAW Files Not Loading
Nomacs requires LibRAW for RAW format support. For APT installations, this is included automatically. For source builds, verify LibRAW was detected during configuration:
grep -i libraw ~/nomacs/build/CMakeCache.txtIf LibRAW is missing, install libraw-dev and reconfigure:
sudo apt install libraw-dev
cd ~/nomacs/build
cmake ../ImageLounge -DCMAKE_BUILD_TYPE=RelWithDebInfo
make -j$(nproc)
sudo make install
Conclusion
Nomacs provides a lightweight yet capable image viewer for Ubuntu with RAW support, batch processing, and synchronized multi-instance viewing. The APT method offers stability with automatic updates, Flatpak delivers the latest features, and source compilation provides full customization. With Nomacs installed, you can efficiently browse, compare, and perform basic edits on your image collection.

Formatting tips for your comment
You can use basic HTML to format your comment. Useful tags currently allowed:
<code>command</code>command<strong>bold</strong><em>italic</em><blockquote>quote</blockquote>