Split-pane terminal work is easier when logs, local commands, and SSH sessions stay visible in one window. To install Terminator on Ubuntu, use the terminator package from Ubuntu’s Universe repository for the release-matched build, or use the Terminator Team PPA when Ubuntu 24.04 or 22.04 needs the current upstream stable release. The supported scope here is Ubuntu 26.04, 24.04, and 22.04, with verification, launch methods, shortcuts, troubleshooting, and removal covered after the install.
Update Ubuntu Before Installing Terminator
Open a terminal, then refresh your package index and apply available updates before installing new desktop software:
sudo apt update && sudo apt upgradeYour user account must have
sudoprivileges to run the commands in this guide. See how to add a user to sudoers on Ubuntu if you need to configure this first.
Terminator comes from Ubuntu’s
universecomponent. Standard desktop installs usually have Universe enabled, but minimal or customized systems may not. If APT cannot findterminator, use the guide to enable Universe on Ubuntu, then rerunsudo apt update.
Install Terminator on Ubuntu
Install the default Ubuntu package first unless you specifically need the newer PPA build on an older LTS release:
sudo apt install terminatorThis installs the release-matched Terminator package through normal APT updates. Ubuntu currently ships Terminator from Universe on Ubuntu 26.04, 24.04, and 22.04, so no manual download is required for the standard install path.
Terminator Package Versions by Ubuntu Release
Use the table below when deciding whether the PPA is worth adding. The PPA currently tracks upstream stable; Ubuntu 26.04 already has the same Terminator release, while Ubuntu 24.04 and 22.04 default packages lag behind.
| Ubuntu Release | Ubuntu Universe Package | Terminator Team PPA | Recommended Path |
|---|---|---|---|
| Ubuntu 26.04 | 2.1.5.x | Current upstream stable | Use Ubuntu’s package because the PPA adds no version benefit. |
| Ubuntu 24.04 | 2.1.3.x | Current upstream stable | Use Ubuntu’s package unless you need the newer upstream release. |
| Ubuntu 22.04 | 2.1.1.x | Current upstream stable | Use the PPA only if the older default package blocks your workflow. |
Optional: Install Terminator from the PPA
The Terminator Team PPA is a third-party repository maintained outside Ubuntu’s normal archive process. Use it when you need the current upstream stable release on Ubuntu 24.04 or 22.04, or when you intentionally want to follow the PPA package on Ubuntu 26.04.
PPAs can update faster than Ubuntu’s default packages, but they also add a third-party package source to your system. Keep the default Ubuntu package when the version already meets your needs.
If add-apt-repository is missing on a minimal install, add the helper package first:
sudo apt install -y software-properties-commonAdd the Terminator Team PPA:
sudo add-apt-repository ppa:gnome-terminator/ppa -yRefresh APT and install Terminator from the newly added source:
sudo apt update
sudo apt install terminator
Removing the PPA source later stops future PPA updates, but it does not reliably downgrade an already installed PPA package by itself. Use the downgrade steps in the removal section when you want to return Terminator to Ubuntu’s default package.
Download, Flatpak, and Snap Availability
If you searched for a Terminator download, use APT instead of chasing a separate installer. The current upstream GitHub release publishes a source tarball and signatures, not a ready-made Ubuntu .deb installer, and current Flathub and Snap Store metadata do not provide a Terminator app package for this workflow.
Verify Terminator Installation on Ubuntu
After installation, confirm that the terminator command is available:
terminator --versionRelevant output on Ubuntu 26.04 or from the current PPA shows Terminator 2.1.5:
terminator 2.1.5
Your version depends on the Ubuntu release and package source. Ubuntu 24.04 currently installs 2.1.3 from Universe, Ubuntu 22.04 installs 2.1.1 from Universe, and the PPA installs 2.1.5 on all three supported Ubuntu releases.
Launch Terminator Terminal on Ubuntu
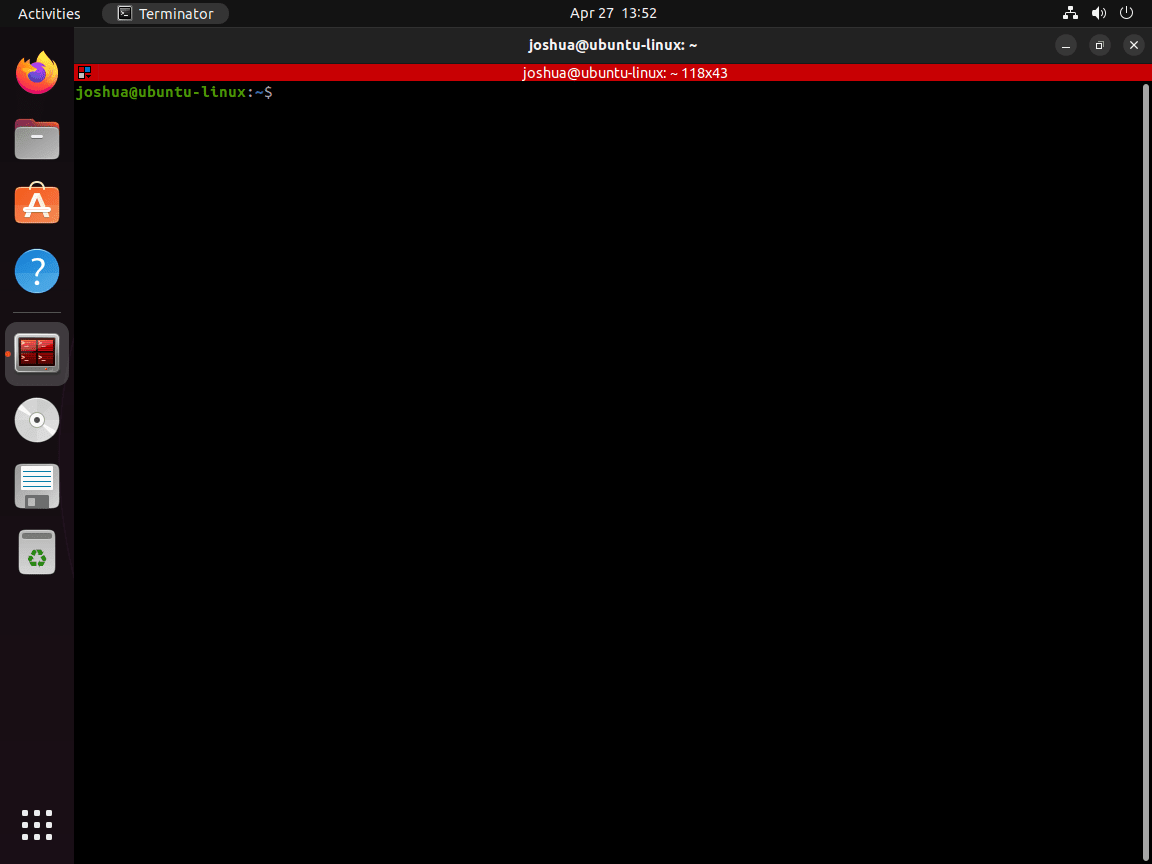
Launch Terminator from the command line with this command:
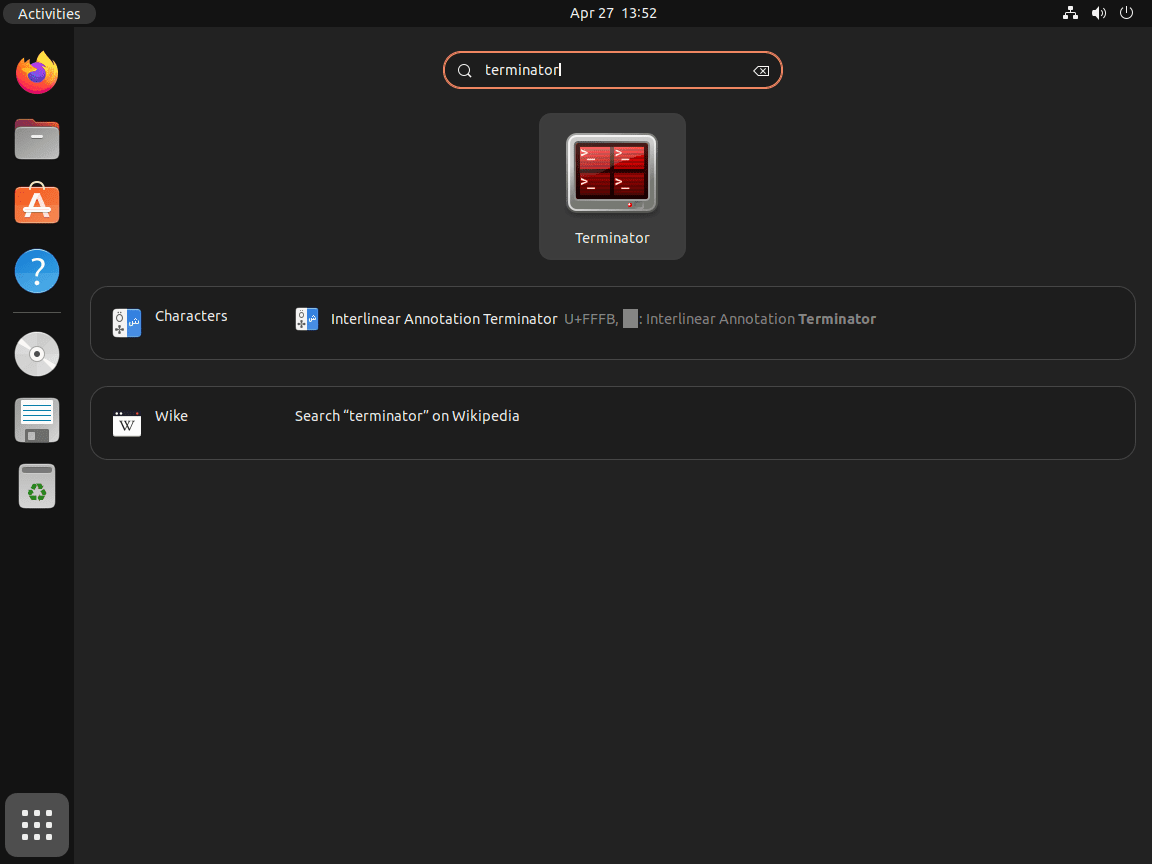
terminatorYou can also open the application menu, search for Terminator, and click the launcher icon.
Once Terminator opens, use the keyboard shortcuts below to split panes, create tabs, and move between sessions.
Set Terminator as the Default Terminal
The Ubuntu package registers Terminator as an x-terminal-emulator alternative. To make applications that call the default terminal open Terminator, run this command and select the /usr/bin/terminator entry:
sudo update-alternatives --config x-terminal-emulatorEssential Terminator Keyboard Shortcuts on Ubuntu
Terminator’s default shortcuts cover pane splitting, tab switching, search, zoom, and window control. You can review or change them later from Terminator’s preferences.
Window and Pane Management
| Action | Shortcut | Use Case |
|---|---|---|
| Split Horizontally | Ctrl + Shift + O | Add a horizontal divider to create top and bottom panes |
| Split Vertically | Ctrl + Shift + E | Add a vertical divider to create left and right panes |
| Maximize Pane | Ctrl + Shift + X | Toggle the current pane to fill the window |
| Switch Next Pane | Ctrl + Shift + N | Move focus to the next split pane |
| Switch Previous Pane | Ctrl + Shift + P | Move focus to the previous split pane |
| Move Up, Down, Left, or Right | Alt + Arrow Key | Jump directly to an adjacent pane |
| Close Pane | Ctrl + Shift + W | Close the current pane without closing other panes |
| New Window | Ctrl + Shift + I | Open a new Terminator window |
Tab Management
| Action | Shortcut | Use Case |
|---|---|---|
| New Tab | Ctrl + Shift + T | Open a new terminal session in a tab |
| Next Tab | Ctrl + Page Down | Switch to the next open tab |
| Previous Tab | Ctrl + Page Up | Switch to the previous open tab |
| Move Tab Left | Ctrl + Shift + Page Up | Move the current tab earlier in the tab bar |
| Move Tab Right | Ctrl + Shift + Page Down | Move the current tab later in the tab bar |
| Cycle Next Terminal | Ctrl + Tab | Cycle focus through panes and tabs |
| Cycle Previous Terminal | Ctrl + Shift + Tab | Cycle focus backward through panes and tabs |
Text, Search, and Zoom
| Action | Shortcut | Use Case |
|---|---|---|
| Copy | Ctrl + Shift + C | Copy selected terminal text |
| Paste | Ctrl + Shift + V | Paste clipboard contents into the terminal |
| Search | Ctrl + Shift + F | Find text in terminal scrollback |
| Zoom In | Ctrl + + | Increase font size |
| Zoom Out | Ctrl + – | Decrease font size |
| Reset Zoom | Ctrl + 0 | Return to the default font size |
| Toggle Scrollbar | Ctrl + Shift + S | Show or hide the scrollbar |
| Open Keybinding Preferences | Ctrl + Shift + K | Review or customize shortcut assignments |
| Fullscreen | F11 | Toggle fullscreen mode |
Broadcast input can send the same keystrokes to multiple panes, but the current upstream defaults leave broadcast shortcuts unassigned. Open keybinding preferences if you want custom broadcast shortcuts for your own workflow.
Manage Terminator Configuration on Ubuntu
Terminator stores per-user settings in ~/.config/terminator/config. That file holds profiles, layouts, keybindings, and appearance preferences created from the graphical preferences dialog. The Ubuntu package itself does not create a system-wide Terminator configuration file under /etc.
Use the preferences window for normal changes, especially fonts, colors, saved layouts, and keybindings. Edit the configuration file directly only when you are copying a known-good layout between systems or restoring a backup.
Troubleshoot Terminator on Ubuntu
APT Cannot Locate the Terminator Package
If sudo apt install terminator returns an unable-to-locate-package error, refresh APT first and confirm that Universe is enabled. The full repository-component walkthrough is covered in the guide to enable Universe and Multiverse on Ubuntu.
sudo add-apt-repository universe -y
sudo apt update
sudo apt install terminator
Terminator Fails to Launch Over SSH
If Terminator fails to launch over SSH, you may see an error like this:
Unable to init server: Could not connect: Connection refused
Cannot open display:
This means the remote session has no graphical display available. Terminator is a graphical terminal emulator, so use X11 forwarding only when the remote system has the needed SSH and X authentication setup:
ssh -X user@remote-serverThen launch terminator from the forwarded session. If the remote host still refuses the connection, confirm that xauth is installed and that X11Forwarding yes is set in /etc/ssh/sshd_config. If the remote system does not have SSH server configured yet, use the guide to install SSH on Ubuntu.
add-apt-repository Command Not Found
Minimal Ubuntu installs may not include the add-apt-repository command. Install the package that provides it, then retry the PPA or Universe command:
sudo apt install -y software-properties-commonPPA Conflicts After an Ubuntu Release Upgrade
After upgrading Ubuntu, a third-party PPA can lag behind the new release. The Terminator Team PPA currently publishes metadata for Ubuntu 26.04, 24.04, and 22.04, but if apt update later reports a PPA error, remove the source temporarily and refresh APT:
sudo add-apt-repository --remove ppa:gnome-terminator/ppa -y
sudo apt update
This disables the PPA as a package source. If you also need to downgrade an installed PPA build to Ubuntu’s repository package, use ppa-purge from the next section instead of relying on a reinstall.
Remove Terminator from Ubuntu
If you no longer need Terminator, remove the package with APT. For more details on package removal behavior, see the guide to remove packages on Ubuntu.
sudo apt remove terminatorReview autoremovable packages before deleting them, especially on reused desktop systems where unrelated packages may already be marked as automatic:
sudo apt autoremove --dry-runIf the preview only lists packages you no longer need, run the real cleanup:
sudo apt autoremoveTerminator’s personal settings remain in your home directory after package removal. Delete them only if you do not want to keep saved layouts, profiles, keybindings, or appearance settings:
The following command permanently deletes your Terminator configuration. Back it up first with
cp -r ~/.config/terminator ~/terminator-backupif you may want to restore these settings later.
rm -rf ~/.config/terminatorVerify that the package is no longer installed:
dpkg-query -W -f='${binary:Package} ${Status}\n' terminator 2>/dev/null || echo "terminator is not installed"terminator is not installed
Downgrade from the PPA to Ubuntu’s Repository Package
If you installed Terminator from the PPA and want to return to Ubuntu’s repository package, use ppa-purge. It disables the PPA and asks APT to downgrade affected packages to Ubuntu’s available versions; if you later need to inspect or delete leftover source files, see the guide to remove a PPA on Ubuntu.
sudo apt install ppa-purge
sudo ppa-purge ppa:gnome-terminator/ppa
If you only want to stop future PPA updates and do not need a downgrade, remove the source and refresh APT instead:
sudo add-apt-repository --remove ppa:gnome-terminator/ppa -y
sudo apt update
Conclusion
Terminator gives Ubuntu a practical split-pane terminal without replacing the rest of your desktop workflow. The Ubuntu Universe package is the best default choice on Ubuntu 26.04, while the Terminator Team PPA is mainly useful when Ubuntu 24.04 or 22.04 users need the current upstream release. After installing, set your preferred shortcuts, save layouts in the preferences window, and consider installing Zsh on Ubuntu if you want a more customized shell inside Terminator. The Terminator project site and GitHub repository remain the best upstream references for release notes, source downloads, and project documentation.

Formatting tips for your comment
You can use basic HTML to format your comment. Useful tags currently allowed in published comments:
<code>command</code>command<strong>bold</strong><em>italic</em><a href="https://example.com">link</a><blockquote>quote</blockquote>