

LibreWolf is a Firefox-based browser built around privacy-focused defaults, stripped telemetry, and no Mozilla telemetry or data collection baked into the build. You can install LibreWolf on Ubuntu through two official channels, neither of which requires a PPA or Snap package. Both methods deliver the latest stable release with automatic updates and cover the full lifecycle from installation through launching, updating, and removal.
Install LibreWolf on Ubuntu
LibreWolf is not available in Ubuntu’s default APT repositories. The table below compares the two supported installation methods so you can choose the package format that best matches your workflow.
| Method | Channel | Version | Updates | Best For |
|---|---|---|---|---|
| APT Repository (extrepo) | Official Repository | Latest stable | Automatic via apt upgrade | Most users who prefer system package manager integration |
| Flatpak | Flathub | Latest stable | Automatic via flatpak update | Users who want sandboxed installation with application isolation |
The LibreWolf
extreporepository and Flathub Flatpak are available for current Ubuntu LTS releases (26.04, 24.04, and 22.04). This guide uses system-wide Flatpak scope (--system) so the install, update, and removal commands stay consistent.
If you are replacing Ubuntu’s default Firefox Snap after testing LibreWolf, follow our guide to remove Firefox Snap from Ubuntu.
Install LibreWolf via extrepo (APT)
The APT method uses extrepo, a standard Debian/Ubuntu tool that manages external repository configuration and GPG key imports automatically. This keeps your LibreWolf installation on the official APT update path.
Install the extrepo Tool
Install the extrepo package, which handles repository source files and GPG key management:
sudo apt update && sudo apt install extrepo -yThis guide uses
sudofor commands that need root privileges. If your user is not in the sudoers file yet, run the commands as root or follow the guide on how to add and manage sudo users on Ubuntu.
Enable the LibreWolf Repository
Enable the official LibreWolf repository and refresh its metadata. This creates the APT source file and imports the current signing key:
sudo extrepo enable librewolf
sudo extrepo update librewolf
Troubleshoot Signed-By Conflicts from Older LibreWolf APT Entries
If sudo apt update fails with a Conflicting values set for option Signed-By error, your system usually has an older manual LibreWolf repository file alongside the extrepo source. Check which LibreWolf APT source files are present:
Error: Conflicting values set for option Signed-By regarding source https://repo.librewolf.net/ librewolf: /var/lib/extrepo/keys/librewolf.asc != /usr/share/keyrings/librewolf-duplicate.asc
Error: The list of sources could not be read.
grep -Ril "repo.librewolf.net" /etc/apt/sources.list.d 2>/dev/nullA conflict usually shows more than one LibreWolf source file. The extra filename varies, but the output often looks similar to this:
/etc/apt/sources.list.d/librewolf-duplicate.sources
/etc/apt/sources.list.d/extrepo_librewolf.sources
Keep /etc/apt/sources.list.d/extrepo_librewolf.sources and remove any extra LibreWolf source files you previously created manually. The filename varies, so remove the non-extrepo file shown in your output, then refresh the extrepo configuration:
sudo rm -f /etc/apt/sources.list.d/librewolf-duplicate.sources
sudo extrepo disable librewolf || true
sudo extrepo enable librewolf
sudo extrepo update librewolf
sudo apt update
After cleanup, recheck the LibreWolf source files. A normal extrepo-only setup usually returns a single file path:
grep -Ril "repo.librewolf.net" /etc/apt/sources.list.d 2>/dev/null/etc/apt/sources.list.d/extrepo_librewolf.sources
Update the Package Index and Verify LibreWolf Availability
Refresh the package index and verify LibreWolf is available with apt-cache policy:
sudo apt update
apt-cache policy librewolf
Output similar to the following confirms the librewolf.net repository is active:
librewolf:
  Installed: (none)
  Candidate: 147.0.4-1
  Version table:
     147.0.4-1 500
        500 https://repo.librewolf.net librewolf/main amd64 Packages
Install the LibreWolf APT Package
Install LibreWolf from the newly configured repository:
sudo apt install librewolf -yVerify the LibreWolf Installation
Confirm the installed version. LibreWolf reports its own version string in the terminal:
librewolf --versionMozilla LibreWolf 147.0.4-1
Install LibreWolf via Flatpak (Flathub)
Flatpak provides sandboxed application installation with filesystem and process isolation from the host system. The Flatpak release updates independently of Ubuntu’s package cycle and works identically across distributions.
If Flatpak is not installed on your system, follow the Flatpak installation guide for Ubuntu before continuing.
Enable the Flathub Repository
Ensure the Flathub repository is active. The --if-not-exists flag skips this step if Flathub is already configured:
sudo flatpak remote-add --system --if-not-exists flathub https://flathub.org/repo/flathub.flatpakrepoInstall the LibreWolf Flatpak
Install the LibreWolf Flatpak from Flathub:
sudo flatpak install --system flathub io.gitlab.librewolf-community -yVerify the Flatpak installed correctly by listing matching applications:
flatpak list | grep -i librewolfLibreWolf io.gitlab.librewolf-community 147.0.4-1 stable system
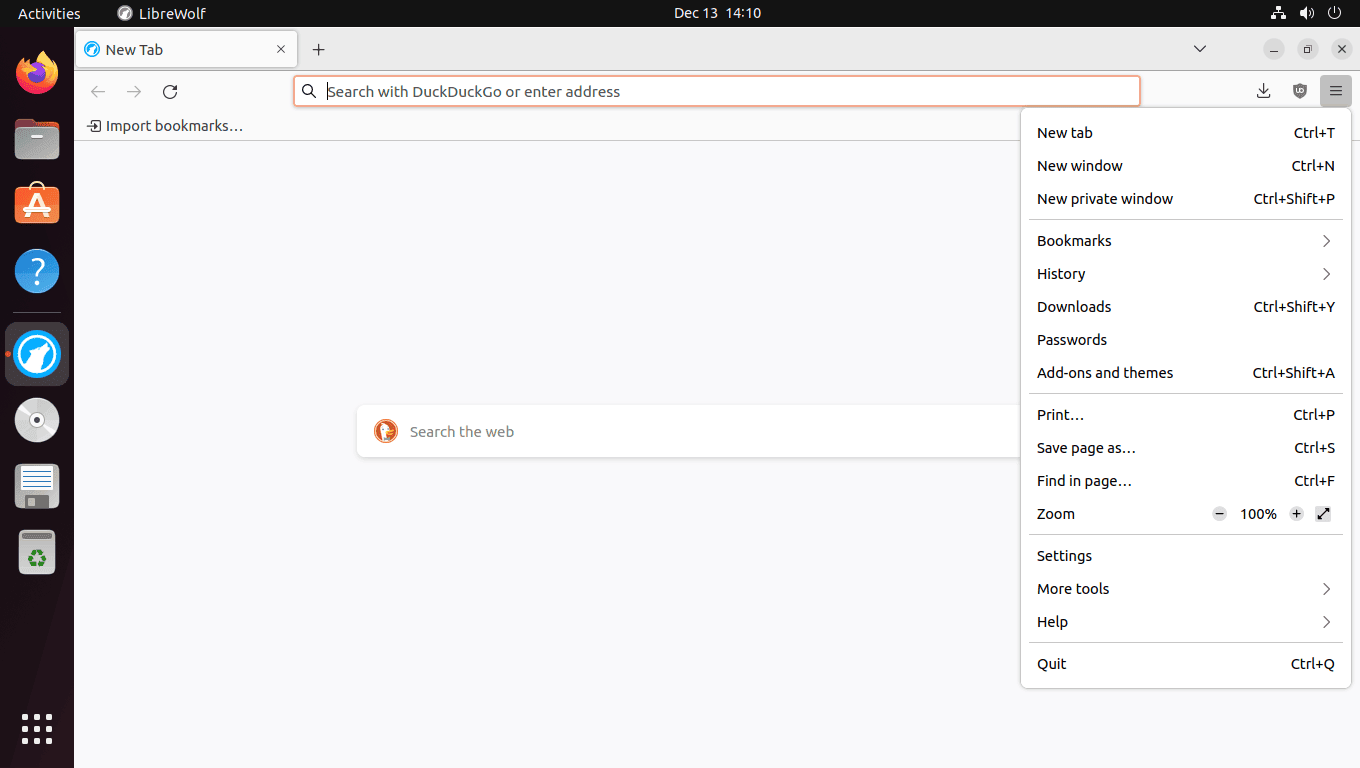
Launch LibreWolf on Ubuntu
Open LibreWolf from the terminal or your desktop environment’s application menu, depending on how you prefer to work.
Launch LibreWolf via CLI
For APT installations, launch LibreWolf directly from the terminal:
librewolfFor Flatpak installations, the launch command requires the full application identifier:
flatpak run io.gitlab.librewolf-communityLaunch LibreWolf from the Desktop Menu
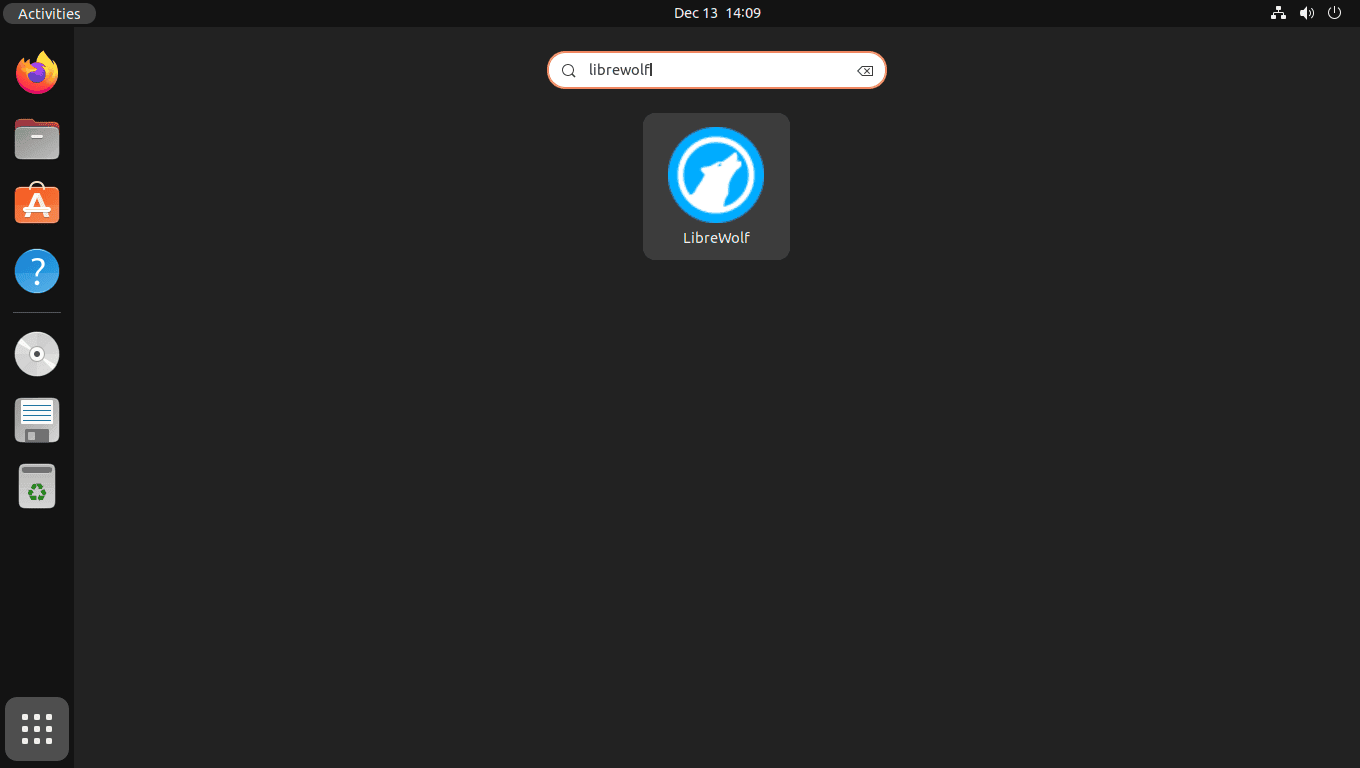
To open LibreWolf using the Ubuntu GNOME graphical interface:
- Click on Activities in the top-left corner of your screen.
- Select Show Applications (the grid icon).
- Locate and click the LibreWolf icon.
Update and Remove LibreWolf on Ubuntu
Standard package management commands handle LibreWolf updates and removal for both APT and Flatpak installations.
Update LibreWolf on Ubuntu
APT-installed LibreWolf updates automatically with sudo apt upgrade. To target only LibreWolf without upgrading other packages:
sudo apt update && sudo apt install --only-upgrade librewolfFor Flatpak installations, update LibreWolf directly by targeting the application ID:
sudo flatpak update --system io.gitlab.librewolf-communityRemove (Uninstall) LibreWolf on Ubuntu
Remove LibreWolf APT Package
To uninstall the LibreWolf package from your system:
sudo apt remove --purge librewolf -yRemove orphaned dependencies that were installed alongside LibreWolf:
sudo apt autoremove -yDisable the LibreWolf repository through extrepo so your system no longer checks it for updates:
sudo extrepo disable librewolfRefresh the package cache and confirm the source file is disabled:
sudo apt update
sudo grep -E '^(Enabled|Suites|Uris):' /etc/apt/sources.list.d/extrepo_librewolf.sources
Enabled: no Suites: librewolf Uris: https://repo.librewolf.net
If you also purged the package, apt-cache policy librewolf may return no output on newer APT versions once the repository is disabled and metadata is refreshed.
If you no longer require the extrepo tool for any other external repositories, remove it after verifying the LibreWolf source is disabled:
sudo apt remove --purge extrepo -yRemove LibreWolf Flatpak Edition
To remove the LibreWolf Flatpak package entirely:
sudo flatpak uninstall --system io.gitlab.librewolf-community -yVerify the Flatpak package was removed from the system-wide installation list:
flatpak list | grep -i librewolf || echo "LibreWolf Flatpak not installed"LibreWolf Flatpak not installed
Remove LibreWolf User Data and Configuration
The following commands permanently delete all LibreWolf user data including bookmarks, passwords, browsing history, and custom settings. Back up your profile data first if you want to keep it.
For APT installations, remove LibreWolf’s profile and cache directories directly from your home directory:
rm -rf ~/.librewolf ~/.cache/librewolfFor Flatpak installations, remove the designated sandboxed application data directory:
rm -rf ~/.var/app/io.gitlab.librewolf-communityFrequently Asked Questions
No. LibreWolf does not provide an official Ubuntu PPA or Snap package and is not available in Ubuntu’s default APT repositories. The supported methods on Ubuntu are the official LibreWolf APT repository through extrepo or the Flathub Flatpak.
Use the official LibreWolf installation page for Debian/Ubuntu methods or the Flathub app page. The extrepo tool configures the official LibreWolf repository and APT downloads the package directly from repo.librewolf.net.
APT-installed LibreWolf updates automatically with sudo apt update and sudo apt upgrade. To update only LibreWolf, run sudo apt update followed by sudo apt install --only-upgrade librewolf. For Flatpak, run sudo flatpak update --system io.gitlab.librewolf-community.
Yes. LibreWolf uses its own profile and configuration directories, so it does not overwrite your Firefox installation or profile data. You can keep both browsers installed and switch between them.
LibreWolf is a Firefox fork that disables telemetry, removes DRM and crash reporters, and ships with stricter privacy defaults including uBlock Origin pre-installed. Firefox retains full Mozilla services integration including Sync, Pocket, and sponsored suggestions. Both browsers share the same rendering engine and extension compatibility.
Conclusion
LibreWolf is running on Ubuntu with privacy-focused defaults, telemetry stripped, and automatic updates through the extrepo APT repository or Flathub Flatpak. For other privacy-focused browsers on Ubuntu, see how to install Brave on Ubuntu, install Tor Browser on Ubuntu, install Ungoogled Chromium on Ubuntu, or install Waterfox on Ubuntu.

Please go to the official librewolf website for instructions. The ‘apt PPA’ install process is not working.
Thanks for reporting this, oscarleroy. You were absolutely right. The PPA method stopped working, and LibreWolf switched to distribution through extrepo for Debian-based systems. The article has been completely updated with the new installation method.
The current process uses extrepo to manage the repository automatically:
Your feedback directly drove this update. Thank you for taking the time to report it.