
FFmpeg works well until a repeat job turns into a wall of flags, presets, and output folders. You can install Videomass on Ubuntu to handle conversions, audio extraction, and queue-based media jobs from a desktop window instead of building each FFmpeg command by hand.
Ubuntu’s default repositories do not currently ship Videomass, so the project’s PPA is the maintained install path on Ubuntu 24.04 and 22.04. FFmpeg comes in automatically, while the GUI itself still needs a graphical session even if you install the package from an SSH shell.
Install Videomass on Ubuntu
Ubuntu’s maintained install path for Videomass is the project’s Launchpad PPA.
This PPA installs cleanly on Ubuntu 24.04 and 22.04. Ubuntu 26.04 is not included here because the
resoluterepository does not publish a usableReleasefile yet, which causesapt updateto fail before the package can install.
Update Ubuntu Before Installing Videomass
Refresh APT metadata first so the new PPA is added against current package information.
sudo apt update && sudo apt upgrade -yThese commands use
sudofor system-level package changes. If your account is not configured for sudo yet, follow the guide on how to add a new user to sudoers on Ubuntu.
Add the Videomass PPA on Ubuntu
Add the official Videomass PPA, then refresh APT so Ubuntu sees the new package source.
sudo add-apt-repository ppa:jeanslack/videomass -ysudo apt updateHit:5 https://ppa.launchpadcontent.net/jeanslack/videomass/ubuntu noble InRelease
Install the Videomass Package on Ubuntu
Install the package with APT. Videomass itself is small, but Ubuntu also pulls in FFmpeg and the wxPython runtime the GUI needs.
sudo apt install videomass -yVerify the install with apt-cache policy. This shows both the installed package and the PPA source that supplied it.
apt-cache policy videomassvideomass:
Installed: 6.1.20-1
Candidate: 6.1.20-1
Version table:
*** 6.1.20-1 500
500 https://ppa.launchpadcontent.net/jeanslack/videomass/ubuntu noble/main amd64 Packages
100 /var/lib/dpkg/status
The package installs the launcher in your app menu as Videomass and places the executable at /usr/bin/videomass.
Launch Videomass on Ubuntu
Once the package is installed, you can start Videomass from the terminal or from the desktop launcher. The first launch opens a short setup wizard, but the app needs a graphical session and will not open from a plain SSH-only shell.
Launch Videomass from the Terminal on Ubuntu
Open it from a terminal inside your desktop session when you want startup messages visible while you troubleshoot.
videomassLaunch Videomass from the Ubuntu Applications Menu
Most desktop users will just open it from the app grid.
- Press the Super key or click Activities.
- Open Show Applications.
- Search for Videomass.
- Click the launcher to open the application.
Complete the Videomass First-Run Setup on Ubuntu
Videomass uses FFmpeg underneath, so the first run is mostly about confirming the binary path and deciding whether to enable downloader support.
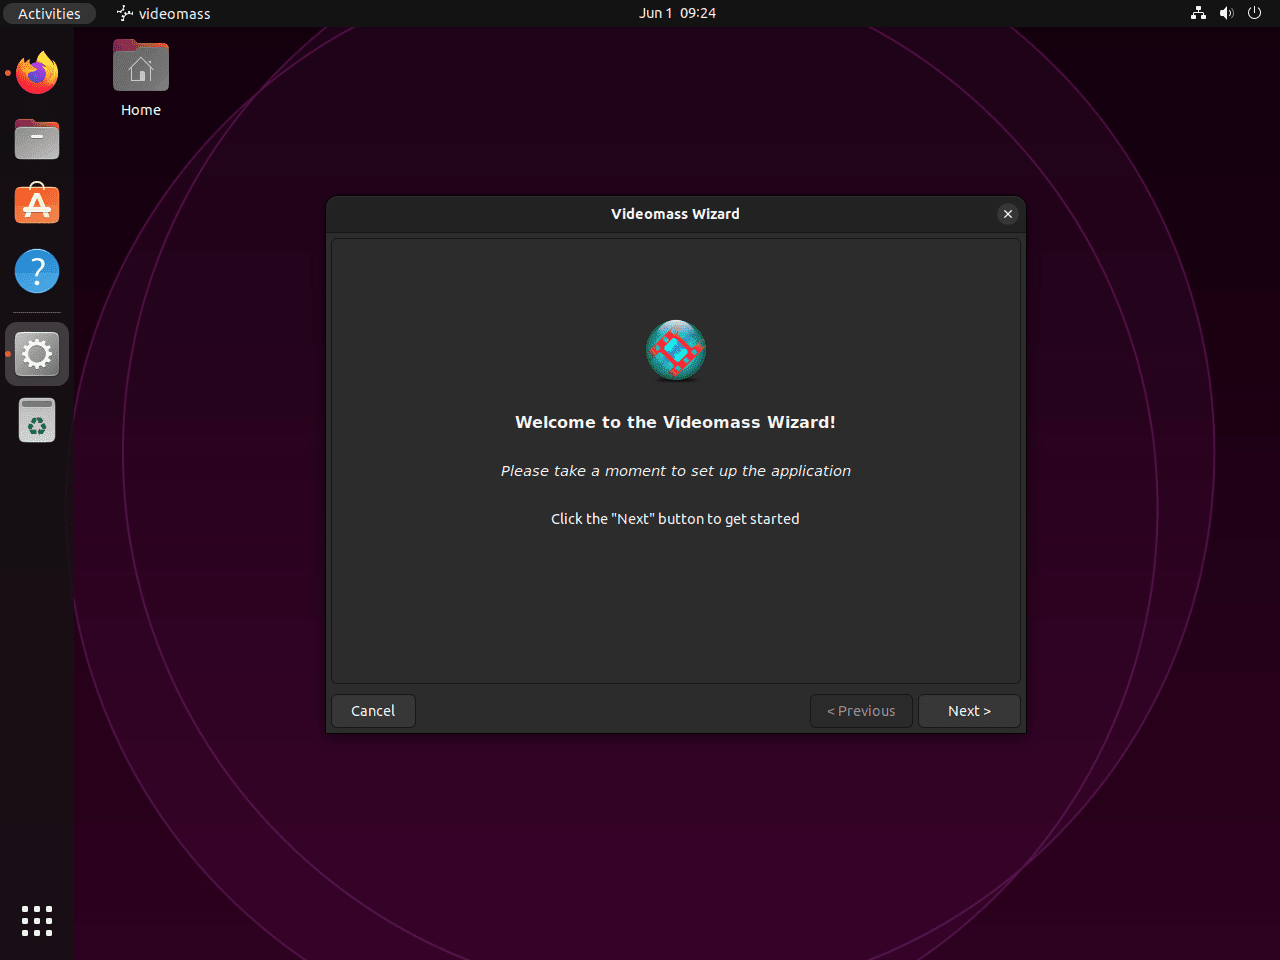
Start the Videomass Setup Wizard
The wizard opens automatically the first time you start the application. Click Next to move into the tool-detection steps.
Choose the Videomass FFmpeg Path
Auto-detection is the right choice on a normal Ubuntu install because FFmpeg lands in a standard path. If you removed FFmpeg manually at some point, reinstall it first or follow the guide to install FFmpeg on Ubuntu.
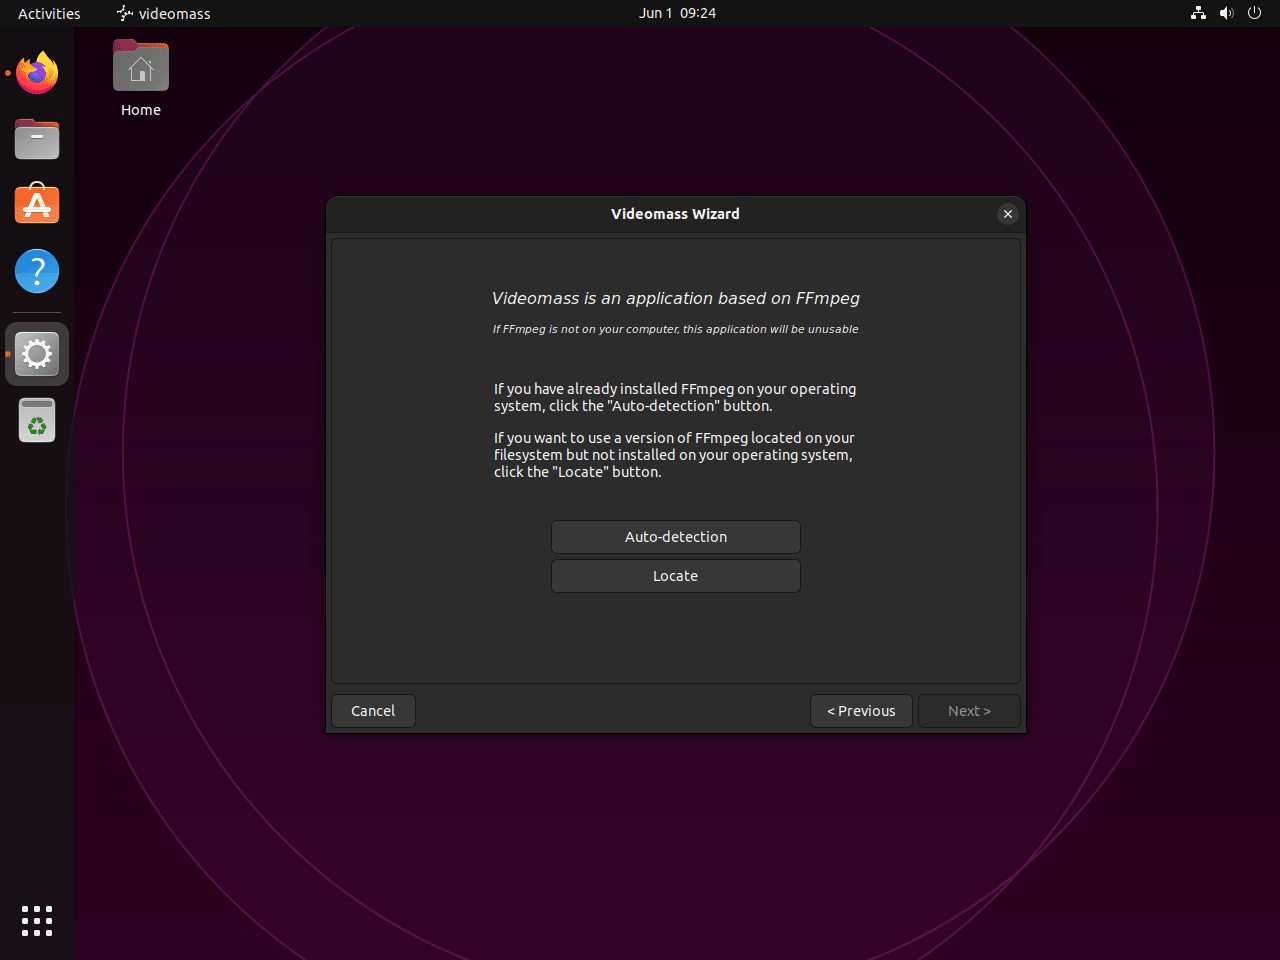
If the wizard cannot find FFmpeg, that usually means the dependency was removed after Videomass was installed.
sudo apt install --reinstall ffmpeg -yAfter that, reopen the wizard and point it at /usr/bin/ffmpeg if auto-detection still misses it.
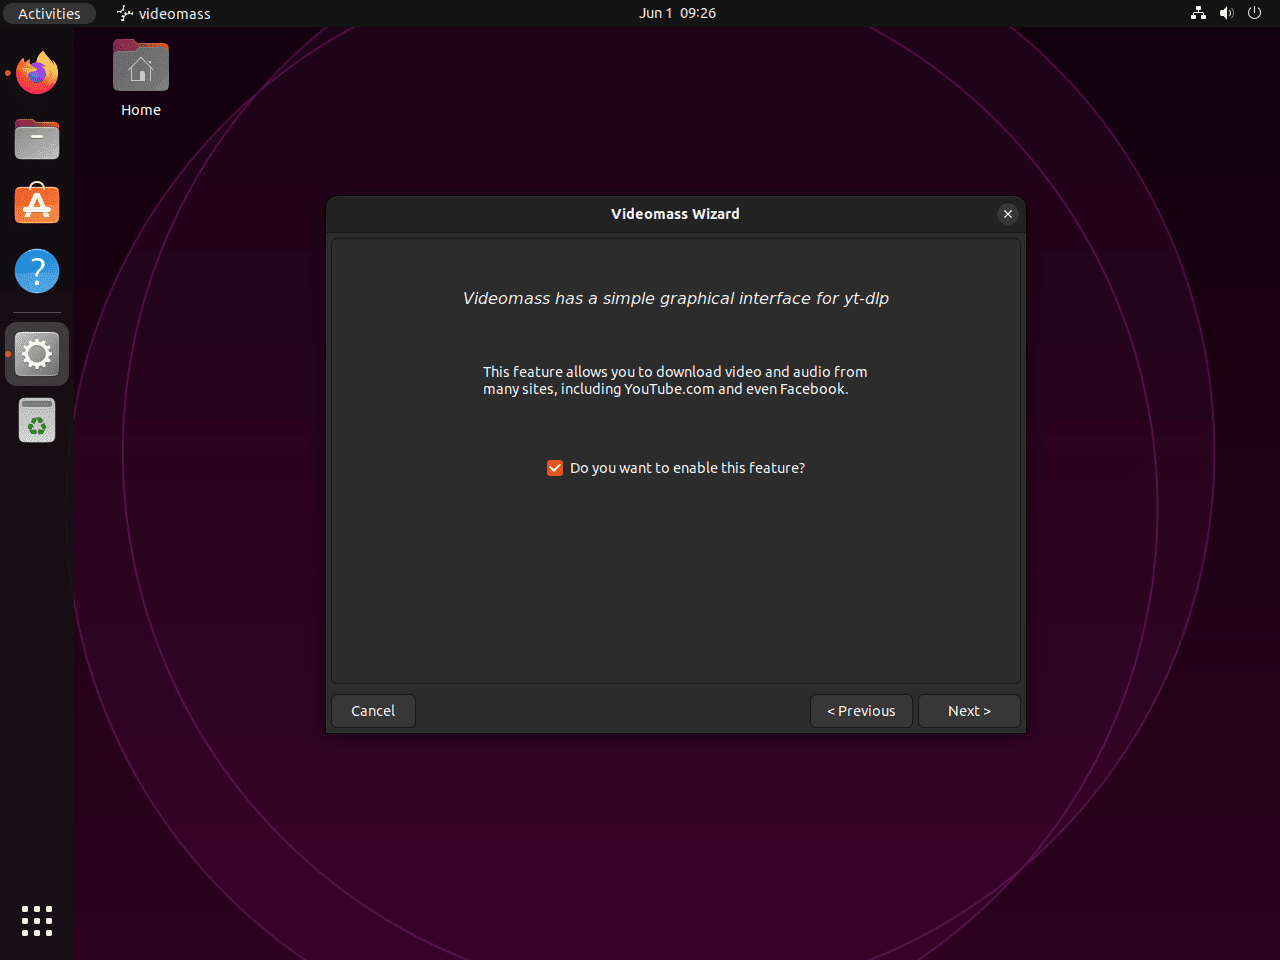
Enable yt-dlp in Videomass
Videomass can call yt-dlp for supported online video downloads, but the package is optional and is not installed automatically with Videomass.
sudo apt install yt-dlp -yOnce that package is present, leave the downloader option enabled in the wizard. If you only want local file conversions, you can skip it.
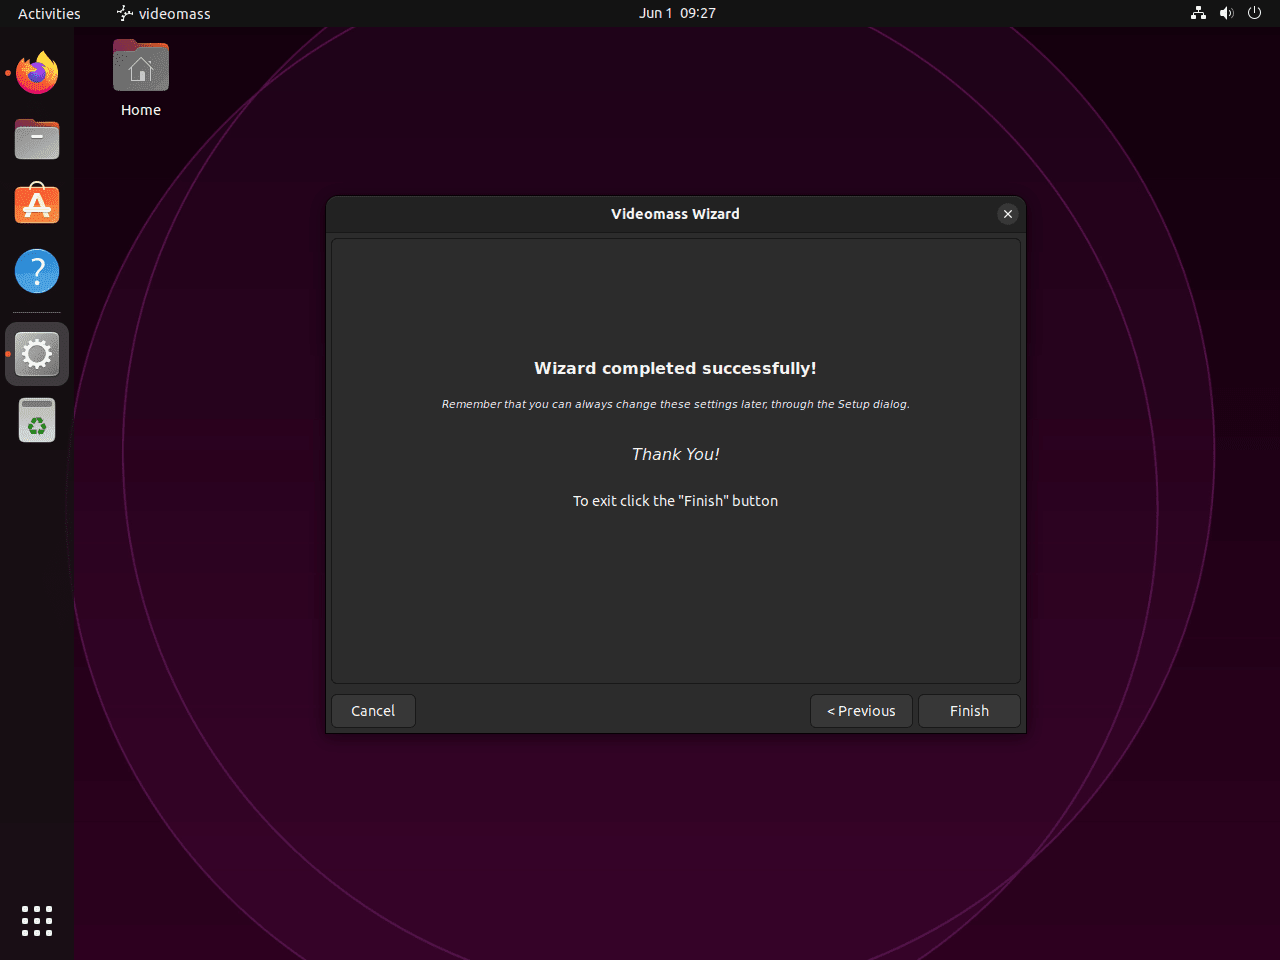
Finish the Videomass Setup
The last screen summarizes your choices and writes the app’s settings into your home directory. Click Finish to open the main interface.
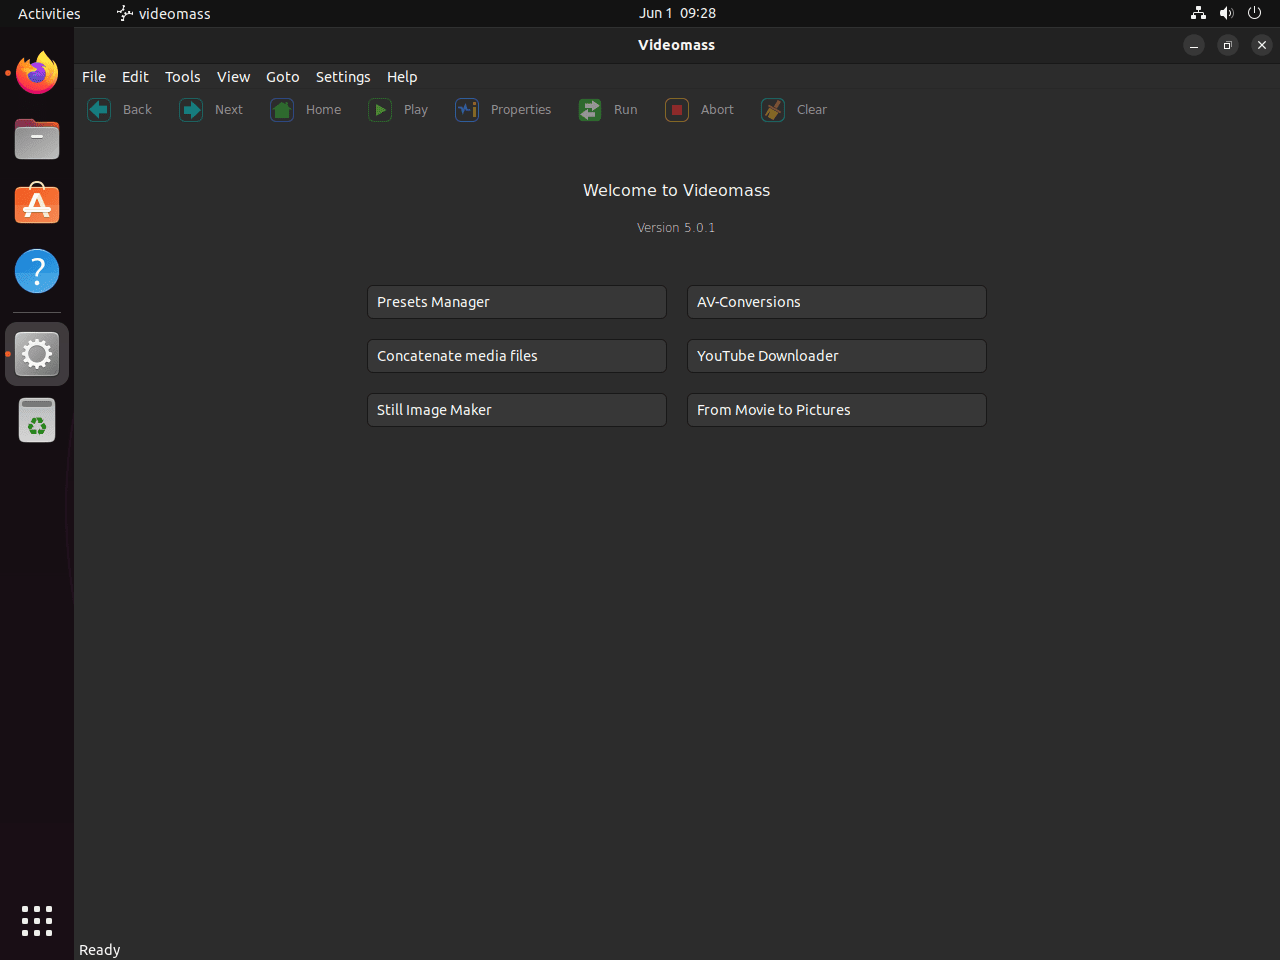
Run Your First Videomass Conversion on Ubuntu
The first useful test is a small transcode so you know the queue, presets, and output folder all behave the way you expect.
- Click Add and import one or more media files.
- Choose a preset such as MP4 with H.264/AAC when you want broad playback compatibility.
- Set the destination folder, then click Start to queue and process the job.
- For MKV or WebM to MP4 work, start with a small sample file first so you can confirm the preset and output folder before running a larger batch.
Update Videomass on Ubuntu
Because Videomass comes from a PPA, targeted updates use the normal APT package flow.
sudo apt update && sudo apt install --only-upgrade videomass -yCheck the package state afterward to confirm the installed version matches the current PPA candidate.
apt-cache policy videomassvideomass:
Installed: 6.1.20-1
Candidate: 6.1.20-1
Version table:
*** 6.1.20-1 500
500 https://ppa.launchpadcontent.net/jeanslack/videomass/ubuntu noble/main amd64 Packages
100 /var/lib/dpkg/status
If the installed and candidate versions match, Videomass is already on the newest build the PPA currently provides.
Fix Common Videomass Problems on Ubuntu
Most problems come down to FFmpeg path issues, missing downloader support, or codec expectations that do not match the local FFmpeg build.
Fix FFmpeg Detection in Videomass on Ubuntu
Use which command examples in Linux to confirm which FFmpeg binary your shell will run.
which ffmpeg/usr/bin/ffmpeg
If that command prints nothing, reinstall FFmpeg and then rerun the Videomass setup wizard. If you need the full package walkthrough again, use the guide to install FFmpeg on Ubuntu.
sudo apt install --reinstall ffmpeg -yFix yt-dlp Downloads in Videomass on Ubuntu
Videomass does not ship its own downloader backend. If the downloader window is empty or online downloads fail after a site change, reinstall the Ubuntu yt-dlp package and restart Videomass.
sudo apt install yt-dlp -yThat command installs yt-dlp if it was missing and refreshes it if the package was already present.
Check FFmpeg Codec Support for Videomass on Ubuntu
If one preset fails while others work, use grep command examples in Linux to filter FFmpeg’s codec list down to the encoder or decoder you need.
ffmpeg -hide_banner -codecs | grep -i hevcDEV.L. hevc H.265 / HEVC (High Efficiency Video Coding) (decoders: hevc hevc_qsv hevc_v4l2m2m hevc_cuvid) (encoders: libx265 hevc_nvenc hevc_qsv hevc_v4l2m2m hevc_vaapi)
If the codec you want is missing, switch to a preset backed by codecs your current FFmpeg package provides, such as H.264 for MP4 output.
Remove Videomass on Ubuntu
Removing Videomass takes two parts: uninstall the package, then decide whether you also want to delete the local settings and cache it left in your home directory.
Remove the package first.
sudo apt remove videomass -yThen clean up the automatic dependencies that were only needed for the Videomass GUI.
sudo apt autoremove -yRemove the PPA so APT stops checking it on future package refreshes.
sudo add-apt-repository --remove ppa:jeanslack/videomass -yRefresh package metadata and confirm Ubuntu no longer sees a Videomass package source.
sudo apt updateapt-cache policy videomass(no output)
An empty response here means APT no longer has a Videomass package available from your configured repositories.
Package removal does not delete personal data automatically. On Ubuntu, Videomass leaves
~/.config/videomass,~/.cache/videomass, and~/.local/share/videomassbehind until you remove them yourself.
rm -rf ~/.config/videomass ~/.cache/videomass ~/.local/share/videomassVideomass on Ubuntu FAQ
Not through the current Videomass PPA. The repository installs on Ubuntu 24.04 and 22.04, but the resolute suite for Ubuntu 26.04 does not publish a usable Release file yet, so apt update fails before the package can install.
No. The Videomass package installs FFmpeg automatically, but yt-dlp remains a separate optional package. Add it with sudo apt install yt-dlp if you want downloader support inside Videomass.
The package can install on Ubuntu Server, but Videomass is a desktop GUI and still needs an active graphical session. In a plain SSH-only shell it stops with Unable to access the X Display, is $DISPLAY set properly?, so headless systems are better served by direct ffmpeg commands instead.
Conclusion
Videomass is installed on Ubuntu 24.04 or 22.04 with FFmpeg ready underneath it, and you can add yt-dlp when you want download support. If you want deeper command-line control, install FFmpeg on Ubuntu. For playback checks or capture work around the same files, install VLC Media Player on Ubuntu or install OBS Studio on Ubuntu.

Formatting tips for your comment
You can use basic HTML to format your comment. Useful tags currently allowed in published comments:
<code>command</code>command<strong>bold</strong><em>italic</em><blockquote>quote</blockquote>