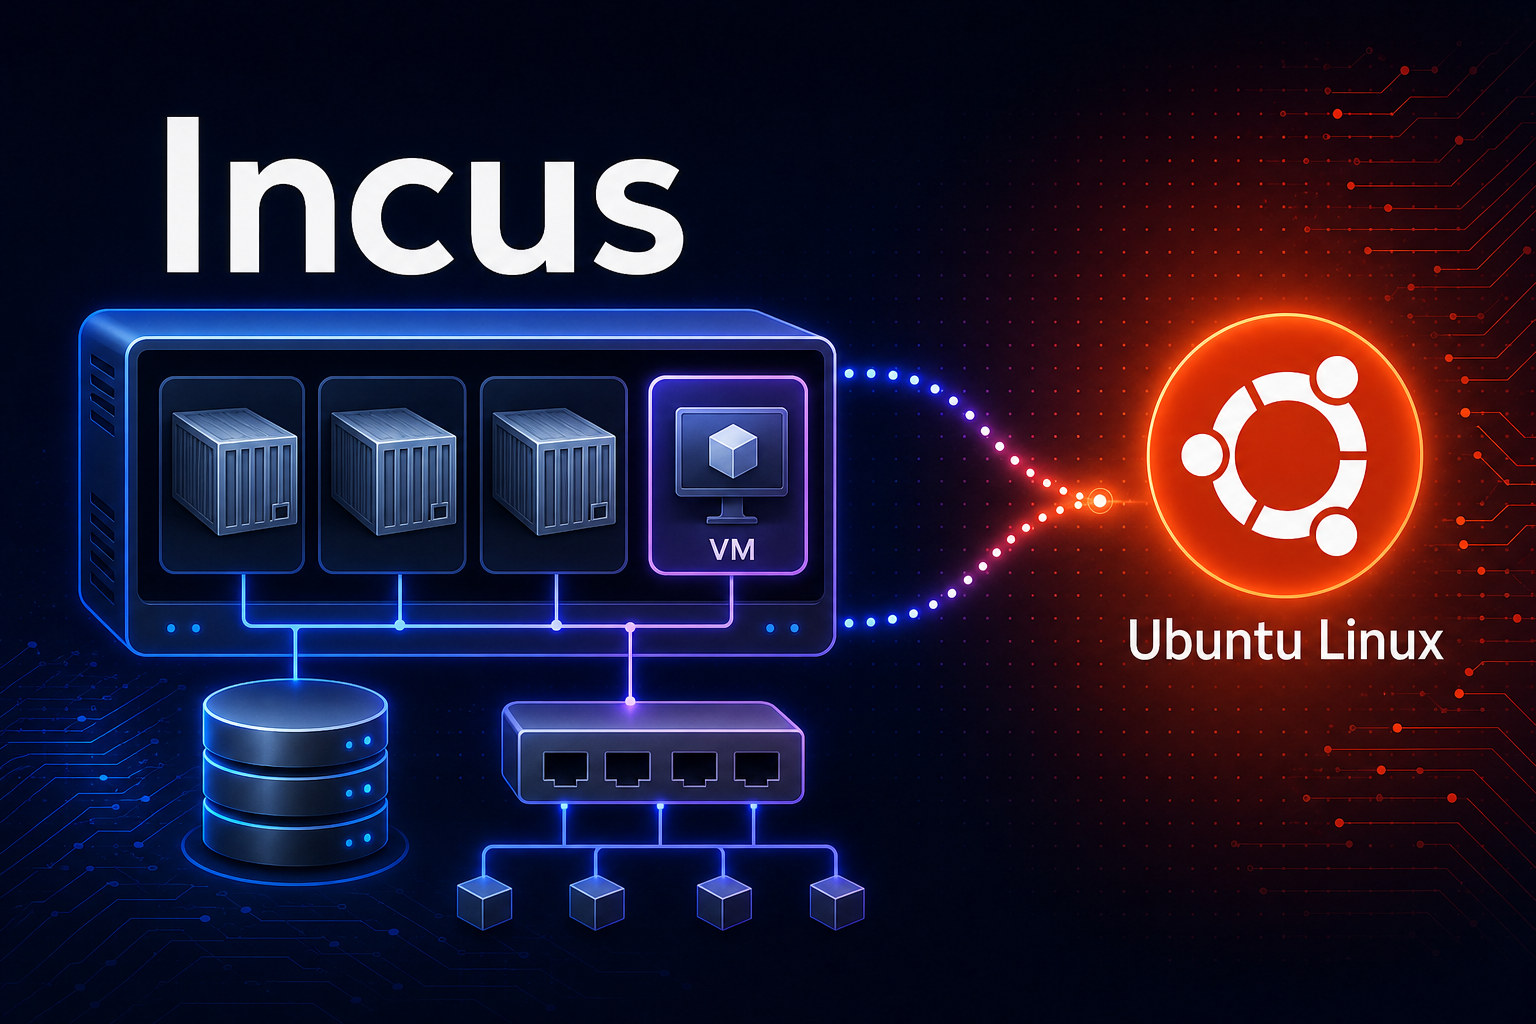
An Ubuntu host may need lightweight Linux system containers alongside virtual machines that run their own kernels. Incus manages both through the same command-line and API workflow, so images, storage, networking, snapshots, and lifecycle operations follow one model instead of two separate toolchains.
Installing Incus on Ubuntu begins with the package source. Ubuntu 26.04 and 24.04 include Incus in their repositories, while Ubuntu 22.04 uses Zabbly; both paths work on Desktop and Server and lead to the same local setup.
Install Incus on Ubuntu
Incus is available through two APT-managed paths. Choose the package origin you intend to maintain, and do not enable several Zabbly channels on the same host. On Ubuntu 26.04 and 24.04, the Ubuntu archive remains enabled after Zabbly is added; apt-cache policy later confirms which source owns the candidate.
Choose an Incus Installation Method
| Method | Ubuntu Releases | Best Fit | Important Detail |
|---|---|---|---|
| Ubuntu repositories | 26.04 and 24.04 | Readers who prefer Ubuntu-maintained packages and the fewest third-party sources | The package is in Ubuntu Universe. Install qemu-system when virtual machine support is required. |
| Zabbly repository | 26.04, 24.04, and 22.04 | Ubuntu 22.04 or readers who prefer Zabbly-maintained packages across all three releases | This walkthrough uses Zabbly’s non-versioned stable channel on amd64. The package includes the dependencies needed for containers and VMs. |
The official Incus installation documentation recommends Ubuntu’s package for 24.04 and later and points Ubuntu 22.04, 24.04, and 26.04 users to Zabbly as the third-party package source. Zabbly publishes stable, LTS, and daily channels; this walkthrough uses its non-versioned stable endpoint so the commands do not hard-code an Incus major release. Incus recommends an LTS release for production systems that prioritize security and bug-fix updates without feature or behavior changes, so use a current LTS from Zabbly’s instructions instead when that policy better fits the host.
Do not enable several Zabbly Incus channels at once. On Ubuntu 26.04 or 24.04, keep the Ubuntu archive enabled and confirm that
apt-cache policy incusselects the intended origin before installing or upgrading. Back up instances and server state before switching origins because an upgrade can change the database schema.
Review Ubuntu Updates Before Installation
Before using either method, refresh APT and review pending system updates:
sudo apt update
apt list --upgradable
These commands use sudo for system changes. If your account cannot run sudo, configure an administrator with the Ubuntu sudoers user guide before continuing.
Installing every available update is optional for this procedure and changes the wider system, not only Incus. Review the APT transaction before accepting it, and expect kernel or core-library updates to require a reboot. To bring the Ubuntu host fully current first, run:
sudo apt upgradeUbuntu records a required restart in /var/run/reboot-required. If you skip the wider upgrade, continue with the selected method because APT will still install the dependencies required by Incus.
Install Incus from the Ubuntu Repositories
Use this method on Ubuntu 26.04 or 24.04 when you want Ubuntu to maintain the Incus package. Refresh APT metadata, then inspect the candidate before installing anything:
sudo apt update
apt-cache policy incus
A valid result shows an incus candidate from an Ubuntu universe source for your release. If APT reports no candidate, do not substitute a package from another Ubuntu codename; use the troubleshooting section to check the release and repository components.
Install the Incus daemon and client packages:
sudo apt install incusInstall QEMU only if this host will run Incus virtual machines. Review APT’s transaction before accepting it, especially when another hypervisor already uses QEMU packages:
sudo apt install qemu-systemConfirm that APT registered the installed Incus package:
dpkg-query -W -f='${db:Status-Abbrev} ${binary:Package} ${Version}\n' incusThe status prefix should be ii. Continue to the configuration section before running Incus as a normal user.
Install Incus from the Zabbly Repository
Use the Zabbly Incus package repository on Ubuntu 22.04 or when you prefer Zabbly-maintained packages across Ubuntu 26.04, 24.04, and 22.04. Incus points Ubuntu users to this repository, but Zabbly maintains it outside Ubuntu’s archive. The stable channel follows the latest released Incus version, so review release notes and backups before upgrades. Zabbly also publishes arm64 packages; the guarded path here accepts amd64 and fails before writing a source file on any other architecture.
Install the Zabbly Repository Tools
Refresh APT and install the certificate, download, and OpenPGP tools needed for the repository setup:
sudo apt update
sudo apt install ca-certificates curl gpg
Verify and Install the Zabbly Signing Key
Zabbly publishes the expected primary fingerprint as 4EFC 5906 96CB 15B8 7C73 A3AD 82CC 8797 C838 DCFD. The following block downloads the key to a temporary file, reads it with a temporary GnuPG home, compares the complete fingerprint, and installs it only when the values match:
(
  set -eu

  tmp_key="$(mktemp)"
  tmp_gpg_home="$(mktemp -d)"
  trap 'rm -f "$tmp_key"; rm -rf "$tmp_gpg_home"' EXIT

  curl -fsSLo "$tmp_key" https://pkgs.zabbly.com/key.asc

  expected_fingerprint='4EFC590696CB15B87C73A3AD82CC8797C838DCFD'
  actual_fingerprint="$(
    gpg --homedir "$tmp_gpg_home" --quiet --show-keys \
      --with-colons --fingerprint "$tmp_key" |
      awk -F: '$1 == "fpr" {print toupper($10); exit}'
  )"

  if [ "$actual_fingerprint" != "$expected_fingerprint" ]; then
    printf 'Zabbly signing-key fingerprint mismatch.\n' >&2
    false
  fi

  printf 'Verified Zabbly fingerprint: %s\n' "$actual_fingerprint"
  sudo install -m 0755 -d /etc/apt/keyrings
  sudo install -m 0644 "$tmp_key" /etc/apt/keyrings/zabbly.asc
)
Do not continue if the command reports a mismatch. A successful run stores the ASCII-armored key at /etc/apt/keyrings/zabbly.asc with permissions that allow APT to read it.
Add the Zabbly Incus Stable Source
Create a DEB822 source using the detected Ubuntu codename and Debian architecture label. The block accepts only Ubuntu 26.04, 24.04, or 22.04 on amd64 and stops before writing a source on anything else:
(
  set -eu

  . /etc/os-release
  codename="${VERSION_CODENAME:-}"
  arch="$(dpkg --print-architecture)"

  case "${codename}:${arch}" in
    resolute:amd64|noble:amd64|jammy:amd64)
      printf '%s\n' \
        'Enabled: yes' \
        'Types: deb' \
        'URIs: https://pkgs.zabbly.com/incus/stable' \
        "Suites: ${codename}" \
        'Components: main' \
        "Architectures: ${arch}" \
        'Signed-By: /etc/apt/keyrings/zabbly.asc' |
        sudo tee /etc/apt/sources.list.d/zabbly-incus-stable.sources > /dev/null
      ;;
    *)
      printf 'This workflow supports Ubuntu 26.04, 24.04, and 22.04 on amd64.\n' >&2
      false
      ;;
  esac
)
Inspect the resulting file before APT consumes it:
cat /etc/apt/sources.list.d/zabbly-incus-stable.sourcesThe Suites: value must match resolute, noble, or jammy, and Architectures: must be amd64.
Refresh APT and confirm that the Incus candidate comes from the Zabbly stable URL:
sudo apt update
apt-cache policy incus
Install Incus only after apt-cache policy lists https://pkgs.zabbly.com/incus/stable for the candidate:
sudo apt install incusVerify the Zabbly package surface. The incus package pulls in incus-base for the daemon and incus-client for the command-line client:
dpkg-query -W -f='${db:Status-Abbrev} ${binary:Package} ${Version}\n' \
  incus incus-base incus-client
Each installed package should begin with the ii status prefix.
Configure Incus on Ubuntu
Grant Incus Access to a Trusted User
Incus uses the incus-admin group for full local administration. The official daemon-access security guidance treats local socket access as full Incus control: a member can create privileged instances, attach host storage, and control the daemon. Add only trusted administrator accounts.
sudo adduser "$USER" incus-adminSign out of Ubuntu completely and sign back in so the new group applies to every process. For an SSH connection, disconnect and reconnect. In the new session, confirm that the account includes the group:
id -nGDo not continue as a normal user until incus-admin appears in the output.
Incus listens only on its local Unix socket by default. Remote administration is a separate, security-sensitive setup; if it is required, follow the official network exposure guide, bind a specific address where possible, restrict access to approved hosts or subnets, and authenticate trusted clients.
Verify the Incus Socket and Daemon
The packaged daemon uses socket activation. Querying the version should contact the local socket and start incus.service when required:
incus version
systemctl is-active incus.socket
A successful incus version response is the primary runtime check, and the socket check should report active. The socket starts the daemon on demand, so incus.service can briefly report activating during the first request. Use the service troubleshooting section only if the client cannot reach the local daemon.
Initialise Incus Storage and Networking
Run the interactive initialisation so the storage and network choices match the host rather than accepting a generic preseed:
incus admin initThe prompts can change between Incus releases, but these choices provide a sensible single-host baseline:
- Do not enable clustering unless this host is joining a planned multi-node Incus cluster.
- Create a storage pool. A loop-backed pool is acceptable for short testing, while production systems should use a dedicated disk, partition, ZFS pool, Btrfs filesystem, or another deliberately provisioned backend.
- Create a managed bridge when the host does not already have a suitable bridge. The default name is commonly
incusbr0. - Keep remote HTTPS access disabled unless you have a separate authentication, firewall, and certificate plan.
- Allow cached images to update automatically unless the environment requires fixed image revisions.
The official Incus initialisation reference explains each storage, network, clustering, and remote-access prompt. Its --minimal mode is useful for disposable tests, but it defaults to the slower dir storage driver and omits several performance features.
After the wizard completes, inspect the resources attached to the default profile:
incus storage list
incus network list
incus profile show default
The storage list should contain at least one pool, and the default profile should contain a root disk device. A managed bridge should also appear when you selected the recommended bridge option.
Launch an Incus Container on Ubuntu
Create the First System Container
Launch a Debian 12 system container from the public Incus image server. The first launch takes longer because Incus must download and cache the image:
incus launch images:debian/12 first-containerCheck the instance state first:
incus listWait until incus list shows RUNNING and an address from the managed bridge. Then read the guest operating system, test DNS from inside it, and inspect the instance configuration:
incus exec first-container -- cat /etc/os-release
incus exec first-container -- getent hosts linuxcontainers.org
incus info first-container
The incus exec results prove that the daemon can enter the container and that the managed bridge provides working name resolution, rather than only creating an instance database record.
Stop and start the container to verify normal lifecycle control:
incus stop first-container
incus start first-container
incus list
Launch an Optional Incus Virtual Machine
Virtual machines need QEMU and hardware acceleration through /dev/kvm. The following block launches a VM only when that device is available:
if [ -c /dev/kvm ]; then
  incus launch images:debian/12 first-vm --vm
  incus list
  incus info first-vm
else
  printf 'Skipping the VM: /dev/kvm is unavailable.\n' >&2
fi
A VM can take longer than a container to reach RUNNING. If the block skips creation, enable CPU virtualisation in the host firmware or expose nested virtualisation from the outer hypervisor, then rerun it. Do not run the VM launch command until /dev/kvm exists.
Update Incus on Ubuntu
Both installation methods receive APT-managed updates from their selected source. Review the Incus package family before applying an upgrade:
sudo apt update
apt list --upgradable 2>/dev/null | grep -E '^(incus|incus-base|incus-client)/' || true
If you created the example container, export it before a major upgrade or package-origin change:
incus export first-container "$HOME/first-container-$(date +%F).tar.gz"The official Incus backup guide distinguishes portable instance exports from full server backups. Stop Incus before copying its live filesystem state, include /var/lib/incus, /etc/subuid, and /etc/subgid, and back up separate ZFS pools, LVM volume groups, or other external storage independently. An instance snapshot alone is not a separate backup because it remains in the same storage pool.
Confirm that important instances and server state are recoverable before continuing. Incus can upgrade its database schema automatically when the new daemon starts, and an older package can reject the upgraded database if you later try to downgrade.
Upgrade the installed Incus package and its required dependencies:
sudo apt install --only-upgrade incus
incus version
The --only-upgrade option prevents APT from treating a missing incus package as a new installation. A successful version response confirms that the upgraded client can still contact the daemon.
Remove Incus from Ubuntu
Back Up and Delete Test Instances
List the existing instances and storage pools before removing packages. Do not delete real workloads merely because they are not the examples created here:
incus list
incus storage list
If you created first-container and no longer need it, export anything worth keeping, then delete that exact instance:
incus export first-container "$HOME/first-container-backup.tar.gz"
incus delete first-container --force
If the KVM path created first-vm and you no longer need it, delete the VM separately:
incus delete first-vm --forceDo not run either deletion block for an instance that does not exist. Repeat the export and deletion workflow only for other exact instance names you intentionally want to remove.
Remove the Incus Packages
Stop the socket-activated daemon before removing packages. This prevents a client request from restarting Incus and releases its internal bind mounts before the later data cleanup:
sudo systemctl stop incus.socket incus.service incus-user.socket incus-user.serviceIf you added the current account to incus-admin for this installation, revoke that root-equivalent access:
if id -nG "$USER" | tr ' ' '\n' | grep -Fxq incus-admin; then
  sudo gpasswd -d "$USER" incus-admin
fi
Ubuntu releases and package sources split the daemon differently. Build an array from the installed package state so the command removes incus-base where it exists without failing on Ubuntu packages that do not use that split:
mapfile -t incus_daemon_packages < <(
  dpkg-query -W -f='${db:Status-Abbrev} ${binary:Package}\n' \
    incus incus-base 2>/dev/null |
    awk '$1 == "ii" {print $2}'
)

if ((${#incus_daemon_packages[@]})); then
  sudo apt remove "${incus_daemon_packages[@]}"
else
  printf 'No installed Incus daemon packages found.\n'
fi
The client can remain installed for managing a remote Incus server. Keep the package source that owns the installed client enabled so it continues receiving updates. Remove the client only when the local and remote command-line tool is no longer needed:
if dpkg-query -W -f='${db:Status-Abbrev}\n' incus-client 2>/dev/null | grep -q '^ii'; then
  sudo apt remove incus-client
fi
If you installed qemu-system only for Incus and no other virtualisation tool needs it, remove the metapackage, then review the proposed dependency cleanup before accepting it:
sudo apt remove qemu-system
sudo apt autoremove --dry-run
Run sudo apt autoremove only after checking that APT is not proposing to remove packages needed by another hypervisor, emulator, storage tool, or service.
Remove the Zabbly Repository
This step applies only to the Zabbly method after every Zabbly-installed Incus package has been removed or deliberately moved to another maintained source. If you keep a Zabbly-installed incus-client, skip this repository cleanup so the client can still receive updates. Otherwise, remove the Incus source first, then delete the shared Zabbly key only when no remaining APT source references it. The key check matters when the host also uses the Zabbly kernel repository on Ubuntu or another Zabbly package source.
(
  set -eu

  sudo rm -f /etc/apt/sources.list.d/zabbly-incus-stable.sources

  apt_source_paths=()
  [ -f /etc/apt/sources.list ] && apt_source_paths+=(/etc/apt/sources.list)
  [ -d /etc/apt/sources.list.d ] && apt_source_paths+=(/etc/apt/sources.list.d)

  key_is_referenced=no
  if ((${#apt_source_paths[@]})); then
    if sudo grep -Rqs --fixed-strings '/etc/apt/keyrings/zabbly.asc' \
      "${apt_source_paths[@]}"; then
      key_is_referenced=yes
    else
      grep_rc=$?
      if [ "$grep_rc" -ne 1 ]; then
        printf 'Could not inspect the remaining APT sources; keeping the Zabbly key.\n' >&2
        false
      fi
    fi
  fi

  if [ "$key_is_referenced" = yes ]; then
    printf 'Another APT source still uses the Zabbly key; keeping it.\n'
  else
    sudo rm -f /etc/apt/keyrings/zabbly.asc
  fi

  sudo apt update

  if [ -e /etc/apt/sources.list.d/zabbly-incus-stable.sources ]; then
    printf 'The Zabbly Incus source file still exists.\n' >&2
    false
  fi

  printf 'No Zabbly Incus stable source file found.\n'
  apt-cache policy incus
)
After cleanup, apt-cache policy can show Ubuntu’s candidate on 26.04 or 24.04. Ubuntu 22.04 should show no candidate unless another Incus source remains enabled.
Delete Incus Data Completely
The following cleanup is destructive. Keep
/var/lib/incusand any external storage until all required instances, custom volumes, images, profiles, networks, and database state have been backed up. Some package purge scripts can delete this directory automatically, which is why the removal workflow above usesapt removerather thanapt purge.
Review the remaining local data first:
sudo du -sh /var/lib/incus /var/lib/incus-lxcfs /var/cache/incus /var/log/incus 2>/dev/nullAfter verifying the backups and package removal, delete the local Incus directories:
sudo rm -rf /var/lib/incus /var/lib/incus-lxcfs /var/cache/incus /var/log/incusThis command does not remove separate ZFS pools, LVM volume groups, Ceph storage, or other externally provisioned backends. Inspect and remove those resources with their owning storage tools only when no other workload uses them.
Troubleshoot Incus on Ubuntu
APT Reports That Incus Has No Installation Candidate
Confirm the Ubuntu release and inspect the current package candidate:
. /etc/os-release
printf 'Ubuntu release: %s (%s)\n' "${VERSION_ID:-unknown}" "${VERSION_CODENAME:-unknown}"
apt-cache policy incus
Ubuntu 22.04 does not provide the native Incus package, so use the guarded Zabbly method. On Ubuntu 26.04 or 24.04, a missing Ubuntu candidate usually means the Universe component is unavailable or APT metadata is stale. Check the active components with the Ubuntu Universe repository guide, then rerun sudo apt update.
For a Zabbly installation, inspect the exact source and repeat the metadata refresh:
cat /etc/apt/sources.list.d/zabbly-incus-stable.sources
sudo apt update
apt-cache policy incus
The suite must match the host codename, and the policy output must show the Zabbly stable URL. Remove a source that points at another Ubuntu codename instead of forcing APT to use mismatched packages.
Incus Reports Permission Denied for the Local Socket
Check the current group list, the group database, and the socket unit:
id -nG
getent group incus-admin
systemctl is-active incus.socket
If incus-admin is missing from the current session, add the user again, then sign out completely and sign back in. For SSH, disconnect and reconnect before running the version check:
sudo adduser "$USER" incus-adminIf the group is correct but the socket is inactive, enable the socket and retry the client request:
sudo systemctl enable --now incus.socket
incus version
A successful version response confirms that the socket permission and daemon activation path work.
Incus Initialisation Fails While Creating Storage
Storage setup commonly fails when the selected disk is mounted, contains existing signatures, is too small, or belongs to another volume manager. Inspect the host and the daemon log before retrying the wizard:
lsblk -f
incus storage list
sudo journalctl -u incus.service -n 100 --no-pager
Do not wipe a disk merely because Incus rejects it. Use a deliberately empty device, select a non-destructive test pool, or correct the existing storage configuration indicated by the log. Recheck incus storage list after the fix.
Containers Have No Network Access Through incusbr0
First confirm that the managed bridge exists and that UFW is active:
incus network list
incus network show incusbr0
sudo ufw status verbose
If UFW is inactive, do not add UFW rules. Check the Incus service log, bridge configuration, DNS, and any other firewall manager instead. If UFW is active and blocks forwarded bridge traffic, the official Incus firewall documentation recommends disabling Incus-managed firewall rules for that bridge and allowing host and routed traffic in UFW.
The following UFW rules are a broad functional baseline for
incusbr0. They can allow more guest-to-host traffic than a production policy should permit. Use the Ubuntu UFW configuration guide and Incus’s restrictive DHCP, DNS, and CIDR examples when the host needs tighter segmentation.
Record the current Incus firewall values and numbered UFW rules before changing them. Empty incus network get output means that the option uses its default value; keep any explicit custom value for rollback.
incus network get incusbr0 ipv4.firewall
incus network get incusbr0 ipv6.firewall
sudo ufw status numbered
incus network set incusbr0 ipv4.firewall false
incus network set incusbr0 ipv6.firewall false
sudo ufw allow in on incusbr0
sudo ufw route allow in on incusbr0
sudo ufw route allow out on incusbr0Restart the example container and test name resolution:
incus restart first-container
incus exec first-container -- getent hosts linuxcontainers.org
If this change does not solve the problem or does not fit the security policy, remove only the UFW rules added in this section. Keep any identical rule that appeared in the numbered baseline. The unset commands restore Incus’s default firewall ownership only when the earlier values were empty; restore an explicit custom value with incus network set instead.
sudo ufw delete allow in on incusbr0
sudo ufw delete route allow in on incusbr0
sudo ufw delete route allow out on incusbr0
incus network unset incusbr0 ipv4.firewall
incus network unset incusbr0 ipv6.firewall
When Docker runs on the same host, also inspect whether it changed the global forwarding policy:
sudo iptables -S FORWARD 2>/dev/null
sudo iptables -S DOCKER-USER 2>/dev/null
A DROP forwarding policy or blocking DOCKER-USER rules can prevent Incus bridge traffic. Use the Docker coexistence options in the official Incus firewall documentation rather than adding untracked temporary firewall rules that disappear after reboot.
An Incus Virtual Machine Does Not Start
Check KVM, the QEMU package, and the daemon log:
if [ -c /dev/kvm ]; then
  ls -l /dev/kvm
else
  printf '/dev/kvm is unavailable.\n'
fi

dpkg-query -W -f='${db:Status-Abbrev} ${binary:Package}\n' qemu-system 2>/dev/null
sudo journalctl -u incus.service -n 100 --no-pager
Install qemu-system when using Ubuntu’s package method and APT reports it missing. If /dev/kvm does not exist, enable CPU virtualisation in firmware or expose nested virtualisation from the outer hypervisor. Start first-vm again when that instance already exists; otherwise return to the VM launch section. Check the new log entries rather than relying on an older failure.
Conclusion
Incus is now installed on Ubuntu through either the Ubuntu archive or Zabbly, with a trusted administrator, initialized storage and bridge networking, and a working container lifecycle. Keep the selected package source as the single update owner, back up server state before major upgrades, and review firewall forwarding carefully before placing real workloads on the host. For snapshots, resource limits, and file access, continue with the official Incus first-steps tutorial.


Formatting tips for your comment
You can use basic HTML to format your comment. Useful tags currently allowed in published comments:
<code>command</code>command<strong>bold</strong><em>italic</em><a href="https://example.com">link</a><blockquote>quote</blockquote>