Krita is a free and open-source digital painting application designed for concept artists, illustrators, matte painters, and animators. Whether you want to create comic art, design game textures, produce matte paintings for film, or explore digital illustration as a hobby, Krita provides a comprehensive canvas with professional-grade brush engines, layer management, and color tools. This guide covers installation on Ubuntu 22.04 LTS, 24.04 LTS, and the upcoming 26.04 LTS, using either the default repositories, Flatpak, or Snap.
Choose Your Krita Installation Method
Ubuntu offers three ways to install Krita, each with different trade-offs between version freshness and system integration. The following table summarizes your options:
| Method | Channel | Version | Updates | Best For |
|---|---|---|---|---|
| APT (Default Repos) | Ubuntu Packages | Stable (distro version) | Automatic via apt upgrade | Users who prefer distro-tested packages |
| Flatpak | Flathub | Latest stable | Automatic via flatpak update | Users who want the newest features with sandboxing |
| Snap | Snapcraft | Latest stable | Automatic via snapd | Users who prefer Canonical’s package format |
For most users, we recommend the APT method because it provides automatic security updates and integrates seamlessly with your Ubuntu system. However, if you need the latest Krita features and bug fixes, consider the Flatpak or Snap options instead, as they deliver newer releases faster.
Install Krita from Ubuntu Repositories
Before installing any software, first update your system’s package index and upgrade existing packages to ensure you have the latest security patches and dependency versions:
sudo apt update && sudo apt upgradeNext, install Krita along with its localization package, which provides translations for various languages:
sudo apt install krita krita-l10nOnce the installation completes, verify that APT installed Krita correctly by checking its version:
krita --versionAs a result, the output displays the installed version, which varies depending on your Ubuntu release:
krita 5.x.x
The version number varies by Ubuntu release: Ubuntu 22.04 includes Krita 5.0.x, Ubuntu 24.04 provides Krita 5.2.x, and Ubuntu 26.04 ships with Krita 5.2.13 or newer. While the APT version is well-tested with Ubuntu’s libraries, it typically lags behind the latest upstream release. If you need newer features, continue to the Flatpak or Snap sections below.
Install Krita via Flatpak and Flathub
Flatpak provides a sandboxed environment that runs applications independently from system libraries. As a result, you can install the latest Krita version regardless of your Ubuntu release. This method works particularly well for users who want cutting-edge features and bug fixes.
Flatpak is not pre-installed on Ubuntu. If you have not set it up yet, follow our Flatpak installation guide for Ubuntu to install the Flatpak framework and add the Flathub repository before continuing.
Add the Flathub Repository
First, ensure you have configured the Flathub repository on your system. This command adds Flathub if it does not already exist:
sudo flatpak remote-add --if-not-exists flathub https://flathub.org/repo/flathub.flatpakrepoInstall Krita from Flathub
Next, install Krita from the Flathub repository:
sudo flatpak install flathub org.kde.krita -yAfter the installation finishes, verify that Flatpak installed Krita correctly:
flatpak info org.kde.kritaSubsequently, the output confirms the installation and displays version details:
Krita - Digital Painting, Creative Freedom

          ID: org.kde.krita
         Ref: app/org.kde.krita/x86_64/stable
        Arch: x86_64
      Branch: stable
      Origin: flathub
     Version: 5.2.x
Install Krita via Snap
Alternatively, Snap offers Canonical’s universal packaging format that comes pre-installed on Ubuntu. The Krita Foundation maintains this package directly, which ensures timely releases and provides automatic background updates.
Verify Snap Availability
Ubuntu includes Snap by default on standard installations. However, if you are using a minimal installation or have removed Snap previously, you can install it with:
sudo apt install snapd -yInstall Krita from Snap Store
Once Snap is available, install Krita with the following command:
sudo snap install kritaAfter installation, verify that Snap installed Krita correctly by checking the Snap list:
snap list kritaConsequently, the output shows the installed Snap package and its version:
Name   Version  Rev    Tracking       Publisher              Notes
krita  5.2.x    xxx    latest/stable  krita✓                 -
Launch Krita
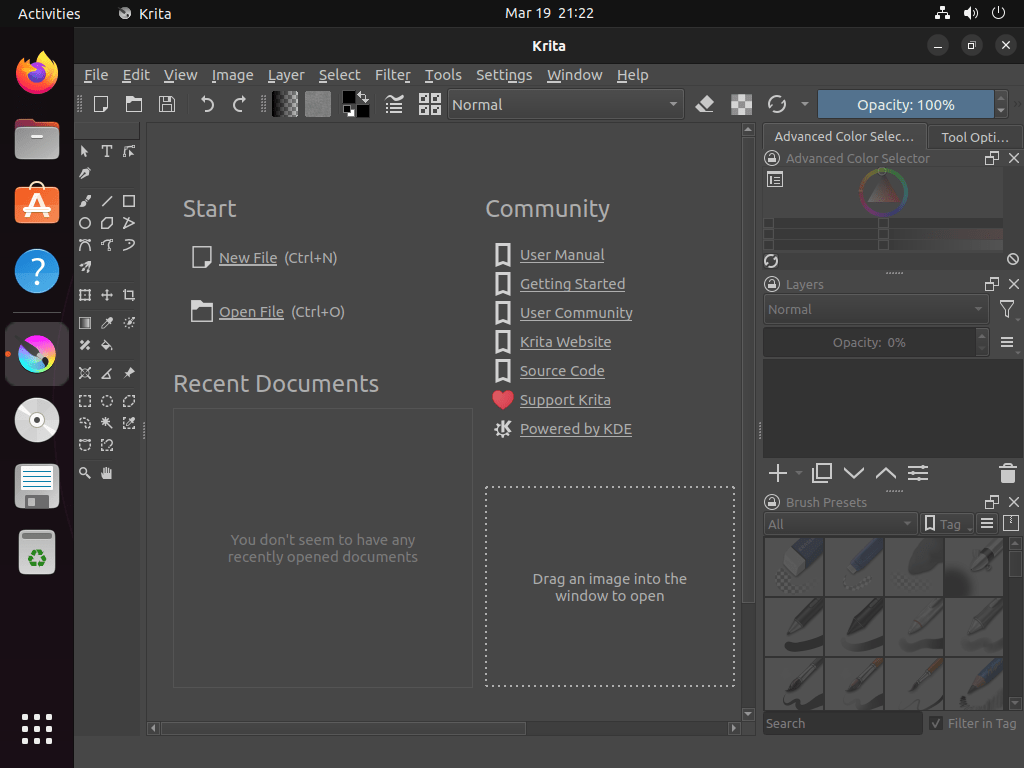
After installing Krita using any method, you can launch it from either the terminal or the desktop application menu.
Launch Krita from Terminal
Specifically, the terminal command to launch Krita depends on your installation method. Use the appropriate command for your setup:
APT installation:
kritaFlatpak installation:
flatpak run org.kde.kritaSnap installation:
snap run kritaLaunch Krita from Applications Menu
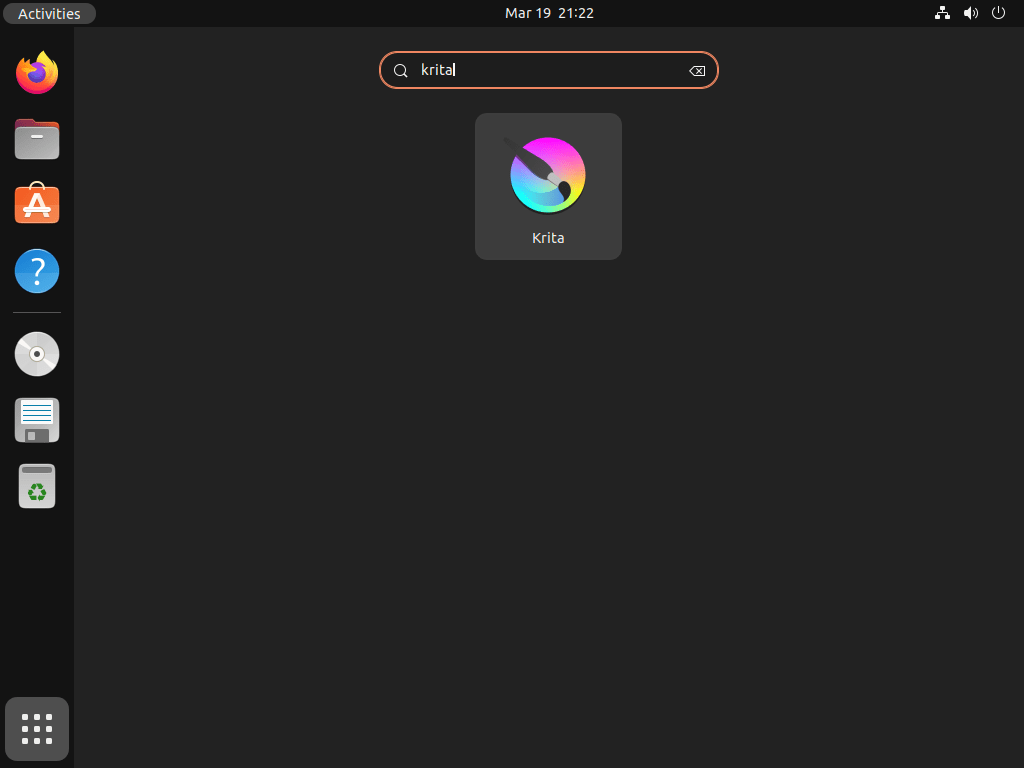
Alternatively, desktop users can navigate to the Krita application icon through your system menu:
Activities > Show Applications > Krita
Additionally, you can right-click the Krita icon and select “Add to Favorites” to pin it to your dock for quick access during future sessions.


Manage Krita
Update Krita
Regularly updating Krita ensures you have the latest features, performance improvements, and security patches. Therefore, use the appropriate command for your installation method:
APT Update:
sudo apt update && sudo apt upgradeFlatpak Update:
flatpak update org.kde.kritaSnap Update:
sudo snap refresh kritaRemove Krita
Similarly, if you no longer need Krita, you can remove it using the commands below. Select the one that matches your installation method:
APT Removal:
sudo apt remove --purge krita krita-l10n krita-dataThen, clean up any orphaned dependencies that APT automatically installed with Krita:
sudo apt autoremoveFlatpak Removal:
sudo flatpak uninstall org.kde.kritaAdditionally, remove unused Flatpak runtimes and dependencies:
flatpak uninstall --unusedSnap Removal:
sudo snap remove kritaUser Data: After uninstalling Krita, your personal settings and artwork may remain in
~/.local/share/krita/and~/.config/krita/. Additionally, Flatpak stores user data in~/.var/app/org.kde.krita/. Delete these directories manually if you want a complete removal.
Troubleshooting
Krita Fails to Start or Shows Display Errors
When Krita fails to launch or displays graphical glitches, the issue often relates to OpenGL compatibility. To diagnose the problem, try launching Krita with software rendering:
LIBGL_ALWAYS_SOFTWARE=1 kritaIf this resolves the issue, your graphics driver may need updating. First, install the mesa-utils package to access diagnostic tools, then check your current driver:
sudo apt install mesa-utils
glxinfo | grep "OpenGL renderer"
The output reveals which graphics driver your system uses. Specifically, if you see “llvmpipe” or “softpipe”, hardware acceleration is not working. For NVIDIA users, installing the proprietary drivers typically resolves OpenGL performance issues.
Tablet or Stylus Not Detected
If your drawing tablet does not work with Krita, first install the Wacom driver package, then verify that Linux recognizes the device:
sudo apt install xserver-xorg-input-wacom
xsetwacom --list devices
If your tablet appears in the list but still does not work in Krita, open Settings > Configure Krita > Tablet Settings and select the correct input device. For Flatpak installations, you may also need to grant additional permissions:
flatpak override --user org.kde.krita --device=allColor Profile Issues
When colors appear incorrect or washed out, Krita may use an incompatible color profile. To fix this, open Settings > Configure Krita > Color Management and select your monitor’s correct color profile. For accurate color work, also install the colord package, which provides system-wide color management:
sudo apt install colordConclusion
You now have Krita installed on your Ubuntu system and can begin creating digital artwork, illustrations, or animations. In summary, the APT method provides stable integration with your system, while Flatpak and Snap offer the latest upstream releases with automatic updates. For your next steps, explore the official Krita documentation to learn about advanced brush engines, animation tools, and workspace customization. Furthermore, if you work with other creative applications, you may also find our guides for installing GIMP on Ubuntu, installing Inkscape on Ubuntu, or installing Blender on Ubuntu helpful.


Formatting tips for your comment
You can use basic HTML to format your comment. Useful tags currently allowed:
<code>command</code>command<strong>bold</strong><em>italic</em><a href="URL">link</a><blockquote>quote</blockquote>