
LibreWolf makes the most sense on Fedora when you want Firefox compatibility without starting from Mozilla’s default telemetry, sponsored surfaces, and looser privacy settings. Fedora’s default repositories do not package LibreWolf, so the practical standard-Fedora path is LibreWolf’s official Fedora RPM repository, which installs the librewolf package and keeps browser updates inside DNF.
Use this DNF path on normal Fedora Workstation and Spins with a graphical desktop session. DNF may ask you to import LibreWolf’s OpenPGP key during the first metadata read or install transaction; accept only prompts that show key ID 0x2B12EF16 and fingerprint 662E 3CDD 6FE3 2900 2D0C A5BB 4033 9DD8 2B12 EF16.
Install LibreWolf on Fedora
The repository method gives Fedora one package source, one package name, and one update owner:
| Fedora Item | Value | Why It Matters |
|---|---|---|
| Package source | LibreWolf official Fedora RPM repository | DNF can install, update, and remove the browser from a signed package feed. |
| Package name | librewolf | The same name is used for install, update, verification, and removal. |
| Launcher | librewolf.desktop | GNOME Activities, KDE Plasma, and other menus can find the browser after desktop metadata refreshes. |
| Command | librewolf | The terminal command also exposes private-window and profile-manager options. |
| Updates | sudo dnf upgrade --refresh | LibreWolf updates with other Fedora packages while the repository remains enabled. |
LibreWolf is a graphical browser, so this RPM install is most useful on Fedora Workstation or a Spin with a desktop session.
Install LibreWolf with DNF
Update Fedora Before Adding the Repository
Refresh package metadata and apply pending updates before you add a third-party browser repository:
sudo dnf upgrade --refreshPackage management tasks use
sudo. If your account does not have administrator access yet, follow the guide on how to add a user to sudoers on Fedora before continuing.
Confirm DNF Config Manager Support
Fedora Workstation usually includes the DNF5 config-manager command. Minimal or customized systems may not, so check before you add the repository:
dnf config-manager --helpIf Fedora reports that the subcommand is missing, install the DNF5 provider for config-manager:
sudo dnf install 'dnf5-command(config-manager)'The same DNF5 command family is covered in more detail in the Fedora DNF5 install command examples if you want a broader package-manager reference.
Add the LibreWolf Fedora Repository
Add LibreWolf’s official repository file with Fedora’s DNF5 syntax:
sudo dnf config-manager addrepo --from-repofile=https://repo.librewolf.net/librewolf.repoInspect the saved repo file before installing the package. The current LibreWolf repo enables package signing and repository metadata signing:
grep -E '^\[|^(name|baseurl|enabled|gpgcheck|repo_gpgcheck|gpgkey)=' /etc/yum.repos.d/librewolf.repoRelevant output includes:
[librewolf]
name=LibreWolf Software Repository
baseurl=https://repo.librewolf.net
gpgcheck=1
repo_gpgcheck=1
gpgkey=https://repo.librewolf.net/pubkey.gpg
enabled=1
Refresh LibreWolf Metadata
Refresh only the new LibreWolf repository before installing the browser. Depending on cache state, Fedora may show the OpenPGP prompt during this refresh or during the first install transaction:
sudo dnf makecache --repo=librewolfWhen DNF shows a key prompt, accept it only when it matches LibreWolf’s maintainer key and fingerprint:
Importing OpenPGP key 0x2B12EF16:
 UserID     : "LibreWolf Maintainers <gpg@librewolf.net>"
 Fingerprint: 662E3CDD6FE329002D0CA5BB40339DD82B12EF16
 From       : https://repo.librewolf.net/pubkey.gpg
Confirm the repository is enabled after the metadata refresh:
dnf repo list --enabled | grep -E '^librewolf[[:space:]]'librewolf LibreWolf Software Repository
Install the LibreWolf RPM Package
Install the librewolf package from the configured repository:
sudo dnf install librewolfDNF may ask for transaction confirmation and, on a clean system, the LibreWolf OpenPGP key. Accept the key only when the key ID and fingerprint match the values shown earlier.
Verify the DNF Installation
Check the installed package, source repository, and browser version:
rpm -q librewolf --qf '%{NAME} %{VERSION}-%{RELEASE} %{ARCH}\n'
dnf info --installed librewolf | grep -E '^(Name|From repository)'
librewolf --version
Example output:
librewolf 150.0.3-1 x86_64
Name            : librewolf
From repository : librewolf
Mozilla LibreWolf 150.0.3-1
Your version will change as LibreWolf publishes new builds. The important checks are the installed package name, the librewolf repository source, and a working librewolf --version command.
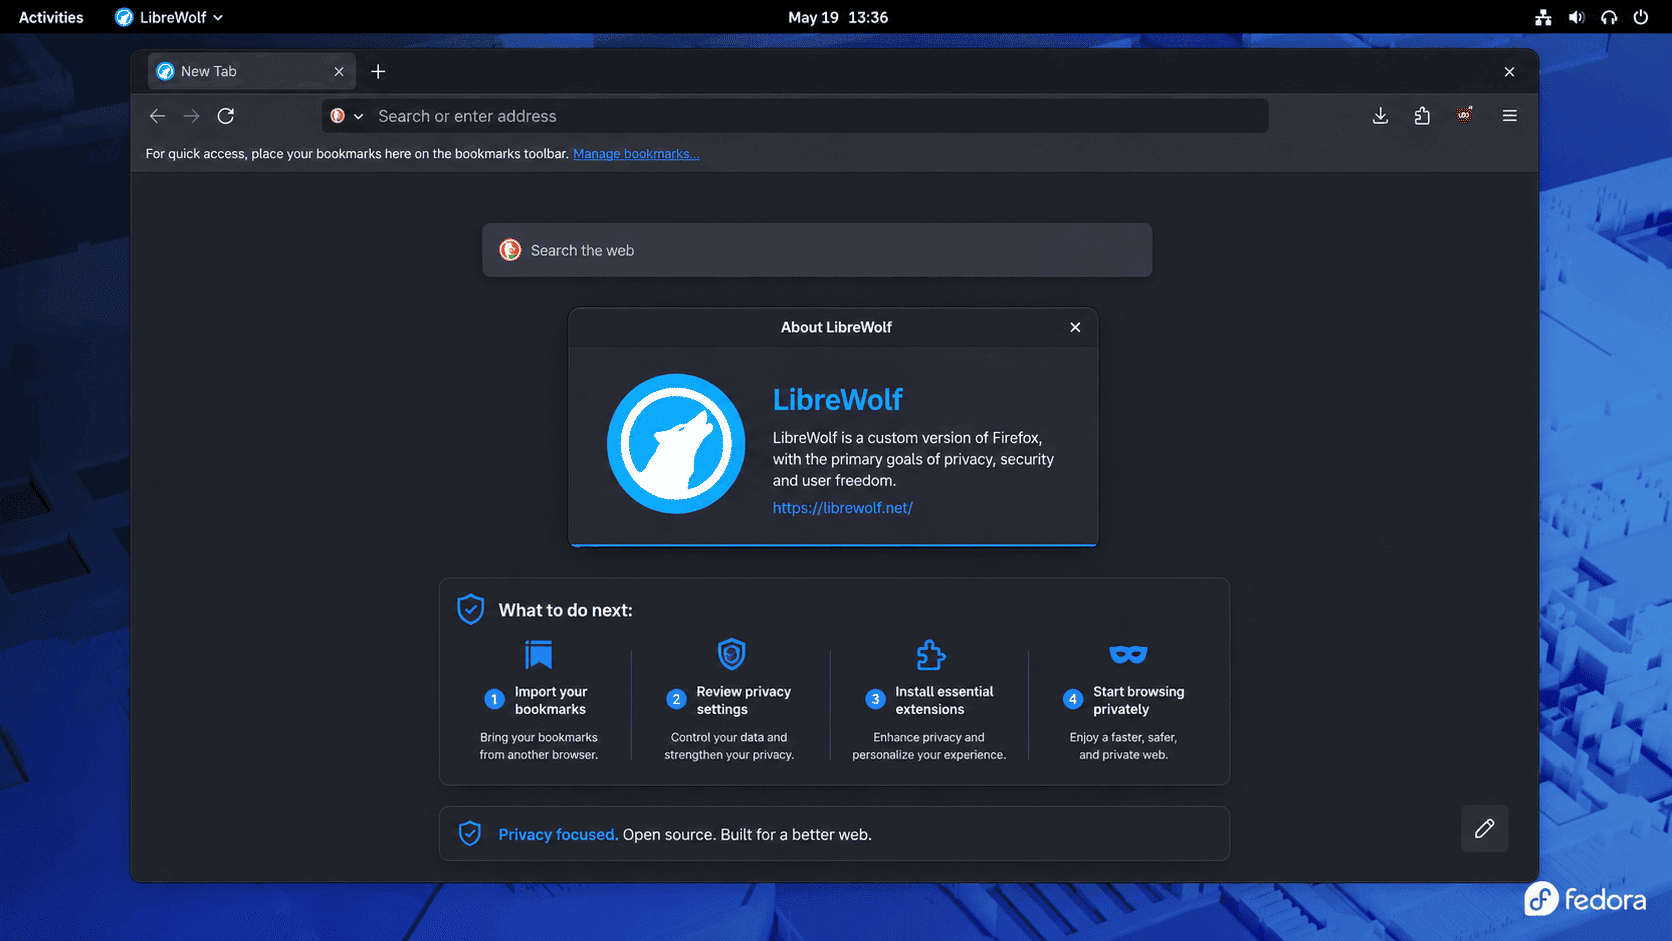
Launch LibreWolf on Fedora
LibreWolf is a graphical browser, so launch it from a Fedora desktop session. The RPM package provides the librewolf command, a desktop launcher, and desktop-file actions for private windows and profile management.
Launch LibreWolf from the Terminal
Start the browser from a terminal with the plain command:
librewolfOpen a private window directly when you want a fresh private session:
librewolf --private-windowOpen the profile manager when you need a separate profile for testing extensions or site compatibility:
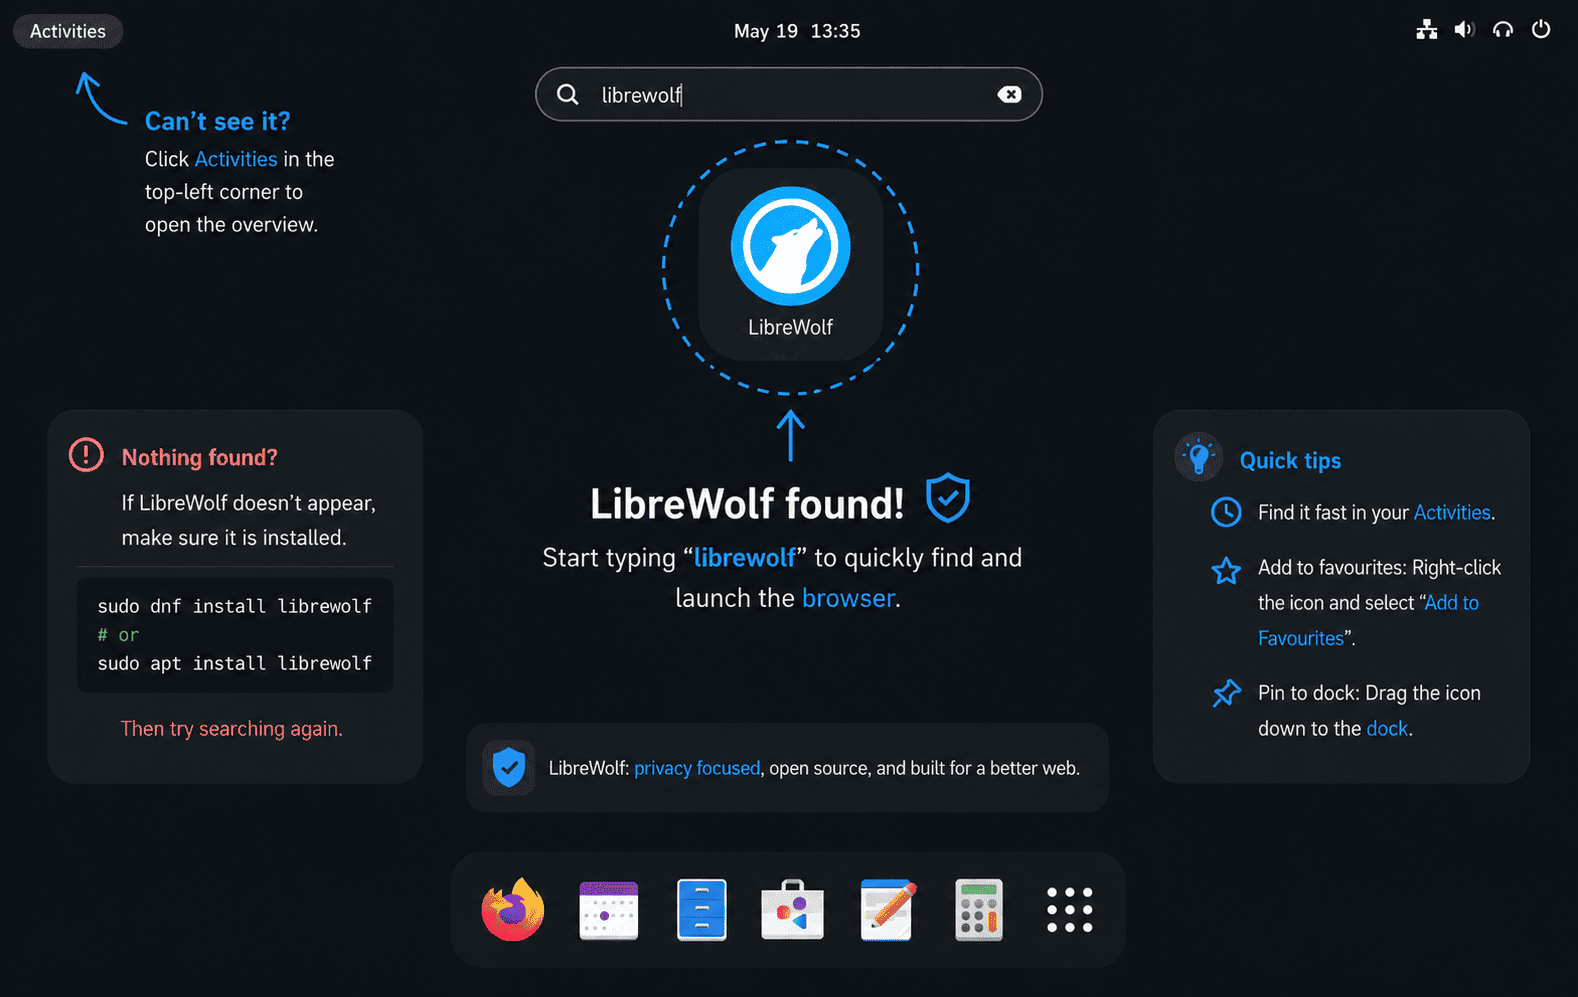
librewolf --ProfileManagerLaunch LibreWolf from Fedora Activities
Open Activities, type LibreWolf, then click the LibreWolf icon. KDE Plasma and other Fedora desktops expose the same launcher through their application menu search.
If the launcher does not appear immediately after installation, log out and back in so the desktop session reloads application metadata.
Getting Started with LibreWolf on Fedora
LibreWolf opens with stricter defaults than stock Firefox. That is useful for privacy, but it also means a few settings are worth checking before you make it your daily browser.
Review the Default Privacy Settings
LibreWolf includes uBlock Origin, uses strict tracking protection, removes Mozilla telemetry, disables search suggestions and sponsored homepage content, and clears some browsing data more aggressively than Firefox. LibreWolf’s feature documentation also lists defaults such as disabled WebGL, disabled DRM, and disabled Firefox Sync, which explains why some sites behave differently on first launch.
If a site breaks, start with the shield or extension icon in the toolbar before changing global settings. Disable protections only for the affected site when possible, then retest in a new tab.
Enable Firefox Sync Only If You Need It
Firefox Sync is disabled by default. If you want bookmarks, history, passwords, or tabs to sync with a Mozilla account, enable the Sync override from LibreWolf’s settings documentation, restart the browser, then sign in from the browser menu. When you sync multiple LibreWolf systems, consider leaving settings sync off so one profile does not overwrite another system’s privacy choices.
Enable DRM Playback for Streaming Sites
LibreWolf disables DRM by default. If a streaming site refuses to play protected video or music, open Settings > General and enable Play DRM-protected content. Keep DRM disabled if you do not use services that require it.
Change Search and Extension Settings
Open Settings > Search to choose a default search engine. LibreWolf starts with privacy-focused options, but you can add another engine if your workflow depends on it. For extensions, begin with the included uBlock Origin setup before installing overlapping privacy add-ons; duplicate blockers can make site breakage harder to diagnose.
Update LibreWolf on Fedora
Update LibreWolf with DNF. The Fedora RPM package does not use an internal browser updater on Linux, so system package updates are the normal maintenance path.
Update LibreWolf with DNF
Use the normal Fedora update command to update LibreWolf and the rest of your system packages:
sudo dnf upgrade --refreshIf you want to target only LibreWolf after it is already installed, name the package explicitly:
sudo dnf upgrade --refresh librewolfThe package-specific command is useful after you confirm LibreWolf is already installed. If the package is not installed, DNF reports that there is nothing to update for that package name.
Remove LibreWolf from Fedora
Remove the package first, then remove the repository file only if you no longer want DNF to use LibreWolf’s Fedora package source. Keep profile cleanup separate because bookmarks, passwords, sessions, and site data live in your user account, not in the RPM package.
Remove the DNF Package and Repository
Remove the browser package:
sudo dnf remove librewolfConfirm that the package is no longer installed:
rpm -q librewolfpackage librewolf is not installed
Remove the repository file after the package is gone:
sudo rm -f /etc/yum.repos.d/librewolf.repo
sudo dnf clean metadata
Verify that the repository is no longer enabled:
dnf repo list --enabled | grep -E '^librewolf[[:space:]]' || echo "LibreWolf repository is not enabled"LibreWolf repository is not enabled
Most installs created with dnf config-manager addrepo do not create DNF override entries. If you previously changed the LibreWolf repository with dnf config-manager setopt, check for a remaining override section before treating cleanup as complete:
sudo grep -R -n '^\[librewolf\]' /etc/dnf/repos.override.d 2>/dev/null || echo "No LibreWolf DNF override is present"No LibreWolf DNF override is present
If the command prints a file path instead, inspect that file and remove only the LibreWolf override section. Delete the file only when it contains no other repository settings.
Remove the LibreWolf RPM Signing Key
Leave the key installed while the LibreWolf repository or package remains in use. For full trust cleanup after removing the package and repo file, check whether the key exists:
rpm -q gpg-pubkey --qf '%{VERSION} %{SUMMARY}\n' | grep -i 'LibreWolf Maintainers'If that command prints LibreWolf’s maintainer key, delete the exact fingerprint:
sudo rpmkeys --delete 662E3CDD6FE329002D0CA5BB40339DD82B12EF16Remove LibreWolf Profile Data
Package removal leaves your browser profile in your home directory. Check which LibreWolf profile paths exist before deleting anything:
for path in "$HOME/.librewolf" "$HOME/.config/librewolf"; do
  [ -e "$path" ] && printf '%s\n' "$path"
done
Deleting these directories permanently removes local LibreWolf profiles, bookmarks, saved sessions, site data, extension state, and any saved credentials stored there. Export or back up anything you need before running the removal command.
rm -rf "$HOME/.librewolf" "$HOME/.config/librewolf"Troubleshoot LibreWolf on Fedora
Most LibreWolf install problems on Fedora come from a missing DNF5 command provider, an existing stale repository file, a repository file that was not saved, or a key prompt that was rejected.
DNF Config Manager Is Missing
If dnf config-manager --help fails, install the DNF5 command provider and rerun the repository command:
sudo dnf install 'dnf5-command(config-manager)'
dnf config-manager --help
Relevant output starts with a DNF5 usage line for config-manager.
Usage:
  dnf5 [GLOBAL OPTIONS] config-manager <COMMAND> ...
LibreWolf Repository File Already Exists
If dnf config-manager addrepo reports that /etc/yum.repos.d/librewolf.repo already exists, inspect the existing file before replacing it:
grep -E '^\[|^(name|baseurl|enabled|gpgcheck|repo_gpgcheck|gpgkey)=' /etc/yum.repos.d/librewolf.repoIf the file already points to https://repo.librewolf.net with the expected signing settings, continue with the metadata refresh. If the file is stale, incomplete, or points somewhere else, remove it and add the current upstream repo file again:
sudo rm -f /etc/yum.repos.d/librewolf.repo
sudo dnf config-manager addrepo --from-repofile=https://repo.librewolf.net/librewolf.repo
DNF Cannot Find the LibreWolf Package
If you try to install LibreWolf before adding its repository, Fedora’s default repositories do not provide a matching package. Check whether the repo file exists and the repo is enabled:
test -f /etc/yum.repos.d/librewolf.repo
dnf repo list --enabled | grep -E '^librewolf[[:space:]]'
If either check fails, add the repository again and refresh its metadata:
sudo dnf config-manager addrepo --from-repofile=https://repo.librewolf.net/librewolf.repo
sudo dnf makecache --repo=librewolf
LibreWolf Key Prompt Appears During Updates
LibreWolf’s repository uses signed metadata and signed packages, so Fedora may prompt for the maintainer key during the first metadata refresh, package install, or later update. Accept the prompt only when it matches the official key:
Key ID: 0x2B12EF16
Fingerprint: 662E 3CDD 6FE3 2900 2D0C A5BB 4033 9DD8 2B12 EF16
UserID: LibreWolf Maintainers <gpg@librewolf.net>
If you rejected the prompt by mistake, rerun the metadata refresh or install command and confirm the matching key:
sudo dnf makecache --repo=librewolf
sudo dnf install librewolf
LibreWolf Launcher Does Not Appear
If LibreWolf starts from the terminal but does not appear in the desktop menu, confirm that the package installed its desktop file and icons:
rpm -ql librewolf | grep -E '/usr/share/applications/librewolf\.desktop$|/usr/share/icons/hicolor/.*/apps/librewolf\.png$'Expected entries include the desktop launcher and icon files:
/usr/share/applications/librewolf.desktop
/usr/share/icons/hicolor/128x128/apps/librewolf.png
/usr/share/icons/hicolor/16x16/apps/librewolf.png
/usr/share/icons/hicolor/32x32/apps/librewolf.png
/usr/share/icons/hicolor/64x64/apps/librewolf.png
If those files exist, log out and back in, then search the application menu again. If the files are missing on a standard Fedora system, reinstall the package:
sudo dnf reinstall librewolfConclusion
LibreWolf is installed on Fedora from its official signed RPM repository, with DNF owning updates, removal, and repository cleanup. After first launch, review Sync, DRM, search, and extension behavior before replacing your default browser. For other Fedora browser workflows, compare Firefox Developer Edition on Fedora, Firefox Nightly on Fedora, or Brave Browser on Fedora.

Formatting tips for your comment
You can use basic HTML to format your comment. Useful tags currently allowed in published comments:
<code>command</code>command<strong>bold</strong><em>italic</em><a href="https://example.com">link</a><blockquote>quote</blockquote>