Installing Google Chrome on Rocky Linux gives you access to four release channels: stable for daily browsing, beta for previewing upcoming features, dev (unstable) for testing experimental functionality, and canary for the absolute latest builds updated daily. All four versions install as separate packages, so you can run them side-by-side without conflicts. This setup is particularly useful for web developers who need to test across multiple Chrome versions.
This guide walks through how to install Google Chrome on Rocky Linux 10, 9, or 8 using either Google’s official RPM packages or Flatpak from Flathub. Chrome is not included in Rocky Linux’s default repositories because it is proprietary software, but Google maintains an RPM repository that provides automatic security updates through your system’s package manager. Rocky Linux 10 has some minor quirks with GPG key warnings and GNOME icon themes that this guide addresses.
Install Google Chrome on Rocky Linux
You can install Google Chrome on Rocky Linux using two methods: the official RPM package from Google or Flatpak from Flathub. The table below compares both approaches to help you choose.
| Method | Channel | Version | Updates | Best For |
|---|---|---|---|---|
| DNF (Official RPM) | Stable, beta, unstable, or canary | Automatic via dnf upgrade | Most users who want direct system integration | |
| Flatpak | Flathub | Stable or unstable only | Automatic via flatpak update | Users who prefer sandboxed applications |
For most users, the DNF method is recommended because it provides the fastest updates directly from Google and integrates with standard system package management. In contrast, the Flatpak method offers sandboxing benefits but may have slight delays in receiving updates.
Chrome installs identically on Rocky Linux 10, 9, and 8. The only version-specific difference is that Rocky 10 displays GPG key policy warnings during import (which are safe to ignore) and may require a manual icon fix for GNOME. Both issues are addressed in the troubleshooting section below.
Method 1: Install Google Chrome via Official RPM
Update Rocky Linux System Packages
Before installing Chrome, update your system packages to ensure you have the latest security patches and avoid dependency conflicts during installation.
sudo dnf upgrade --refreshThe --refresh flag forces DNF to download fresh repository metadata before upgrading packages. If you have a slow connection, our guide on increasing DNF speed on Rocky Linux covers parallel downloads and mirror optimization.
Chrome Release Channels
Google publishes Chrome through four release channels, each targeting different use cases. All channels are available from the same Google repository, and you can install multiple versions side-by-side without conflicts. This allows you to test upcoming features in beta or canary while keeping stable for production work.
| Channel | Package Name | Stability | Best For |
|---|---|---|---|
| Stable | google-chrome-stable | High | Daily browsing, production use |
| Beta | google-chrome-beta | Moderate | Preview features 4-6 weeks before stable |
| Unstable (Dev) | google-chrome-unstable | Low | Testing experimental features, weekly updates |
| Canary | google-chrome-canary | Very Low | Bleeding-edge builds updated daily |
Most users should install the stable channel. Beta is useful if you want to preview upcoming features before they reach stable. Unstable (dev) and canary channels receive updates more frequently and may contain bugs that make them unsuitable for daily use, but are valuable for web developers testing compatibility with upcoming browser changes.
Import Google Chrome GPG Key
Before installing any Chrome channel, import Google’s GPG signing key to verify package authenticity. This ensures packages downloaded from Google’s repository have not been tampered with.
The import behavior differs across Rocky Linux versions due to cryptographic policy changes. Specifically, Rocky Linux 8 imports the key without warnings, Rocky Linux 9 also imports cleanly with standard commands, but Rocky Linux 10 displays SHA-1 subkey policy warnings (which do not prevent the import from succeeding).
Rocky Linux 10 shows policy warnings about expired SHA-1 subkeys during import, but the key imports successfully and package verification works correctly. Google signs packages with RSA/SHA-512, so these warnings about legacy subkeys do not affect security.
For all Rocky Linux versions, the following standard import command works:
sudo rpm --import https://dl.google.com/linux/linux_signing_key.pubOn Rocky Linux 10, however, you will see warnings similar to the following, which can be safely ignored:
warning: Certificate 7721F63BD38B4796:
  Subkey 4EB27DB2A3B88B8B is expired: The subkey is not live
  Policy rejects subkey 1397BC53640DB551: Policy rejected non-revocation signature (PrimaryKeyBinding) requiring second pre-image resistance
  Subkey 78BD65473CB3BD13 is expired: The subkey is not live
  Policy rejects subkey 6494C6D6997C215E: Policy rejected non-revocation signature (PrimaryKeyBinding) requiring second pre-image resistance
If you encounter import failures on Rocky Linux 10 (rare), download the key locally using curl and import with flags that bypass the digest and signature checks:
curl -O https://dl.google.com/linux/linux_signing_key.pub
sudo rpm --import --nodigest --nosignature linux_signing_key.pub
rm linux_signing_key.pub
These flags only affect the key import step; they bypass RPM’s verification of the key file itself, not future package verification. Once the key is imported, all Chrome package installations are verified using Google’s RSA/SHA-512 signatures as normal.
Install Google Chrome via DNF Command
With the GPG key imported, install the Chrome channel you selected from the comparison table above. Each channel installs as a separate package, so you can run multiple versions simultaneously if needed.
Stable (recommended for most users):
sudo dnf install https://dl.google.com/linux/direct/google-chrome-stable_current_x86_64.rpm -yBeta:
sudo dnf install https://dl.google.com/linux/direct/google-chrome-beta_current_x86_64.rpm -yUnstable (Dev):
sudo dnf install https://dl.google.com/linux/direct/google-chrome-unstable_current_x86_64.rpm -yCanary:
sudo dnf install https://dl.google.com/linux/direct/google-chrome-canary_current_x86_64.rpm -yYou can install all four channels on the same system. They coexist without conflicts and appear as separate entries in your applications menu. The -y flag automatically confirms the installation prompt.
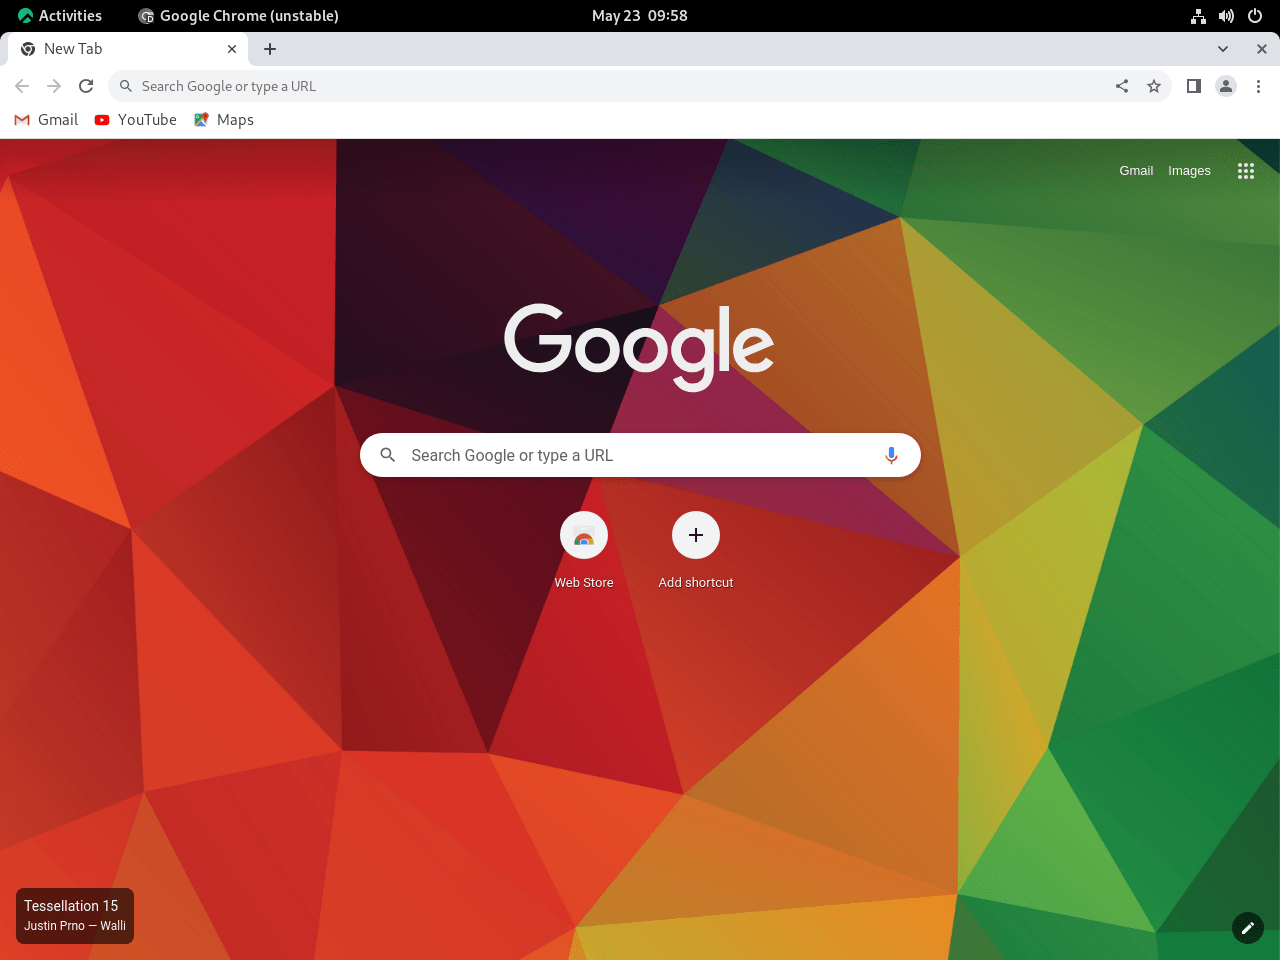
Once installation completes, verify Chrome is working by checking its version:
google-chrome --versionGoogle Chrome 144.0.7559.132
Your version number will be different as Chrome updates frequently (roughly every two weeks for stable releases). The important thing is seeing “Google Chrome” followed by a version number, which confirms the installation succeeded.
The installation automatically creates /etc/yum.repos.d/google-chrome.repo, which configures your system to receive future Chrome updates through standard dnf upgrade commands. You do not need to manually configure anything for updates.
Alternative: Create Repository File Manually
If you prefer more control over repository configuration or need to script the installation, you can create the repository file manually before installing. This approach provides better transparency for automation scenarios.
First, create the repository file:
sudo tee /etc/yum.repos.d/google-chrome.repo <<'EOF'
[google-chrome]
name=Google Chrome
baseurl=https://dl.google.com/linux/chrome/rpm/stable/$basearch
enabled=1
gpgcheck=1
gpgkey=https://dl.google.com/linux/linux_signing_key.pub
EOF
Next, update the package list and install Chrome:
sudo dnf update
sudo dnf install google-chrome-stable -y
This method separates repository configuration from package installation, making it easier to verify setup before installing Chrome. Additionally, DNF imports the GPG key automatically on first use.
Method 2: Install Google Chrome via Flatpak and Flathub
Flatpak provides sandboxed application installations that isolate Chrome from system libraries. The browser runs in a container-like environment with its own runtime libraries, which means Chrome updates do not depend on Rocky Linux’s package cycles. This method is useful if you prefer application sandboxing or want to manage browser updates separately from system updates.
Enable Flathub for Google Chrome
Flathub is the primary source for Flatpak applications. If Flatpak is not already installed on your system, install it first:
sudo dnf install flatpak -yThen add the Flathub repository:
sudo flatpak remote-add --if-not-exists flathub https://flathub.org/repo/flathub.flatpakrepoThe --if-not-exists flag prevents errors if Flathub is already configured. Using sudo adds Flathub at the system level, making it available to all users on the machine. If you want Flatpak applications only for your user account, omit sudo from Flatpak commands.
Install Google Chrome via Flatpak Command
With Flathub enabled, you can now install Google Chrome using the Flatpak command. Note that Flathub offers stable and unstable (dev) builds, but no beta or canary version.
Google Chrome Stable:
sudo flatpak install flathub com.google.Chrome -yGoogle Chrome Unstable (Dev):
sudo flatpak install flathub com.google.ChromeDev -yIf this is your first Flatpak application, the installation downloads shared runtimes (GNOME platform libraries, freedesktop runtime) totaling approximately 1-2 GB. This is a one-time download, and future Flatpak apps that use the same runtimes install much faster.
Verify the installation by listing installed Flatpak applications:
flatpak list --app | grep -i chromeGoogle Chrome com.google.Chrome 144.0.7559.109 system
The output confirms Chrome is installed at the system level. The Flatpak version may differ slightly from the DNF version because Flatpak packages go through an independent packaging and release process.
Launch Google Chrome
After installation, launch Chrome using either command-line or graphical methods. The approach depends on your installation method and whether you have a desktop environment.
Launch Google Chrome from Terminal
The terminal commands differ based on the installation method and Chrome variant. For DNF-installed versions:
google-chrome          # Stable
google-chrome-beta     # Beta
google-chrome-unstable # Unstable/Dev
google-chrome-canary   # Canary
Flatpak-installed Chrome:
flatpak run com.google.Chrome    # Stable
flatpak run com.google.ChromeDev # Unstable/Dev
Launch Google Chrome from Applications Menu
On Rocky Linux desktop installations with GNOME, launch Chrome through the graphical interface:
- Open Activities: Press the Super (Windows) key or click Activities in the top-left corner.
- Access Applications: Click the grid icon labeled Show Applications at the bottom of the screen.
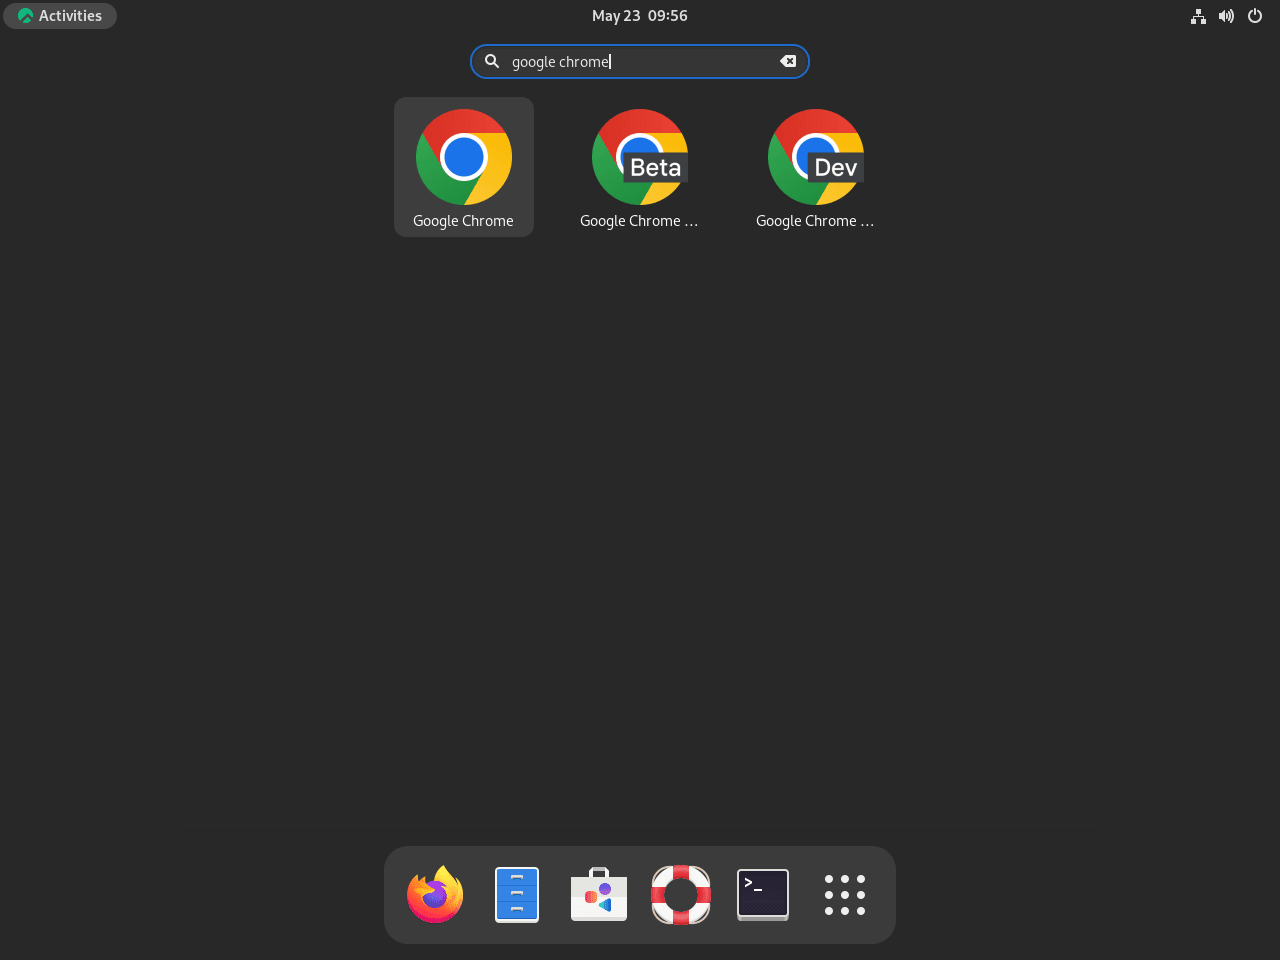
- Launch Chrome: Click the Google Chrome icon. If you installed multiple variants, each appears separately (Google Chrome, Google Chrome Beta, Google Chrome Unstable).


Troubleshoot Rocky Linux 10 Installation Issues
Fix Missing Google Chrome Icon in GNOME
Rocky Linux 10 users may notice Chrome appears in the application menu with a generic placeholder icon instead of the familiar Chrome logo. This happens because Rocky 10’s default GNOME icon theme does not include Chrome’s icon, and Google’s RPM package installs icons to /opt/google/chrome/ instead of the standard hicolor theme directory that GNOME searches.
To fix this, copy one of the bundled PNG icons to the hicolor theme and refresh the icon cache:
sudo cp /opt/google/chrome/product_logo_128.png /usr/share/icons/hicolor/128x128/apps/google-chrome.png
sudo gtk-update-icon-cache /usr/share/icons/hicolor
Alternatively, download the official SVG logo for a scalable icon that looks sharp at any resolution:
sudo curl -L https://www.google.com/chrome/static/images/chrome-logo.svg -o /usr/share/icons/hicolor/scalable/apps/google-chrome.svg
sudo gtk-update-icon-cache /usr/share/icons/hicolor
After running either command, log out and back in (or restart GNOME Shell with Alt+F2 then r) for the icon to appear. This issue does not affect Rocky Linux 8 or 9, which include the Chrome icon in their default themes.
Fix Missing dnf config-manager Command
If you receive “No such command: config-manager” when trying to enable or disable the Chrome repository, install the required plugin:
sudo dnf install dnf-plugins-core -yThis package provides the config-manager subcommand for repository management. Note that desktop installations typically include this package, but minimal server installations may not.
Manage Google Chrome
Beyond installation, you may need to update Chrome, temporarily disable its repository, or remove it entirely. The following commands cover these common management tasks.
Update Google Chrome
Chrome installed via DNF updates automatically whenever you run system upgrades. To manually check for Chrome updates along with all other packages:
sudo dnf upgrade --refreshTo update only Chrome without touching other packages, specify the package name:
sudo dnf upgrade google-chrome-stableReplace google-chrome-stable with google-chrome-beta, google-chrome-unstable, or google-chrome-canary if you installed a different variant.
For Flatpak installations, update Chrome (and all other Flatpak apps) with:
flatpak updateRemove Google Chrome
The removal process depends on your installation method and the Chrome variant installed.
Remove DNF-Installed Chrome
To uninstall the stable version of Chrome, run:
sudo dnf remove google-chrome-stableAlternatively, for other variants, use the corresponding package name:
sudo dnf remove google-chrome-beta
sudo dnf remove google-chrome-unstable
sudo dnf remove google-chrome-canary
After removal, delete the Google Chrome repository file to prevent DNF from checking for Chrome updates:
sudo rm /etc/yum.repos.d/google-chrome.repo
sudo dnf clean all
The following command permanently removes your Chrome browsing data, including bookmarks, saved passwords, extensions, and browsing history. Export any data you want to keep before proceeding.
Optionally, remove Chrome user data directories:
rm -rf ~/.config/google-chrome
rm -rf ~/.cache/google-chrome
Finally, verify Chrome is completely removed:
which google-chromeIf Chrome is fully removed, this command produces no output.
Disable and Enable Google Chrome Repository
If you want to keep Chrome installed but prevent repository checks during system updates, disable the repository temporarily:
sudo dnf config-manager --set-disabled google-chromeNext, list available Chrome repositories and verify the disable status:
dnf repolist --all | grep chromegoogle-chrome google-chrome disabled
Later, to re-enable the repository when you want to receive updates again:
sudo dnf config-manager --set-enabled google-chromeRemove Flatpak-Installed Chrome
For Flatpak installations, use the following command to uninstall:
sudo flatpak uninstall com.google.ChromeSimilarly, for the unstable version:
sudo flatpak uninstall com.google.ChromeDevAdditionally, remove unused Flatpak runtimes and data with:
sudo flatpak uninstall --unusedFlatpak stores user data in
~/.var/app/com.google.Chrome/. Remove this directory to delete all Flatpak Chrome data including bookmarks, passwords, and extensions.
rm -rf ~/.var/app/com.google.ChromeFrequently Asked Questions
Chromium is the open-source browser project that Chrome is built on. Google Chrome adds proprietary components including automatic updates, certain media codecs (AAC, H.264, H.265), PDF viewer integration, Widevine DRM for streaming services like Netflix, and Google account sync. On Rocky Linux, Chromium is available in EPEL but lacks these features, while Chrome from Google’s repository includes them.
Yes. Each Chrome variant (stable, beta, unstable, canary) installs as a separate package with its own binary and application menu entry. You can install all four simultaneously using the DNF commands in this guide. They share the same user profile by default, so changes in one version may affect others.
Yes. Chrome supports Wayland natively and runs under Wayland on Rocky Linux 10 by default. If you experience issues, you can force X11 mode by launching with google-chrome --ozone-platform=x11. Chrome also works under XWayland for compatibility with X11-only extensions.
Chrome is a full desktop application that requires GUI libraries (GTK, Cairo, Pango), audio support (PulseAudio, PipeWire), graphics drivers (Mesa, Vulkan), and font rendering libraries. On a minimal server installation, these dependencies are not present. The DNF installation automatically resolves all dependencies, but expect 500MB-1GB of additional packages on a minimal system.
Final Thoughts
You now have Google Chrome installed on Rocky Linux with automatic update configuration. The DNF method integrates directly with your system’s package manager and receives updates fastest, while Flatpak provides sandboxed isolation that some users prefer for browser security. Both methods work reliably across Rocky Linux 8, 9, and 10.
For an alternative Chromium-based browser, Microsoft Edge on Rocky Linux offers similar performance with different sync and integration features. If you plan to use Chrome for development work, you may also want to set up Git on Rocky Linux for version control.


Formatting tips for your comment
You can use basic HTML to format your comment. Useful tags currently allowed:
<code>command</code>command<strong>bold</strong><em>italic</em><a href="URL">link</a><blockquote>quote</blockquote>